Friday, July 20, 2012

You're a Star Clear Card


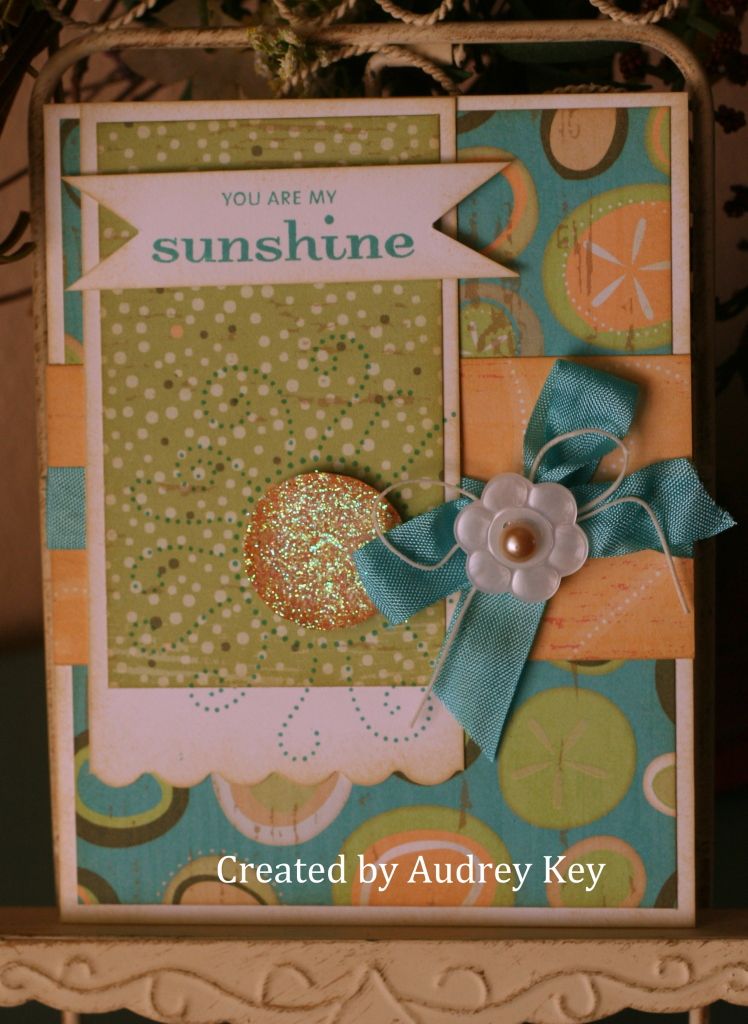
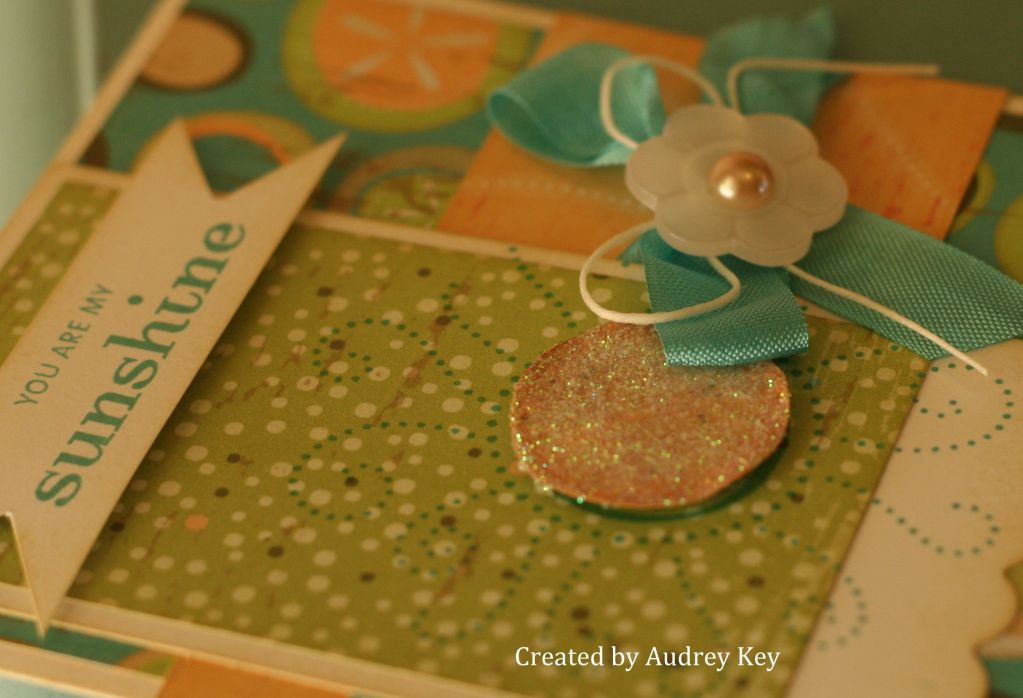
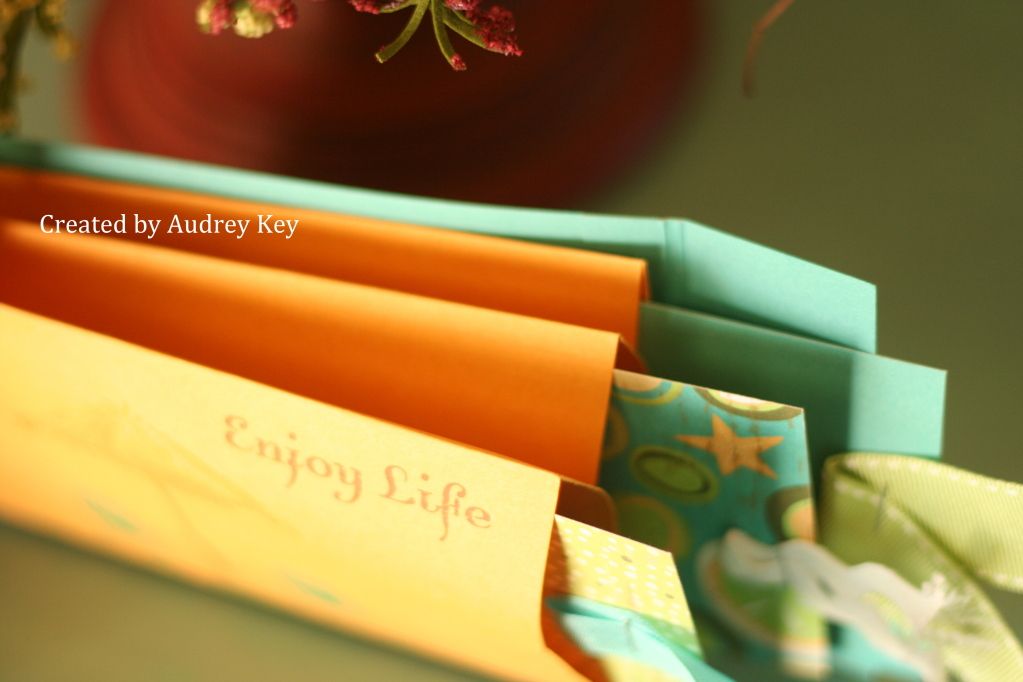
This clear card features Footloose paper and the Under the Sea stamp set.  I colored the center Starfish with a smoothie marker and then added Bonding Memories glue pen and Prisma Glitter.  I also added our Round Durables Brads.

If you like our clear cards, you need to order them
prior to July 31.  They are being RETIRED!  I am so sad they are retiring, however, we have to make room for all of awesome new products heading our way in the new Autumn/Winter catalog which begins on August 1.  If you would like to order clear cards, Click Here!

Tuesday, July 10, 2012

You Are My Sunshine


So, I need to tell you, that when I see this phrase, "You Are My Sunshine," it takes me back many years!  This was Stephanie's (my daughter) favorite song as a little girl.  I used to sing it to her all of the time.   I think it would be a perfect all occasion card to give her.

I created it with the Footloose paper packet, the Just Chillin stamp set, and the Kick Back stamp set.  I used Prisma Glitter to highlight the sun.  I also used seam binding, waxy flax, a flower button and an opaque for the center of the button.


I took a close-up of the sunshine so that you could see it a little better.  I stamped it on the card with Lagoon ink and then again on a piece of the Creme' Brulee' paper in the paper packet.  I cut the center of the sun out and popped it up with foam tape.  I then added bonding memories glue and Prisma glitter to make it shine!

And, Stephanie, you are still my sunshine....just a little older! 

Saturday, July 7, 2012

Kick Back and Relax Mini Album


This mini album is made with our Footloose Paper packet. Footloose is a very happy paper packet.  It just feels like summer, pools, parks, beaches, etc.  It is perfect for your summer themed scrapbook pages and cards.

I used the Kick Back stamp set to stamp the flower and sentiment (and the scene on the the inside page).  The embellishments are:  Round Durable Brads, Opaques, and our Sweet Leaf Grosgrain Ribbon, as well as some miscellaneous ribbon from my stash.


The inside has coin envelopes (I purchased a big box at Office Max) with small tags to place your pictures on. 


As you can see from this view, there are 3 coin envelopes inside the album.  I cut the flaps off and adhered them together in the center of each envelope. 

**Tip - if you adhere the envelopes completely together around the edges, they won't fan out.  Only place adhesive down the middle of the envelopes.  It is fine to use more adhesive on the envelope that is adhered to the album cover. 

If you want the cutting recipe for this mini album, please email me....I am happy to share it with you!