Sunday, October 30, 2011

Distressed Flowers


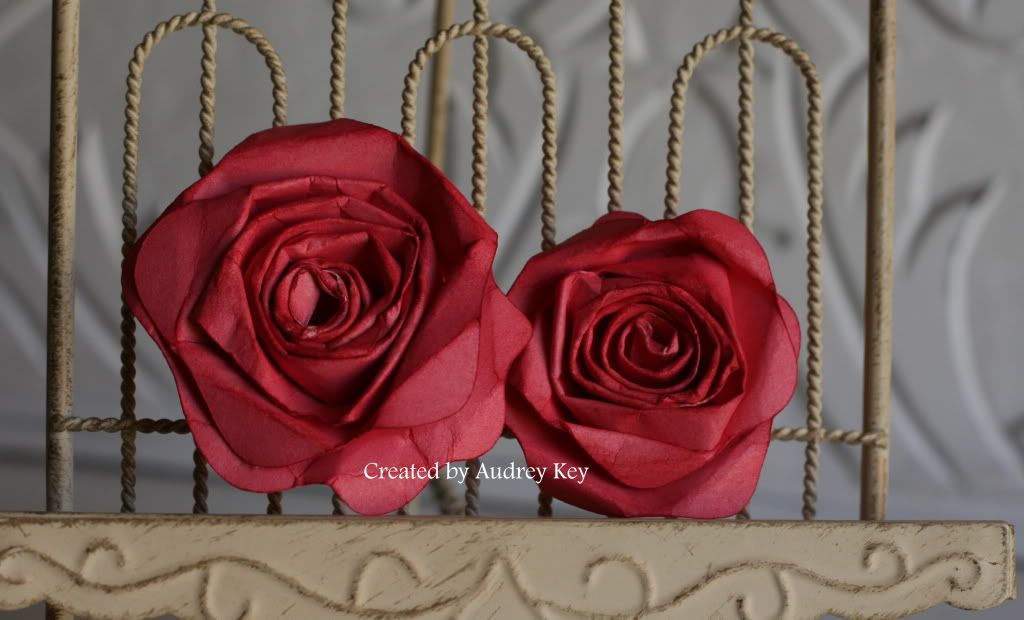
Have you seen this type flower in the Catalog/IdeaBook and wondered how to make them?  Below is a tutorial on how to make them.

*Tips

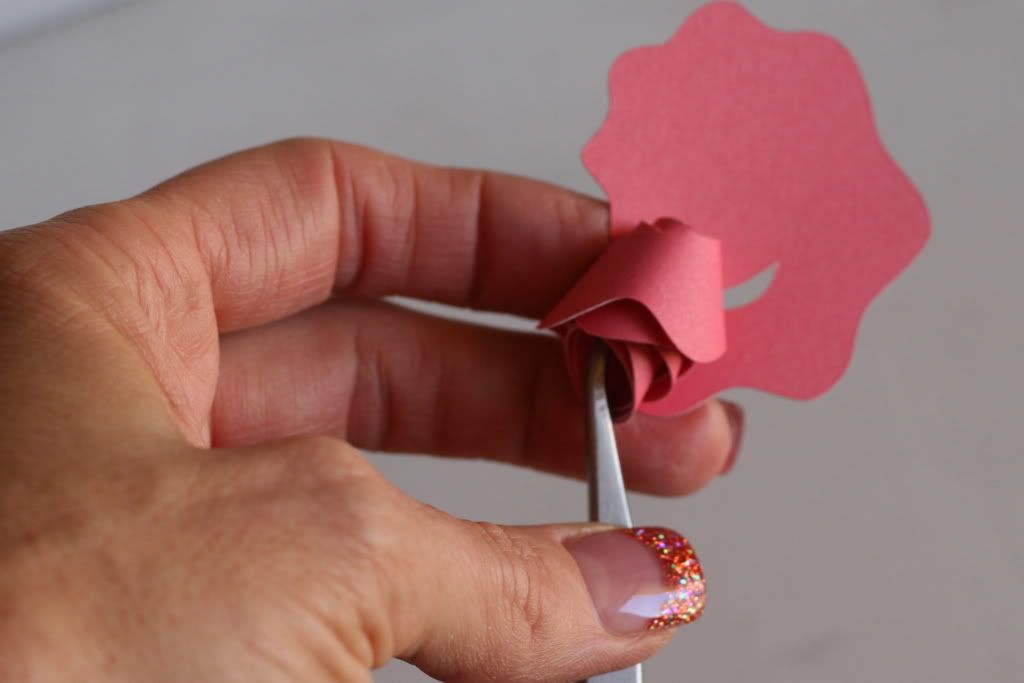
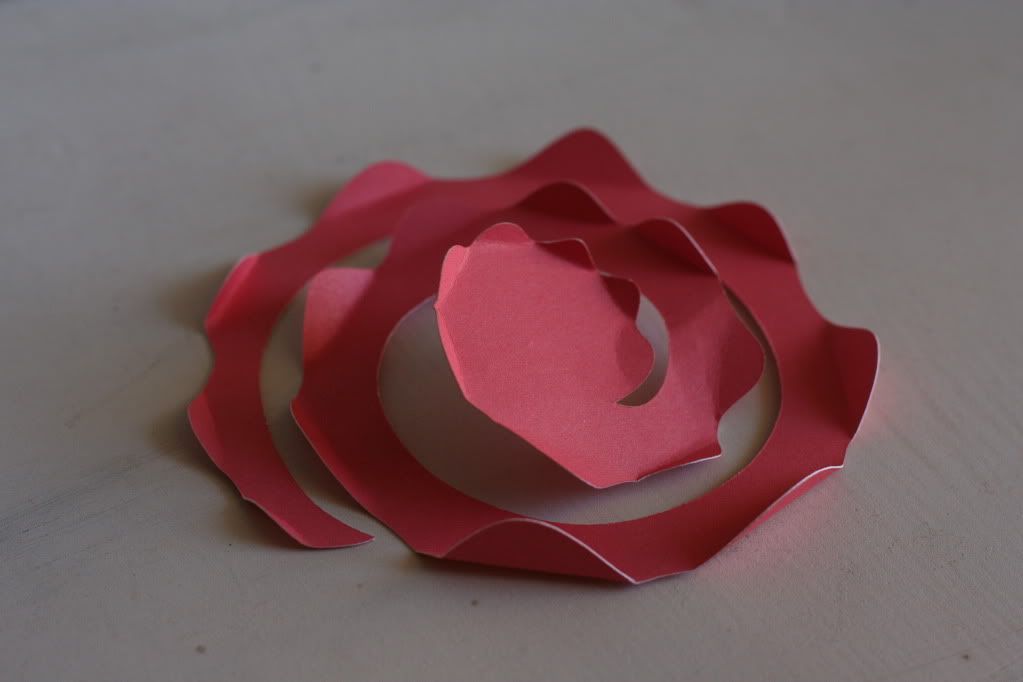
Step 1 - Cut spiral flower from the Cricut Art Philosophy Cartridge.

Step 2 - Roll the flower up using CTMH Tweezers -
roll tightly and then let go (it will spring back out).

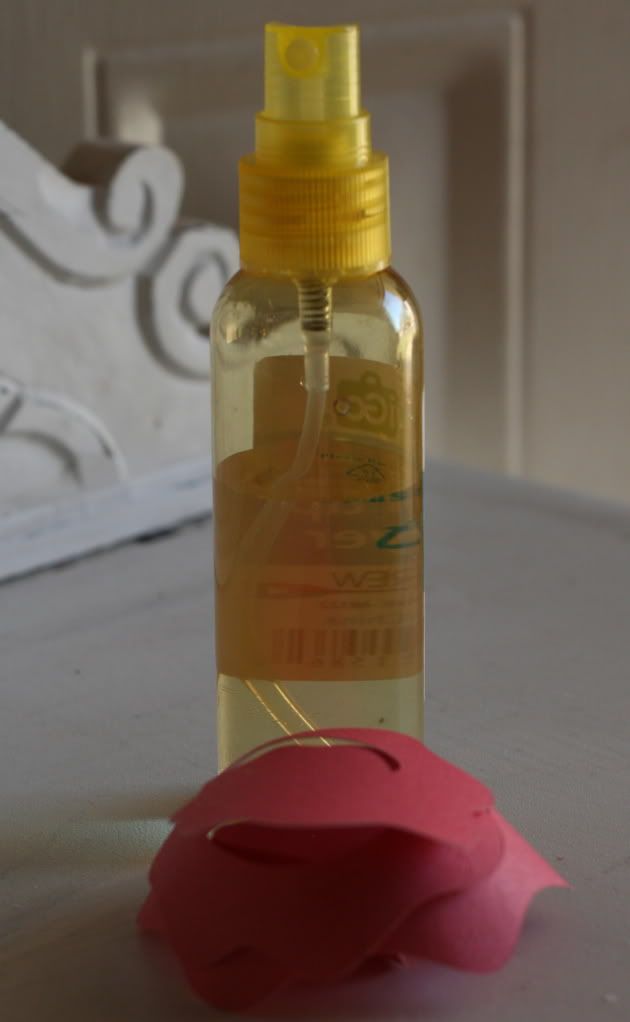
Step 3 - Spritz with water.

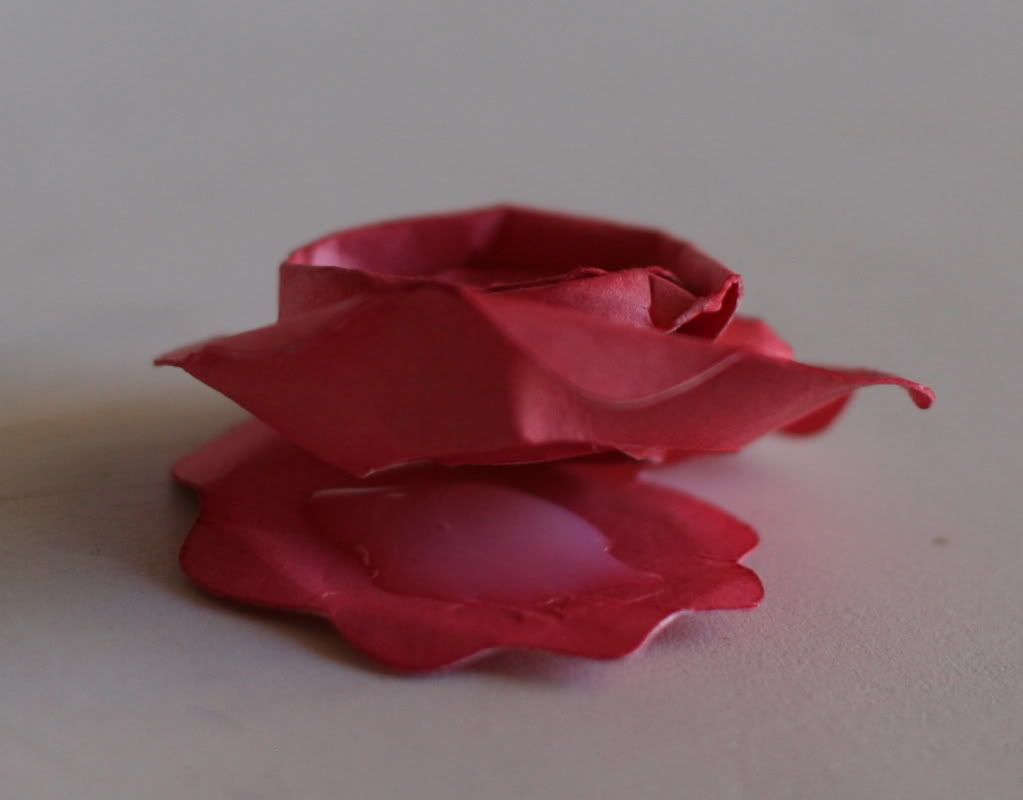
Step 4 - Fold the petals over (bend them back).

Step 5 - Roll the flower up again by hand - be careful since it will be damp it will tear easily.  Manipulate the petals as you are rolling it up.

Step 6 - After you get it rolled up, press down on it and let it air dry for a couple of minutes.

Step 7 - Sponge the top of the flower with darker ink to add color and distress it.

Step 8 - Put a big blob of Liquid Glass on the base of the flower and hold flower in place for about 30 seconds.  Allow time to set and dry before using on your project.

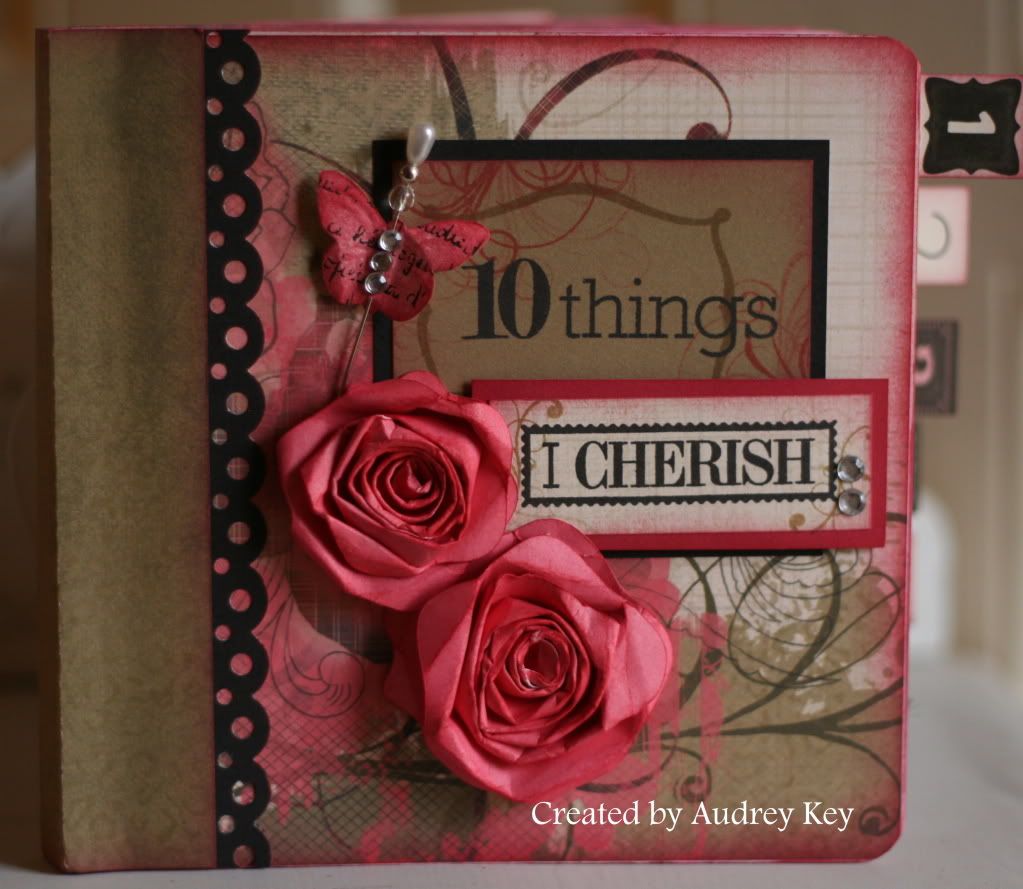
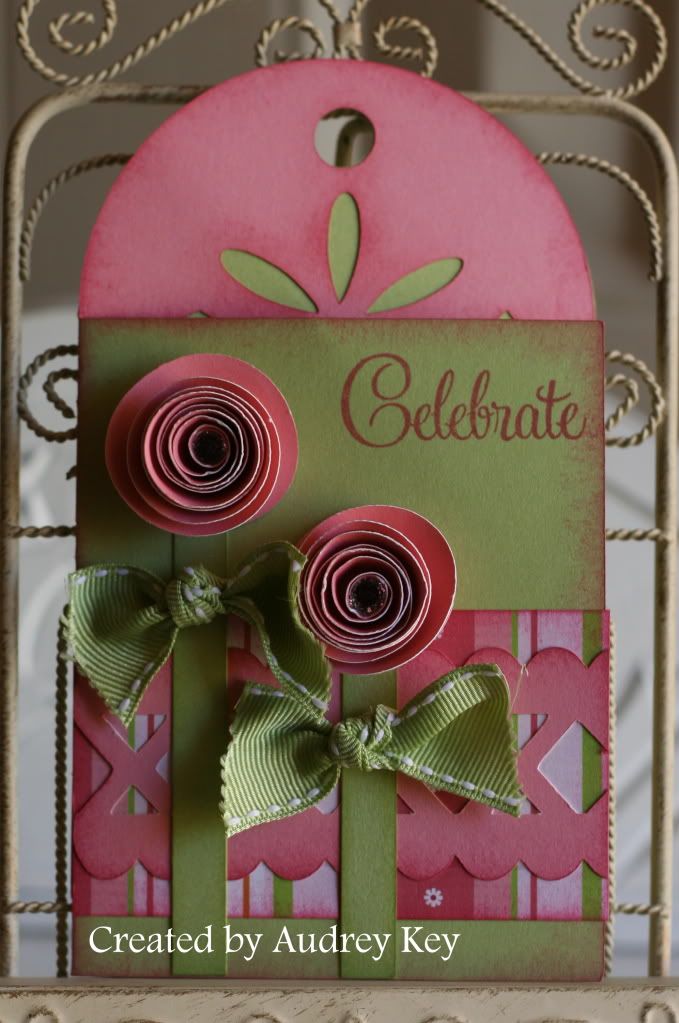
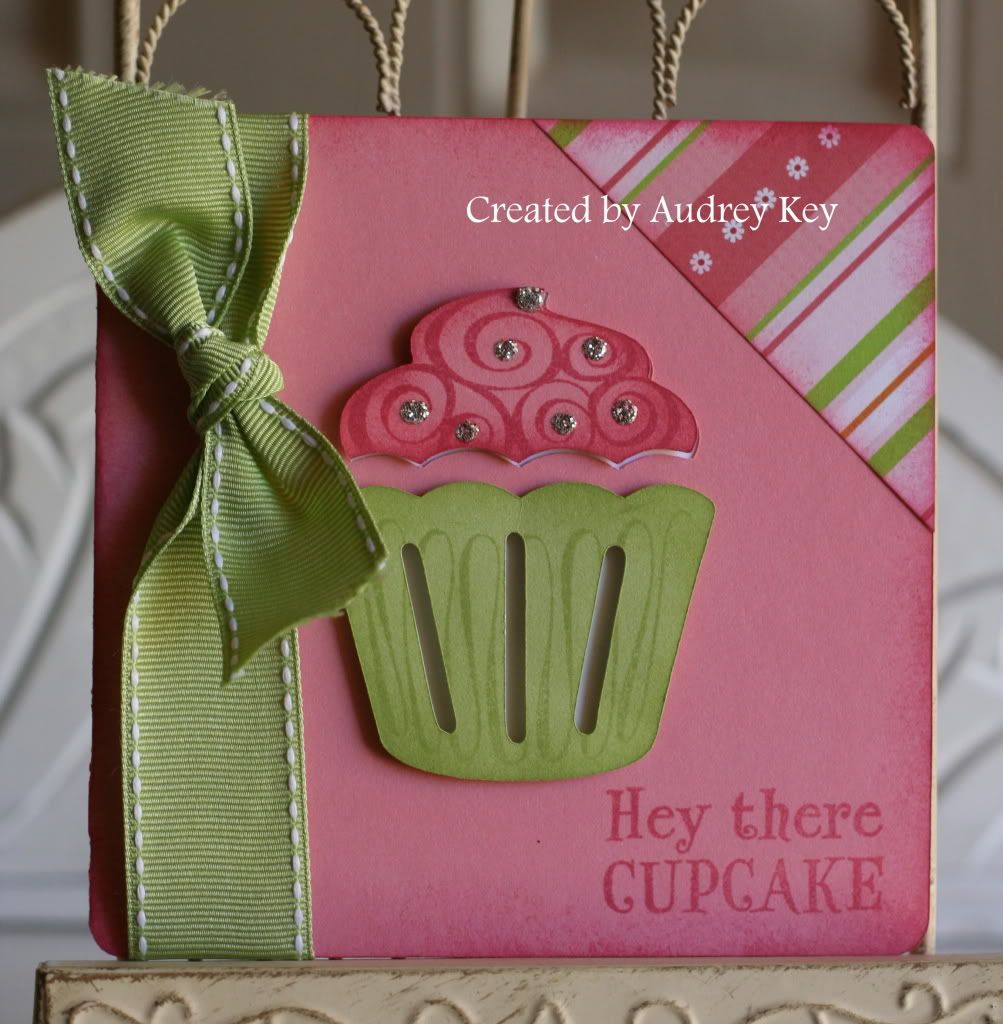
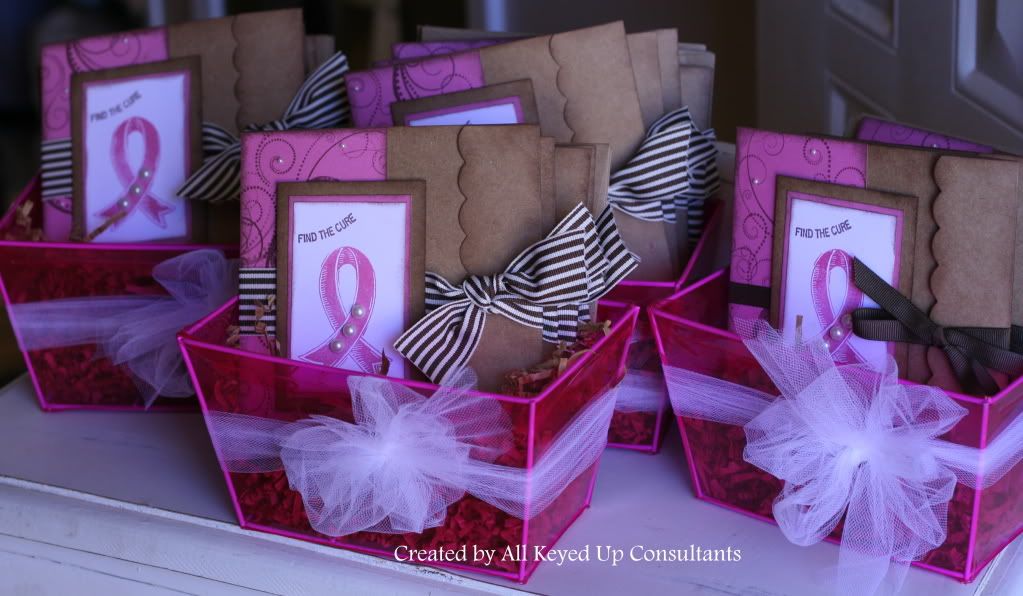
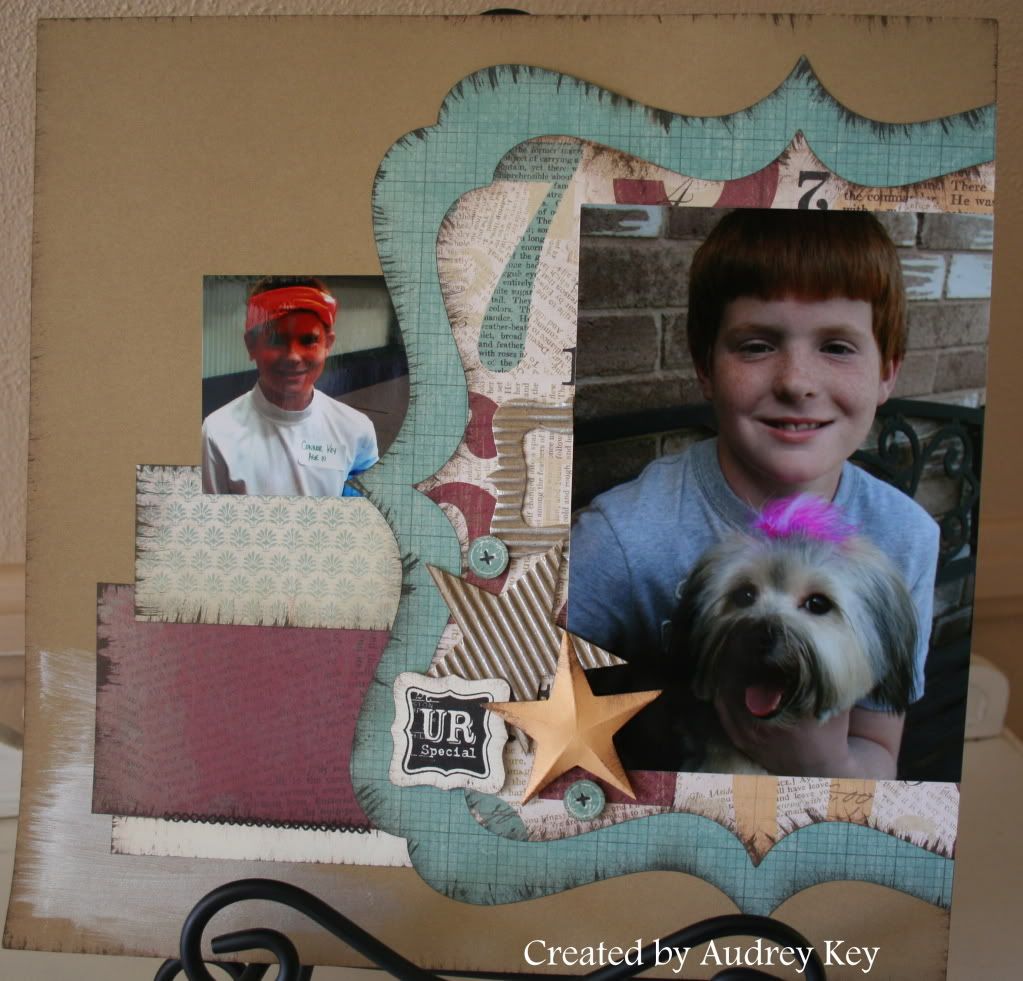
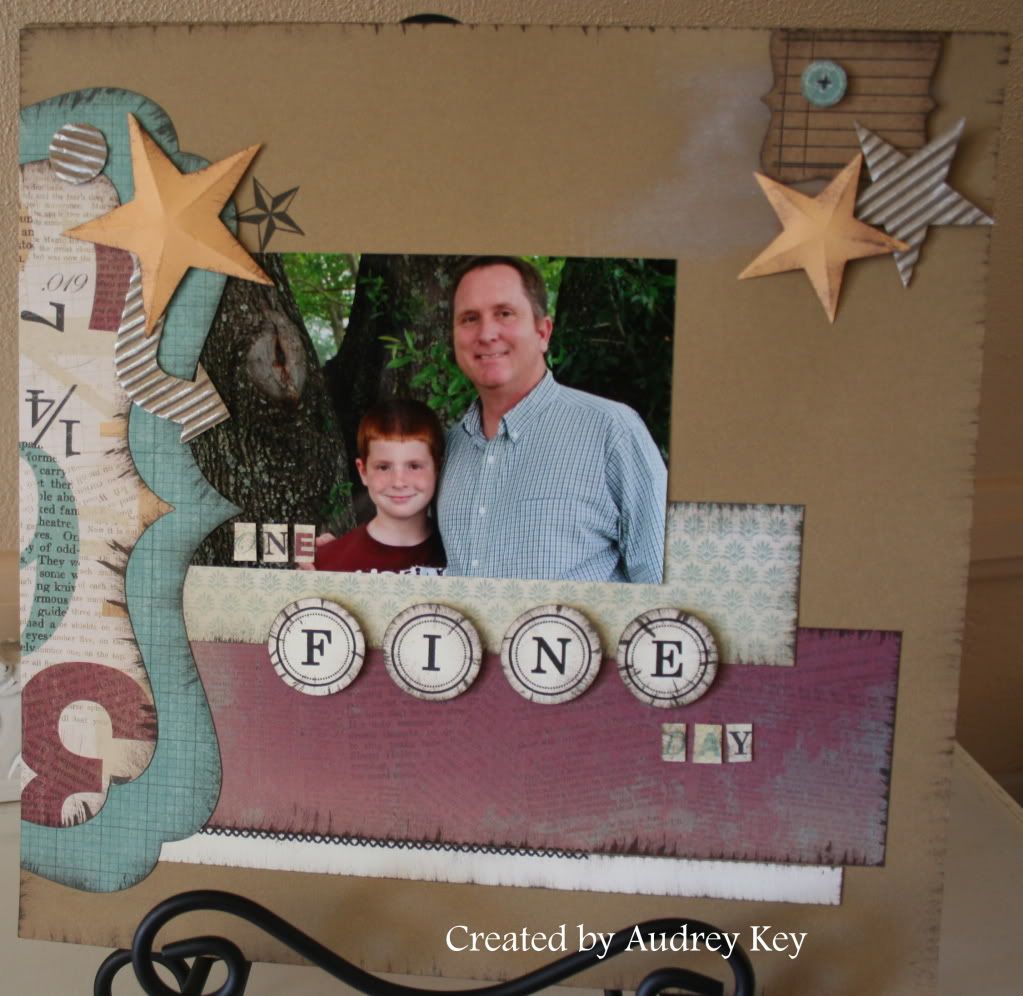
After your flower is dry, you can use it on an altered item, card, scrapbook page, etc.  You need to adhere it to your project using liquid glass so that it won't come off. 


Saturday, October 29, 2011

Roxie - 10 Things I Cherish Board Book


This darling book started out as a white chipboard book and ended up as a work of art!  In it are 10 Things that I Cherish - 1) Family; 2) Home; 3) Dean; 4) Stephanie; 5) Connor; 6) Brayden; 7) Holidays; 8) Summer Fun; 9) Birthday Celebrations; and 10) Vacations.  Yes, I know there are many more things that could be included but, I only had 10 pages! 

I used the 10 Things My Acrylix Stamp Set and Instant Memories Stamp Set as well as Roxie Level 2 Paper, Bling Assortment, Just Blooms Paper Shapes, 10 Things Pocket (tags), Cricut Art Philosophy Cartridge, and sparkles.


Friday, October 28, 2011

Celebrate Flower Card


In my monthly Cricut Class, I cut everything that one key will cut and show at the class.  This card was  cut from the <tag5><cupcake> key.  Most of the images on this card are cut from that one key.  The flower is the spiral flower on the Shift/Font <tag5>.  The Border is from the Font Layer <tag5>; the Tag Topper is from the Shift/Decorative Layer <tag5>;  and the card is Card <tag5>. 

I used Silver Glitz Glitter Gel in the center of the flowers and Sweet Leaf Ribbon form the leaves.   Sofia paper provided the color scheme for this cute little card.  

*PS - Today is your last opportunity to bid on our auction Honoring Becky Smith card sets.  Please see post on Tuesday, October 25, to place your bid by Midnight.   

Thursday, October 27, 2011

Hey There Cupcake


This 4 1/2" card was created by cutting the card base from the Cricut Art Philosophy Cartridge.  This card is on the <tag5><cupcake> key.  I used the coordinating cupcake stamp (in the Cricut bundle) to stamp the shading on the cupcake frosting and paper.  I also placed a piece of white cardstock behind the cutout cupcake that is part of the card base; using another frosting and cupcake paper that I cut separately.  I adhered the cupcake pieces with 3D Foam Tape to make it more dimensional.  Sweet Leaf ribbon, Silver Glitz Glitter Gel and Sofia paper were used to
embellish this card. 

*PS - Don't forget to check the bids today for the auction Honoring Becky Smith.  Please see post from Tuesday, October 25 to place a bid.

Wednesday, October 26, 2011

Cupcake Box - Cricut Class


We made this little box at my Cricut Class on Monday night.  The Cupcake Box was created using our fabulous Cricut Art Philosophy Cartridge!  I used Sofia paper, Sweet Leaf Ribbon, and Silver Glitz Glitter Gel.  Put a cupcake inside the box and give it to someone for their birthday!

*PS - Don't forget to place a bid on the card sets Honoring Becky Smith (see Tuesday's post).

Tuesday, October 25, 2011

Honoring Becky Smith


Becky Smith is a Close To My Heart Consultant in Brownfield, Texas.  She was recruited by Paige Lindsey and is in the All Keyed Up Consultants Team.   Becky and Paige have been dear friends for  years and they team teach workshops and classes together.  Becky has been struggling with cancer for several months. 

On Saturday, the All Keyed Up Consultants Team met and made these beautiful Pink Ribbon card sets to auction off .  The proceeds of this auction will be donated to the Susan Komen Foundation in Becky’s honor.

We will be taking bids from now through Friday, October 28 at Midnight.   To place a bid, simply leave a bid and your email address (for notification purposes) in the comment box of THIS POST.   Please make your bid at least $1.00 more that the last bid in the comments section.  There are 4 sets of cards that are being auctioned off and you can bid on both blog sites:  http://aaronsbooth32.blogspot.com and http://stampingaudrey.blogspot.com.    A PayPal invoice will be sent to the winning bidders on Saturday, October 29 (we will ship them to the winners).  Happy Bidding!

Monday, October 24, 2011

A Sweet Treat Bookmark Card


For this card I used the Dreamin' paper packet, Treasure Life stamp set, Antique Copper Brads, Harvest Charms, and Cocoa Ribbon.


The pocket on the front of the card does double duty by holding a bookmark that can be used later by the receiver. 
  *Tip - You could send a birthday card such as this - you haven't  spent a lot of money, but it is a sweet treat that can be used later, when you include a bookmark for a special friend's birthday wish!

Sunday, October 23, 2011

Plant Smiles


I guess I am on a pink kick!  I pulled this darling  Sofia Level 2  paper packet out to make another Pinktober card.  Sofia will be retiring at the end of this catalog/ideabook so be sure to purchase yours before it does!   I used Sweet Leaf Ribbon, Pink Button Assortment, and Opaques as well as the Love Life and Treasure Life My Acrylix stamp sets.

Saturday, October 22, 2011

Pinktober


In honor of Pinktober - Breast Cancer Awareness Month - Susan G. Komen Foundation, I finally used this awesome stamp set Always Remember.  When I served on the CTMH  Advisory Board in 2007, I practically begged CTMH to create a ribbon stamp set that could be used for Breast Cancer, Heros/War, etc., and Whoa la - they created one.  If you don't have it, you should definitely get it.  For this card I used Cotton Candy Cardstock and ink, Kraft Cards, Dark Chocolate Striped Ribbon, and Red and Pink Sparkle Assortment.

Also, did you know that 1 out of every 6 women will be diagnosed with Breast Cancer?  Those statistics are astounding in my opinion.  My mom and I walked in the Race for the Cure held in Lubbock on October 1st with the Women of the Church of Westminster Presbyterian Church.  The WOW board organized our team as a project that we could do as a group.  As they were planning events for the coming year, they were meeting at the Moderator's house and there were 6 ladies at the table - out of the 6 ladies - 5 of them had been treated for Breast Cancer! 

In my family, we have Breast Cancer on both sides of the family.  My maternal grandmother had Breast Cancer and Uterine Cancer.  Her sister had Breast Cancer 3 times and her daughter (my cousin) recently had it and went through chemo and radiation.  I found out several weeks ago, that my Paternal Grandmother's Sister also had it.  Whether you have Breast Cancer genes in your family or not, I believe early detection is so important.  I have been having mammograms since the age of 30 because of family history.  If you haven't already had a mammogram this year, please have one.  Even if you don't have insurance, the test is not so costly that it isn't worth it.  Remember - YOU are someone's sister, mother, grandmother, niece, daughter, and you matter!

Thursday, October 20, 2011

Believe Workshop on the Go Cards

This month I chose to use Originals - Terrific Triplets card pattern for the Believe Workshop on the Go Cards.   I think they turned out pretty cute!


I used the Blending Pen and stamp pads to fill in this cheerful Santa.  I scissor distressed the edges (because a little birdie told me they were tired of sponging - wink, wink - you know who you are).  I think the ribbon and ribbon slide are darling accents for a Santa card as it resembles his belt!


I utilized the Dimensional Elements Stars to embellish this card along with the Olive Mini Medley that comes in the workshop kit.


I don't know about you, but I can always use extra Thank You cards (especially at Christmas time).  This one is adorned with a double stacked Dimensional Elements Stars and the cutest little button brads from the Olive Mini Medley.


Wednesday, October 19, 2011

A Season of Thanks Card


This card features an awesome stamp set called, "Captured Moments."  I used Olive and Autumn Terracotta Cardstock, Cocoa Ribbon, Dark Chocolate Striped Grosgrain Ribbon, Mocha Opaques, and 3D Foam Squares.  

*Tips - The technique I used on this card: I inked the stamp with an Autumn Terracotta Stamp Pad and then using a dauber, I daubed around the edges of the stamp with Cocoa Ink (right over the Autumn Terracotta ink).  This gives the look of the rock 'n roll technique, using an easier technique for larger stamps.

Tuesday, October 18, 2011

Life Unscripted 4 1/2" Card


This 4 1/2" card was created with Dreamin' Level 2 Paper, Mini Medley Pewter Assortment, Chocolate Ribbon, and the cute My Acrylix Stamp Set - Unscripted. 


Monday, October 17, 2011

Live. Laugh. Love.


I used CTMH  Dreamin' Level 2 Paper to create this 5x7 card.  The stamps I used are:  Love Life stamp set and the Happy Clusters stamp set.  The embellishments on this card are a selection of buttons from the Blue Button Assortment and Mocha Opaques.


Two thicknesses of 3D Foam Tape were used pop the star up and I sponge distressed the edges with Chocolate Ink.

Sunday, October 16, 2011

50 Christmas Cards in a Day Beauties!

Here is a group photo from our wonderful day of card making.  Jo, I hope that today (after a night's rest), that you have decided that it was wonderful!   We are missing one  in this photo, who didn't want to pose for my camera... but there were 17 participants.  Thank you to everyone who attended and especially to my "Lovington Girls" and my "Midland Girl."  I know that it took A+ Effort to drive to Lubbock/Wolfforth for a day long workshop!  

Workshops like this are labor intensive for me, but they are also very fulfilling to one's soul (after they are finished!).  You ladies make my job FUN!  Thank you for spending your Saturday with me!

Saturday, October 15, 2011

Believe It - 50 Christmas Cards in a Day

You may not "Believe It" but you CAN make 50 cards in one day!  The way that  this task is completed is to spend an hour and a half and complete 10 cards  at each station (we rotate 5 times).  The main objective is to follow the directions for cutting the paper, stamping the pieces, and finally, assembling the cards.   It is a great workshop, and it is even more fun to leave the workshop with your Christmas cards ready to sign and address! 

As you are reading this post, there are 17 lovely ladies participating in this workshop today.  Their kit included: Believe Lev 2 Paper, White Daisy Cards and Envelopes, Cranberry Ribbon, Clear Buttons, Bling Buttons, and Red Glitz Glitter Gel.

 I used Remarkable Wreath for this card.
(Does this stamp look familiar?)


 I used Christmas Cheer on this cute tree card.  The tree was stamped with StazOn ink and I waterbrushed it with Topiary ink.  Red Glitz Glitter Gel was used to decorate it.


Holiday Magic is an awesome Stamp of the Month (available during October) to use for your holiday card making!


Holiday Cheer and A Holiday were used on this adorable Happy Holidays card!  Of course the name plate and holly leaves were cut from the Cricut Art Philosophy Cartridge!


And last, but certainly not least, the buttoned up tree from  Happy Clusters finishes our 50 cards off in grand style!


I hope you enjoyed a sneak peak at what we are making at our 50 Christmas Cards in a Day Workshop.  I also hope that these cards inspire you to start making your Christmas Cards early!  Have a wonderful weekend!


Thursday, October 13, 2011

Such a Fright - Ghosted Image


You might have seen this card on page 45 of the Autumn/Winter Catalog IdeaBook using C1462 All Hallows Eve stamp set.  I tweaked it using the argyle images on the stamp set in lieu of the stitching that CTMH used.  For this card, I used the Mischief paper packet, Backdrop-Charmed stamp set, Licorice Opaques, Versamark Ink, Clear Embossing Powder, Craft Tray, and Craft Heater (CTMH's is the best on the market).

*Tips: 
This zoomed photo of the crow shows more detail.  In order to create a "ghosted image" I used the following steps:
1.  Stamp the bat background stamp (Backdrop-Charmed) with Grey Flannel ink.
2.  Stamp the crow with Versamark Ink and heat emboss it with Clear Embossing Powder.
3.  Sponge Grey Flannel ink over the image.  The embossed crow will "resist" the ink.
4.  Stamp the argyle image in Grey Wool and stamp the scroll with Black ink.
5.  The final step to achieving a "ghosted image" is to use a clean piece of cardstock and a hot dry iron - place the cardstock on top of the embossed image and hold the iron there (don't move it, just press it)  for a few seconds.  Lift the cardstock and make sure that all the shine is gone.  It will look like a matte finish if you have done it correctly.
6.  Sponge the outer edge of the piece with black ink and assemble the card.

This technique would be fabulous used on a snowflake card, Christmas card, etc.  Try it and see what you come up with.  It is a really cool technique!

Wednesday, October 12, 2011

So Grateful for You Thanksgiving Card


I don't typically send Thanksgiving cards but the older I get, I realize that I should be letting people know that I am thankful they are in my life.  Wouldn't it be fun and uplifting to send Thanksgiving cards to those for whom you are thankful, letting them know how much they mean to you? 

The items I used on this card are:  Mischief paper, So Grateful Stamp Set, Backdrop-Charmed Stamp Set, Mini Medley Pewter, 3-D Foam Tape, and our new Green Collection Ribbon.

Tuesday, October 11, 2011

Fall Mini Album


This cute little 3x3 Fall Album was created from one of our new Kraft 6x6 cards.  I simply cut the card in half - making it 3x6.  I scored the 2 card halves every 3," and then overlapping the flap, I adhered them together.  I accordion folded it to create the album.


The album is adhered together by the scallop flap, thus making a pocket for the tag (middle of the album under the sunset flourish).


Here are the inside layouts.


I used Mischief  paper, Kraft 6x6 Cards, Mocha Opaque Gems, Cricut Art Philosophy, Chocolate Ribbon, Mini Medley Pewter Assortment.


Monday, October 10, 2011

A Harvest of Memories Card


When you see the Mischief paper packet, you automatically think "Halloween."  As you look through the IdeaBook, think outside the box.  Mischief is totally appropriate for Fall projects.  For this card, I used  Mischief paper, Mini Medley Pewter Assortment, Cricut Art Philosophy and coordinating leaf stamp set (in the Cricut bundle), Chocolate Ribbon, Love Life Stamp Set, and So Grateful Stamp Set.


I adhered two of the leaves to the card and the third one is adhered with 3-D Foam Tape (I love that stuff!  No scrapbook bag is complete without it!)

Friday, October 7, 2011

Remarkable Wreaths - 3 Ways!

I thought it would be fun to show you the versatility of our new stamp set "Remarkable Wreath."  I decided to try out the Cuttlebug that my sister bought me for Christmas 2 years ago (I know, it is pathetic that I haven't been using it!).  It is a very cool tool!  Brayden loved it too - he sat down and embossed everything he could get his little hands on!


 Give Thanks Card:   I used the fall leaves wreath along with the stick wreath which I stamped in second generation ink.  I used Elemental B&T along with Cocoa Cardstock,  Foundry Metal Accessories (Pewter Ribbon slides), Mocha Opaques, and Sorbet ribbon (from my stash).  I rubbed the Cocoa stamp pad across the embossed cardstock so that the embossing would show up better.


All Occasion Card:   I used the floral wreath along with second generation Chocolate ink for the stick wreath.  Elements on this card are Creme Brulee Cardstock along with Elemental B&T, Mini Medley Pewter Assortment, Foundry Metal Accessories, Mocha Opaques, and
Chocolate Ribbon. 


Noel Christmas Card:  The Berry Wreath was stamped with second generation Cranberry ink and I used second generation Cocoa ink for the stick wreath.  I used Barn Red Cardstock,  Cocoa Cardstock, Red Ribbon Assortment, Chocolate Waxy Flax, Mini Medley Pewter Assortment, Mocha Opaques, and Pin Clips.


Thursday, October 6, 2011

Gnome Garden Clear Card


As a child, my favorite activity was coloring.  Stamps like "Gnome Garden" take me back to those childhood days and the exhilaration that coloring brings.  For this clear card, I used the Elemental Paper Pack, Mini Medley Pewter Assortment, and Mocha Opaque Gems.  The Gnome is shaded with our watercolor pencils and a blending pen.

*Tip - when coloring an image with a blending pen or water brush pen, you need to use StazOn Ink or Archival Ink to prevent running/smearing.  I used Brown StazOn Ink to stamp the Gnome and the butterfly. 

Wednesday, October 5, 2011

Holiday Magic Christmas Card


This cute card was inspired from my friend, Jan, who lives in South Texas!  It is an easel card and it was a lot of fun to create.  I used CTMH Believe paper, Bling Button, Silver Glitz Glitter Gel, and Pearl Paint.  I used the CTMH black stubble tool and the Pearl Paint to create the snowy effect on the red plaid paper behind the tree.  The stamp set is our October Stamp of the Month, "Holiday Magic." 

It is easier to see how it "props" up with this side view.


During the month of October, this fabulous stamp set is only $5 with a $50 purchase (or you can buy it for $17.95 plus tax and shipping).


Thanks to Jan for the inspiration!

Tuesday, October 4, 2011

Believe Workshop on the Go

This month the Workshop on the Go is Believe.  It is a really cute layout and was so much fun to create.  I added sponging with New England Ivy ink.  You all know that I like everything distressed!   Here is the Left Layout.


This is the right layout.  The story told in the journaling is about our tradition of going to Santa Land.  I asked my mom when we started going to Santa Land and she said that I was probably 5 or 6.  So Santa Land has been a family tradition for at least 40 years (man I am getting old!).  The best thing about it is that we all love to enjoy a hot, steaming cup of  Santa Land's cocoa after standing in line to see Santa....it is the BEST especially when enjoyed by the bonfire!


The Believe Workshop on the Go Kit includes:  Believe Level 2 Paper Packet, My Acrylix Stamp Set "Believe," Dimensional Elements Stars, Mini Medley Olive Assortment, and the Believe Workshop Guide.  The WOTG kit is $35 (that includes the tax and shipping). 

The classes are:

*Tuesday, October 18 from 6:30 - 8:30 pm - Scrapbooking Workshop (layout above)
*Thursday, October 20 from 9 am - 1 pm- Full Workshop (layout above plus your choice of bonus layout or 6 cards - card instructions created by me)
*Thursday, October 20 from 6:30 - 8:30 pm - Card making Workshop (6 cards - 2 each of 3 styles - artwork created by me and will be posted later this week)

Monday, October 3, 2011

Hip Hip Hooray Birthday Card


This card was created with our Sonoma Paper and features an Heirloom Resin Flower and a Rhinestone Designer Brad.  I also used sparkles to dot the "I's".  This paper is perfect for weddings, heritage, or very elegant scrapbook pages or cards.


I stamped with the following stamps:  D1482 Love Life and D1491  Hooray Bouquet (both of these are my Favorite Picks for this catalog!). 

Sunday, October 2, 2011


I know that many of you will recognize this layout as the Typeset Workshop on the Go.   The CTMH Art Department does a great job with including new techniques with each workshop kit.  We used the Cricut AP Cartridge to cut the large frames (<square4>)  that are used as the photo mat.  We also cut the stars, the title circles, and the "UR Special" square with the Cricut. 


The kit comes with Pearl Paint and Milepost Shapes.  We painted the pearl paint randomly on the the base pages and over the Milepost Shapes.  We also used the Stencil brush and Cocoa Re-inker and used a stencil drag technique - it is OH SO FUN!!!!  I know that of few of you did not enjoy it, but many others did.  I think it great to try various techniques and then you are able to decide what your style is!  If you didn't order the Typeset Workshop Kit, it isn't too late.  Our Workshops on the Go kits are available until the end of our Autumn/Winter Catalog (and they are an incredible value!).