Thursday, March 29, 2012

Florentine Star Card


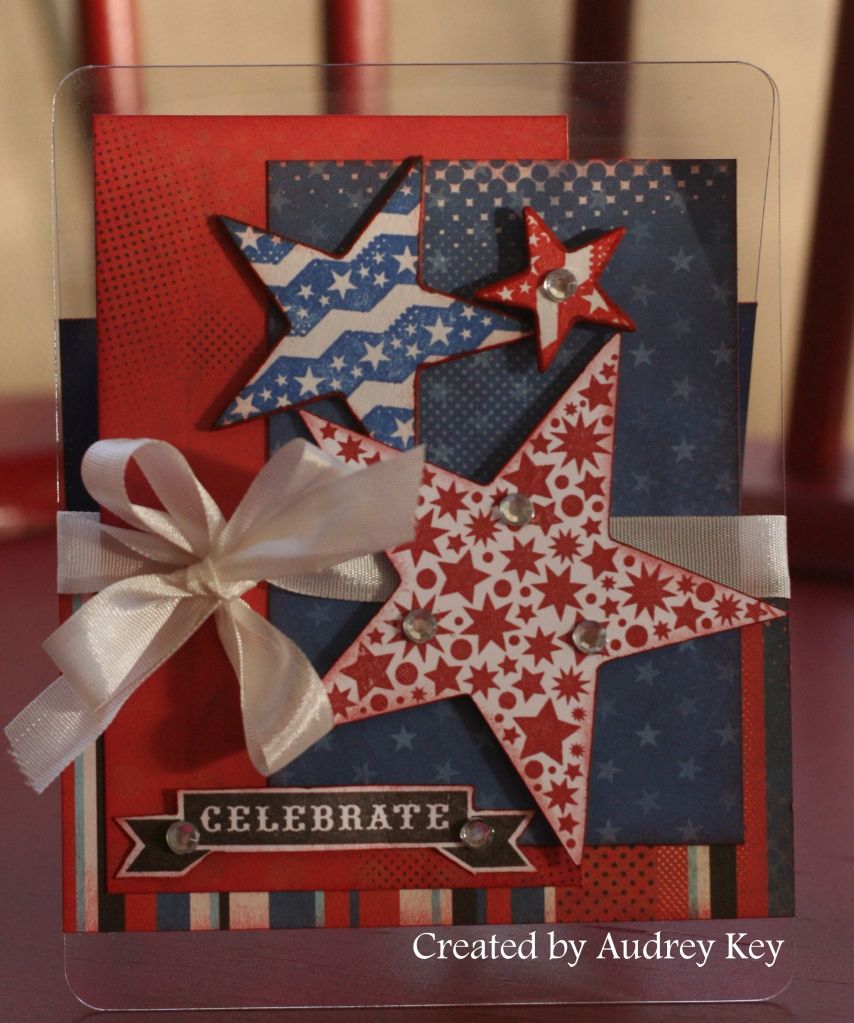
This card is another sample that I made for the Cricut Class on Saturday.  I used the card button on page 25 and cut it out as a 4 1/2" card.  For the star I cut four sizes of <star2> (3"; 2 1/2"; 2"; 1 1/2").  I used a scoring stylus and our fabulous new ruler to emboss the lines on the back of each star - going point to point (use your versamat or a mouse pad under your star).  I creased the embossed lines and rubbed a Cocoa stamp pad across them.  3D foam tape between each layer makes the star look dimensional.

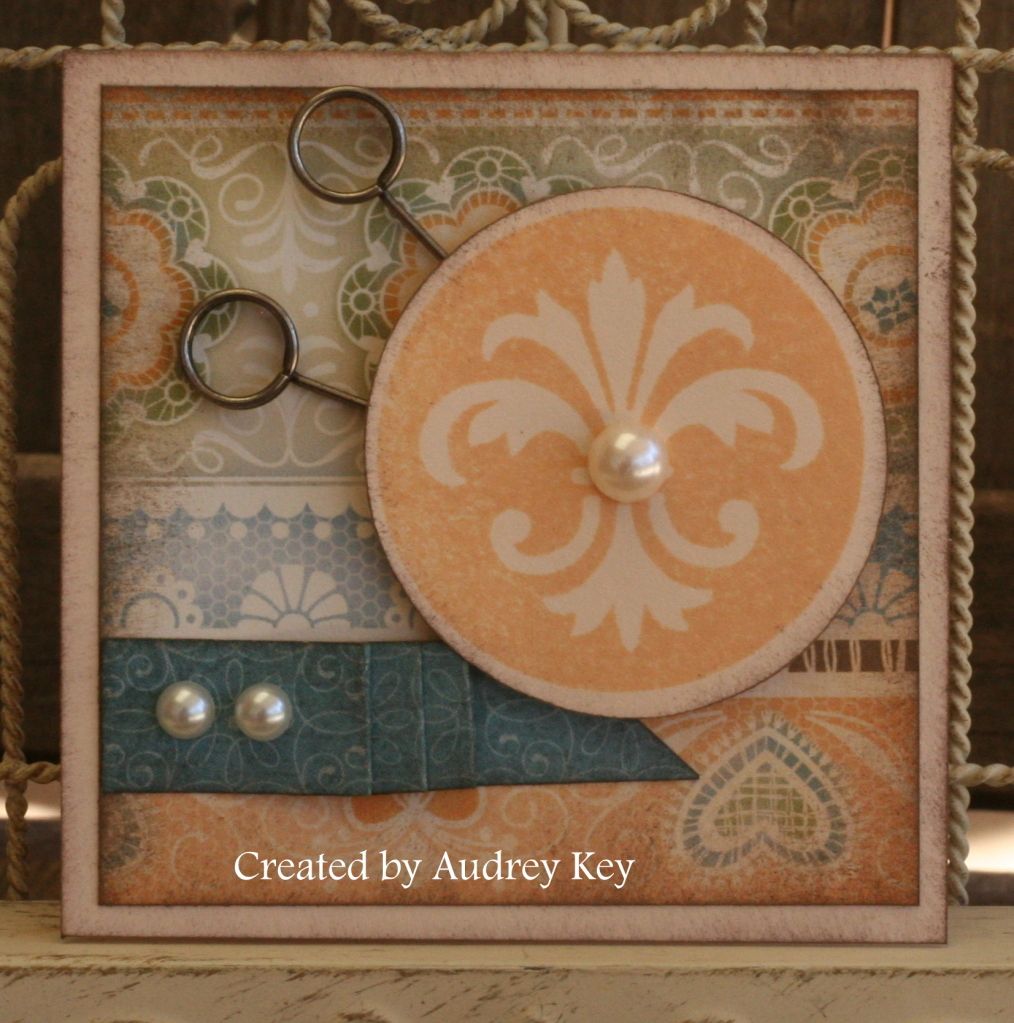
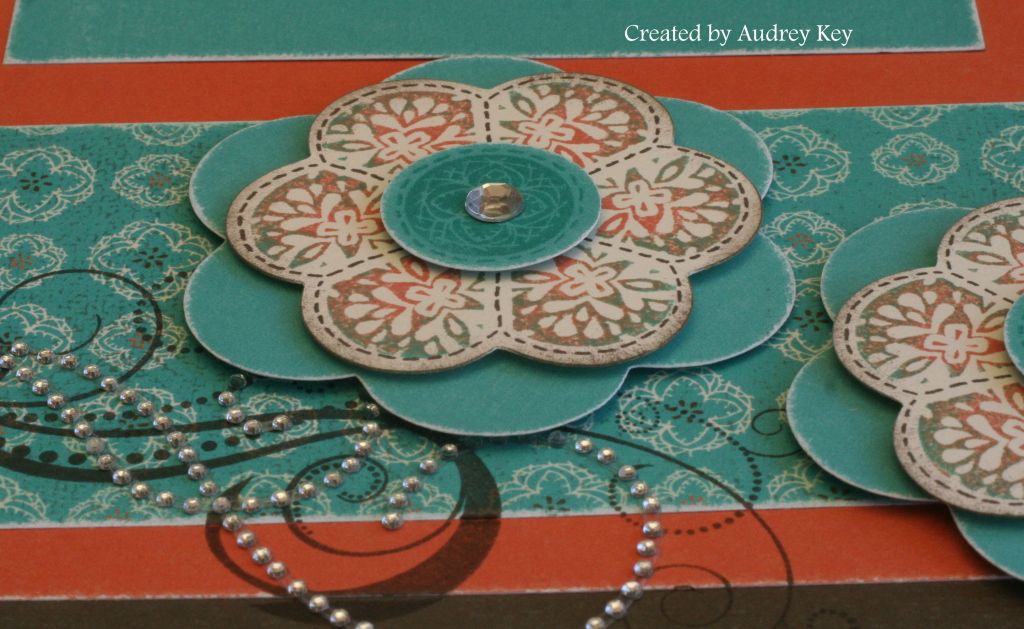
Don't you just love our Mini Medley's!  I used the Pewter Mini Medley corner and a button.  I tied a piece of Color Ready Seam Binding through the button.

Wednesday, March 28, 2012

Florentine Ticket Card

I have a monthly Cricut Class and my goal is to teach participants how to use their Cricut.  We focus on one page in the Cricut AP Cartridge Booklet each month.  This month our focus was on page 25 in the booklet which is <rectangle4> and <star2>. 


This card is one of the pieces of artwork that I created to show at our Cricut Class this past week.  The card base is on the "Card" button - which you will find on the <rectangle4> button.  The size of the card is 5 1/2" tall.  I also cut the <rectangle4> shapes and used them across the front of the card.

I used the Enjoy stamp set to stamp the bottom layer of the flower (it was cut on the Cricut too).  The top flower is the <flower6> shape.  I sponged the edges of both flowers and curled the petals upward on the top flower. I used an Antique Copper Designer Brad in the center of the flower. 

I also used the Family Love stamp set to stamp the focal point.  I stamped it by using the rock n roll technique with  Creme' Brulee ink and Twilight ink,  Seam binding ribbon finishes this card off.

If you have a Cricut and need to learn how to use it, you should join me for the next class which is scheduled for April 9 (pre-registration is required).  The project is $2 or FREE when you place an order at the class.

Monday, March 26, 2012

Seed Packet Door Hanger - Cricut Class Project


First, let me say that this project was inspired from my friend, Christine Adams.  She is very, very talented and made this project with the Lucy paper packet.  It was so darling, I knew that we just had to make that our Cricut Class
project for March!

This door hanger is on page 25 of the Cricut Art Philosophy Booklet and it is on the Font Layer.  I cut the door hanger as  "Fit to Page" and the Cricut cut it as an
11 1/2" door hanger. 


I used the Enjoy stamp set to stamp the flower (it is a Cricut image and the stamp says "freshly baked" - we covered the sentiment with the top flower).  I cut out a second flower on the Cricut.  We curled the petals upward on the top flower and layered the flowers with 3D Foam tape.  We used a glue dot to adhere a glass pebble to the flower center.  

The flower leaves are made from our new Color Ready Seam Binding - I used a sponge dauber to apply Olive ink to the seam binding.  The sentiment is from the May Stamp of the Month "Friendship Bouquet."  Pearl opaques were used on the corners of the sentiment. 

We used ribbon to add gardening gloves from Dollar Tree and a Basil Seed Packet purchased at Wal-Mart.   These would  be great little gifts for teachers or someone special.

**Tip - When adding ink to Color Ready Seam Binding, use a hot dry iron to help the drying process along .  Adhesive won't stick to wet ribbon!

Wednesday, March 21, 2012

Pemberly 12x12 Layout


I made this layout with our new Pemberly paper packet, which is another multi-purpose paper packet.  The Bohemian Assortment is a great embellishment package to use with Pemberly (the buttons and the doilies).  I also added Natural Hemp as the "ribbon" and pearl Opaques.  The stamp sets I used were:  Love Life and Family Love. 


The Family Love stamp set is Cricut AP compatible,  so I cut the cardstock piece that I stamped the quote on.  The quote says, "You don't choose your family; they are God's gift to you as you are to them."  The Family Love stamp set is
chock full of "family" quotes and a great one to have if you scrapbook family photos.  
  

Tuesday, March 20, 2012

Housewarming Gift Clear Card


I made this card for a friend that just moved into a new house to go with her "housewarming gift."  This clear card is adorned with all 6 patterns from the Florentine paper packet.  Florentine is so versatile and it can be used for
many different themes. 

I used the Enjoy stamp set that is featured with Florentine.  I cut a rose from the Florentine B&T with the Cricut cartridge and sponged the edges of it with Cocoa ink.  I used our fabulous new Color Ready Seam Binding for the leaves and used a dauber to add Olive ink to it.  I also used our new Just Blooms Paper Shapes and added Creme' Brulee ink to it.  I folded it up and adhered it with 3D Foam Tape.  Opaques are the perfect embellishment for this beautiful paper!

Monday, March 19, 2012

Florentine Friends Tall Card


I love the stamp set that I used for this tall card
(it is 3 1/2" x 8").  This stamp set is called
 Beautiful Friendship.  I cut the leaves with the AP Cricut Cartridge and sponged Olive ink over them to make them look shaded.  The Twilight B&T is from the Florentine paper packet.  I also used Durables Pewter Studs to embellish the center of each floral image.

**Tips - I used the Rock 'n Roll technique on the floral images.  I actually used three colors of ink - Creme' Brulee, Olive, and Twilight.  You always want to start with the lightest color and finish with the darkest color.  In this case, I stamped with Creme' Brulee; then I rolled it the edges with Olive; and then rolled the very outer edges with Twilight.

Sunday, March 18, 2012

Florentine 3x3 Card


I made this 3x3 card using Florentine paper and our March Stamp of the Month "Potential".  Potential is Cricut compatible so I cut the circle on the Cricut and stamped the fleur de lis with Creme' Brulee ink.  WOTG kits inspired the pleated paper ribbon.  I used Pin Clips and Opaques as my embellishments.


This is Potential - the March Stamp of the Month.  It is $17.95 or $5 when you make a $50 purchase.  During March, you can purchase it directly from me or from my brand new website http://ctmh.com/stampingaudrey.

Thursday, March 15, 2012

Florentine Happy Birthday Card


This birthday card was created from our Florentine paper packet.  Florentine is suitable for many different themes.  I used several stamp sets on this card:  Potential (March Stamp of the Month), Enjoy (the largest flower), 4 My Friend (the "happy birthday"). 

The embellishments that I used are:  Just Blooms Paper Shapes (just add ink), Pin Clips, Durables Pewter Stud, Color Ready Seam Binding (I added olive ink with a dauber to make beautiful ribbon leaves), and a flower button from the basic button assortment. 

Wednesday, March 14, 2012

"Unique" Layout

When I was creating this layout, I had my daughter, Stephanie, in mind.  Her favorite colors are Turquoise and Brown, and she LOVES bling, so this looks like her.  The only problem is that she is so busy, we haven't had
time for a photo shoot!


I used the Stella Paper Packet along with the Love Life stamp set and our new "Sparkle Flourishes."  I also used Cocoa-colored seam binding ribbon.  I cut the large flower and "Unique" with the Cricut AP Cartridge.  


On the right side of the layout I used the Fashionista and Just For You stamp sets.  The Fashionista stamp set has a wonderful quote that says, "Love Who You Are," and I think that is good advice for each of us. 

The flowers are from the Just for You stamp set.  That stamp set is really awesome because you get to choose your petals.  It is Cricut compatible with our cartridge, so I cut the flowers out; stamped the outline; and then stamped the petals individually.


This close up shows the petals better.  I rock 'n rolled each petal using Sunset and Lagoon stamp pads.  I think it gave a cool Bohemian look to the flowers and the layout in general.  I typically distress everything with ink, but I decided to sand everything for this layout.


Monday, March 12, 2012

Patriotic Pinwheel Centerpiece

It seems like pinwheel are all the rage these days.  My mom found the little vases at a local shop called "Uncommon Graphics" and I found the star centerpiece at the dollar store.  The Super Hero paper packet is perfect for patriotic pinwheels!  I used the American Celebration stamp set to stamp the flag and tied it on the vase with red seam binding ribbon.


I used straws to make the pinwheel sticks.   I adhered a glue dot at the top of the straw and wrapped it with our black and white Baker's Twine.  As I progressed down the straw, I added glue dots ever so often to keep the twine adhered to the straw.


I cut 3" squares and marked them as shown with a pencil.  I marked the center point and then made the pencil marks up to 1/2" from the center point.


The next step is to cut along the pencil marks and erase the pencil marks.  Fold the top right corner of each triangle down to the center and adhere with permanent adhesive.


The next step is to install a brad through all of the layers of the pinwheel.  I used a large silver Shimmer Brad for the center of my pinwheels.


Here is a close up of the finished pinwheel.  I adhered them to the straws with 3D Foam Tape. 


I think pinwheels would be great for birthday parties, baby showers, backyard picnics, etc.


Wednesday, March 7, 2012

Celebrate Clear Card


I have been working with the Super Hero paper packet this week and it doesn't take long to realize that it isn't just a boy's Super Hero kit.  It is great paper for making patriotic cards and layouts as well.  I know that it is premature timing for patriotic cards but since I have been working with that packet I thought I would share it.

I used the Cricut to cut out the large star and stamped it with the large star in the American Celebration stamp set.  The small chipboard stars were stamped with the border stamp in the Super Hero WOTG stamp set and then I ran the brush tip of our Cranberry marker on the edges of the chipboard (what a fast way to cover the edges of chipboard!).  I added our Color Ready Seam Binding and sparkles to embellish the front of this card.


Clear cards are so much fun to work with because you get to show both sides of the B&T paper patterns.  You only need a little adhesive too as it attaches permanently and easily to the plastic.


I have been itching to use our new adhesive springs on a project.  I used one inside the card under the fireworks.   These awesome little gems are only $2.95 for 6 of them and they really add pop to your card making projects.  When you open this card the fireworks spring out at you.  Very Cool!!! 

The Super Hero WOTG kit includes:  Super Hero Paper, Super Hero Stamp Set, Dimensional Elements Stars (Cricut Compatible with measurements on the package), Comic Badge Buttons, and the Super Hero Workshop Guide.  The WOTG kit is $35 (including the tax and shipping).  Currently, I have not  scheduled this kit on my regular class schedule.  However, if there are those of you that would like to attend a workshop for this kit, please email me and we will find a date.


Tuesday, March 6, 2012

Free Cricut Bundle in March


During the month of March, Close to My Heart is running  special for new recruits!  When you sign up to be a consultant during the month of March, you get our Cricut Art Philosophy Cartridge Bundle for FREE!  If you already own the Cricut Bundle, then you will get a $100 Select Product Credit in lieu of the Cricut Bundle.  This is a fabulous special, valued over $124.69! 

Becoming a CTMH consultant is a great way to meet new people, share your creative talents with others, and earn extra money.  You will be a part of a great team of ladies too.  In addition to these benefits, CTMH offers an incentive trip each year that consultants can "work" toward.  That is a personal favorite benefit of mine!  We have been to some amazing countries and places.  Those include:  Mexican Riviera, Alaska, the Mediterranean, New Zealand, and the Eastern Caribbean.  We are currently working for the Southern Caribbean incentive trip.

Contact me if you are interested in learning more about our Career Opportunity!