Showing posts with label *Tips. Show all posts

Saturday, July 7, 2012

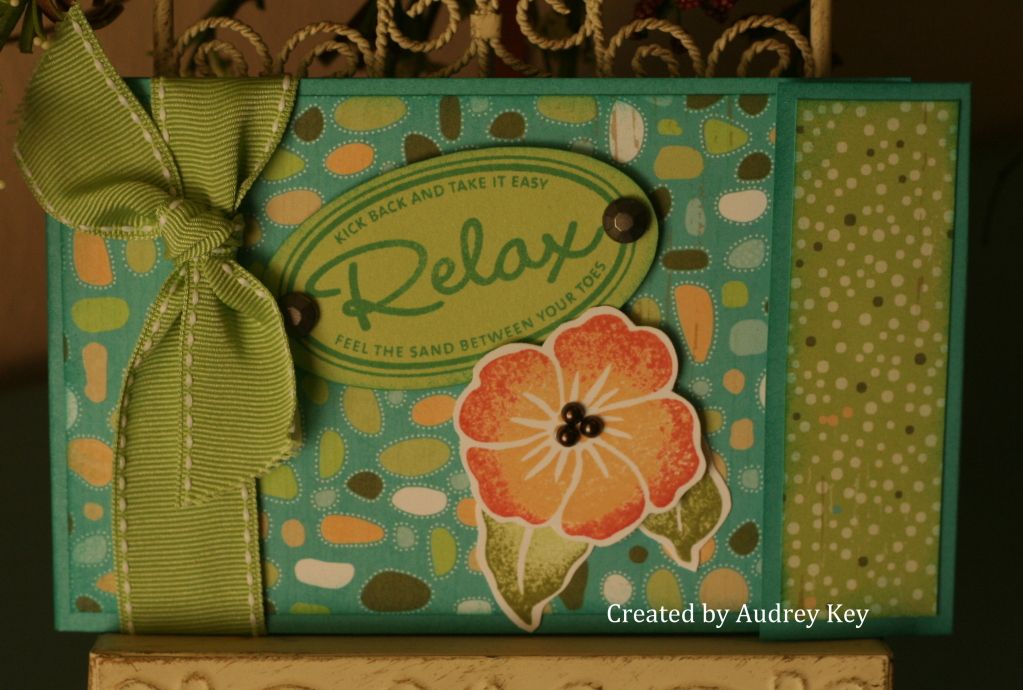
Kick Back and Relax Mini Album


This mini album is made with our Footloose Paper packet. Footloose is a very happy paper packet.  It just feels like summer, pools, parks, beaches, etc.  It is perfect for your summer themed scrapbook pages and cards.

I used the Kick Back stamp set to stamp the flower and sentiment (and the scene on the the inside page).  The embellishments are:  Round Durable Brads, Opaques, and our Sweet Leaf Grosgrain Ribbon, as well as some miscellaneous ribbon from my stash.
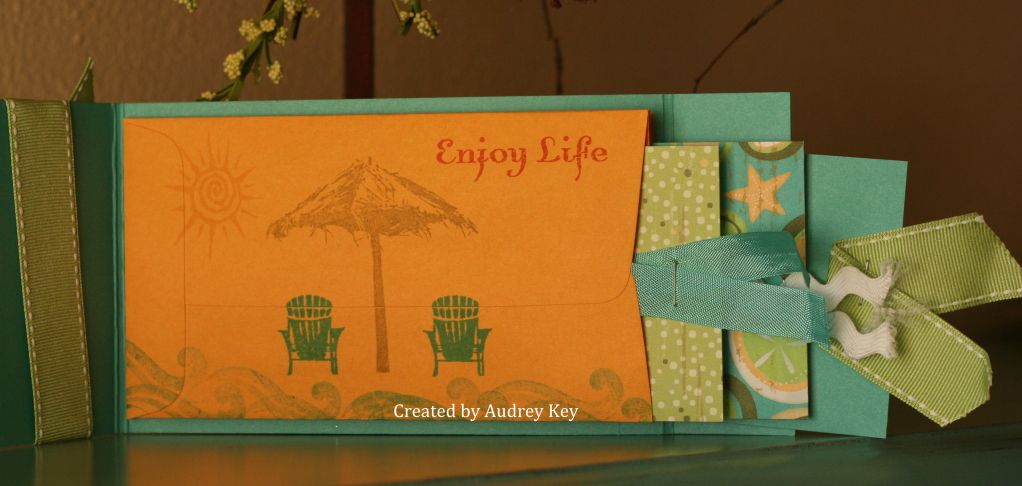

The inside has coin envelopes (I purchased a big box at Office Max) with small tags to place your pictures on. 
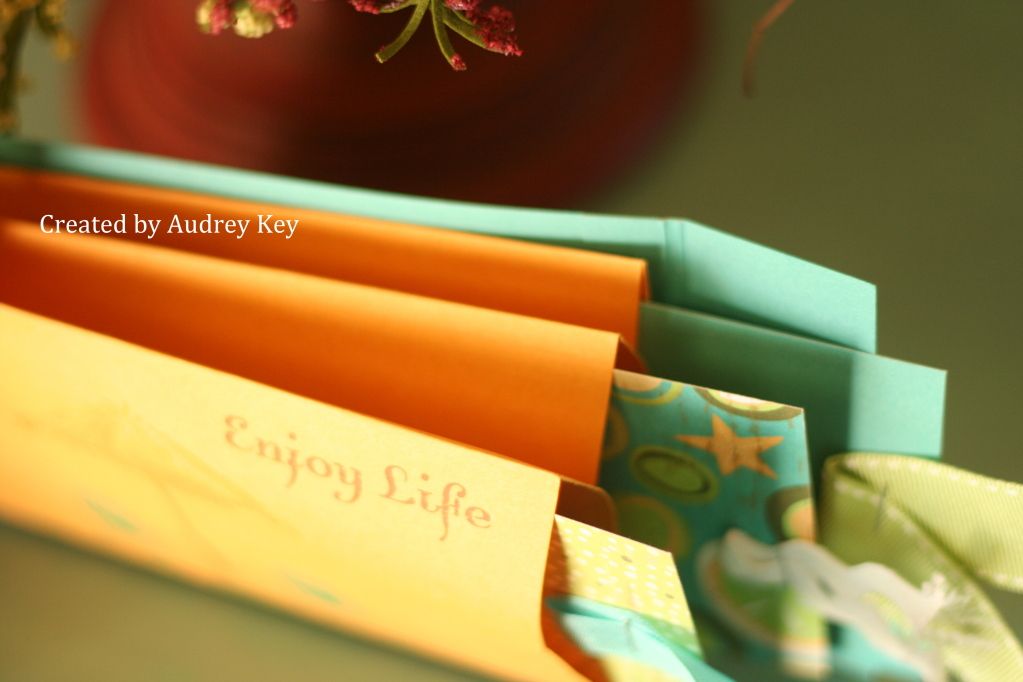

As you can see from this view, there are 3 coin envelopes inside the album.  I cut the flaps off and adhered them together in the center of each envelope. 

**Tip - if you adhere the envelopes completely together around the edges, they won't fan out.  Only place adhesive down the middle of the envelopes.  It is fine to use more adhesive on the envelope that is adhered to the album cover. 

If you want the cutting recipe for this mini album, please email me....I am happy to share it with you!


Monday, March 26, 2012

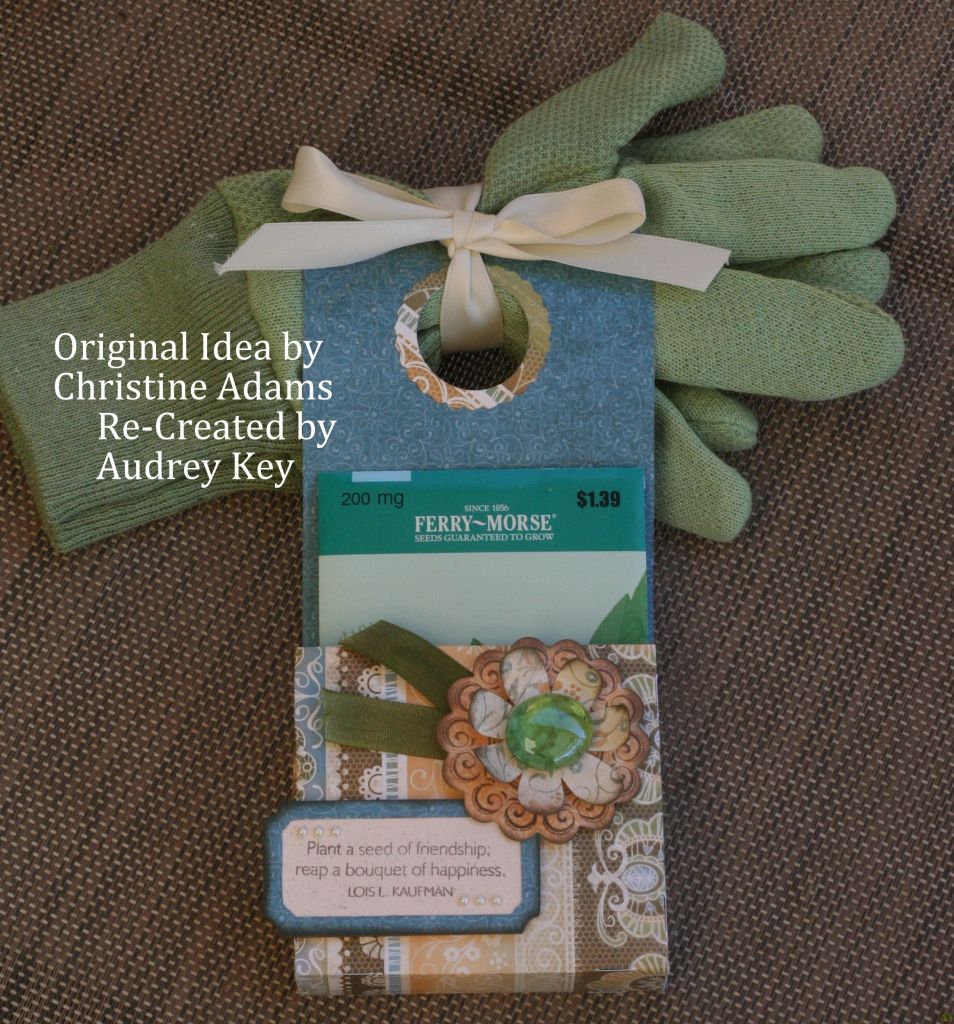
Seed Packet Door Hanger - Cricut Class Project


First, let me say that this project was inspired from my friend, Christine Adams.  She is very, very talented and made this project with the Lucy paper packet.  It was so darling, I knew that we just had to make that our Cricut Class
project for March!
This door hanger is on page 25 of the Cricut Art Philosophy Booklet and it is on the Font Layer.  I cut the door hanger as  "Fit to Page" and the Cricut cut it as an
11 1/2" door hanger. 


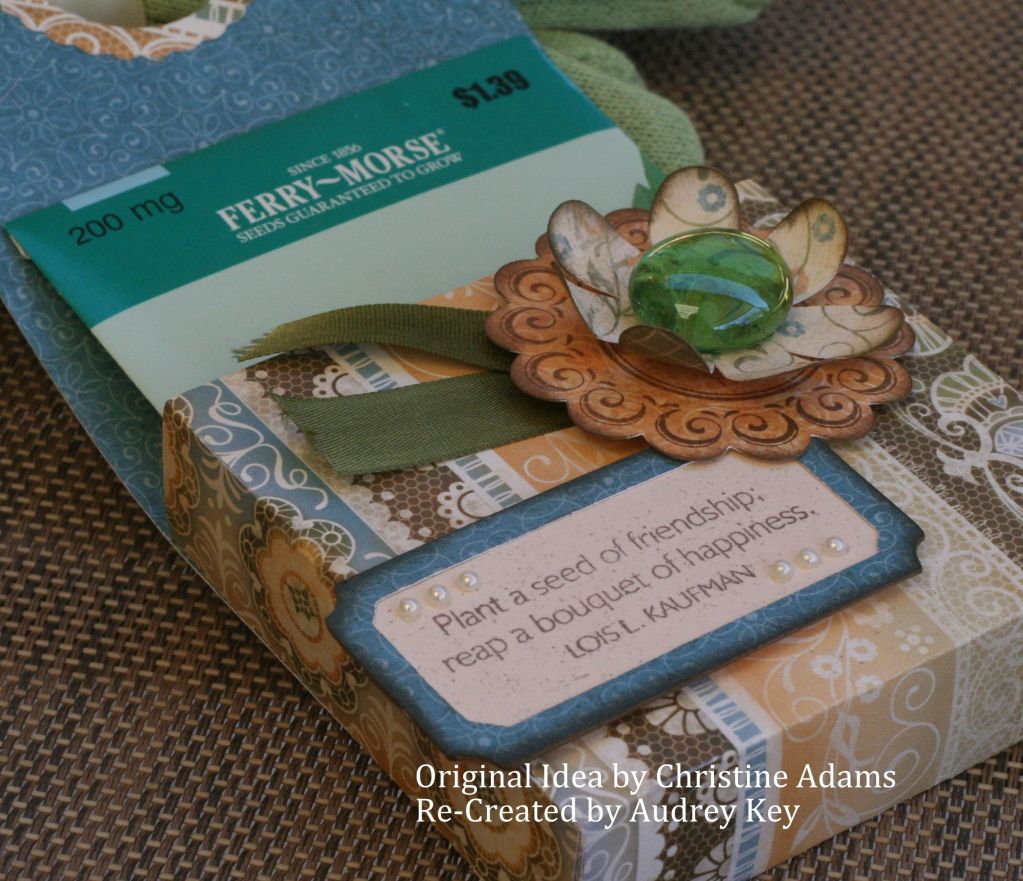
I used the Enjoy stamp set to stamp the flower (it is a Cricut image and the stamp says "freshly baked" - we covered the sentiment with the top flower).  I cut out a second flower on the Cricut.  We curled the petals upward on the top flower and layered the flowers with 3D Foam tape.  We used a glue dot to adhere a glass pebble to the flower center.  

The flower leaves are made from our new Color Ready Seam Binding - I used a sponge dauber to apply Olive ink to the seam binding.  The sentiment is from the May Stamp of the Month "Friendship Bouquet."  Pearl opaques were used on the corners of the sentiment. 

We used ribbon to add gardening gloves from Dollar Tree and a Basil Seed Packet purchased at Wal-Mart.   These would  be great little gifts for teachers or someone special.

**Tip - When adding ink to Color Ready Seam Binding, use a hot dry iron to help the drying process along .  Adhesive won't stick to wet ribbon!

Monday, March 19, 2012

Florentine Friends Tall Card


I love the stamp set that I used for this tall card
(it is 3 1/2" x 8").  This stamp set is called
 Beautiful Friendship.  I cut the leaves with the AP Cricut Cartridge and sponged Olive ink over them to make them look shaded.  The Twilight B&T is from the Florentine paper packet.  I also used Durables Pewter Studs to embellish the center of each floral image.

**Tips - I used the Rock 'n Roll technique on the floral images.  I actually used three colors of ink - Creme' Brulee, Olive, and Twilight.  You always want to start with the lightest color and finish with the darkest color.  In this case, I stamped with Creme' Brulee; then I rolled it the edges with Olive; and then rolled the very outer edges with Twilight.

Tuesday, February 21, 2012

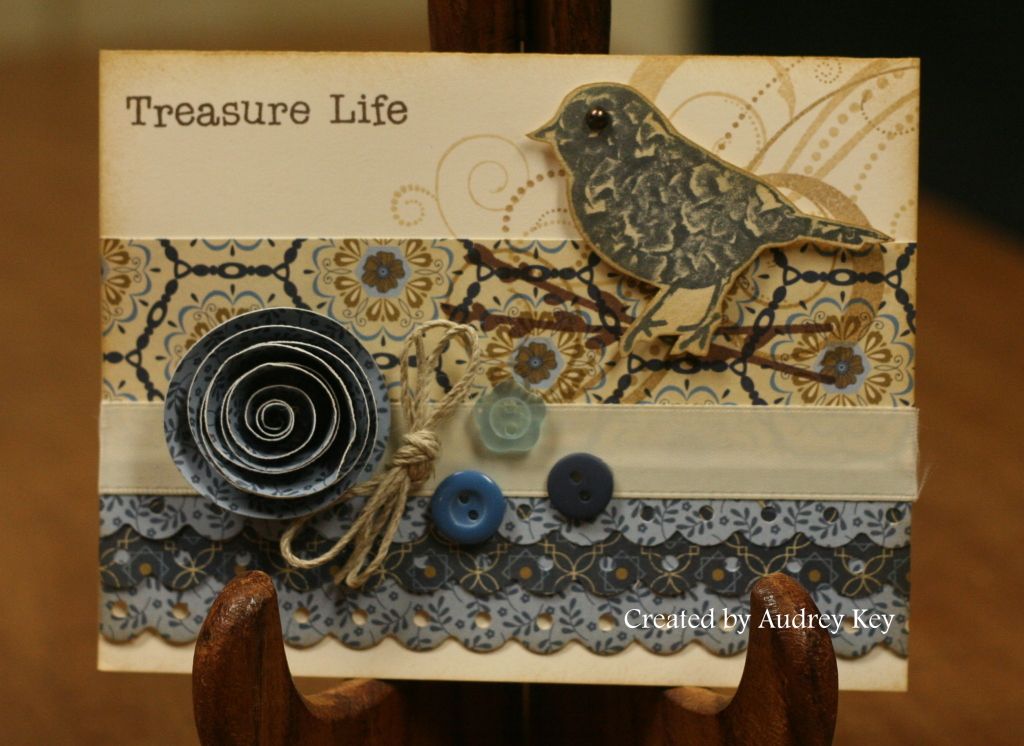
Treasure Life Pemberly Card


This card features Pemberly paper and "A Tweet" stamp set.  It is one of those A-size stamp sets that are only $6.95!  It is not a new stamp, but one of my favorites.    I cut the flower on the Cricut and used a border punch to make the ruffles at the bottom of the card.  The blue button assortment is a perfect coordinating embellishment for the Pemberly paper packet.

**Tips - To stamp the dimensional bird, I used the Kiss and Twist technique.  I stamped the bird with Outdoor Denim ink and then kissed a dry stamp (the flower) over inked the bird (directly on the stamp) and gave it a little twist which creates the look of the feathers.  This is a great technique to use on solid stamps - flowers, butterflies, etc.  I cut the bird out; distressed the edges with Desert Sand; and popped it up with 3D Foam Tape.  I used a Mocha Pearl Opaque for the bird's eye.

Tuesday, February 14, 2012

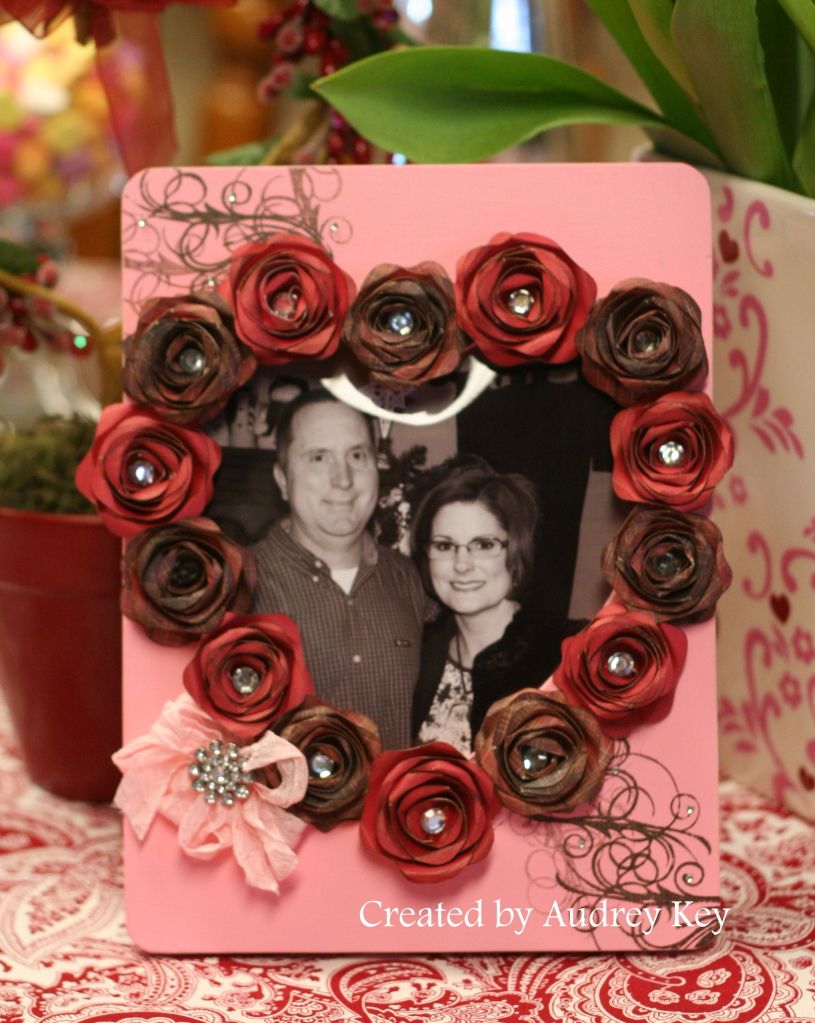
Valentine's Day - Heart Frame


I bought this frame at Michael's several months ago because I thought it would be the perfect Valentine's Day gift for my sweet husband, Dean.  

I painted the frame with pink acrylic paint and set aside to dry.  The flowers were cut from Roxie Plaid B&T and Tulip Cardstock with the Cricut AP Cartridge.  I sponged the edges of the flowers with Cocoa ink prior to rolling them up.  I used the Instant Memories stamp set to stamp the flourishes with Timber Brown StazOn ink.  Seam binding makes a fluffy little bow and a Designer Rhinestone Brad finishes it off.  Large sparkles were added to the center of each flower and Bitty Sparkles were added to the flourishes.

**Tip - Use Liquid Glass to adhere the flowers together and to adhere them to the frame. 

Thursday, February 9, 2012


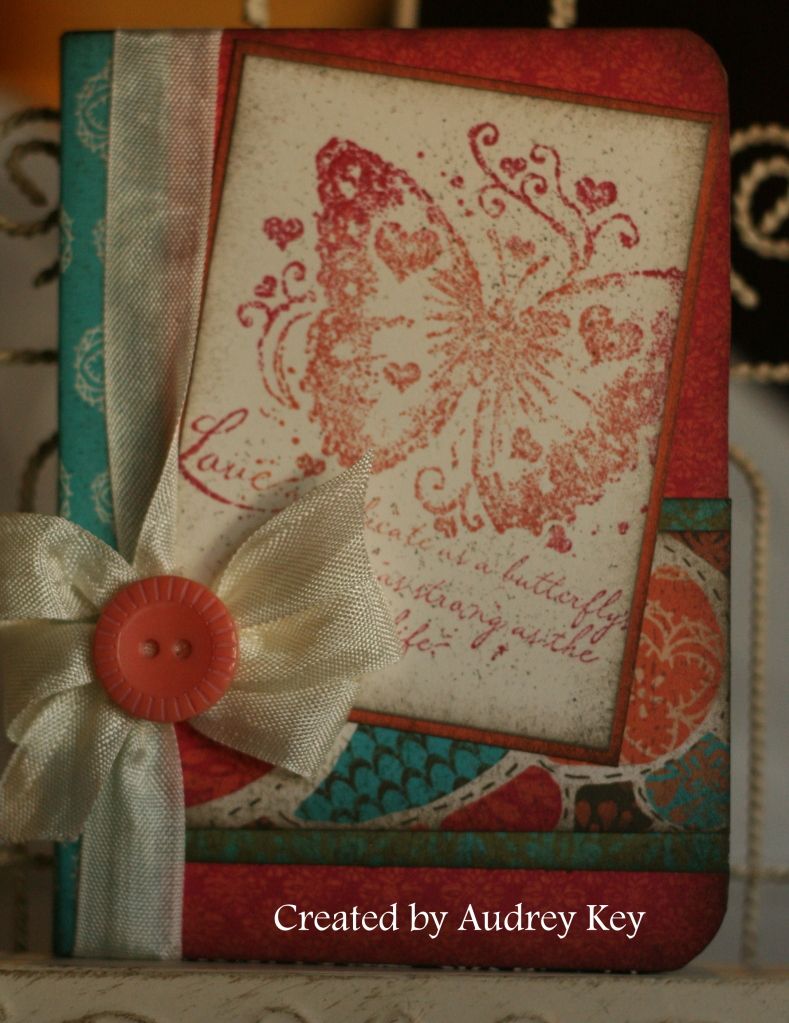
We made this little composition book at  $10 Month Club Playgroups earlier this month.  I bought the mini composition books at Target (when they had the school supplies out in August).  We used the Stella paper packet, Color Ready Seam Binding, and a button from the Red Button Assortment.  The stamp set is one of my favorites!  It is called Quick Cards - Butterfly and it is ONLY $6.95!  It is a great deal for a beautiful stamp!  We have lots of new "Quick Cards" stamps in the catalog.

**Tips - The technique that I taught at Playgroups was
"Rock 'n Roll".  We stamped the butterfly in Sunset ink and the Rock 'n Rolled it in Tulip ink around the outer edges.  We also used the Black Stubble Tool to distress the background of the butterfly piece. 

Thursday, January 19, 2012

Elemental Workshop on the Go Cards


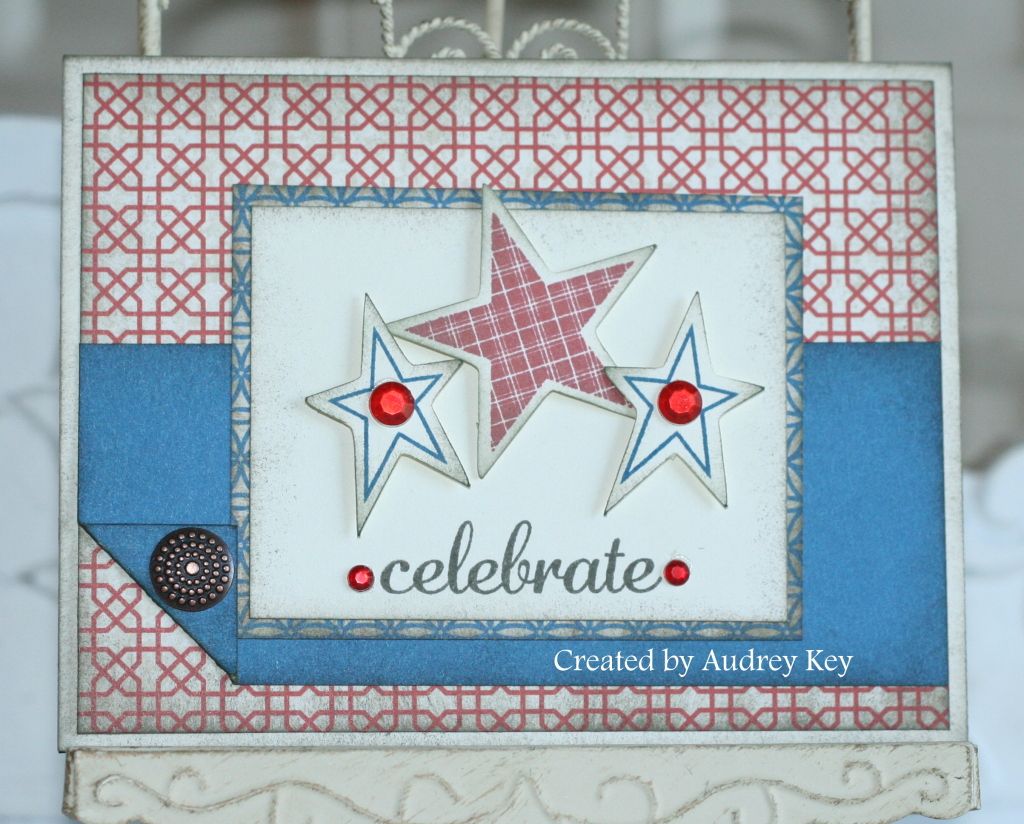
These are the cards that I created for the Elemental Workshop on the Go.  The great thing about the Elemental kit is that it so versatile.  This card was created to celebrate July 4th. 


This card is a birthday card.  The stamp set for this kit is Cricut compatible so all the images were cut out on the Cricut.  We used the sanding technique on all the cards as that was one of the techniques that they used for the WOTG. 


This card can be used for all occasions or birthday.  I love these Cricut flowers and I learned something new from my friend, Bea (she is so talented).  She said that she likes to bend the petals back with the tweezers and it works great! 

**Tips - I used the tweezers to roll the flowers up and then let them spring out. 
Use the back/curved side of the tweezers you can bend the petals back.
Re-roll by hand and glue in place with liquid glass. 

The Elemental WOTG Kit includes:  Elemental Level 2 Paper, Just Blooms Paper Shapes, Designer Brads Antique Copper, and the Workshop Guide.  The kit is $35 (that includes the tax and shipping)


Tuesday, December 6, 2011

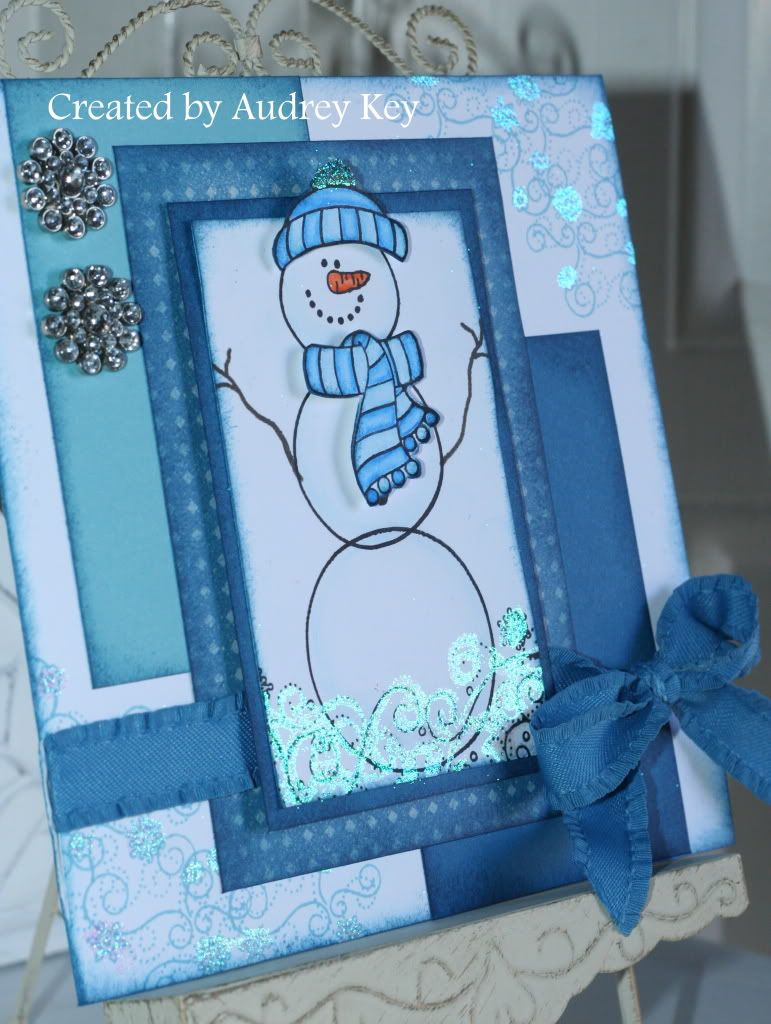
All Decked Out Snowman


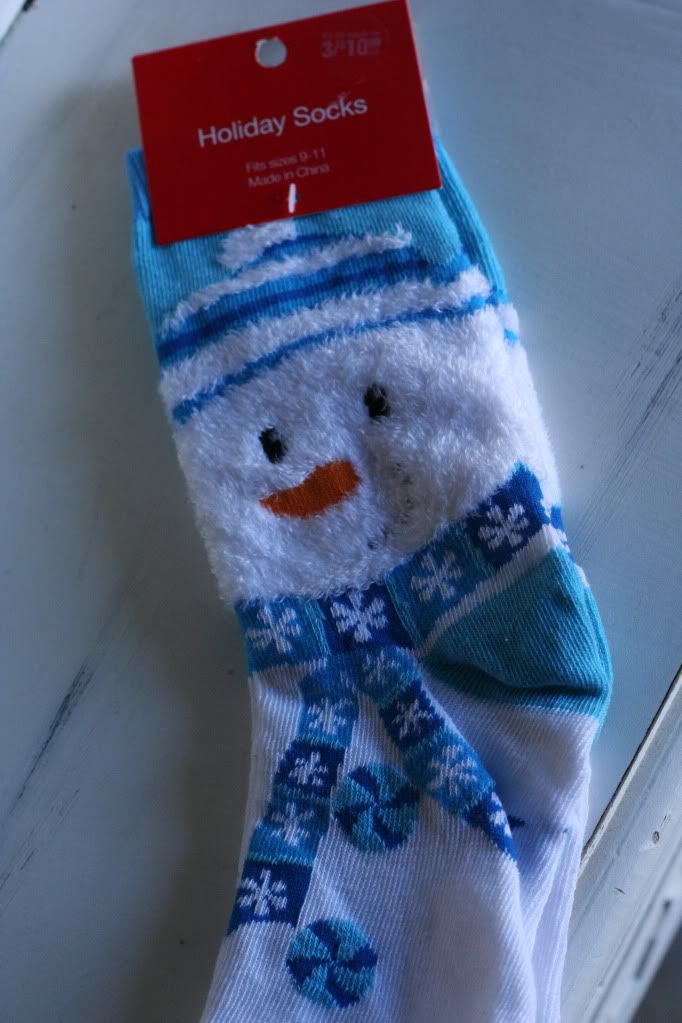
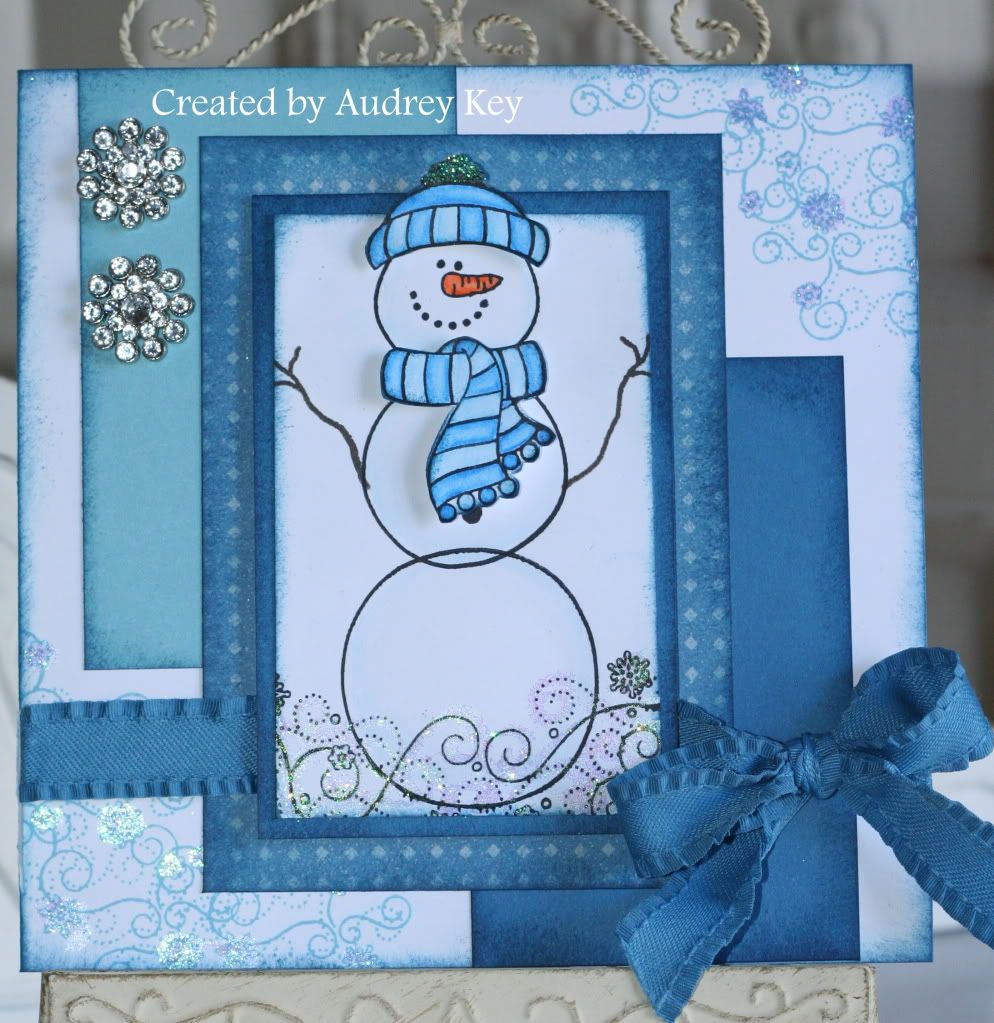
I bought these cute socks at CVS Pharmacy several weeks ago because I love snowmen!  They inspired me to get out my All Decked Out stamp set and make this 6x6 card.


I love this stamp set! It is one of those stamps that you stamp and color the elements to add pop!  The All Decked Out stamp set includes snowman parts:  the body in separate pieces, mittens, arms, scarves, hats, and snowflake flourishes.   

Since the socks had two shades of blue, I looked through my stash to find things in those colors.  Believe it or not, the Pacifica B&T behind the snowman came from the Dreamin' paper packet!  I added Crystal Blue and Pacifica Cardstock to it and Whoala!  Think outside the box when choosing paper patterns and you will be amazed with what you can create!


I added this photo because I wanted you to see that Prisma Glitter was added to the snowflake flourishes, which was hard to see with the straight on shot of it.  The snowman is lightly water colored blue with our watercolor pencils and watercolor brush.  I used Rhinestone Brads to embellish  the card, as well as ribbon from the Blue Ribbon Assortment.

**Tips - Use Bonding Memories Glue Pen to add Prisma Glitter to any project.  Put the glue on the area you wish to highlight; let glue dry to clear; add Prisma Glitter with the eraser on a pencil (which just adds glitter where you want it and not all over your table and your lap!).

Monday, December 5, 2011

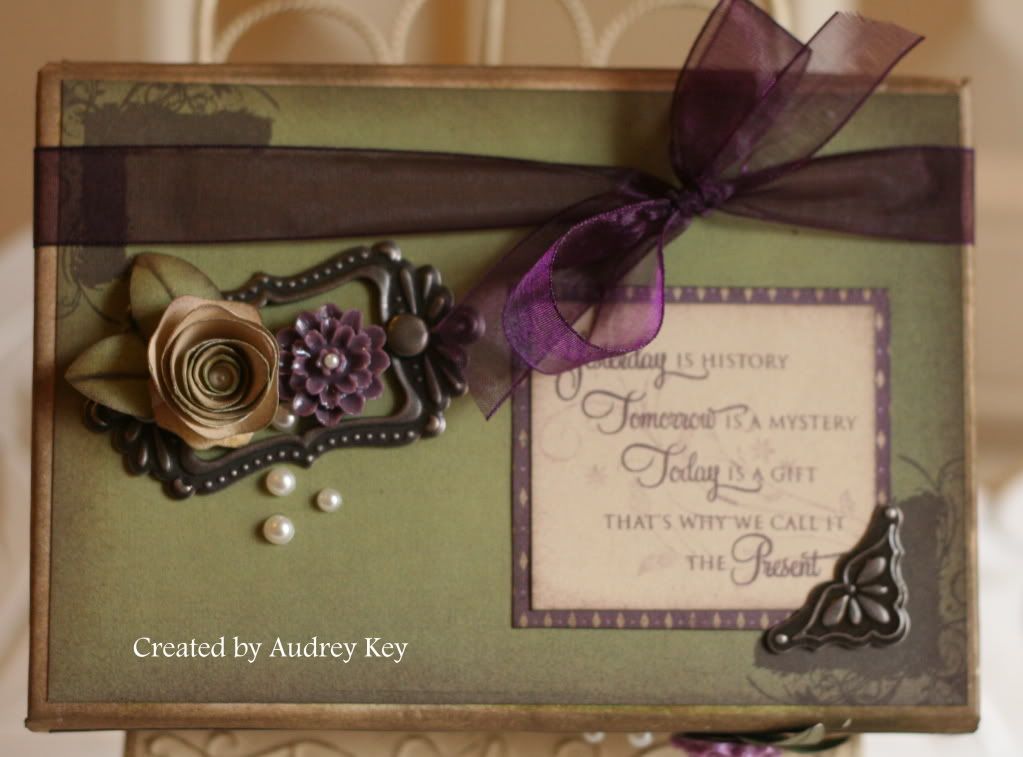
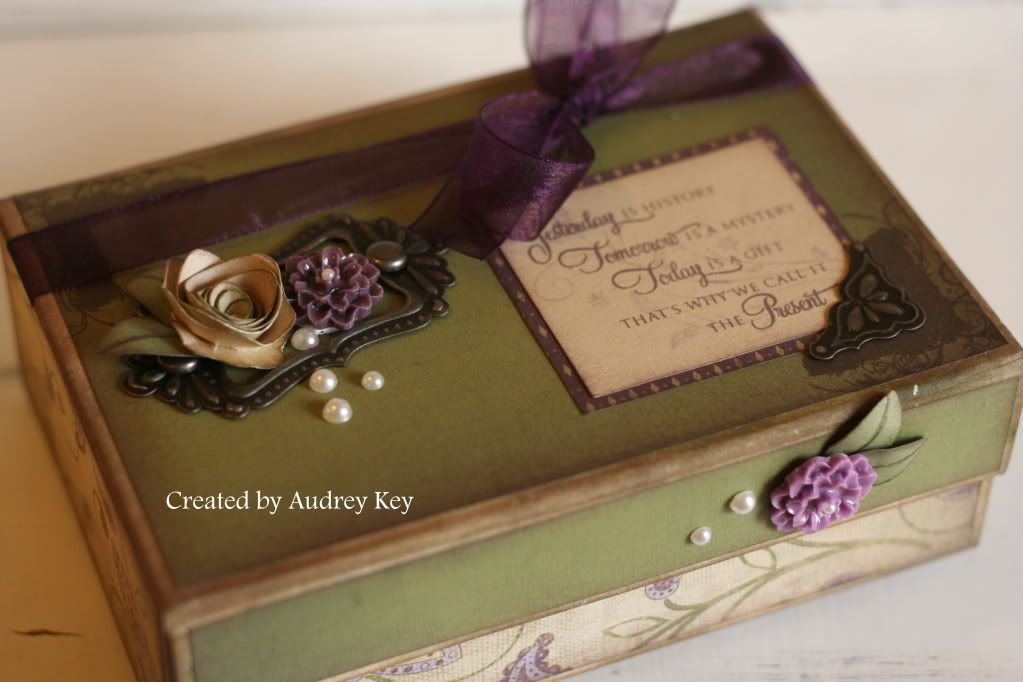
Sonoma Card Box and Cards

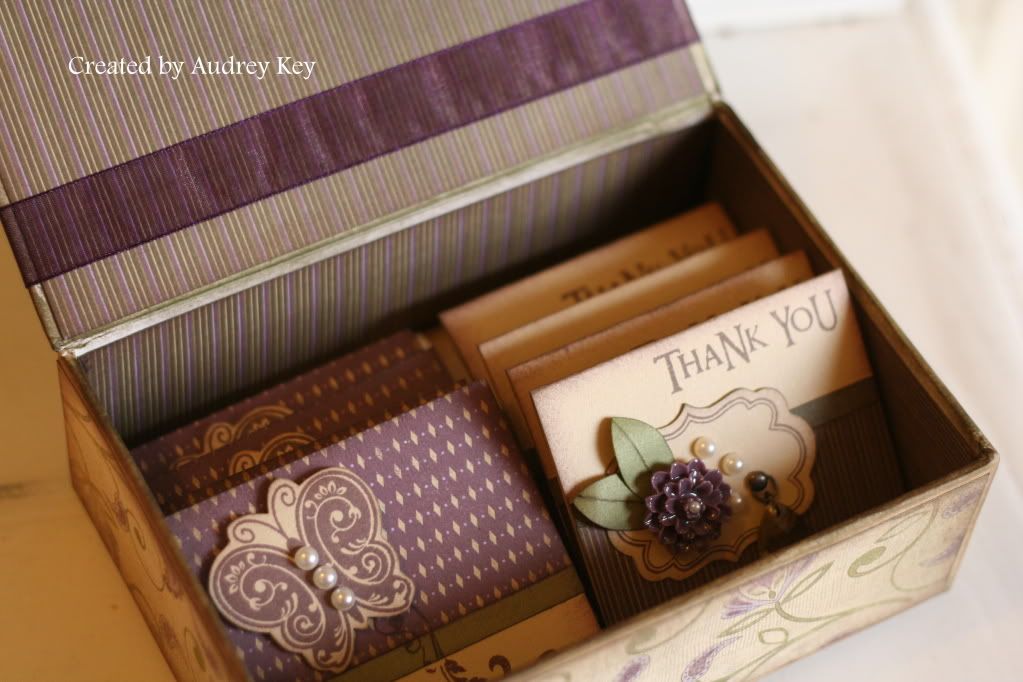
Yesterday I had a great group of ladies over for the Sonoma Card Box and Cards Workshop.  We wonderful time creating these cute card boxes filled with cards.  If you haven't made one of our My Creations boxes, you need to do it as soon as you can!  They are so much fun to create.


We used the My Creations Card Box, Sonoma Level 2 Paper, Mini Medley Pewter Assortment, Heirloom Assortment, The Present stamp set, Pearl Opaques, purple ribbon from my stash, and the Cricut cartridge to cut some of the
flowers and leaves.


The Sonoma paper packet is just beautiful!  It features Olive, Smokey Plum, Bamboo, Amethyst, and Cocoa.  We distressed the edges of the box with cocoa ink and a sponge prior to decorating it. 

**Tip - Use Bonding Memories Glue Pen to get a good even bond between the paper and the box.   You need to work quickly so that you are adhering it when it is wet.  The Bonding Memories Glue Pen is wet when you put it on the paper and that provides a permanent bond.  When you let the glue dry to clear (or if you are not working quickly it will dry) and it is a temporary bond similar to that of a post-it note.


We made 10 cards with the remaining paper and the kits included CTMH 3x3 envelopes (10 per package).  This is a great gift to give someone and the box can be used as a trinket box later for jewelry or other small memorabilia.


We made 5 cards of this style.  We used the Say It in Style stamp set for the sentiments.  If you don't own that set, you need it!  It is all inclusive with lot of phrases that are
great for card making.


We also made 5 cards of this style.  This card features a Cricut frame and leaves, the Heirloom Assortment flower and jewel, and Pearl Opaques.  We used the Say It in Style stamp set for these cards too.


Tuesday, November 29, 2011

Christmas Joy Layout


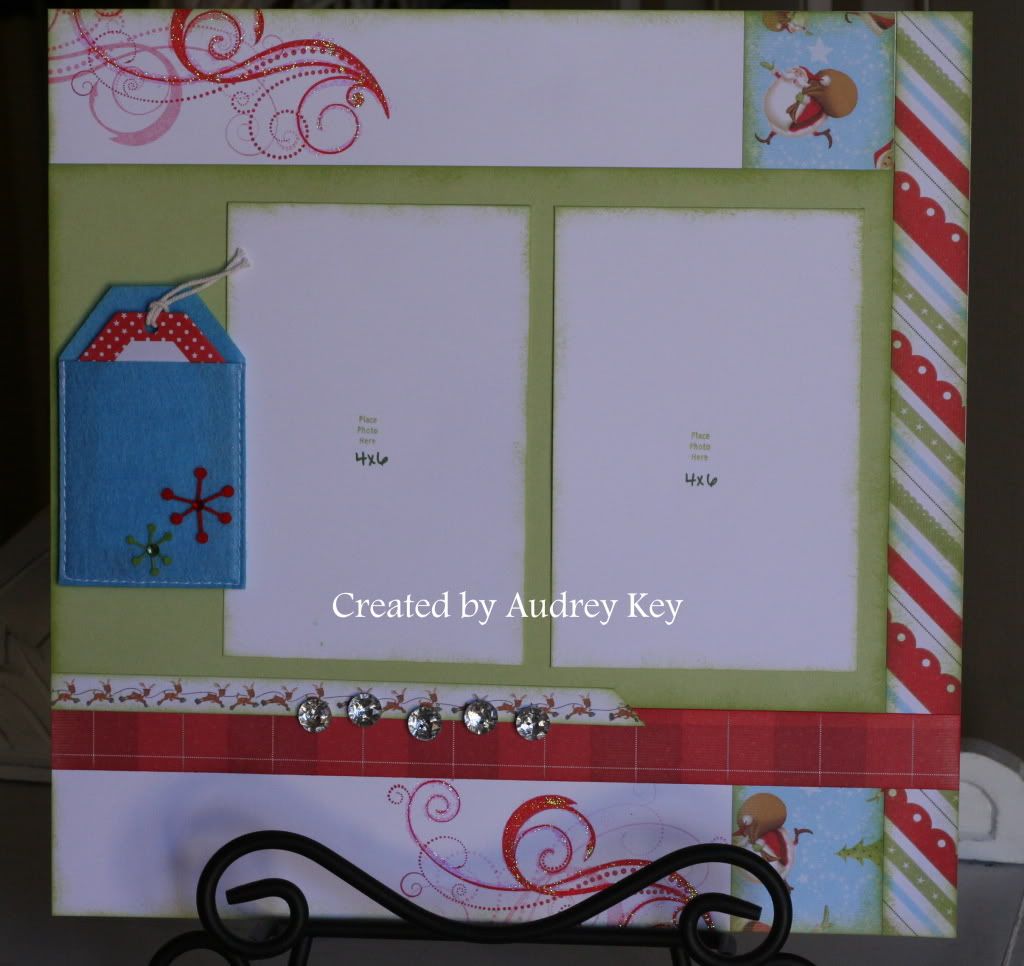
I can't wait until Christmas gets here and I have photos to add to this cute layout!  This 2-page layout features Believe Level 2 Paper, Dimensional Elements Monograms, Bling Buttons, our cute new Holiday Pockets and Prisma Glitter.


I used one of the Reindeer Zip Strips in the paper packet as "ribbon" across the layouts.  I also used the Love Life stamp set to add the flourishes. 


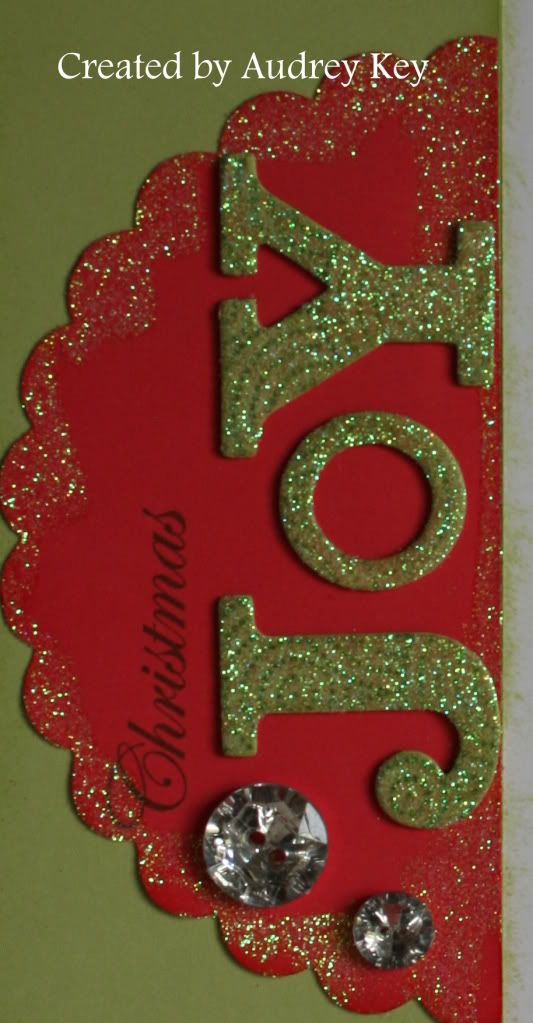
**Tip - To embellish the "JOY"  Dimensional Elements Monograms I sponged them with Sweet Leaf Ink;  I stamped a patterned stamp from the Love Life stamp set with Topiary Ink; I let the ink absorb into the chipboard a few minutes and then I covered them with Bonding Memories glue and sprinkled Prisma Glitter over them. 

I cut the scalloped banner with the Cricut AP Cartridge and added bonding memories glue to the edges and sprinkled Prisma Glitter over that piece as well.  I think it adds just the right amount of glitz.


Friday, November 25, 2011

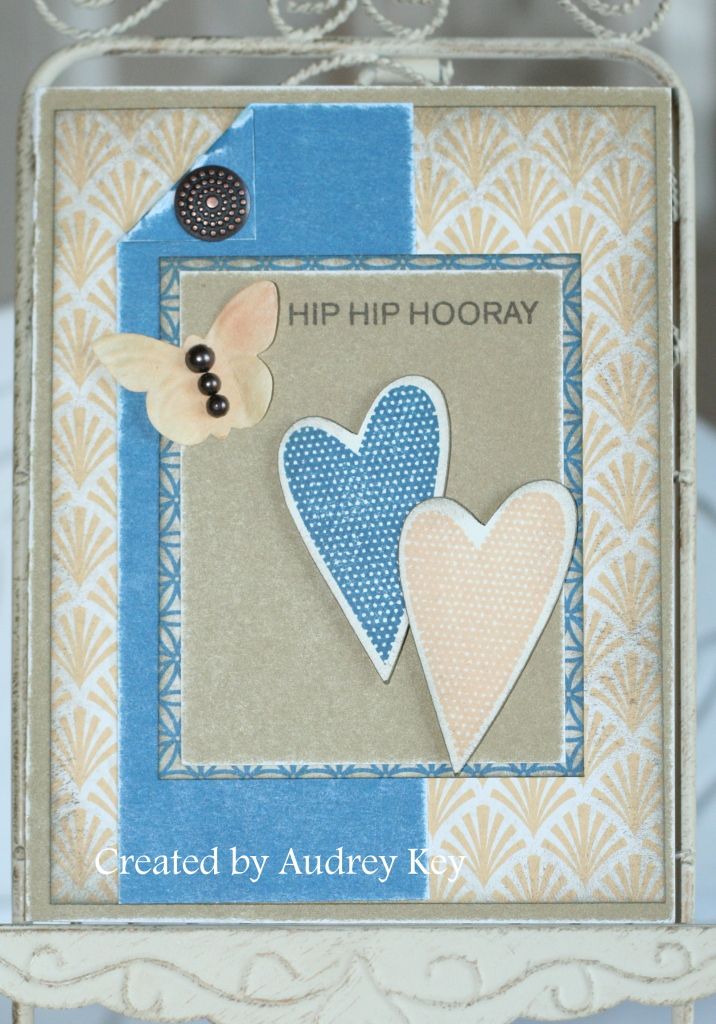
Hip Hip Hooray Clear Card


Here is another card made with the Childhood Portrait stamp set.  I love this little boy playing with his yo yo.  I used Red Glitz Glitter Gel to highlight the yo yo.   I used a Clear Card, Roxie Level 2 paper, Cricut AP Cartridge, Dimensional Elements Mixed Shapes, black heat embossing powder, black ribbon and Licorice Opaques.

** Tips - I punched holes in the scallop of the clear card to dress it up.  You could thread ribbon through the holes for added dimension.

Saturday, November 5, 2011

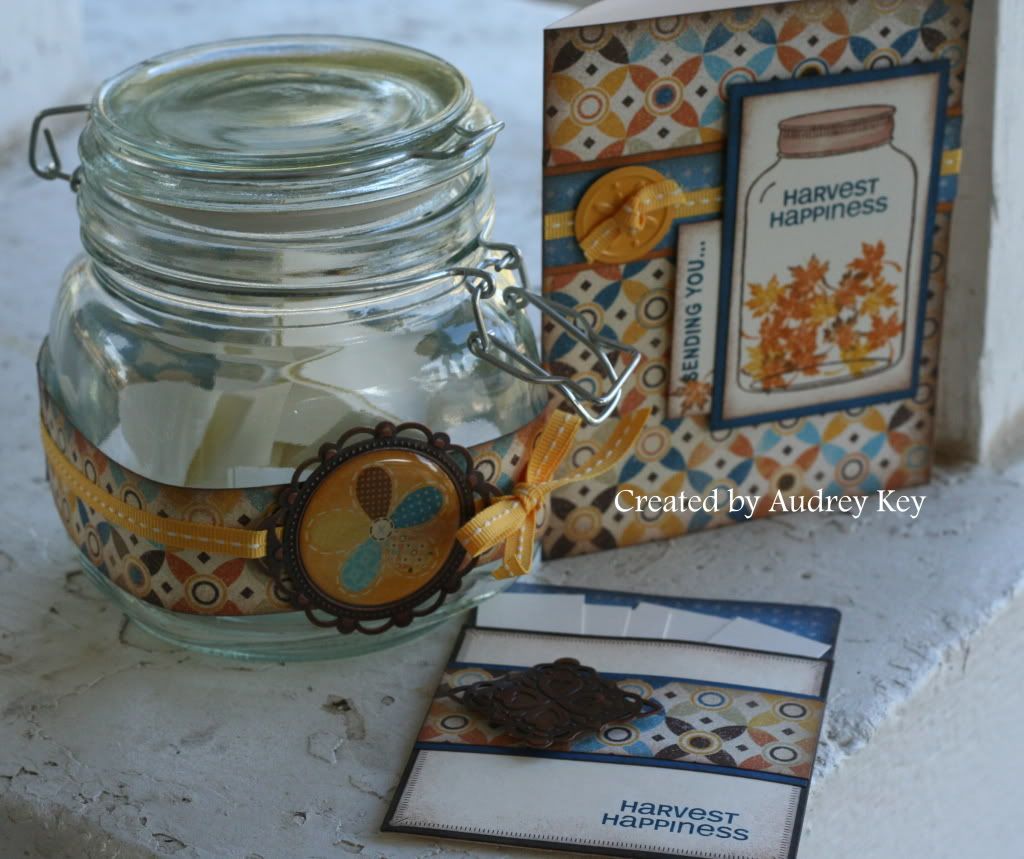
Blessing Jar and Sending You...Harvest Happiness


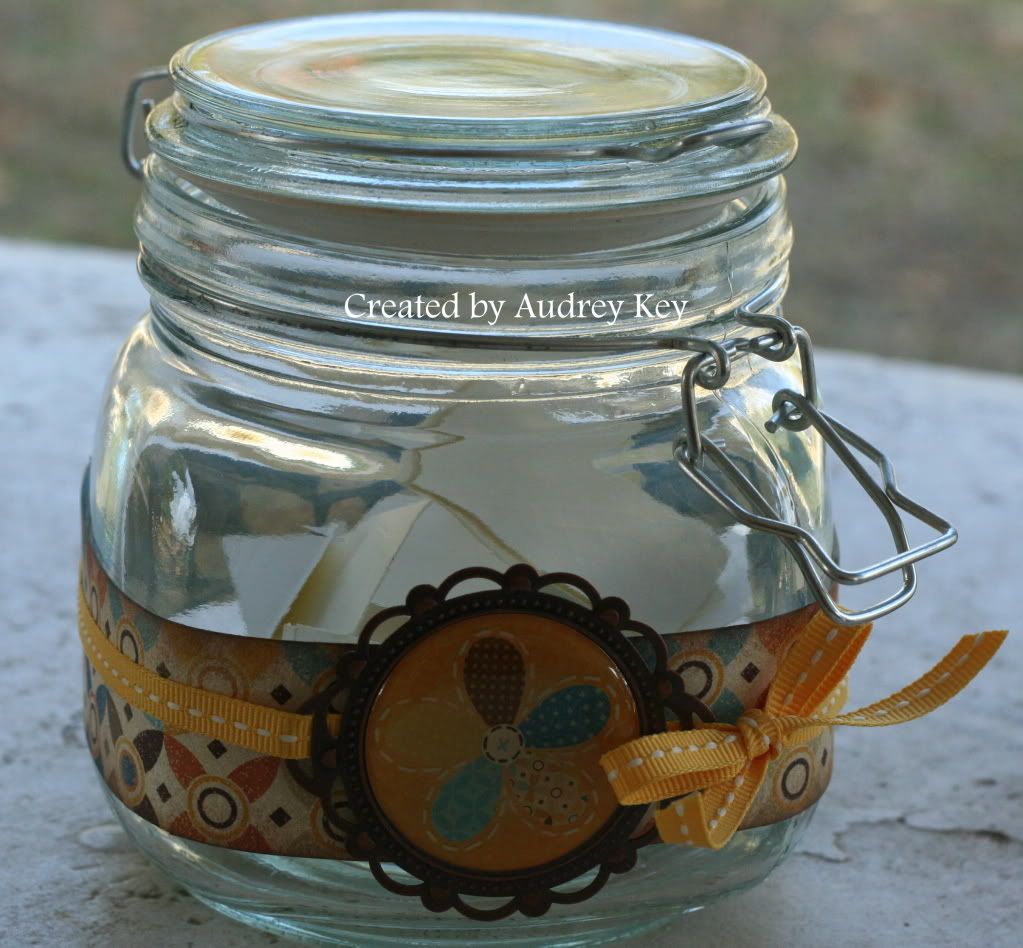
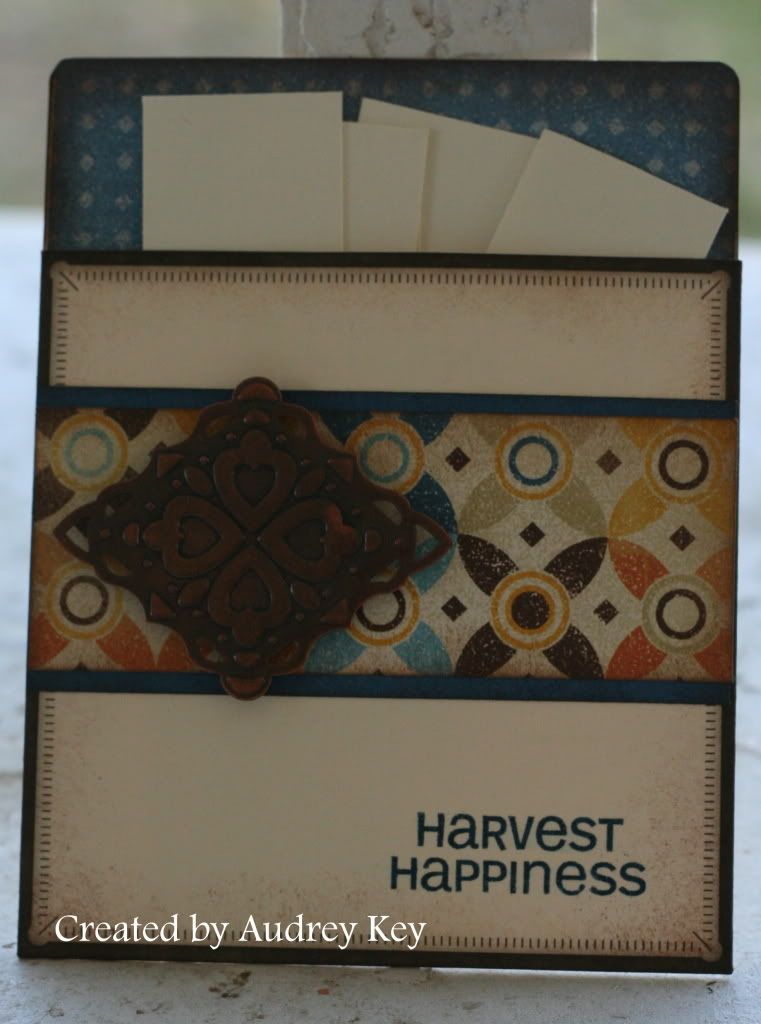
I had this idea about a month ago and finally made it while visiting my sister!   I though it would be awesome to write down one blessing each day during November and keep them in this jar.  The Blessing Jar has a coordinating card (just for fun - the stamp set inspired the actual jar).  The little pocket holds the slips to write your blessings on.  


The jar has a piece of Dreamin' B&T around it, along with ribbon from our Honey Mini Medley and a charm from the Harvest Charms.  

**Tip - Use the blessing strips as journal prompts when you are ready to scrapbook your Fall/Thanksgiving photos.


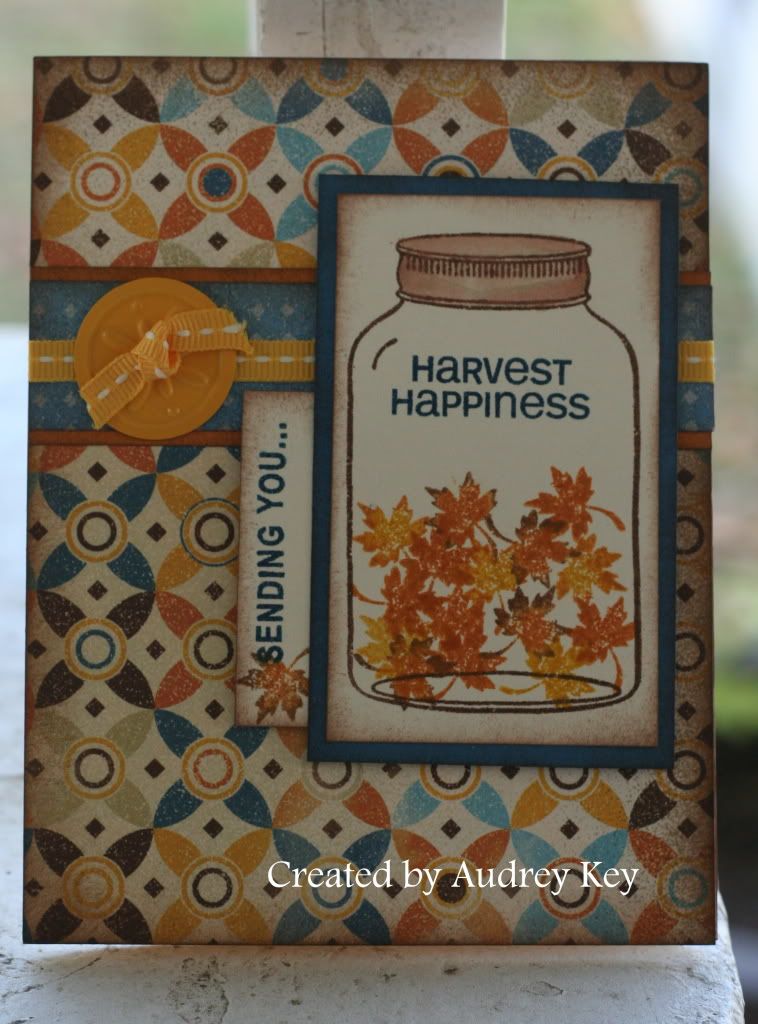
I used Dreamin' Paper, ribbon and charm from the Honey Mini Medley, Joyful Jar My Acrylix Stamp Set and  Harvest Happiness Stamp Set
for this card.


The pocket is from the 10 Things Pocket and I decorated it using scraps of Dreamin' paper and a Harvest Charm.  (I used the tags from the 10 Things Pocket on the Roxie Board Book).   I cut 1" x 4" strips of cardstock to slip in the pocket. 


Friday, November 4, 2011

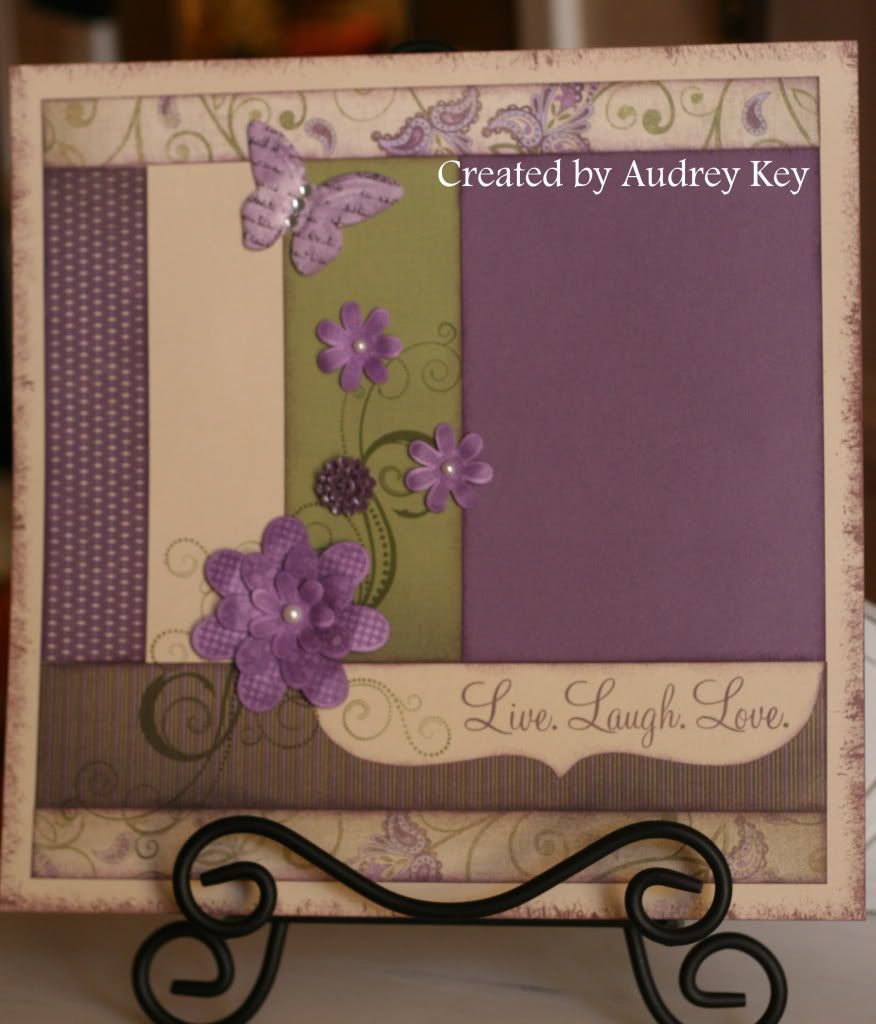
Live, Laugh, Love Layout


Sonoma quickly became one of my favorite new kits as I made this layout.  This is the left side of a 2-page layout that I made using our Sonoma Level 2 Paper, Love Life Stamp Set, Hooray Bouquet Stamp Set,  Just Blooms Paper Shapes, Pearl Opaques, Clear Sparkles, and the Heirloom Embellishment Assortment.


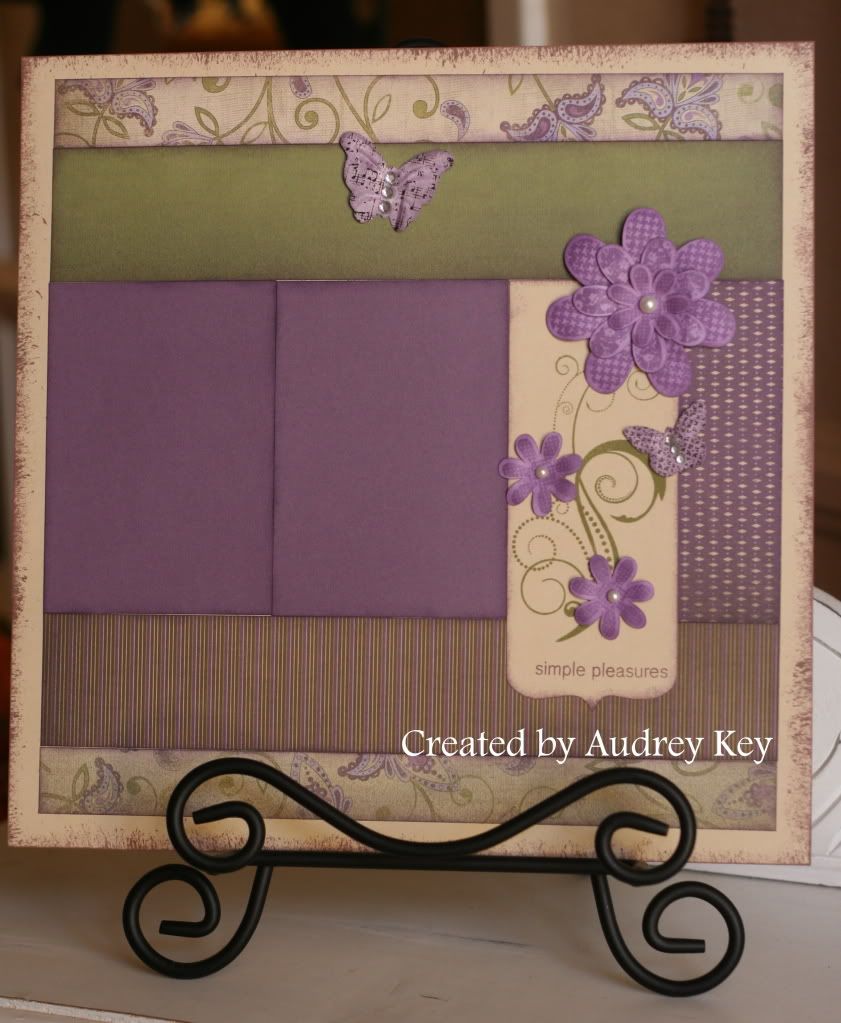
This is the right side of the layout.  The pattern is in the Magic How-To Book on page 48 & 49 ("Performance").  

    **Tip - The technique I used to distress the edges - Smokey Plum Reinker and the Stipple Brush from our Texture Tools set - dip the brush into a craft jar with reinker and use short strokes from the edge of the paper toward the center. 


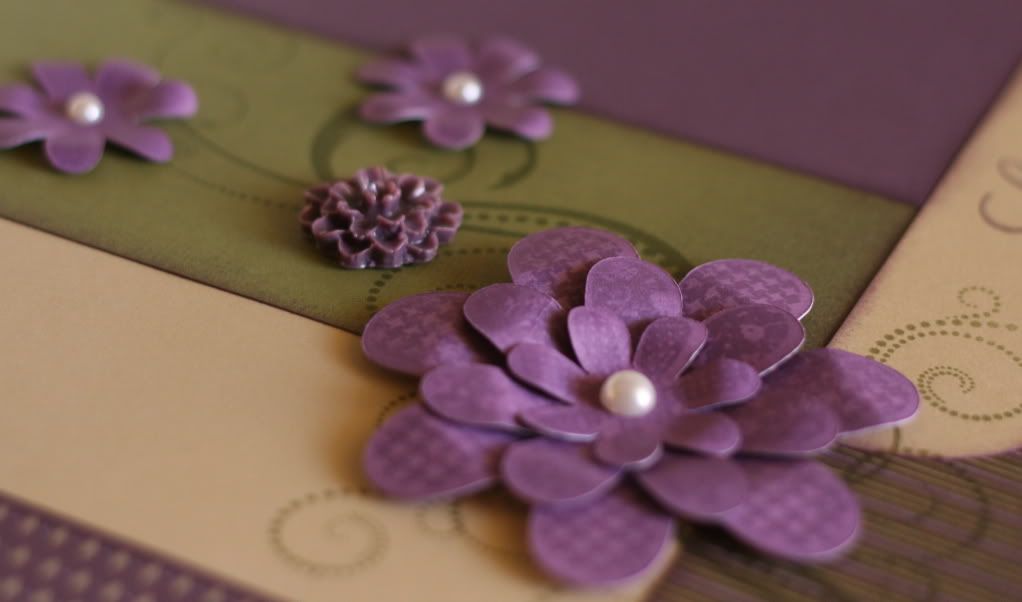
This is a close up photo of the flowers.  They were cut out with the Cricut Art Philosophy Cartridge and then stamped with Hooray Bouquet stamp set.  You can also see the detail of the flowers from the Heirloom Assortment.  The Heirloom flowers have adhesive on the back so they are ready to adhere.   


Sunday, October 30, 2011

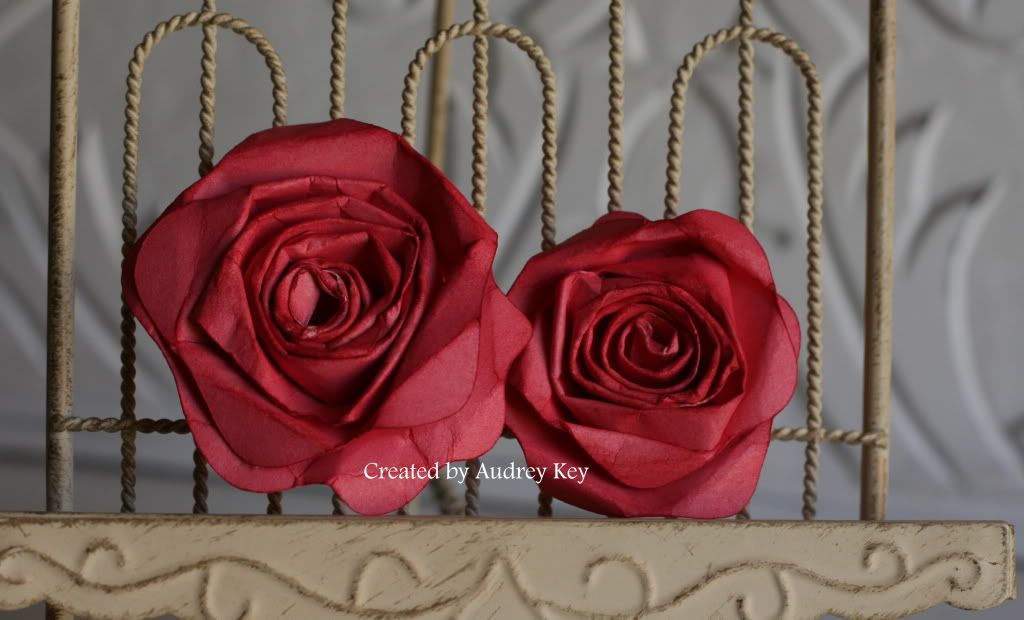
Distressed Flowers


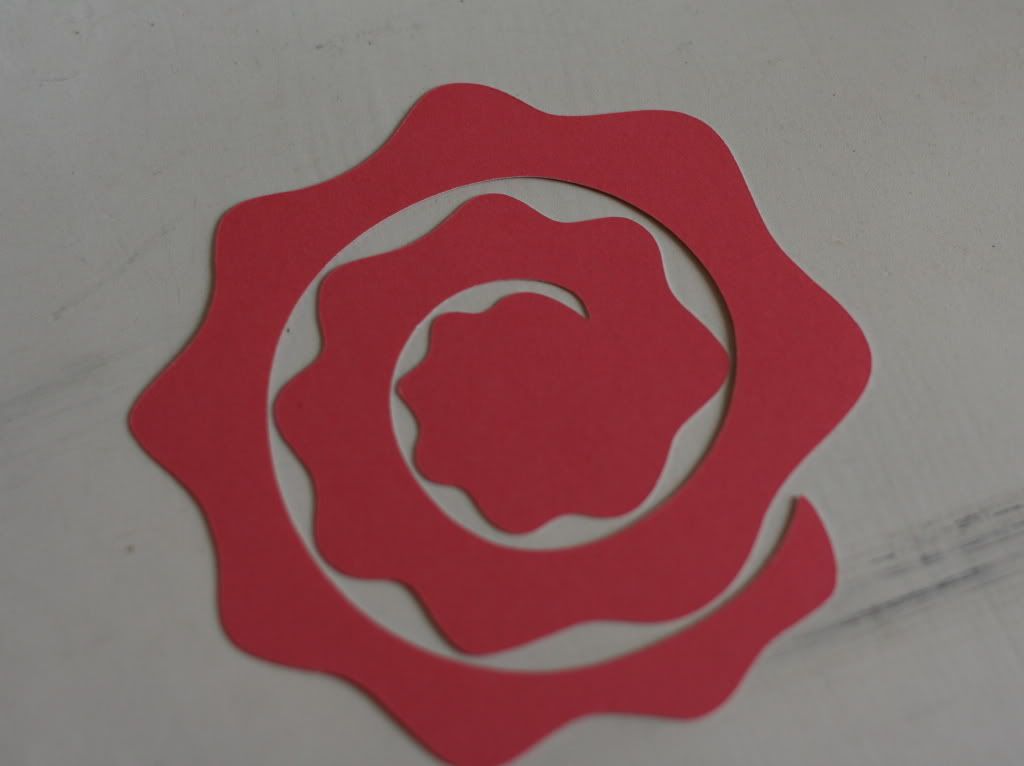
Have you seen this type flower in the Catalog/IdeaBook and wondered how to make them?  Below is a tutorial on how to make them.

*Tips

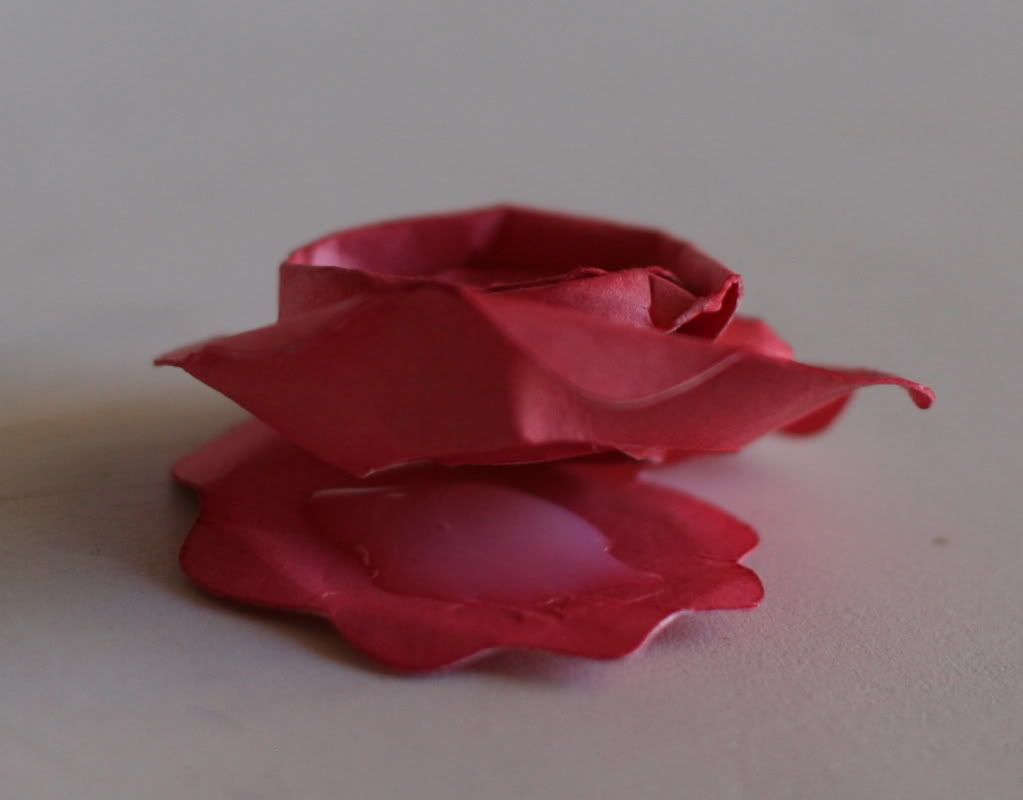
Step 1 - Cut spiral flower from the Cricut Art Philosophy Cartridge.

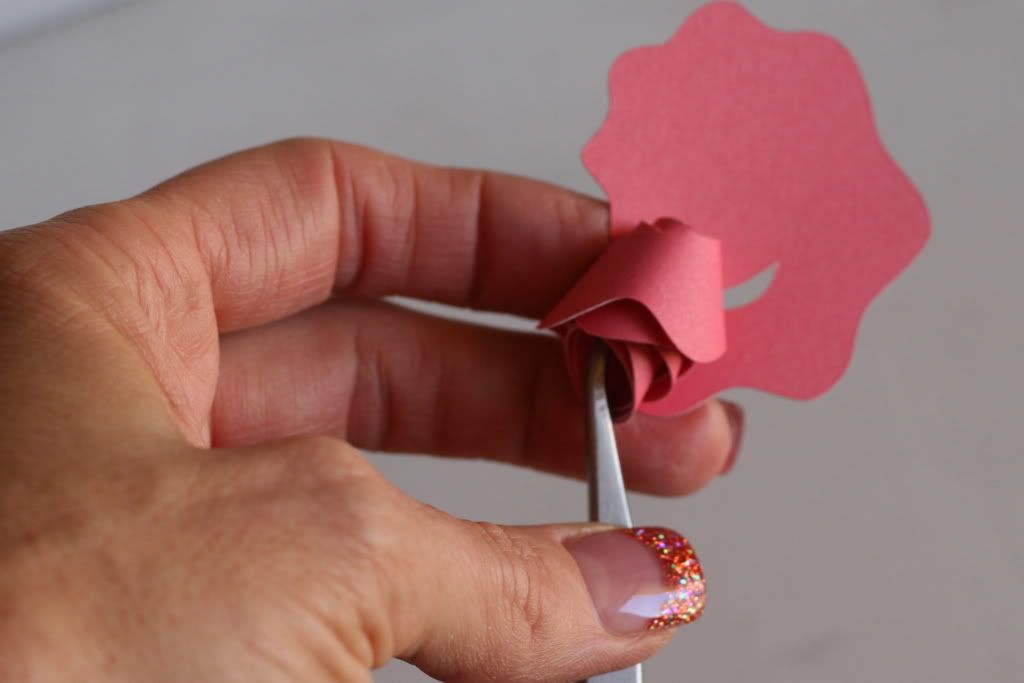
Step 2 - Roll the flower up using CTMH Tweezers -
roll tightly and then let go (it will spring back out).

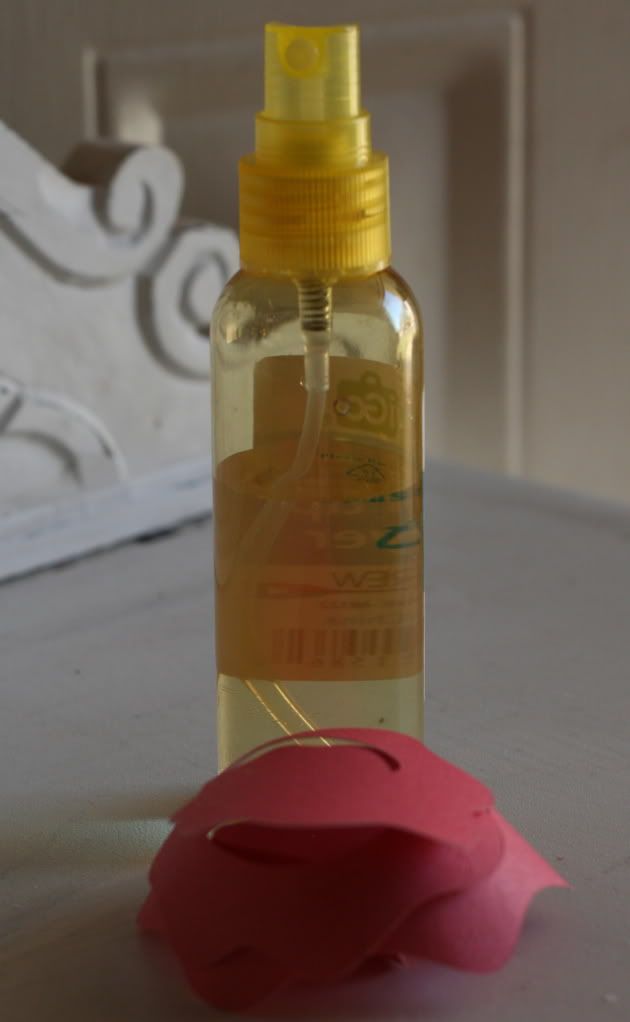
Step 3 - Spritz with water.

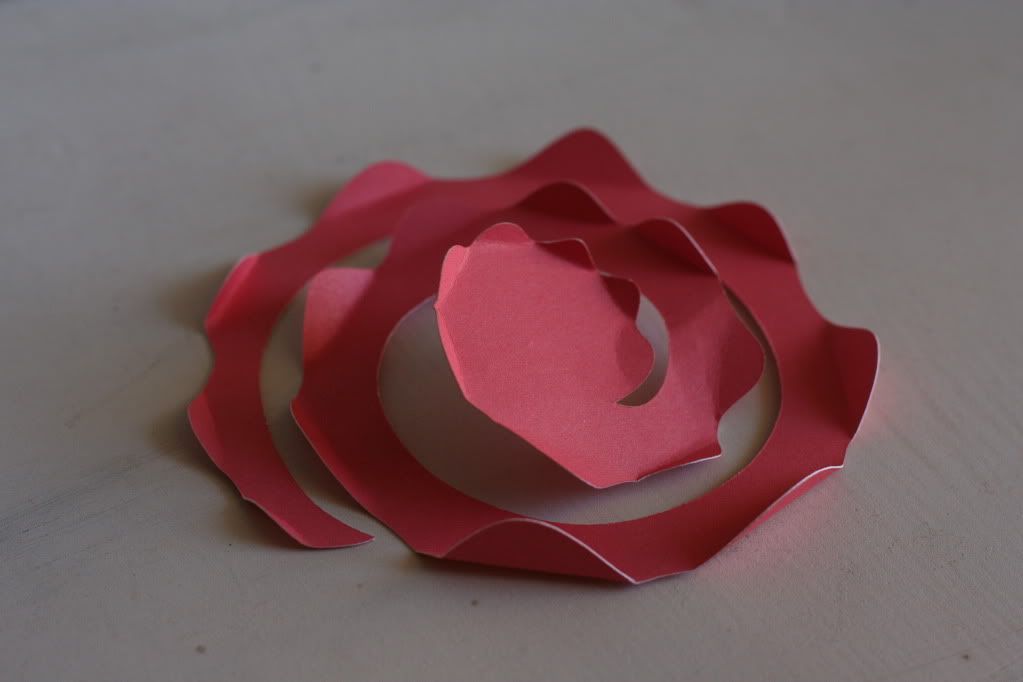
Step 4 - Fold the petals over (bend them back).

Step 5 - Roll the flower up again by hand - be careful since it will be damp it will tear easily.  Manipulate the petals as you are rolling it up.

Step 6 - After you get it rolled up, press down on it and let it air dry for a couple of minutes.

Step 7 - Sponge the top of the flower with darker ink to add color and distress it.

Step 8 - Put a big blob of Liquid Glass on the base of the flower and hold flower in place for about 30 seconds.  Allow time to set and dry before using on your project.

After your flower is dry, you can use it on an altered item, card, scrapbook page, etc.  You need to adhere it to your project using liquid glass so that it won't come off. 


Monday, October 24, 2011

A Sweet Treat Bookmark Card


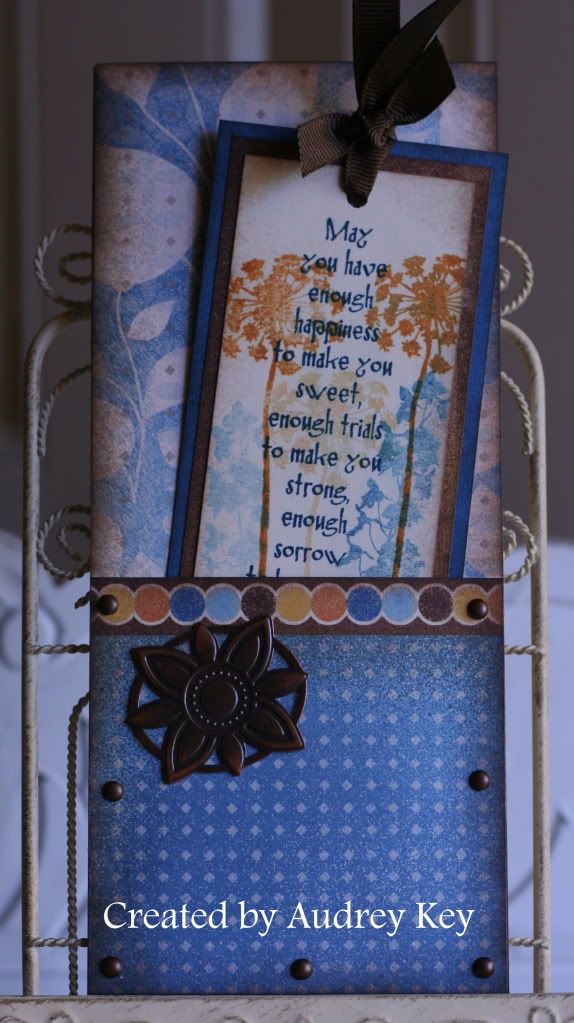
For this card I used the Dreamin' paper packet, Treasure Life stamp set, Antique Copper Brads, Harvest Charms, and Cocoa Ribbon.


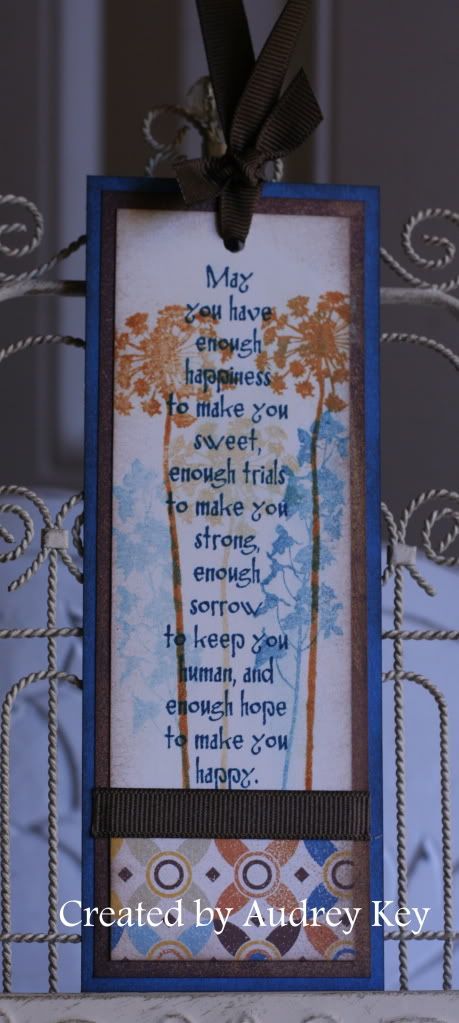
The pocket on the front of the card does double duty by holding a bookmark that can be used later by the receiver. 
  *Tip - You could send a birthday card such as this - you haven't  spent a lot of money, but it is a sweet treat that can be used later, when you include a bookmark for a special friend's birthday wish!

Wednesday, October 19, 2011

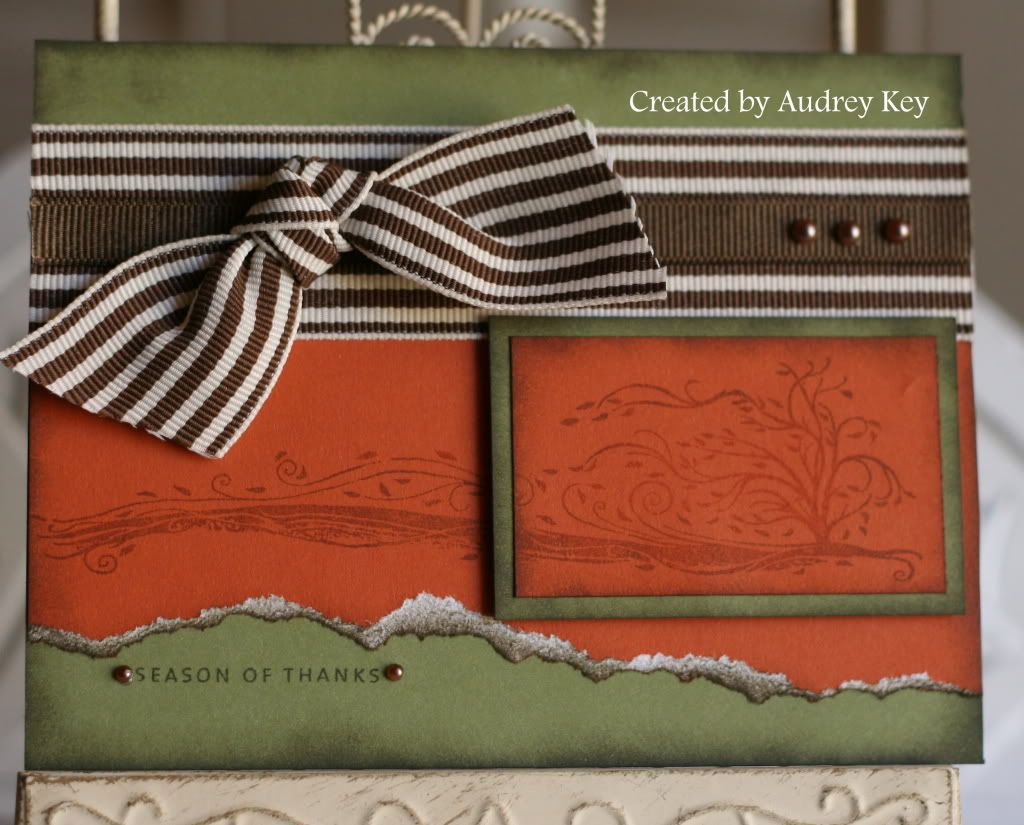
A Season of Thanks Card


This card features an awesome stamp set called, "Captured Moments."  I used Olive and Autumn Terracotta Cardstock, Cocoa Ribbon, Dark Chocolate Striped Grosgrain Ribbon, Mocha Opaques, and 3D Foam Squares.  

*Tips - The technique I used on this card: I inked the stamp with an Autumn Terracotta Stamp Pad and then using a dauber, I daubed around the edges of the stamp with Cocoa Ink (right over the Autumn Terracotta ink).  This gives the look of the rock 'n roll technique, using an easier technique for larger stamps.

Thursday, October 13, 2011

Such a Fright - Ghosted Image


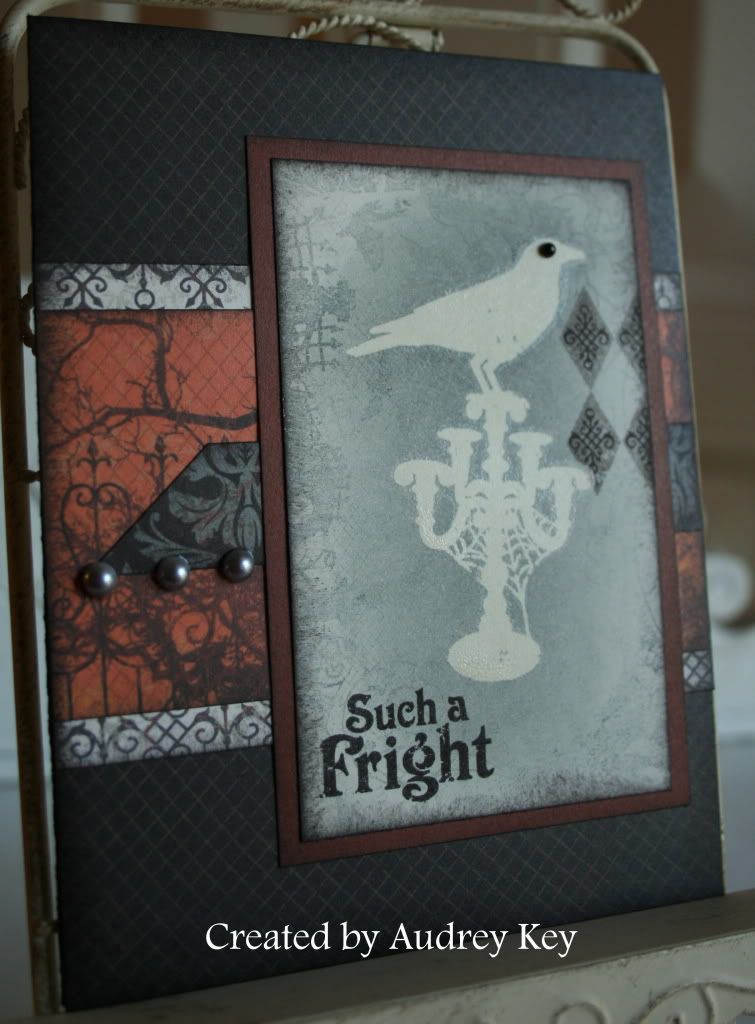
You might have seen this card on page 45 of the Autumn/Winter Catalog IdeaBook using C1462 All Hallows Eve stamp set.  I tweaked it using the argyle images on the stamp set in lieu of the stitching that CTMH used.  For this card, I used the Mischief paper packet, Backdrop-Charmed stamp set, Licorice Opaques, Versamark Ink, Clear Embossing Powder, Craft Tray, and Craft Heater (CTMH's is the best on the market).

*Tips: 
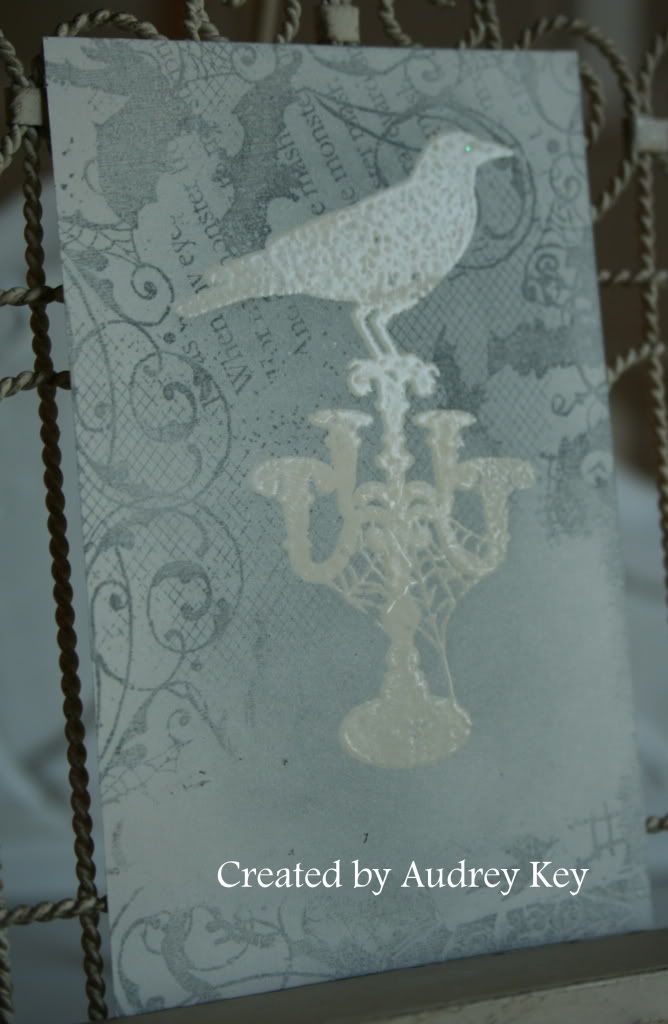
This zoomed photo of the crow shows more detail.  In order to create a "ghosted image" I used the following steps:
1.  Stamp the bat background stamp (Backdrop-Charmed) with Grey Flannel ink.
2.  Stamp the crow with Versamark Ink and heat emboss it with Clear Embossing Powder.
3.  Sponge Grey Flannel ink over the image.  The embossed crow will "resist" the ink.
4.  Stamp the argyle image in Grey Wool and stamp the scroll with Black ink.
5.  The final step to achieving a "ghosted image" is to use a clean piece of cardstock and a hot dry iron - place the cardstock on top of the embossed image and hold the iron there (don't move it, just press it)  for a few seconds.  Lift the cardstock and make sure that all the shine is gone.  It will look like a matte finish if you have done it correctly.
6.  Sponge the outer edge of the piece with black ink and assemble the card.

This technique would be fabulous used on a snowflake card, Christmas card, etc.  Try it and see what you come up with.  It is a really cool technique!

Thursday, October 6, 2011

Gnome Garden Clear Card


As a child, my favorite activity was coloring.  Stamps like "Gnome Garden" take me back to those childhood days and the exhilaration that coloring brings.  For this clear card, I used the Elemental Paper Pack, Mini Medley Pewter Assortment, and Mocha Opaque Gems.  The Gnome is shaded with our watercolor pencils and a blending pen.

*Tip - when coloring an image with a blending pen or water brush pen, you need to use StazOn Ink or Archival Ink to prevent running/smearing.  I used Brown StazOn Ink to stamp the Gnome and the butterfly.