Showing posts with label Buttons. Show all posts

Tuesday, July 10, 2012

You Are My Sunshine


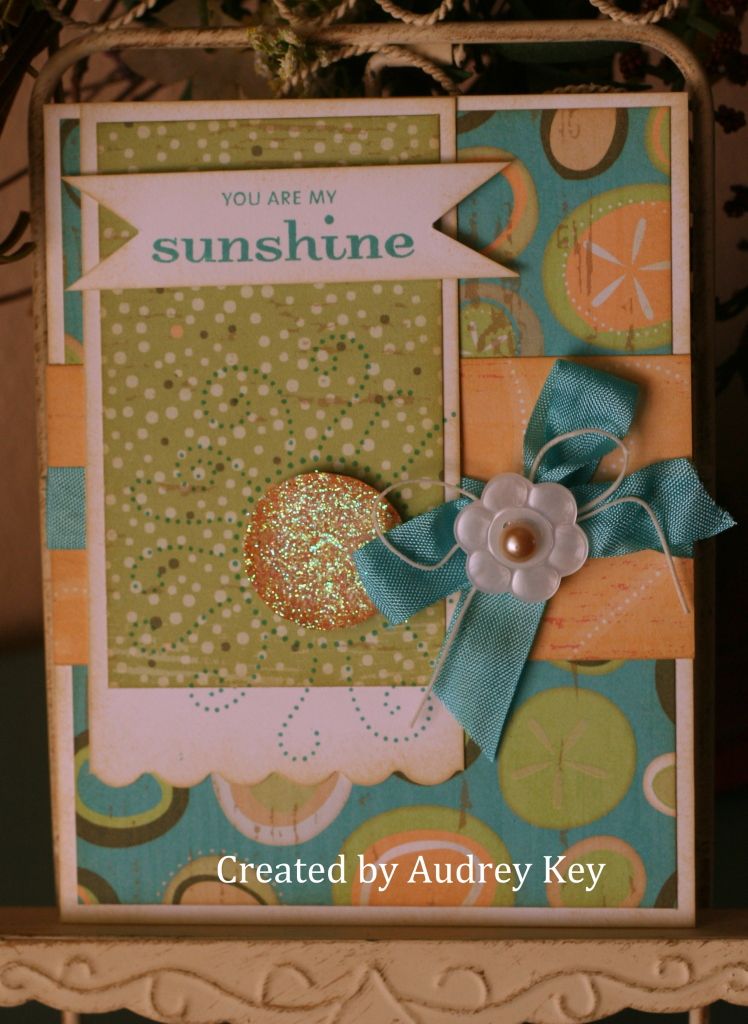
So, I need to tell you, that when I see this phrase, "You Are My Sunshine," it takes me back many years!  This was Stephanie's (my daughter) favorite song as a little girl.  I used to sing it to her all of the time.   I think it would be a perfect all occasion card to give her.

I created it with the Footloose paper packet, the Just Chillin stamp set, and the Kick Back stamp set.  I used Prisma Glitter to highlight the sun.  I also used seam binding, waxy flax, a flower button and an opaque for the center of the button.


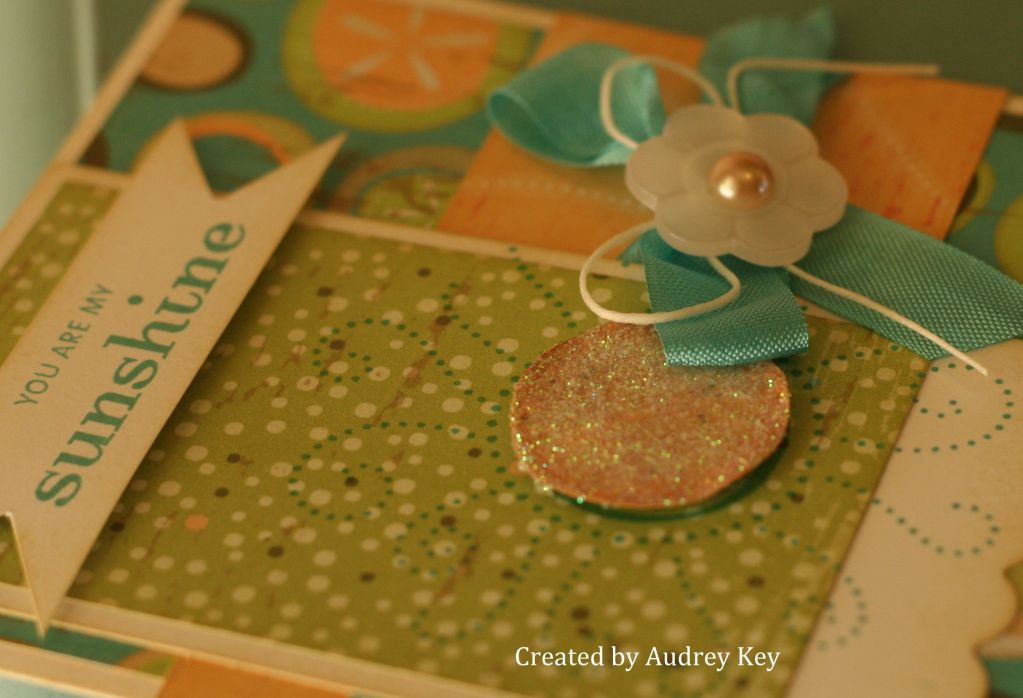
I took a close-up of the sunshine so that you could see it a little better.  I stamped it on the card with Lagoon ink and then again on a piece of the Creme' Brulee' paper in the paper packet.  I cut the center of the sun out and popped it up with foam tape.  I then added bonding memories glue and Prisma glitter to make it shine!

And, Stephanie, you are still my sunshine....just a little older! 

Friday, May 25, 2012

Dotty for You - Sunflower Cards


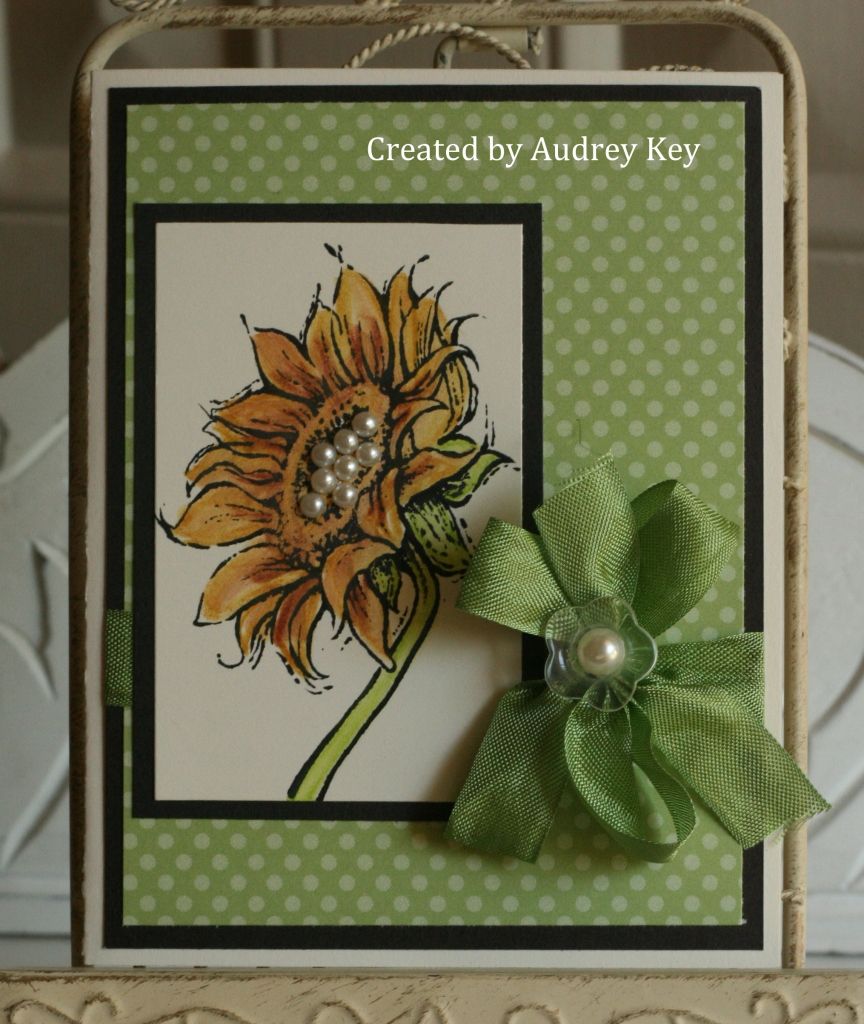
This pretty card was made using the Dotty for You paper packet and our May Stamp of the Month, "Friendship Bouquet."  I  stamped the sunflower with StazOn ink and used our watercolors and blending pen to fill it in.  Pearl Opaques, a Clear Button, and seam binding finish it off.  We made this at Debbie Y's home gathering this week and everyone really enjoyed making it.

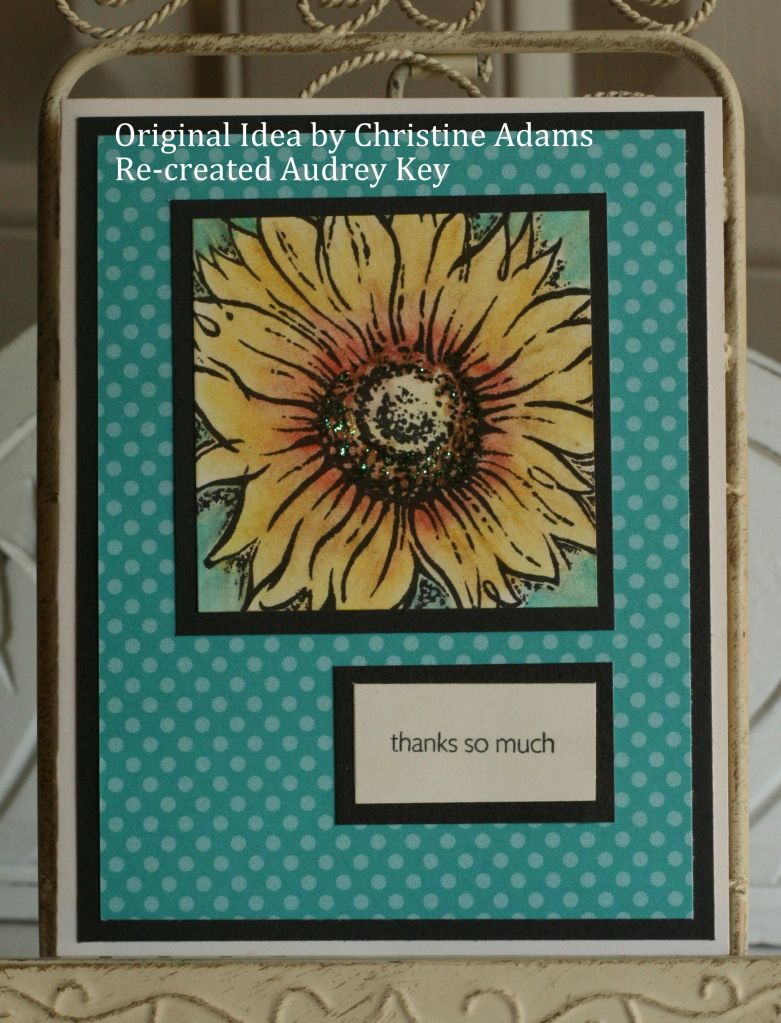
I am a follower of Christine Adam's blog.  This week she has had some really pretty Dotty/Friendship Bouquet cards that inspired me.  I re-created a couple of them for you and I am posting them here.  Check out her blog for more inspiration!


Stamp lifting Christine - I used StazOn Black ink along chalk to fill in this sunflower.  I used a blending pen with Lagoon ink to fill in the outer edges of the sunflower image.  Prisma glitter was used on the center of the flower.


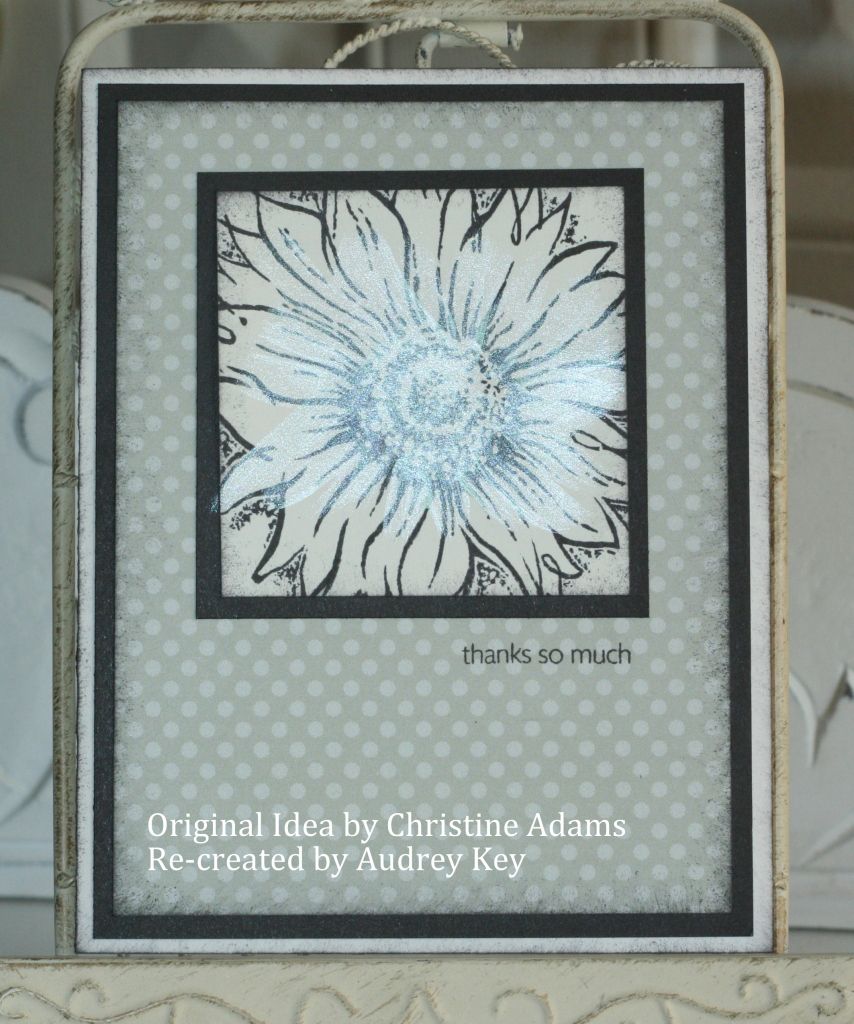
Also, stamp lifting Christine's card - This is a monochromatic version of the sunflower card.  It is simply stamped with Black StazOn ink.  Then I used pearl paint and stroked it across the sunflower.  I think it is a very pretty version of the sunflower and so SIMPLE!

There are only a few days left to purchase the Dotty for You Paper packet and the Friendship Bouquet Stamp of the Month.  I think you will agree that they are a perfect match!  Dotty for You is only $5 when you make a $35 subtotal purchase and Friendship Bouquet is $5 with a $50 purchase...both are great deals!   
Click Here if you would like to purchase either of these items!


Thursday, March 15, 2012

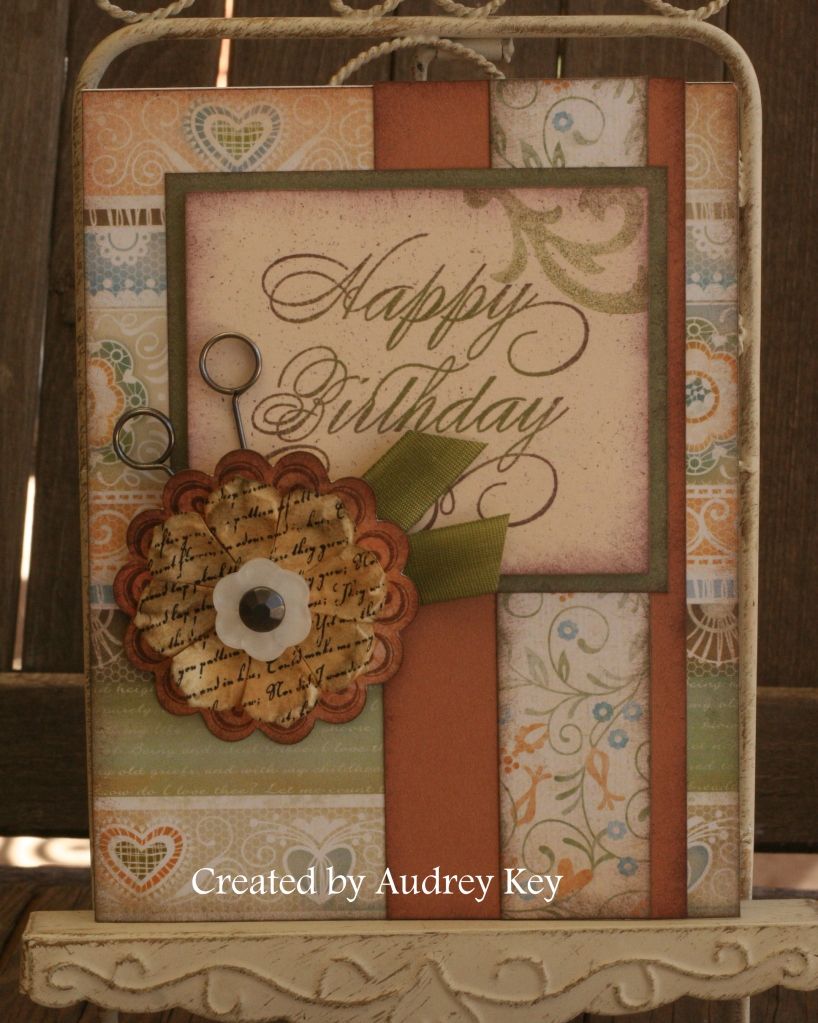
Florentine Happy Birthday Card


This birthday card was created from our Florentine paper packet.  Florentine is suitable for many different themes.  I used several stamp sets on this card:  Potential (March Stamp of the Month), Enjoy (the largest flower), 4 My Friend (the "happy birthday"). 

The embellishments that I used are:  Just Blooms Paper Shapes (just add ink), Pin Clips, Durables Pewter Stud, Color Ready Seam Binding (I added olive ink with a dauber to make beautiful ribbon leaves), and a flower button from the basic button assortment. 

Tuesday, February 21, 2012

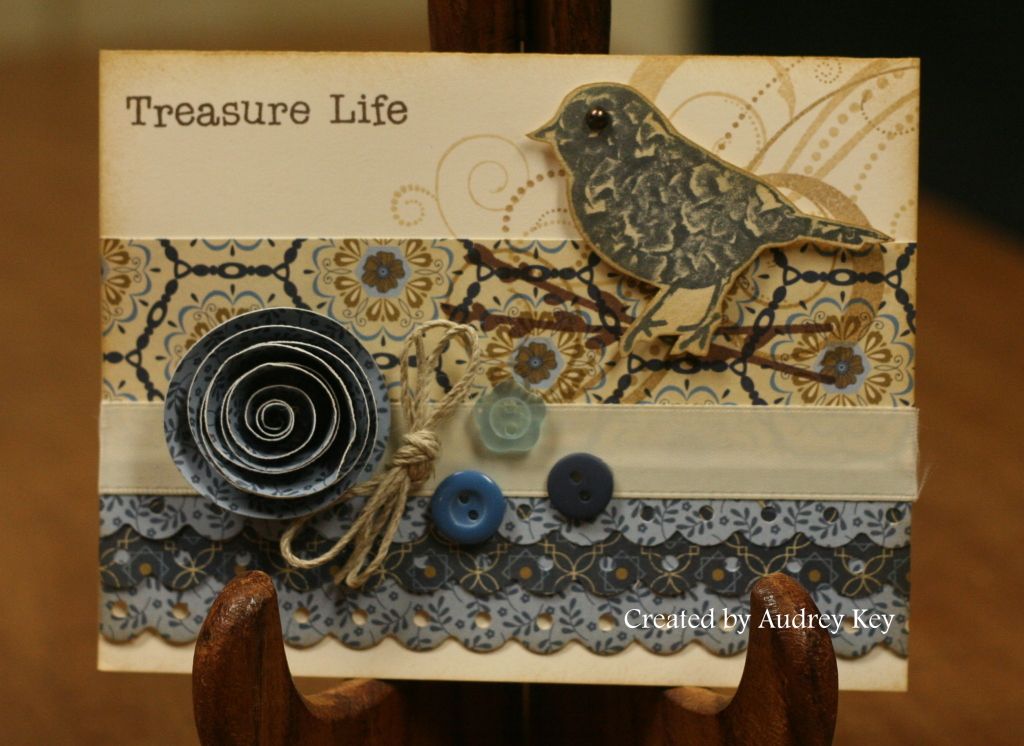
Treasure Life Pemberly Card


This card features Pemberly paper and "A Tweet" stamp set.  It is one of those A-size stamp sets that are only $6.95!  It is not a new stamp, but one of my favorites.    I cut the flower on the Cricut and used a border punch to make the ruffles at the bottom of the card.  The blue button assortment is a perfect coordinating embellishment for the Pemberly paper packet.

**Tips - To stamp the dimensional bird, I used the Kiss and Twist technique.  I stamped the bird with Outdoor Denim ink and then kissed a dry stamp (the flower) over inked the bird (directly on the stamp) and gave it a little twist which creates the look of the feathers.  This is a great technique to use on solid stamps - flowers, butterflies, etc.  I cut the bird out; distressed the edges with Desert Sand; and popped it up with 3D Foam Tape.  I used a Mocha Pearl Opaque for the bird's eye.

Saturday, February 18, 2012

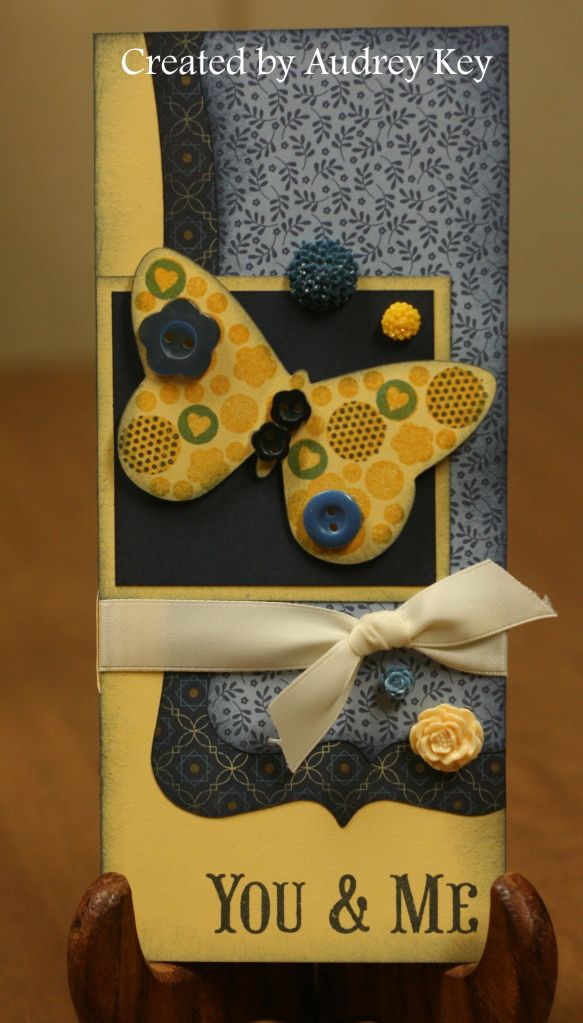
You and Me Tall Card


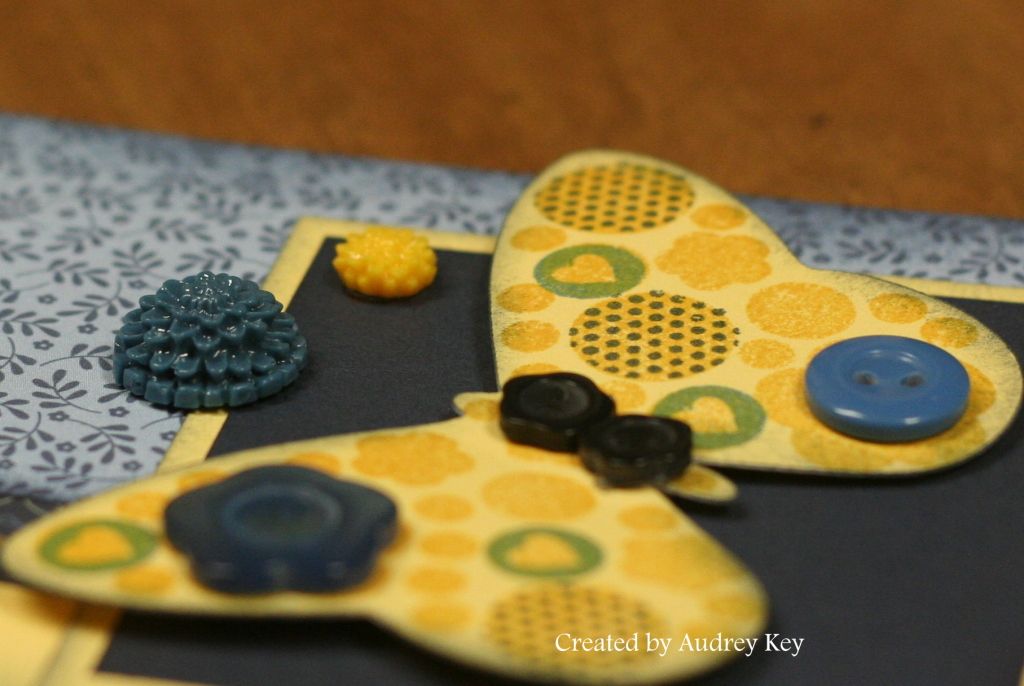
This card also features the Pemberly Paper packet and I made the card base with Buttercup Cardstock.  I used the Cricut AP Cartridge to cut the rectangles and butterfly.  The butterfly and "You & Me" were stamped with the Love Clusters stamp set.  I used the blue button assortment and the Bouquet Assortment to embellish the card.


The Bouquet Assortment includes 20 resin flowers and have adhesive on the back.  They are very convenient to use for your cardmaking and scrapbooking projects.


Saturday, February 11, 2012

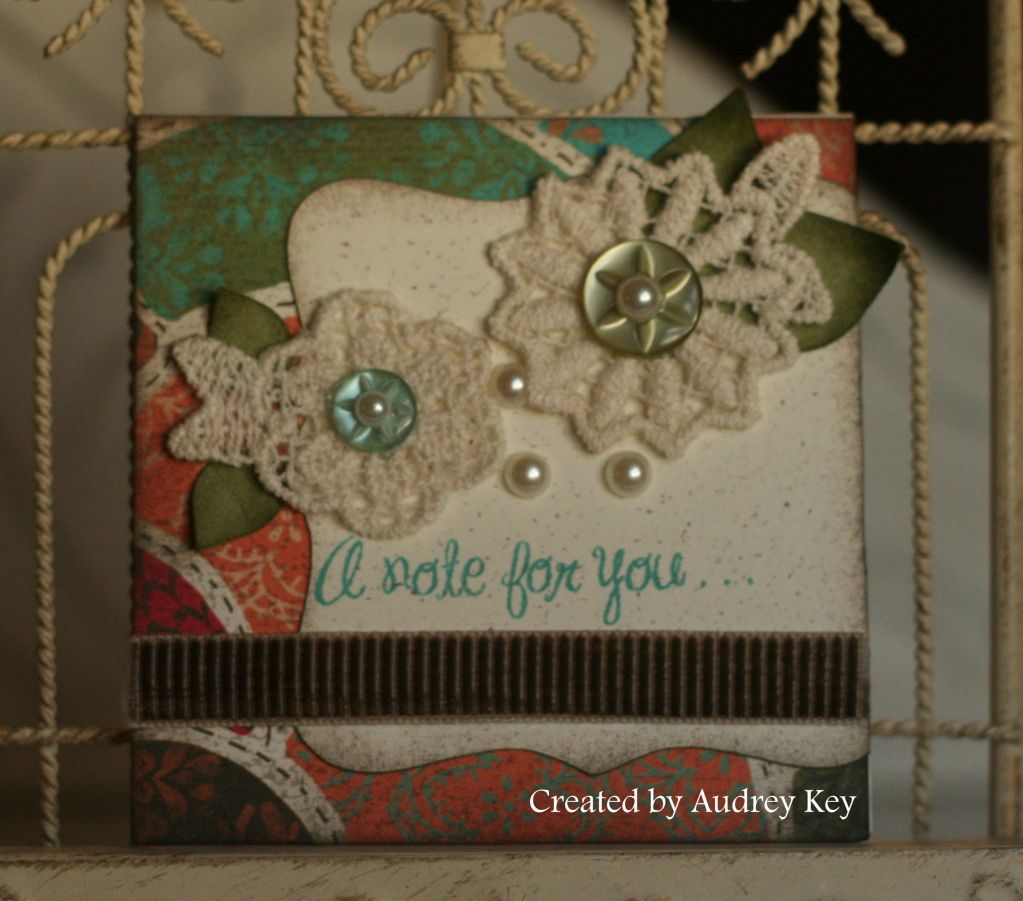
A Note for You... 3x3 Card


This card features Stella paper, Cocoa ribbon, Opaques, Green Button Assortment, and our new Bohemian Assortment(doilies).  I used the Cricut AP Cartridge to cut the square and the leaves.  I distressed the square with the Black Stubble Tool.

Thursday, February 9, 2012


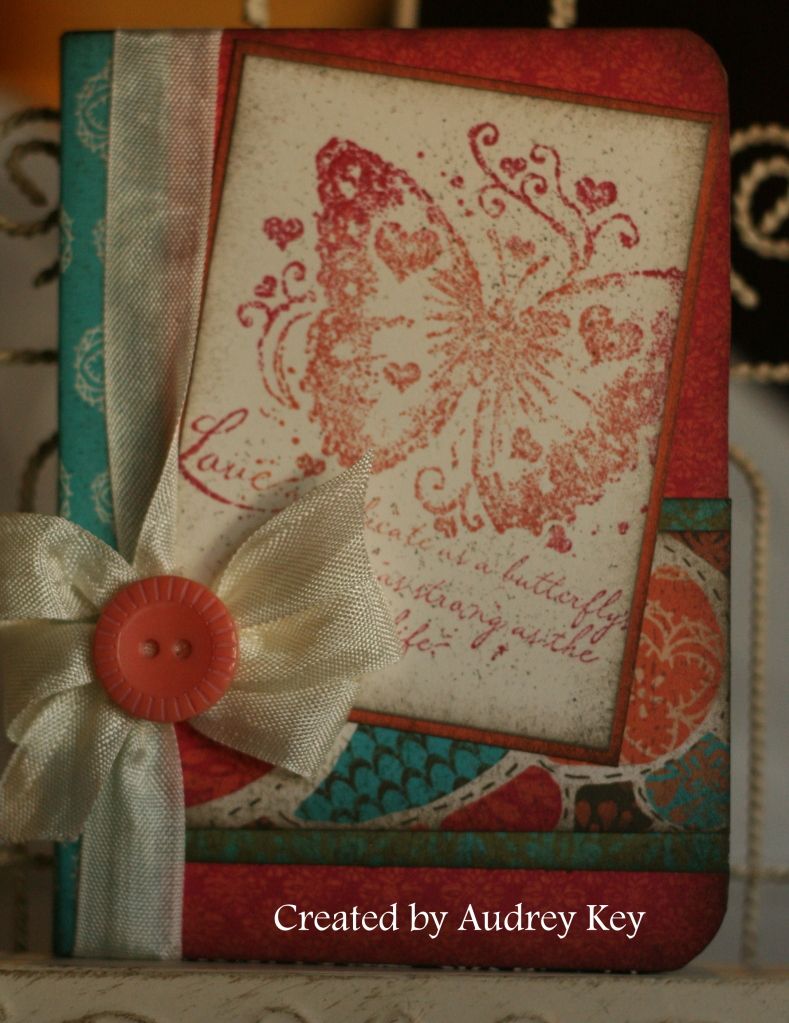
We made this little composition book at  $10 Month Club Playgroups earlier this month.  I bought the mini composition books at Target (when they had the school supplies out in August).  We used the Stella paper packet, Color Ready Seam Binding, and a button from the Red Button Assortment.  The stamp set is one of my favorites!  It is called Quick Cards - Butterfly and it is ONLY $6.95!  It is a great deal for a beautiful stamp!  We have lots of new "Quick Cards" stamps in the catalog.

**Tips - The technique that I taught at Playgroups was
"Rock 'n Roll".  We stamped the butterfly in Sunset ink and the Rock 'n Rolled it in Tulip ink around the outer edges.  We also used the Black Stubble Tool to distress the background of the butterfly piece. 

Saturday, January 28, 2012

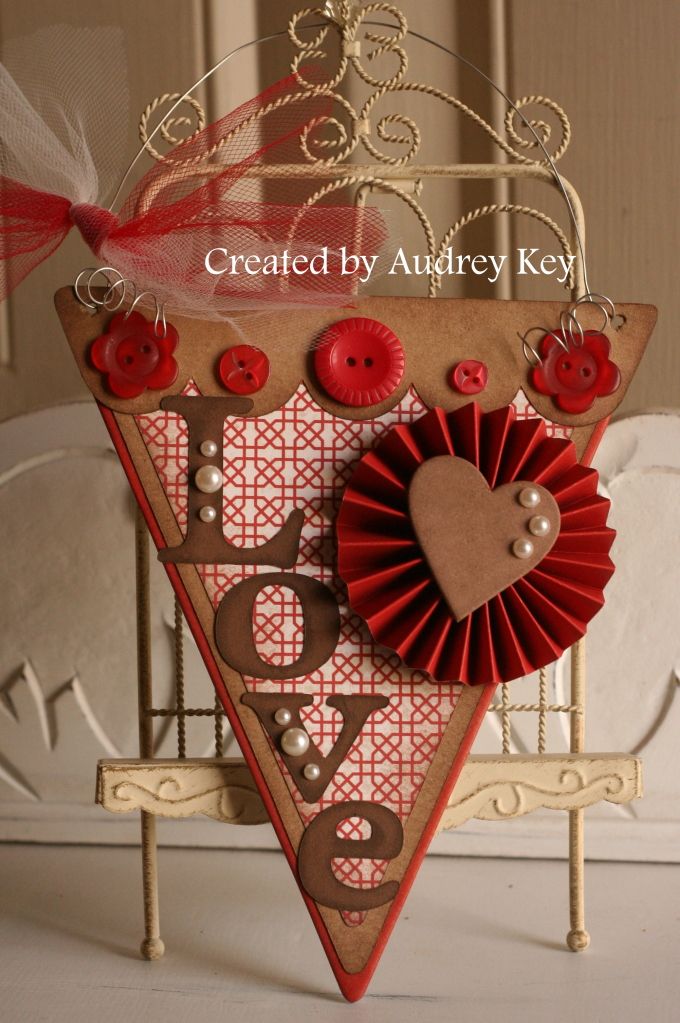
A Week of Stamp Camp Projects - #6 - Bonus Project - Valentine Door Knob Hanger


This cute door knob hanger was created to be the Bonus Project for Stamp Camp.  It was a lot of fun to make.  I cut most of the pieces on the Cricut AP Cartridge.  We used one piece of a My Creations Banner, Elemental Paper, Kraft and Chocolate Cardstock,  Pearl Opaques, a DE Heart, Red Buttons, wire from my hubby's garage stash, and red and cream tulle.

*We swiped Cranberry re-inker on a sponge across the edges of the banner.  This is a very messy job but it covers the edges of the banner so completely, that it appears that Cranberry Cardstock is on the bottom layer.  This technique works great on all of our chipboard items!

*We made a pleated flower with two 12" strips of Cranberry Cardstock.  We adhered a scalloped circle to the back of the flower and a DE Heart to the top (liquid glass is the best adhesive for this type of flower).

Well, this concludes A Week of Stamp Camp Projects!  I hope you enjoyed seeing what we learned!  We had a great time of fellowship, friends and crafting!  Thank you to all of you who participated! 

Tuesday, January 24, 2012

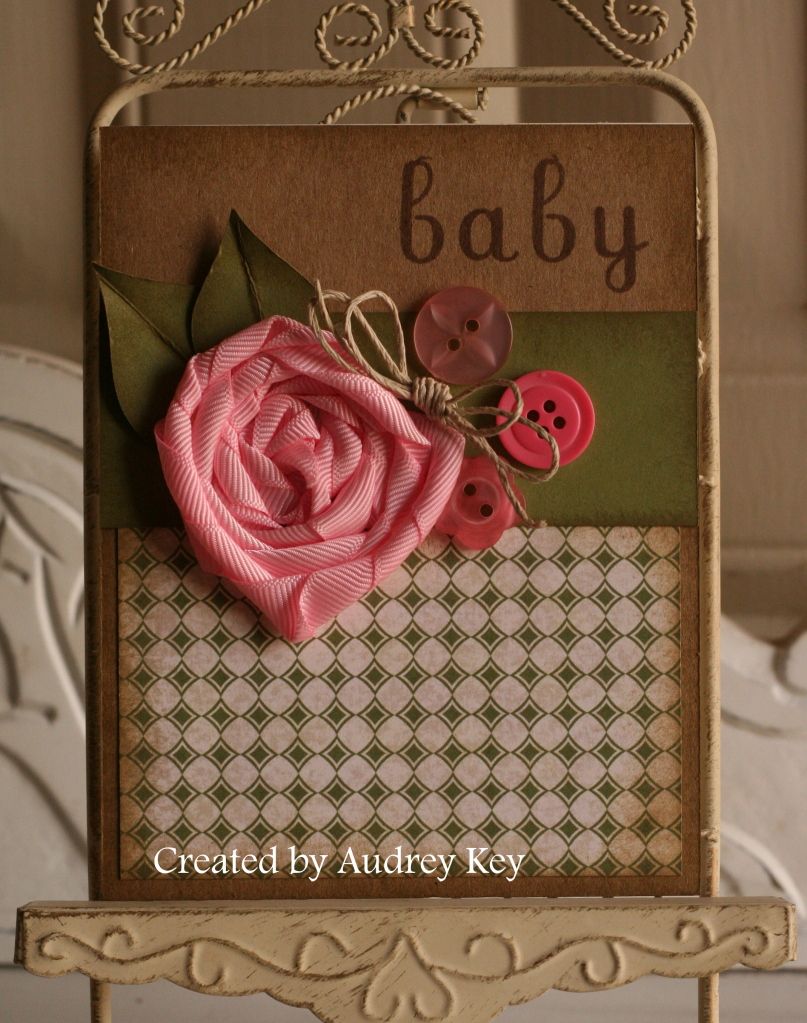
A Week of Stamp Camp Projects - #2 - Baby


I am always in need of cards to give new moms!  I saw a sack in a magazine with a similar layout and thought it would be fun to make a card.  I used Elemental Paper and Kraft Cardstock for this card.  The embellishments are simply hemp and the Pink Button Assortment.

*The main technique that we learned with this card is to make a twisted ribbon flower.  Using a 1 1/2" square of Terrifically Tacky Paper - start at the center; twist the end of the ribbon up;  and stick it to the  TT Paper.  Twist and roll the ribbon in a spiral until you fill the paper square up.  Adhere the end of the ribbon to the backing after you remove the paper.  It will be ready to stick to the card.  (Terrifically Tacky Paper is in a small sheet and you cut off just what you need.  I ordered mine online.)

*The other technique on this card is making  dimensional leaves.  We made a score line down the center of the leaves and then folded and distressed them with a sponge.  We curled the tips upward with our fingers.

*The hemp bow is made by wrapping hemp around your four fingertips two times with one cut end at the top and one cut end at the bottom.  Then you simply slip off your fingers and tie the whole thing in a knot.  I makes a double bow.  It is a little tricky at first but oh so cute!

More Stamp Camp Projects to come!  Stay Tuned!


Sunday, November 20, 2011

Santa's Workshop Kids Kamp Projects

Yesterday I had my first annual Santa's Workshop Kids Kamp, so that kids had an opportunity to come make gifts for family members.  We had so much fun and I wanted to share the projects that the kids made.


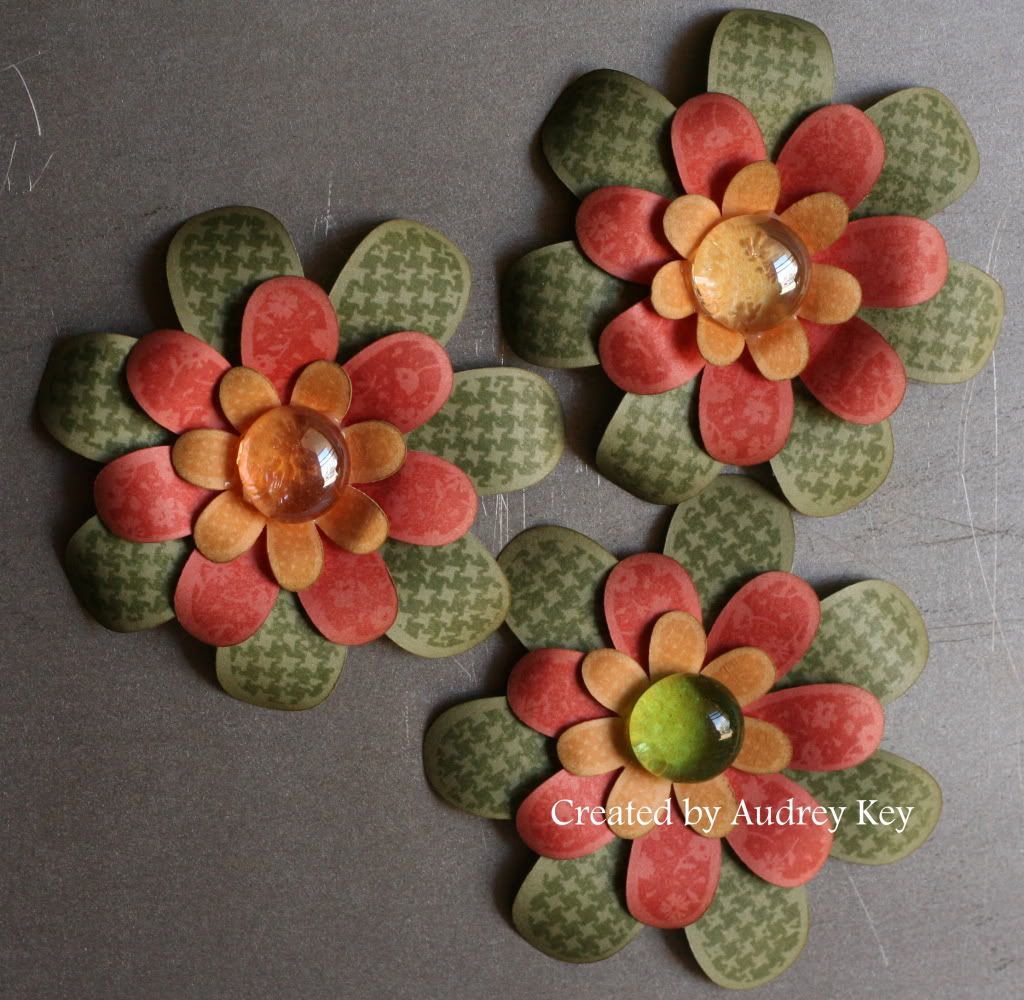
These are refrigerator magnets.  We cut the flowers on the Cricut and stamped them with the Hooray Bouquet stamp set.  The colors are Garden Green, Sorbet, and Creme' Brulee.  We used Alene's Magnetic Tacky Dots for the magnet and the pebbles were adhered with Liquid Glass.


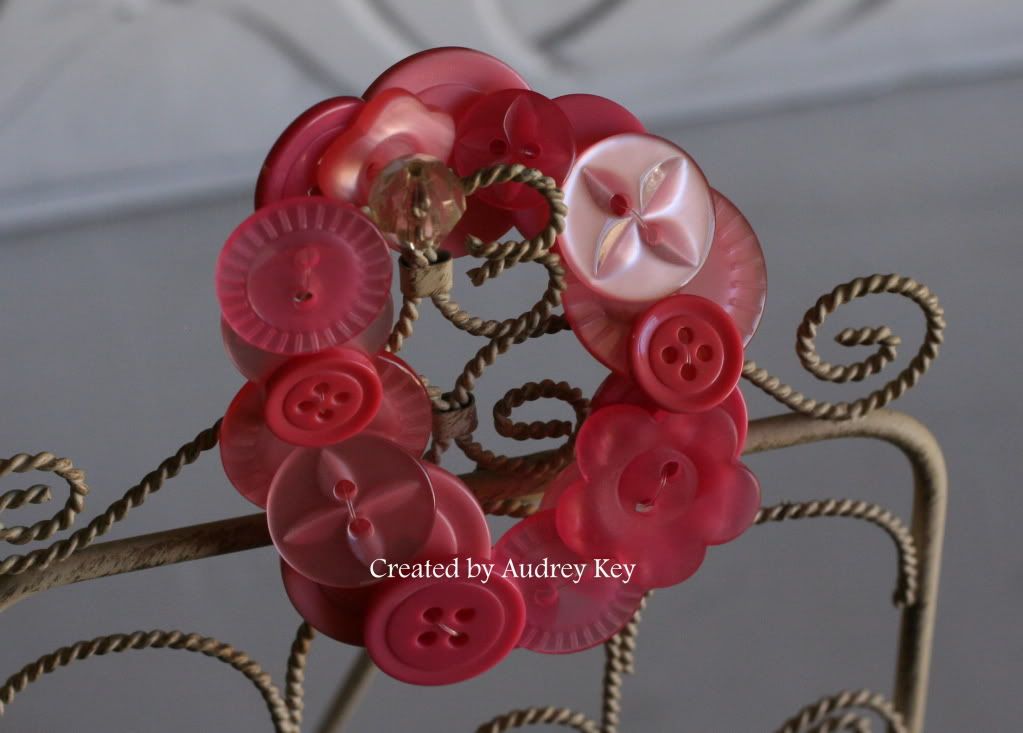
This fun bracelet is perfect to use up old (or new) buttons.  I used our Pink Button Assortment for this bracelet but each child got a different selection of buttons.  We stung the buttons with "Stretch Magic Jewelry and Bead Cord" that I purchased at Michael's.  When you make this type bracelet you need to wrap the Stretch Magic cord around your wrist twice which allows for the overlapping that naturally occurs as you string the buttons.


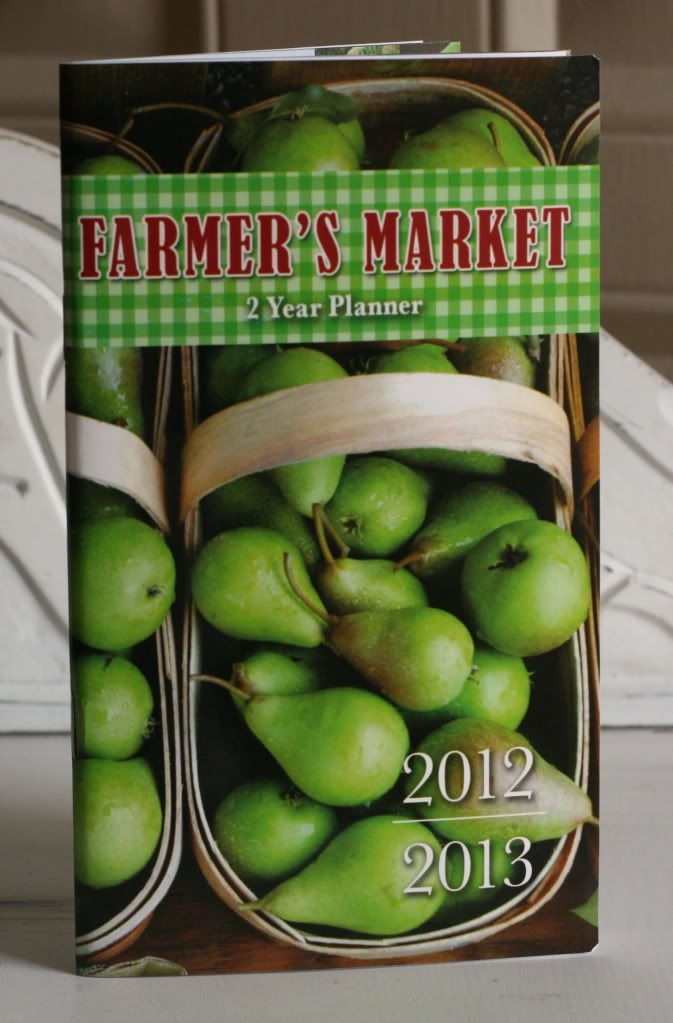
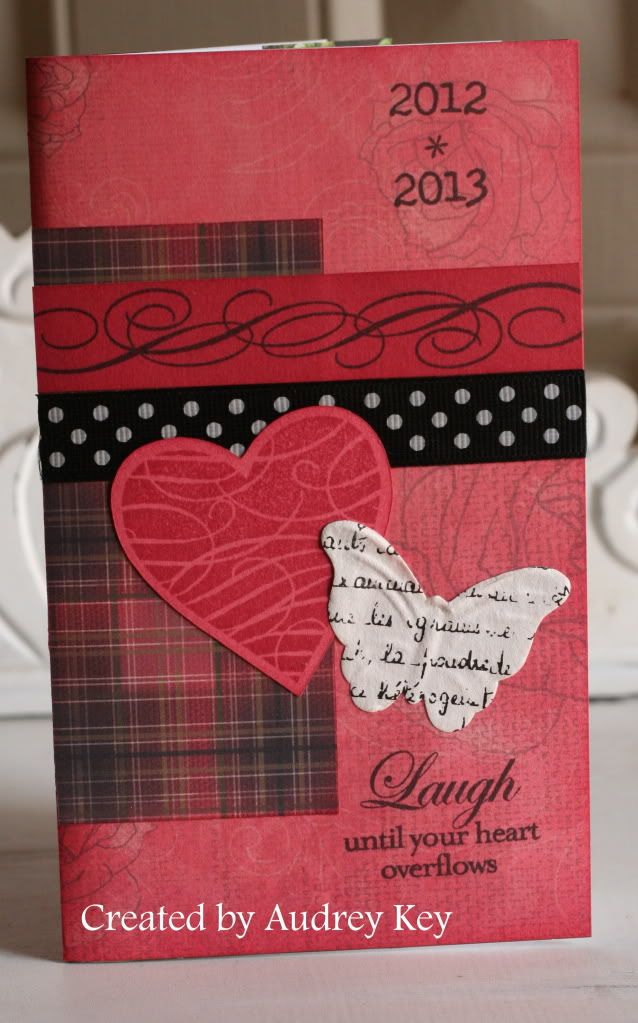
We took a $1 pocket calendar from Michael's Dollar Spot and created a work of art.


We used Roxie Paper, the Cricut to cut out the heart, Mad About You Stamp Set (December Stamp of the Month),  Winter Joy Stamp Set, Save the Date Stamp Set, black ribbon, and Just Blooms Paper Shapes to transform this pocket calendar.

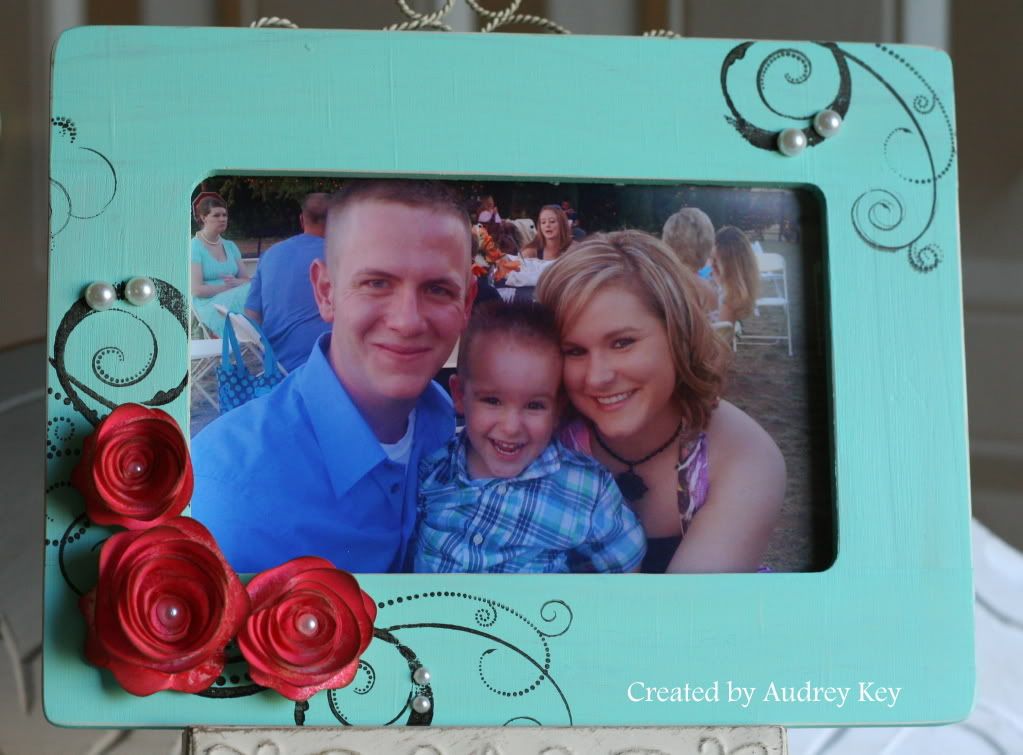
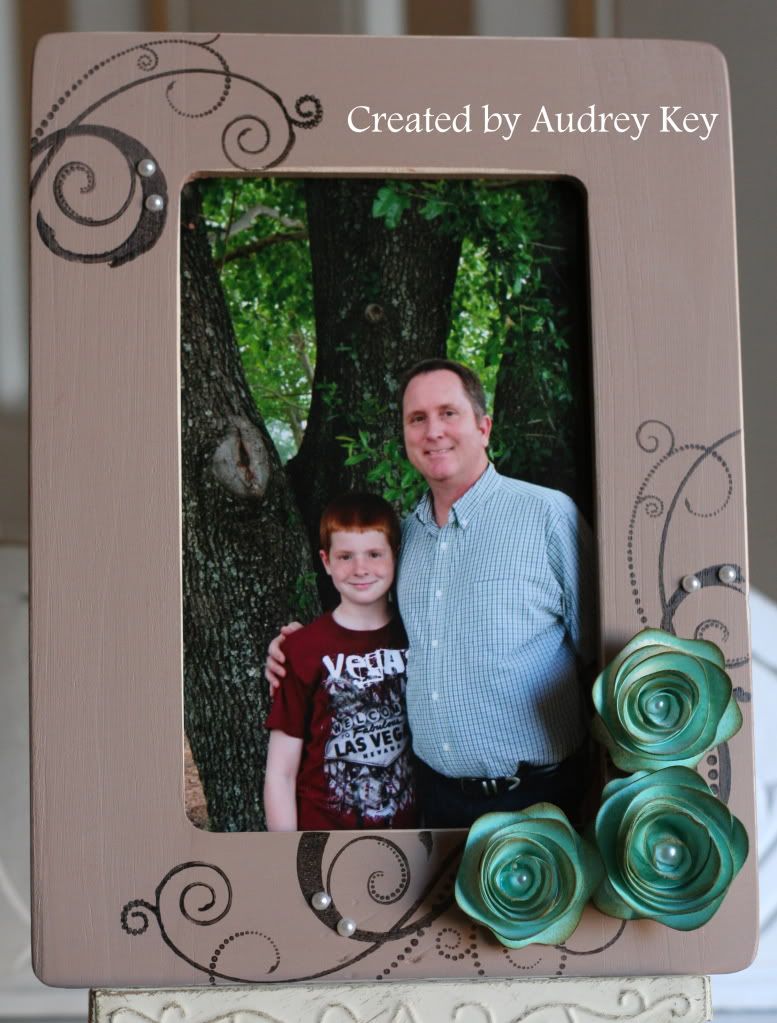
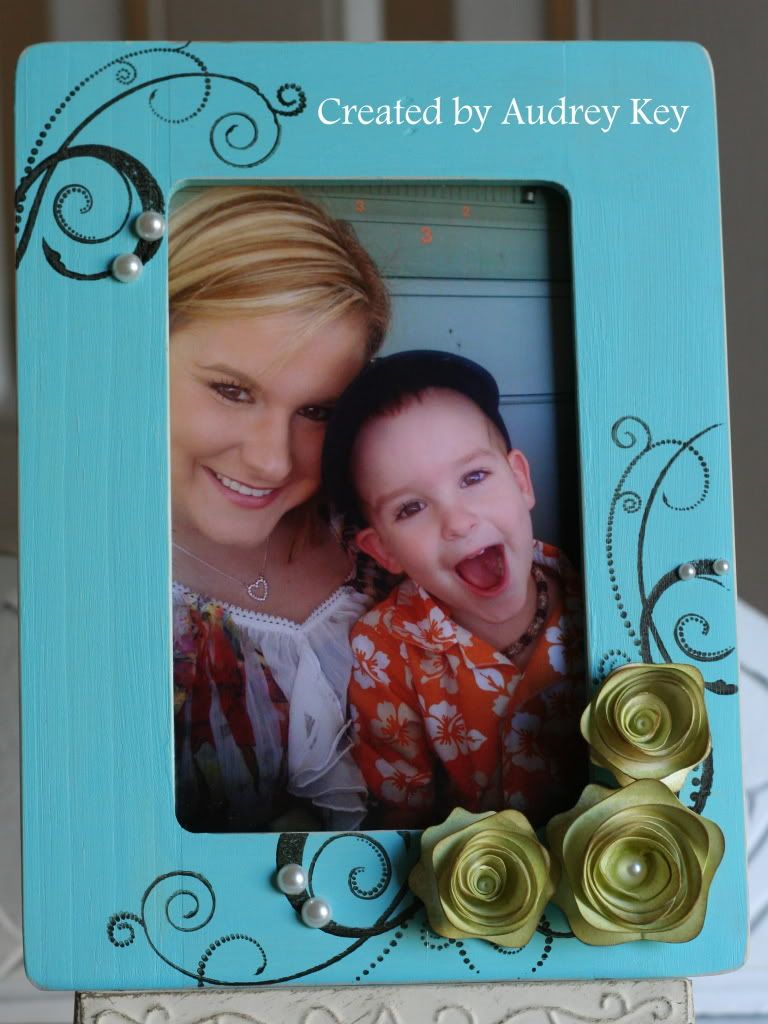
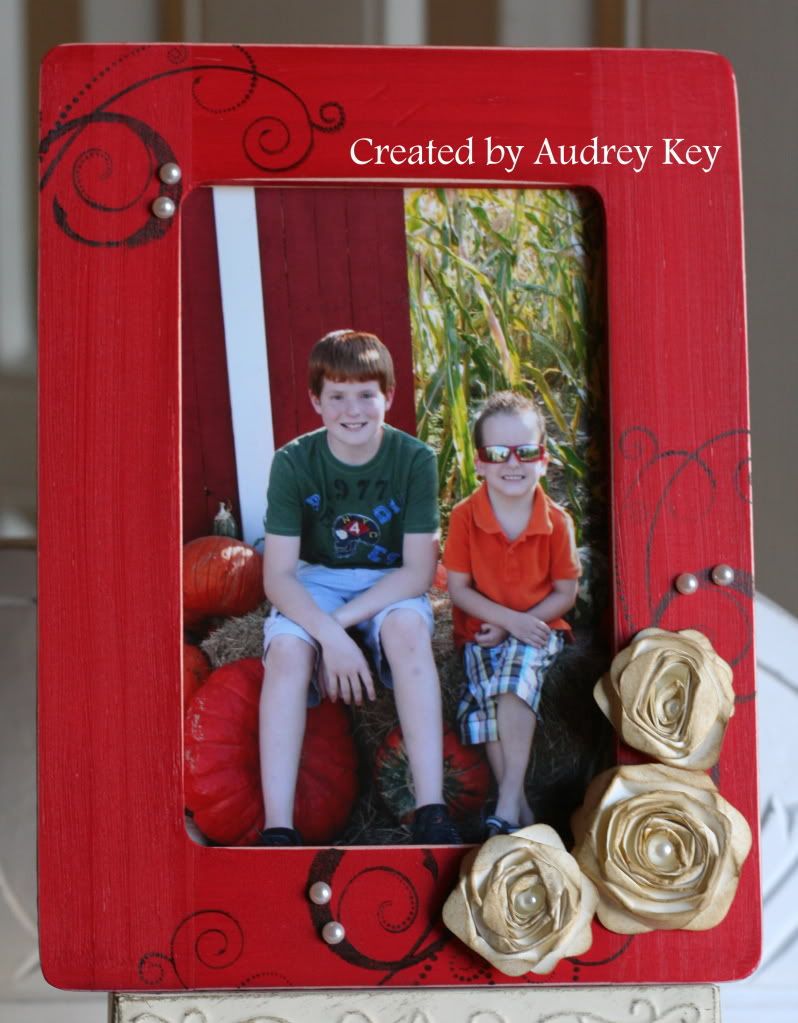
And, last but not least, a plain wooden frame (also purchased at Michael's), becomes a work of art!  Wouldn't it be a perfect gift for grandparents with a family photo or the child's school portrait?


The kids were able to choose which color of paint they wanted to use for their frame.


I cut all of the roses from Colonial White Cardstock on the Cricut.  The kids chose which color they wanted their roses to be.  I mixed water and re-inker in little spritz bottles (I used Lagoon, Cranberry, and Sweet Leaf re-inker).  We spritzed them and set them aside to dry.  When they were dry we sponged the edges with Desert Sand ink.


We used the Love Life Stamp Set to stamp these beautiful flourishes with Brown StazOn Ink.  I know that I keep saying it, but Love Life is my FAVORITE stamp set in this catalog!


The red frame is my favorite one (because it matches my home decor and it is one of my favorite colors).  I made distressed roses for this one (see the post on Sunday, October 30 for the Distressed Flower Tutorial) and simply sponged them with Desert Sand ink.   We used Pearl Opaques to embellish the frames - and it covers up some of the stamping issues that occur when stamping on wood, using StazOn, etc.  (you know what I always say....."Mistakes are opportunities to embellish!")

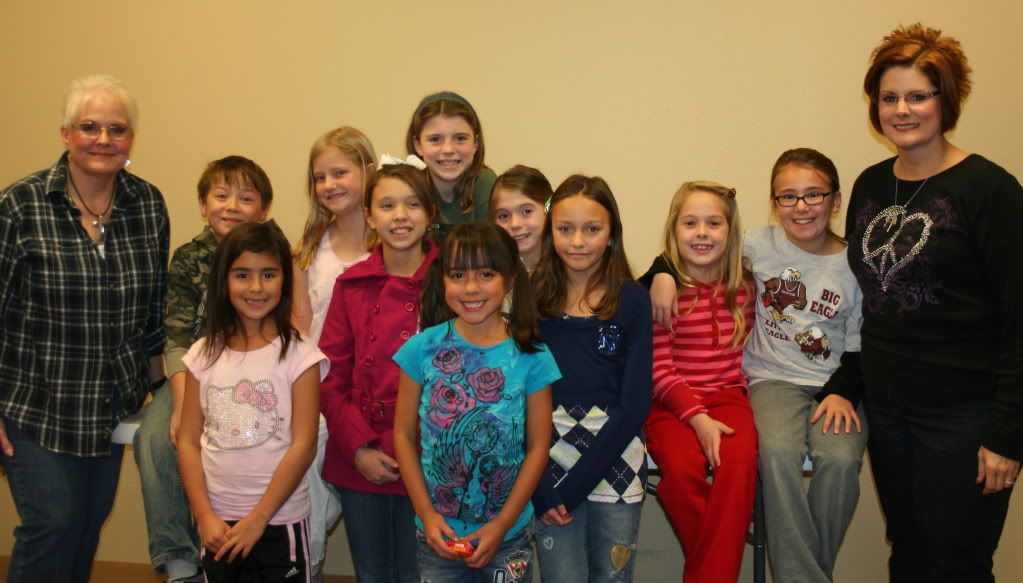
These are the Santa's Workshop Kids Kamp Participants (and teachers):


Thank you sweet kids for making Santa's Workshop Kids Kamp a success.  I look forward to having it again next year!


Sunday, October 23, 2011

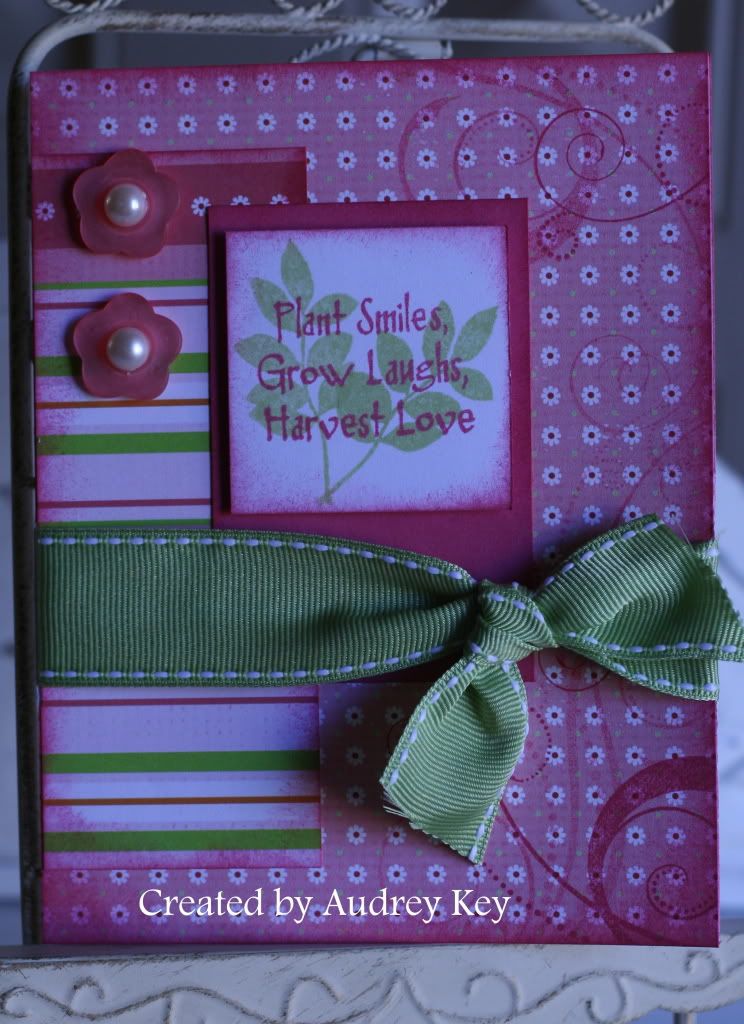
Plant Smiles


I guess I am on a pink kick!  I pulled this darling  Sofia Level 2  paper packet out to make another Pinktober card.  Sofia will be retiring at the end of this catalog/ideabook so be sure to purchase yours before it does!   I used Sweet Leaf Ribbon, Pink Button Assortment, and Opaques as well as the Love Life and Treasure Life My Acrylix stamp sets.

Monday, October 17, 2011

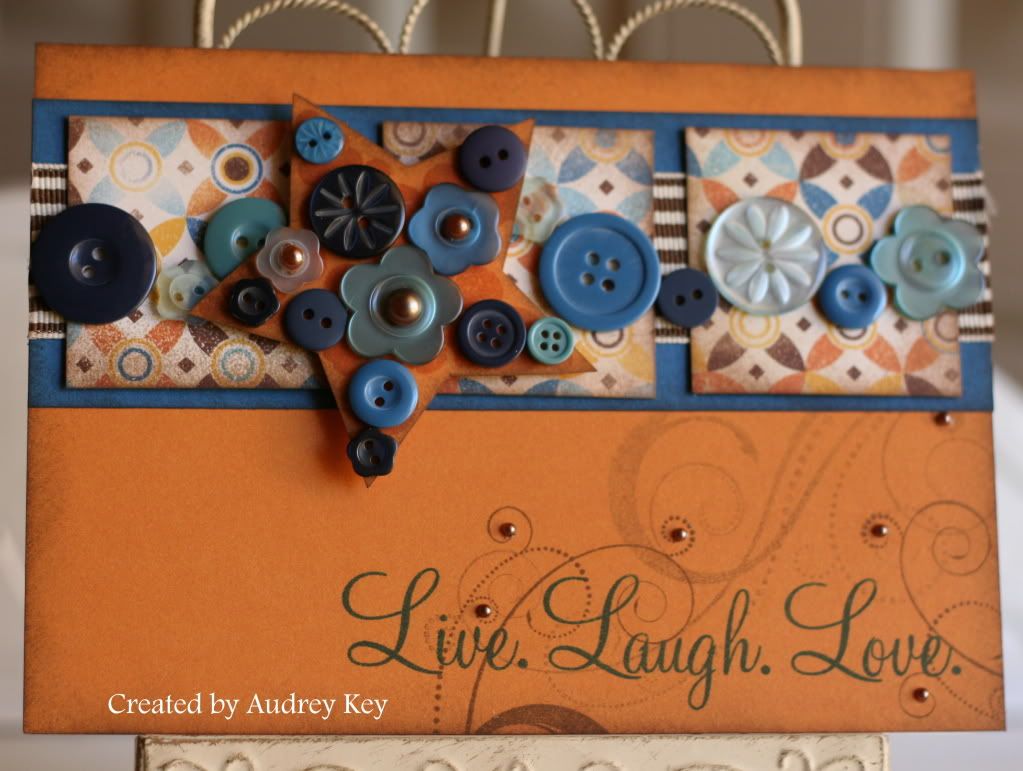
Live. Laugh. Love.


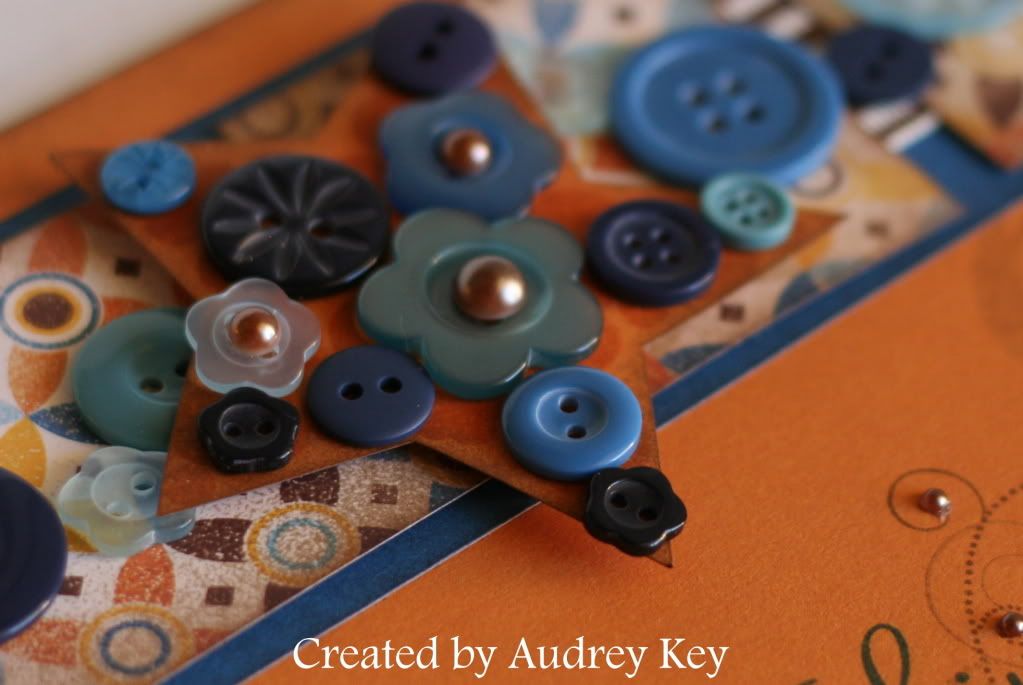
I used CTMH  Dreamin' Level 2 Paper to create this 5x7 card.  The stamps I used are:  Love Life stamp set and the Happy Clusters stamp set.  The embellishments on this card are a selection of buttons from the Blue Button Assortment and Mocha Opaques.


Two thicknesses of 3D Foam Tape were used pop the star up and I sponge distressed the edges with Chocolate Ink.

Saturday, October 15, 2011

Believe It - 50 Christmas Cards in a Day

You may not "Believe It" but you CAN make 50 cards in one day!  The way that  this task is completed is to spend an hour and a half and complete 10 cards  at each station (we rotate 5 times).  The main objective is to follow the directions for cutting the paper, stamping the pieces, and finally, assembling the cards.   It is a great workshop, and it is even more fun to leave the workshop with your Christmas cards ready to sign and address! 

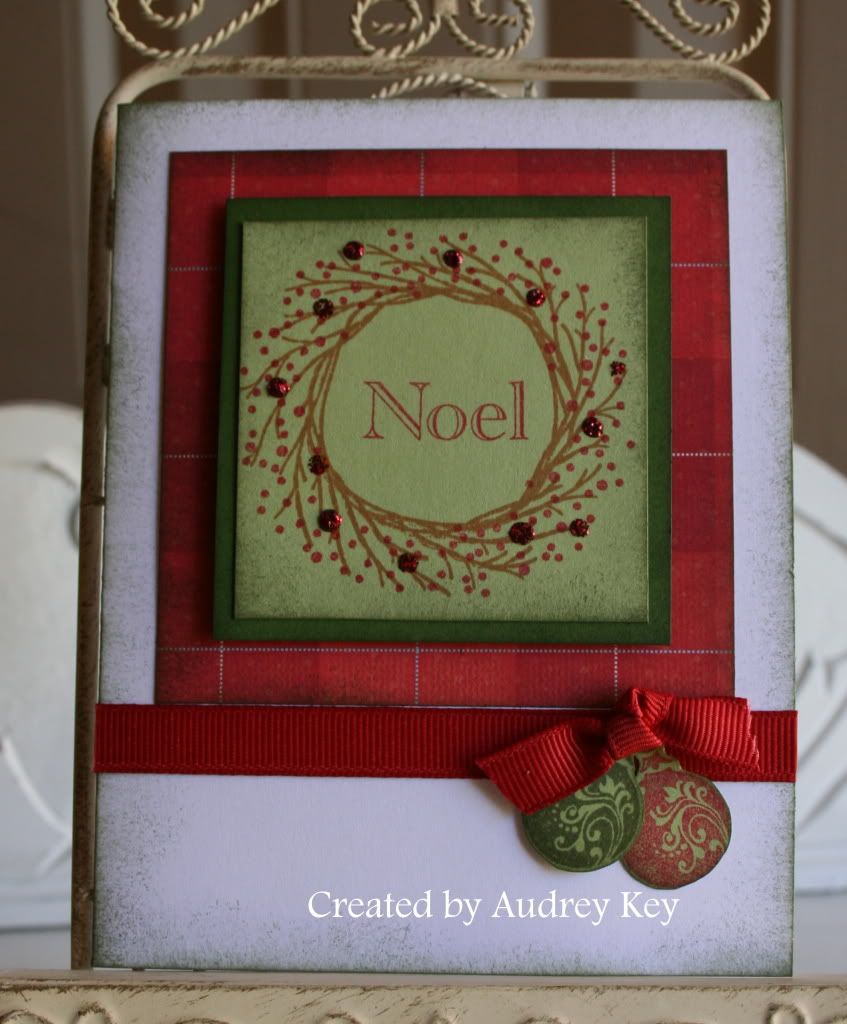
As you are reading this post, there are 17 lovely ladies participating in this workshop today.  Their kit included: Believe Lev 2 Paper, White Daisy Cards and Envelopes, Cranberry Ribbon, Clear Buttons, Bling Buttons, and Red Glitz Glitter Gel.

 I used Remarkable Wreath for this card.
(Does this stamp look familiar?)


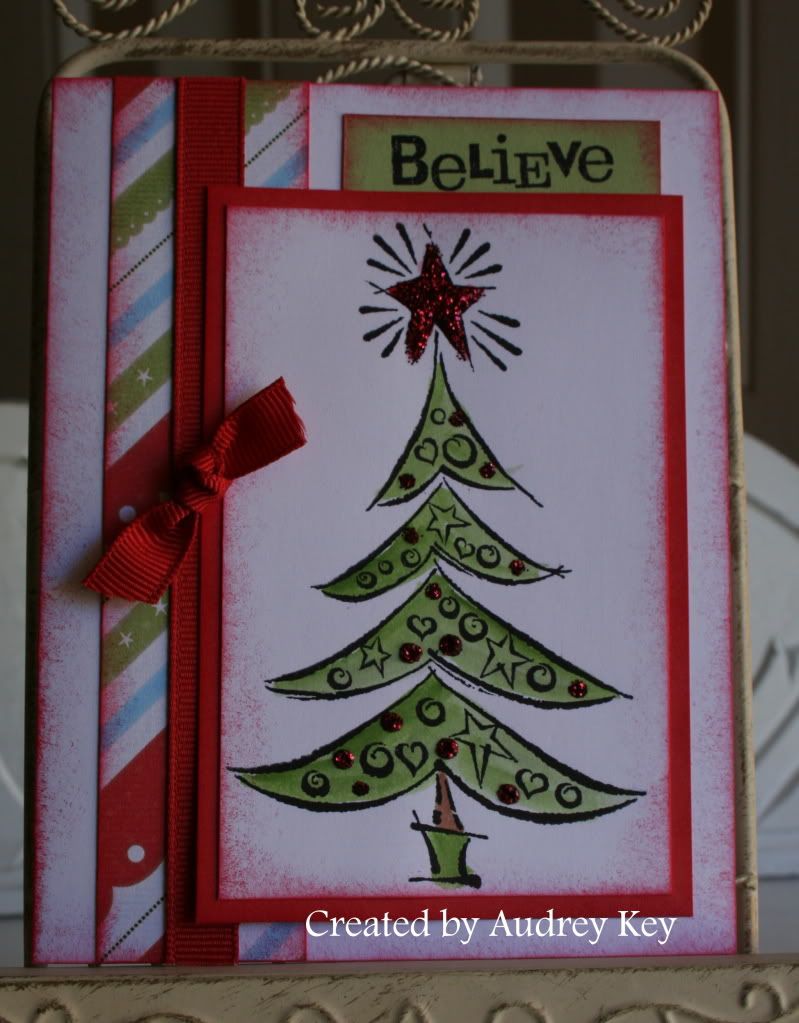
 I used Christmas Cheer on this cute tree card.  The tree was stamped with StazOn ink and I waterbrushed it with Topiary ink.  Red Glitz Glitter Gel was used to decorate it.


Holiday Magic is an awesome Stamp of the Month (available during October) to use for your holiday card making!


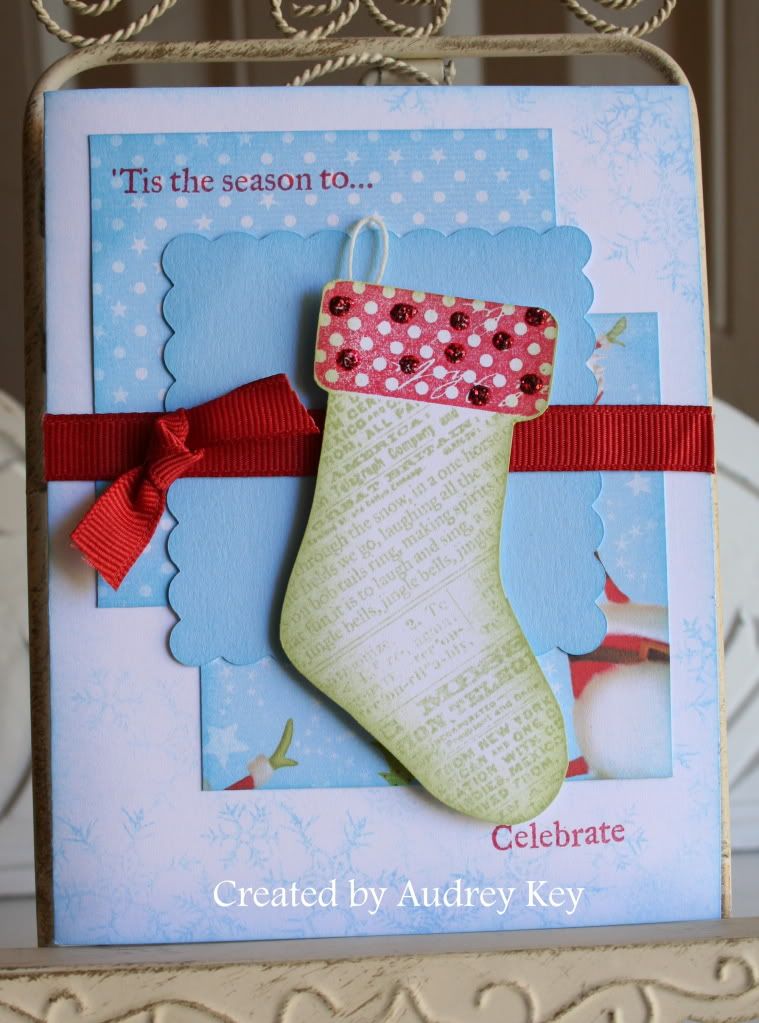
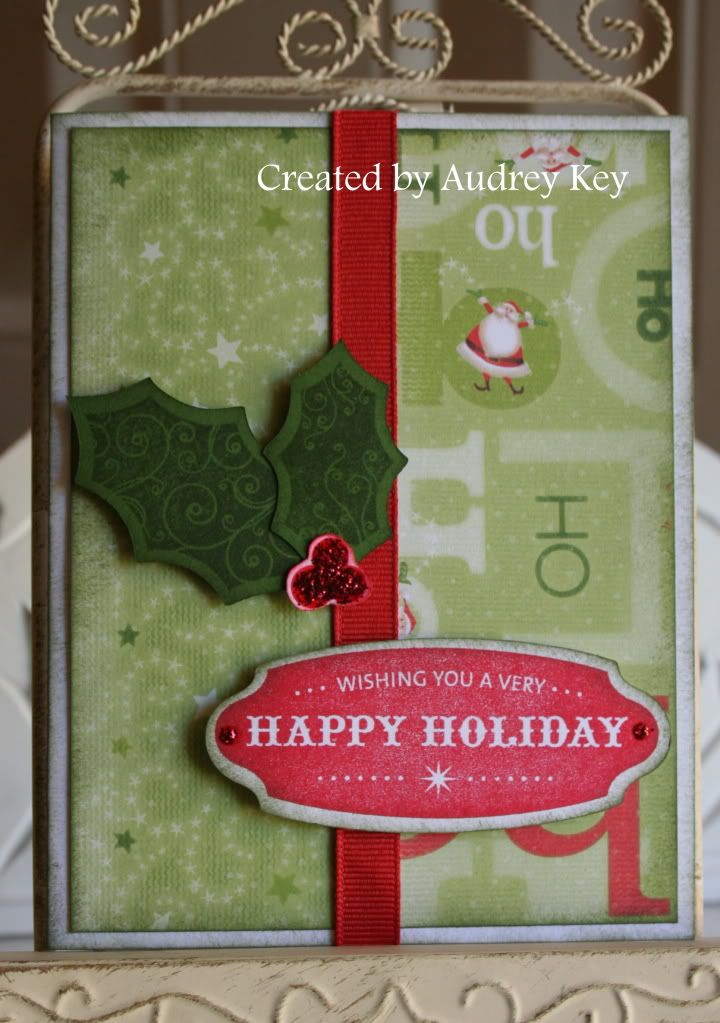
Holiday Cheer and A Holiday were used on this adorable Happy Holidays card!  Of course the name plate and holly leaves were cut from the Cricut Art Philosophy Cartridge!


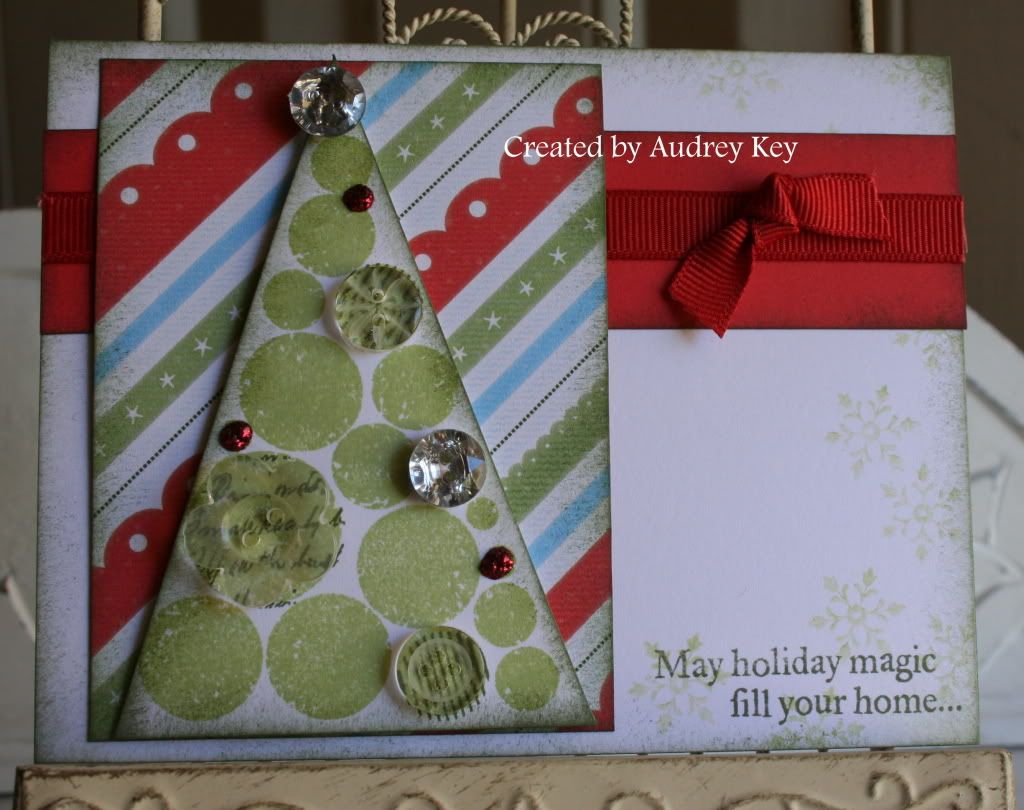
And last, but certainly not least, the buttoned up tree from  Happy Clusters finishes our 50 cards off in grand style!


I hope you enjoyed a sneak peak at what we are making at our 50 Christmas Cards in a Day Workshop.  I also hope that these cards inspire you to start making your Christmas Cards early!  Have a wonderful weekend!