Showing posts with label Sparkles. Show all posts

Saturday, June 30, 2012

A Little Birdie Told Me....Circle Cricut Card


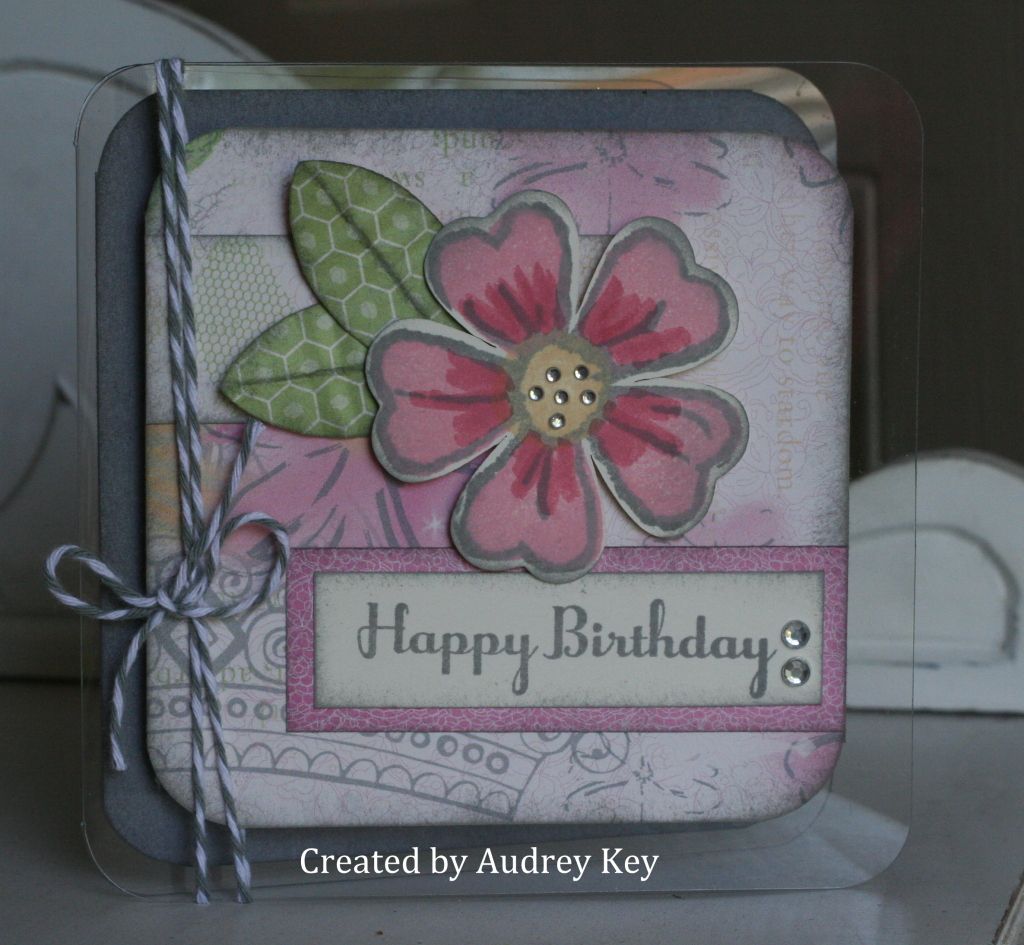
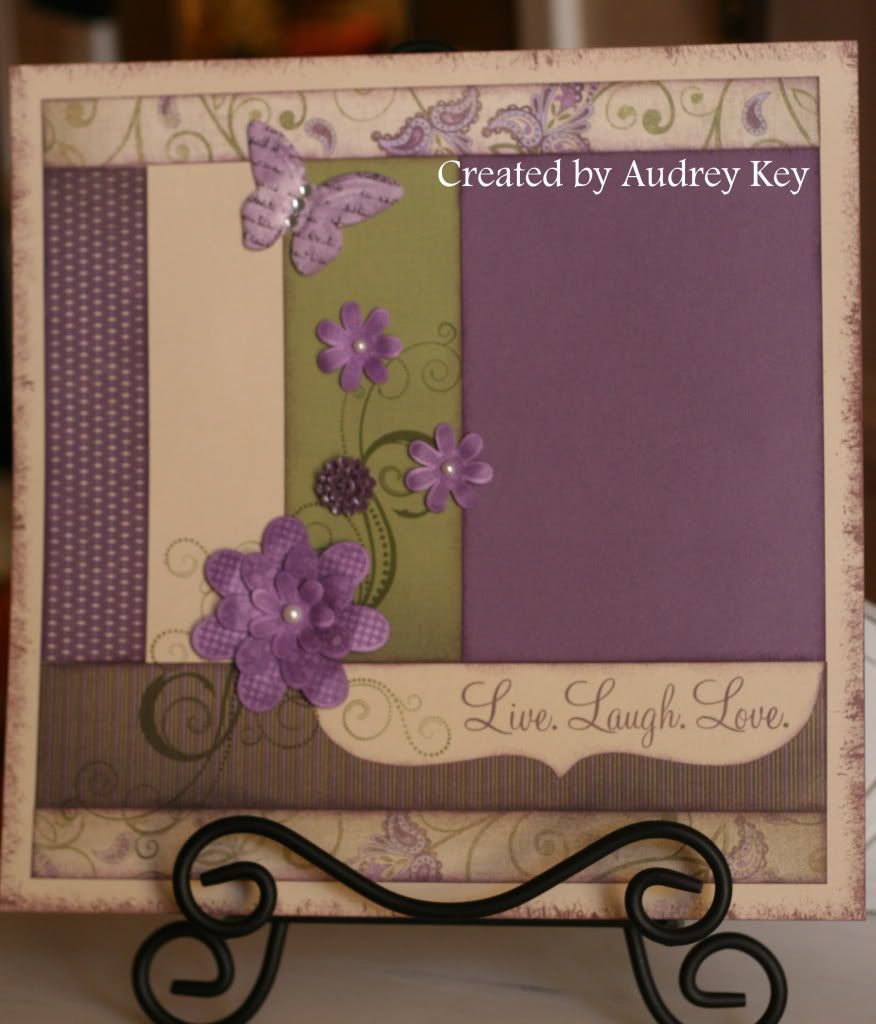
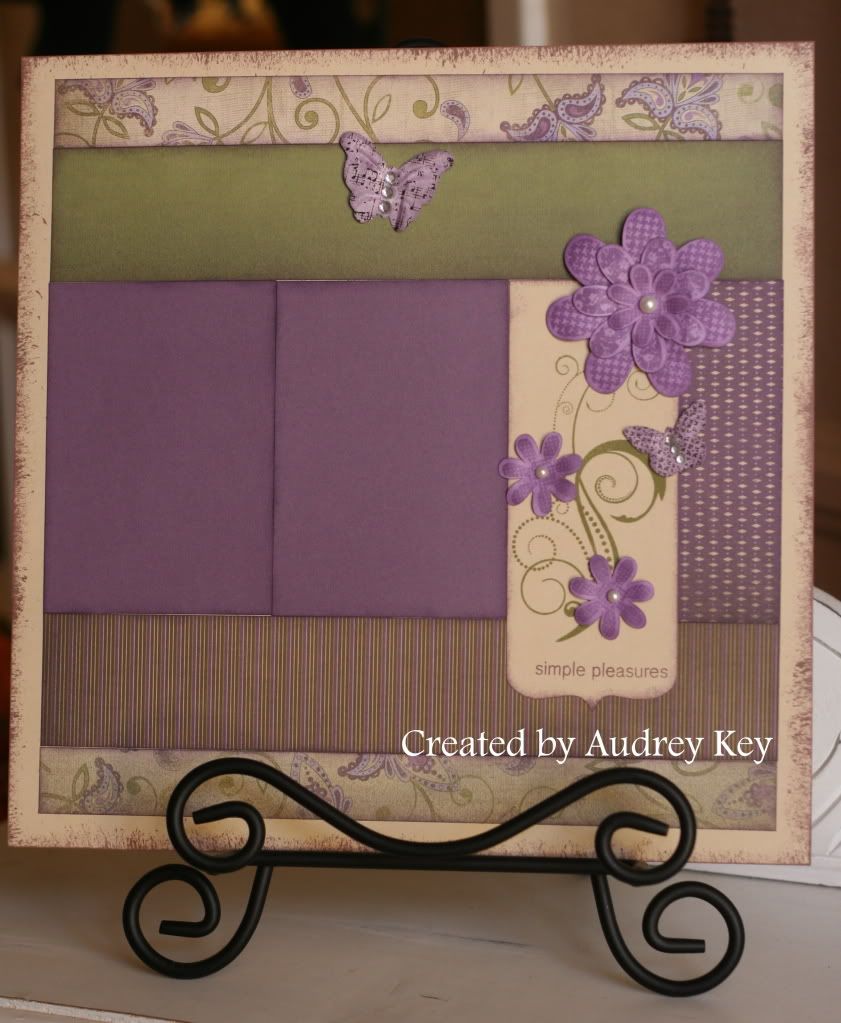
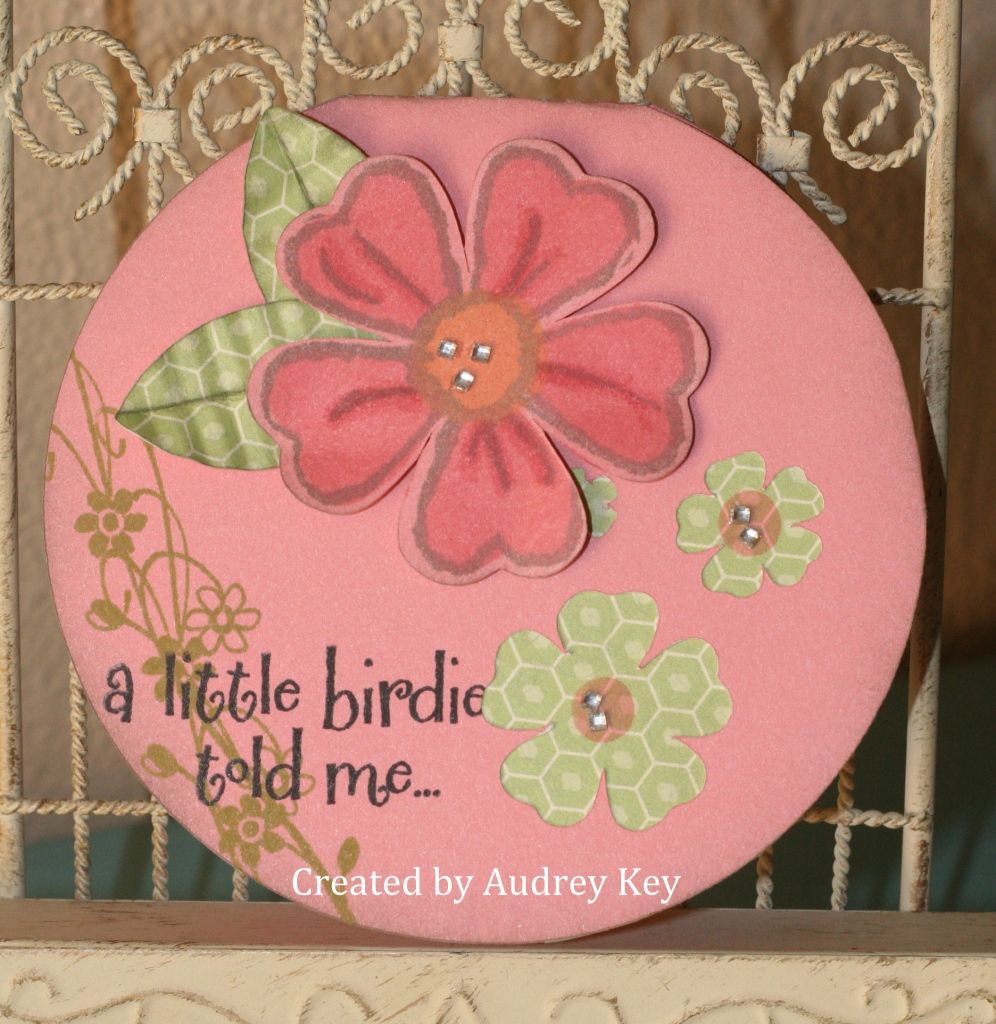
This is the final card from my Cricut Class last week.  This card was cut using the Card/Shift buttons and I cut it 4 1/2".  The cricut cuts the small flowers out of the card base, so I added Lucy B&T paper behind them to peek through. 

I cut the large flower <flower8> on page 50 and stamped it with the Lucy WOTG stamp set.  I used Sparkles to embellish the flowers.  I cut the leaves from the <petal2> key and crimped them with the Fiskar Crimping Tool.  I used the "Life is Tweet" stamp of the month for the sentiment and the vines.


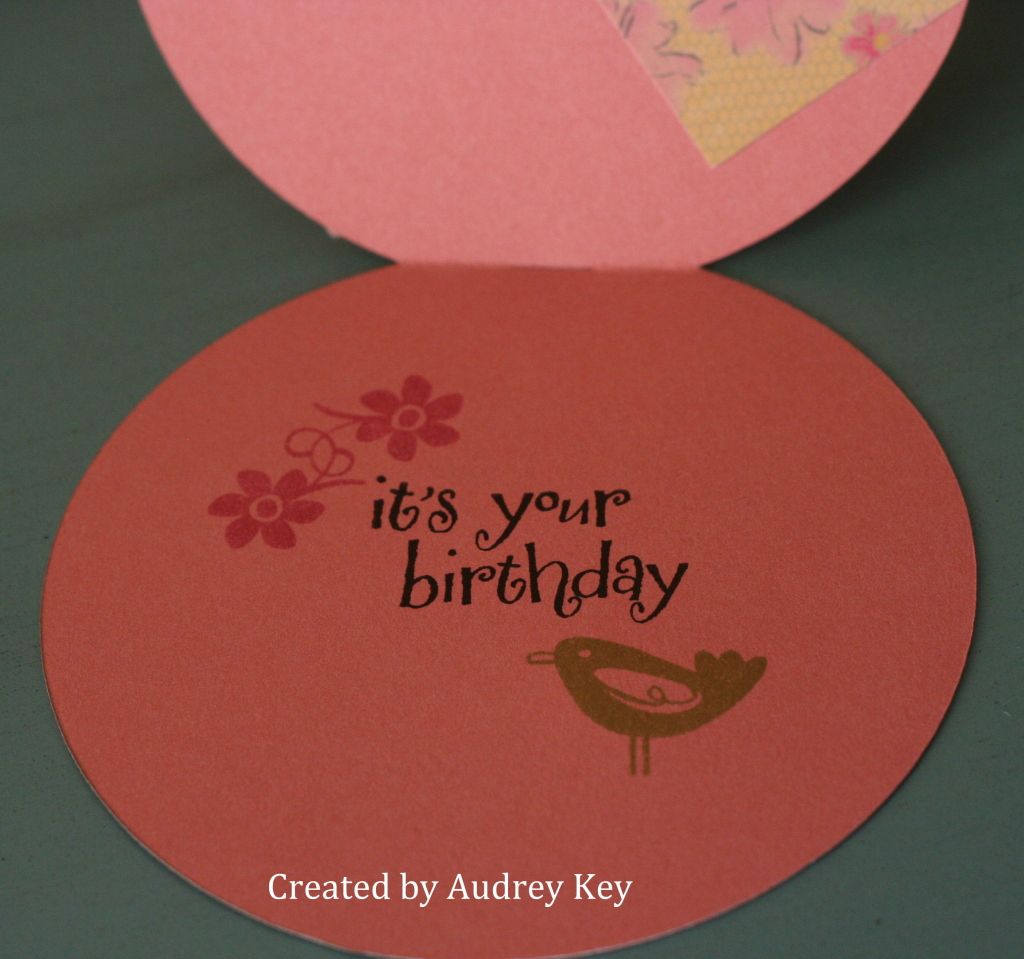
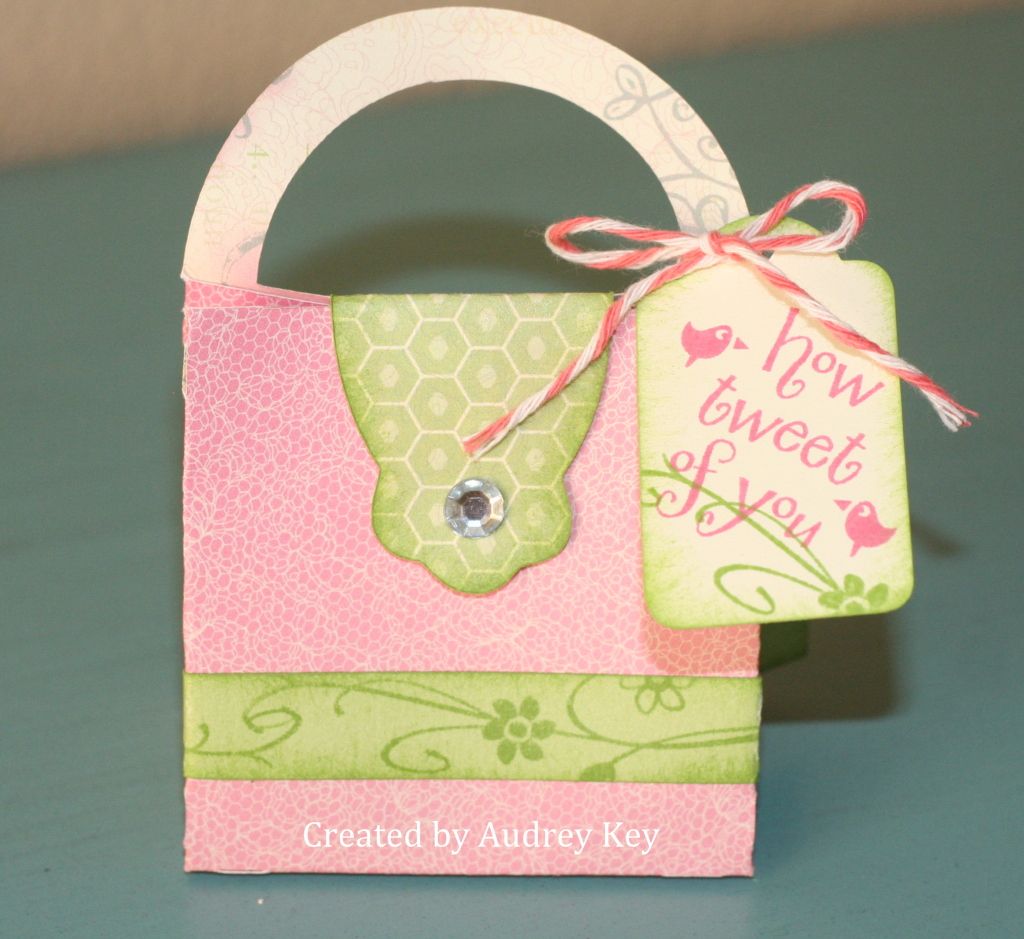
This is the inside of the card and I used the sentiment, flowers, and bird from "Life is Tweet."  Today is the last day to order your "Life is Tweet" June Stamp of the Month.  Also, Buy 2 stamp sets, Get 1 FREE ends today too! 

Thursday, June 28, 2012

How Tweet Of You Cricut Project


We made this cute little purse at my cricut class last week.  Our focus page from our Cricut AP Cartridge was page 50 - the tag is on that page and we cut it at 2". 

The purse is on page 23 and on the Font Layer/Shift Keys (5").  We cut the front handle off and added <shape2> for the purse tab/buckle (tab was cut at 1 1/4" and I used a small piece of velcro as the closure). 

We used the "Life is Tweet" Stamp of the Month for the stamping.  A large sparkle and Paradise Baker's Twine were used to embellish this cute purse.

These would be perfect as a favor for a Tea Party, Birthday Party, Wedding, etc.  You could put candy, earrings, or anything small in this little purse! 

Friday, June 15, 2012

Happy Birthday Clear Card


This is one of our clear cards and I used Lucy paper and the Lucy Workshops on the Go stamp set for all of the stamping.  I cut the flower with the Cricut AP Cartridge and then used the coordinating stamp.  I cut the leaves out on the cricut and crimped them with my Fiskars crimping tool.  I made a  fold in each leaf and distressed them with grey wool ink.

I used sparkles and Neutral Baker's Twine in grey wool to embellish this card. 


Wednesday, March 7, 2012

Celebrate Clear Card


I have been working with the Super Hero paper packet this week and it doesn't take long to realize that it isn't just a boy's Super Hero kit.  It is great paper for making patriotic cards and layouts as well.  I know that it is premature timing for patriotic cards but since I have been working with that packet I thought I would share it.

I used the Cricut to cut out the large star and stamped it with the large star in the American Celebration stamp set.  The small chipboard stars were stamped with the border stamp in the Super Hero WOTG stamp set and then I ran the brush tip of our Cranberry marker on the edges of the chipboard (what a fast way to cover the edges of chipboard!).  I added our Color Ready Seam Binding and sparkles to embellish the front of this card.


Clear cards are so much fun to work with because you get to show both sides of the B&T paper patterns.  You only need a little adhesive too as it attaches permanently and easily to the plastic.


I have been itching to use our new adhesive springs on a project.  I used one inside the card under the fireworks.   These awesome little gems are only $2.95 for 6 of them and they really add pop to your card making projects.  When you open this card the fireworks spring out at you.  Very Cool!!! 

The Super Hero WOTG kit includes:  Super Hero Paper, Super Hero Stamp Set, Dimensional Elements Stars (Cricut Compatible with measurements on the package), Comic Badge Buttons, and the Super Hero Workshop Guide.  The WOTG kit is $35 (including the tax and shipping).  Currently, I have not  scheduled this kit on my regular class schedule.  However, if there are those of you that would like to attend a workshop for this kit, please email me and we will find a date.


Tuesday, February 14, 2012

Valentine's Day - Heart Frame


I bought this frame at Michael's several months ago because I thought it would be the perfect Valentine's Day gift for my sweet husband, Dean.  

I painted the frame with pink acrylic paint and set aside to dry.  The flowers were cut from Roxie Plaid B&T and Tulip Cardstock with the Cricut AP Cartridge.  I sponged the edges of the flowers with Cocoa ink prior to rolling them up.  I used the Instant Memories stamp set to stamp the flourishes with Timber Brown StazOn ink.  Seam binding makes a fluffy little bow and a Designer Rhinestone Brad finishes it off.  Large sparkles were added to the center of each flower and Bitty Sparkles were added to the flourishes.

**Tip - Use Liquid Glass to adhere the flowers together and to adhere them to the frame. 

Monday, February 6, 2012

Wonderland Workshop on the Go Cards


These cards are from the Wonderland Workshops on the Go that were held last week.  The kit included the Wonderland Paper,Wonderland Stamp Set, Pin Clips, Sparkles, and the Wonderland Workshop Guide.  I created these cards and the  instructions for the workshops.


Grey Flannel is not my favorite color in our 60 exclusive colors, however, I do love this card.  It looks icy and wintry.  I am still hoping for some winter weather in Texas!  


This ended up being my favorite card.  I used the rock 'n roll technique with 1st and 2nd generation Twilight ink and Chocolate for the word stamp.  And, who doesn't love a cappuccino, hot chocolate, or cup of hot tea!

Thursday, February 2, 2012

You're Invited Card


Here is another card that I created for the Cricut class last week.  The card base is on the <shape1>.  I used a chipboard shape from the Cricut bundle and the coordinating stamp set to create this "Tea Party Invitation".  You could use this stamp for any type of party - it is very versatile!  I cut a flower on the Cricut and used sparkles to embellish the flower  and the chipboard shape.  Instant Memories was used to stamp the flourishes.

Wednesday, February 1, 2012

Have a Day Filled with Love Card


This card was also a card that I created for the Cricut class.  It is one of the cards on the <shape1> key on page 26.  I used the stamp set in the Cricut bundle to stamp the two hearts on outside edges of the card as well as for the sentiments.  The center hearts were cut from the <shape1> key and layered with foam tape.  I used Instant Memories to stamp the beautiful flourishes on the corners of the card.  Sparkles add the perfect amount of bling to this card!

Tuesday, January 31, 2012

Love Valentine Pocket


This Valentine treat pocket was our project at the Cricut class last week and was inspired by a similar heart pocket that my friend and fellow consultant, Ginni Candelaria, made for me. 

 We cut this heart from the <shape1> key on page 26 in the Cricut booklet.  I cut the letters "L V E" and cut the flower  for the "O" -- all with the Cricut AP cartridge. 

We embellished the pocket with Sparkles, a Designer Rhinestone Brad for the flower center, ribbon, and Just Blooms Paper Shapes butterflies.  We added a "handle" by attaching wide ribbon with brads.

Monday, January 23, 2012

A Week of Stamp Camp Projects - #1 - Tailor Made Thinking of You


Stamp Camp is an event that I hold annually and this year was the 9th year.  The purpose of Stamp Camp is to learn new techniques.   We used the Elemental Paper Packet, paired with cardstock, for each of the projects!  You will see the versatility of Elemental with each project,
as the week goes on.

*For this card we rubbed the stamp pads on wax paper; laid the tag on the ink and pressed it a little.  Then we spritzed water over the wax paper  (which re-activated the ink) and laid the tag back on it and pressed it again.  When you lift it up it has a really cool watercolor looking image.  We set it aside to dry as we worked on the other steps. 
*We used crumpled seam binding as our ribbon - we spritzed it with water and crumpled it up and let it dry.  To get the fluffy bow, we tied three bows with the one length of ribbon securing it with a glue dot to hold it when we finished (you just keep tying bows until you run out of ribbon).
*The stamps that were used were:  Tailor Made, Love Life, and Childhood Portrait (for the sentiment). 
*We used Pin Clips, a large sparkle, and a large bling button to finish this beautiful card off!

I hope you visit tomorrow to see the next project!

Monday, January 16, 2012

Wonderland Snowflake Card


This card screams "Winter"!  (Although it is supposed to be 70 degrees today and we are expecting 55 mph wind and a dust storm - remember...the weather man is never wrong about wind and dust!)

I used the Snowflakes stamp set which is Cricut AP compatible.  I cut both snowflakes on the Cricut and then stamped them with the coordinating stamps.  I embellished them with Martha Stewart glitter to make them sparkle and shine.  I also used our Designer Rhinestone Brads, sparkles, Bling Assortment Pins and ribbon from my stash.

Friday, December 23, 2011

Wishing You a Very Happy Holiday Card


This 4 1/2" square card is from the Cricut Class last week.  The card base; red and striped background pieces; holly leaves; and the focal point piece were all cut on the Cricut.  If you are interested in which keys were used, please email me and I will give you that information.  I used  "A Holiday" and  "Holiday Cheer" stamp sets.  I embellished the card with Red Sparkles and checked ribbon. 

Wednesday, December 14, 2011

Peace on Earth Card


This card is also a product of the <square1> key on the Cricut.  The star embellishment is the <star1>  in graduated sizes and I popped each layer with 3D Foam Tape.   I chose the Christmas Love stamp set for the sentiment and I used a Rhinestone brad and sparkles to jazz it up a bit.  The card was cut as a 4 1/2" card from the <square1> key.

Tuesday, November 15, 2011

Roxie Rolodex


I have missed not posting (for a week now).  We were out-of-town and so I want you to know that I am happy to be back in the "saddle".  I started this little project last week before we left but ran out of time to complete it.  I have had this Rolodex for at least a year and had been meaning to decorate it.  This isn't your typical Rolodex as it is a place for those endless passwords that we all have.  It is a pet-peeve of mine that every website makes you use different cases, numeric characters, etc.  I can never remember them all!


Since we have reds and animal prints in our house I thought it fitting to use the Roxie Level 2 Paper packet.  I also included lots of black ribbon, Bling Assortment, Pearl Opaques, Sparkles, and the Cricut Art Philosophy flowers. 

Friday, November 4, 2011

Live, Laugh, Love Layout


Sonoma quickly became one of my favorite new kits as I made this layout.  This is the left side of a 2-page layout that I made using our Sonoma Level 2 Paper, Love Life Stamp Set, Hooray Bouquet Stamp Set,  Just Blooms Paper Shapes, Pearl Opaques, Clear Sparkles, and the Heirloom Embellishment Assortment.


This is the right side of the layout.  The pattern is in the Magic How-To Book on page 48 & 49 ("Performance").  

    **Tip - The technique I used to distress the edges - Smokey Plum Reinker and the Stipple Brush from our Texture Tools set - dip the brush into a craft jar with reinker and use short strokes from the edge of the paper toward the center. 


This is a close up photo of the flowers.  They were cut out with the Cricut Art Philosophy Cartridge and then stamped with Hooray Bouquet stamp set.  You can also see the detail of the flowers from the Heirloom Assortment.  The Heirloom flowers have adhesive on the back so they are ready to adhere.   


Thursday, November 3, 2011

Advent Activity Box


This cute little box is filled with activities to countdown to Christmas!  The box is our My Creations Memory Game.  I used the Believe Paper Packet, Red Sparkles, Green Ribbon Assortment, and the Countdown Stamp Set.


Saturday, October 29, 2011

Roxie - 10 Things I Cherish Board Book


This darling book started out as a white chipboard book and ended up as a work of art!  In it are 10 Things that I Cherish - 1) Family; 2) Home; 3) Dean; 4) Stephanie; 5) Connor; 6) Brayden; 7) Holidays; 8) Summer Fun; 9) Birthday Celebrations; and 10) Vacations.  Yes, I know there are many more things that could be included but, I only had 10 pages! 

I used the 10 Things My Acrylix Stamp Set and Instant Memories Stamp Set as well as Roxie Level 2 Paper, Bling Assortment, Just Blooms Paper Shapes, 10 Things Pocket (tags), Cricut Art Philosophy Cartridge, and sparkles.


Saturday, October 22, 2011

Pinktober


In honor of Pinktober - Breast Cancer Awareness Month - Susan G. Komen Foundation, I finally used this awesome stamp set Always Remember.  When I served on the CTMH  Advisory Board in 2007, I practically begged CTMH to create a ribbon stamp set that could be used for Breast Cancer, Heros/War, etc., and Whoa la - they created one.  If you don't have it, you should definitely get it.  For this card I used Cotton Candy Cardstock and ink, Kraft Cards, Dark Chocolate Striped Ribbon, and Red and Pink Sparkle Assortment.

Also, did you know that 1 out of every 6 women will be diagnosed with Breast Cancer?  Those statistics are astounding in my opinion.  My mom and I walked in the Race for the Cure held in Lubbock on October 1st with the Women of the Church of Westminster Presbyterian Church.  The WOW board organized our team as a project that we could do as a group.  As they were planning events for the coming year, they were meeting at the Moderator's house and there were 6 ladies at the table - out of the 6 ladies - 5 of them had been treated for Breast Cancer! 

In my family, we have Breast Cancer on both sides of the family.  My maternal grandmother had Breast Cancer and Uterine Cancer.  Her sister had Breast Cancer 3 times and her daughter (my cousin) recently had it and went through chemo and radiation.  I found out several weeks ago, that my Paternal Grandmother's Sister also had it.  Whether you have Breast Cancer genes in your family or not, I believe early detection is so important.  I have been having mammograms since the age of 30 because of family history.  If you haven't already had a mammogram this year, please have one.  Even if you don't have insurance, the test is not so costly that it isn't worth it.  Remember - YOU are someone's sister, mother, grandmother, niece, daughter, and you matter!

Monday, October 3, 2011

Hip Hip Hooray Birthday Card


This card was created with our Sonoma Paper and features an Heirloom Resin Flower and a Rhinestone Designer Brad.  I also used sparkles to dot the "I's".  This paper is perfect for weddings, heritage, or very elegant scrapbook pages or cards.


I stamped with the following stamps:  D1482 Love Life and D1491  Hooray Bouquet (both of these are my Favorite Picks for this catalog!).