Yesterday I had my first annual Santa's Workshop Kids Kamp, so that kids had an opportunity to come make gifts for family members. We had so much fun and I wanted to share the projects that the kids made.
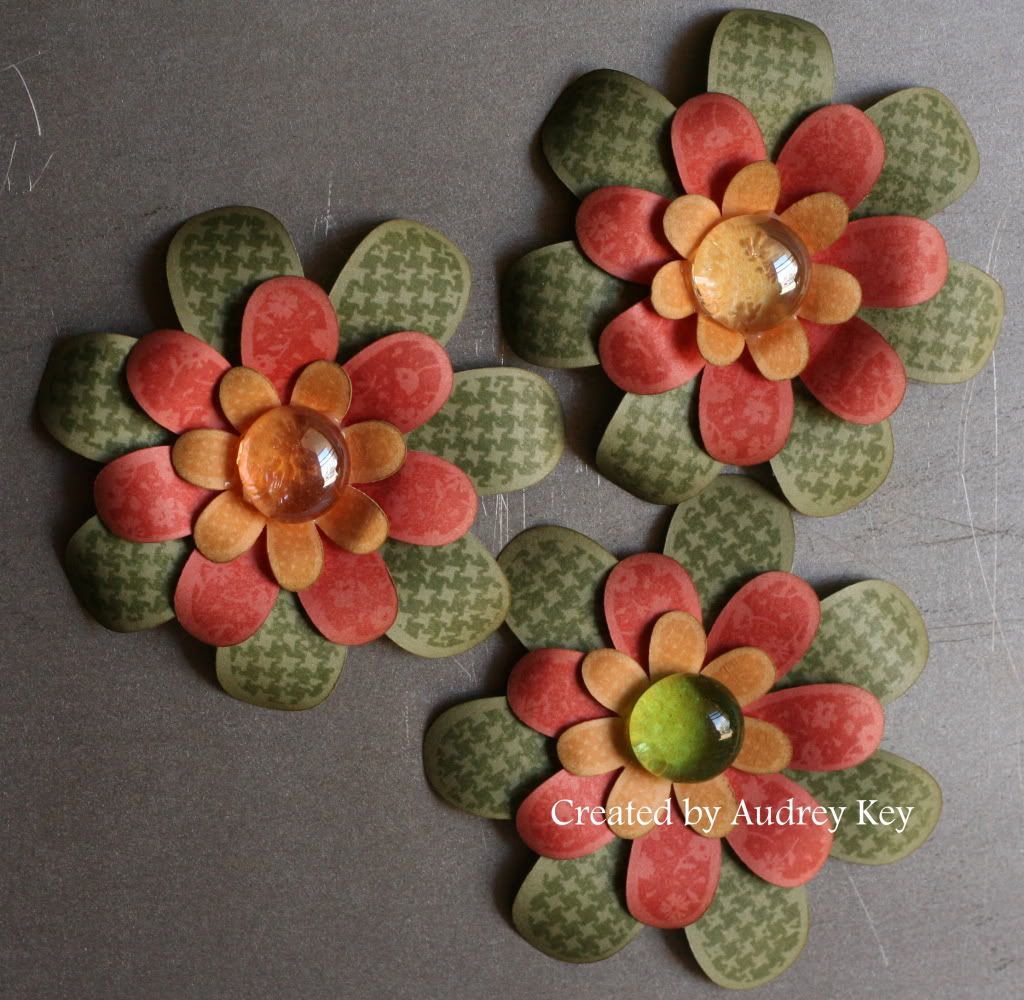
These are refrigerator magnets. We cut the flowers on the Cricut and stamped them with the Hooray Bouquet stamp set. The colors are Garden Green, Sorbet, and Creme' Brulee. We used Alene's Magnetic Tacky Dots for the magnet and the pebbles were adhered with Liquid Glass.
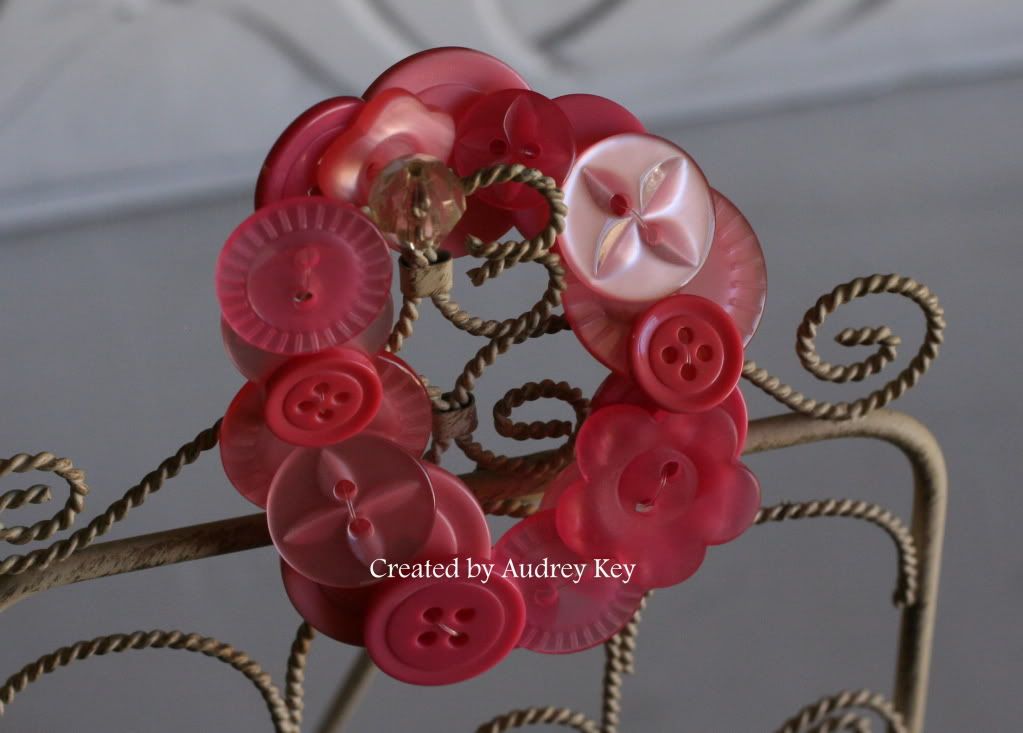
This fun bracelet is perfect to use up old (or new) buttons. I used our Pink Button Assortment for this bracelet but each child got a different selection of buttons. We stung the buttons with "Stretch Magic Jewelry and Bead Cord" that I purchased at Michael's. When you make this type bracelet you need to wrap the Stretch Magic cord around your wrist twice which allows for the overlapping that naturally occurs as you string the buttons.
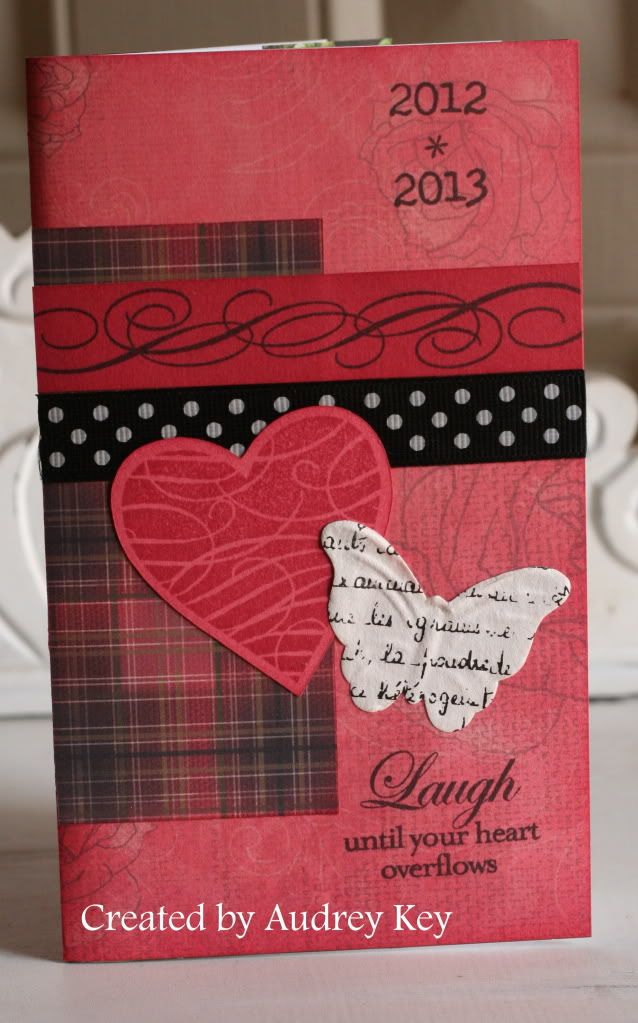
We took a $1 pocket calendar from Michael's Dollar Spot and created a work of art.
We used Roxie Paper, the Cricut to cut out the heart, Mad About You Stamp Set (December Stamp of the Month), Winter Joy Stamp Set, Save the Date Stamp Set, black ribbon, and Just Blooms Paper Shapes to transform this pocket calendar.
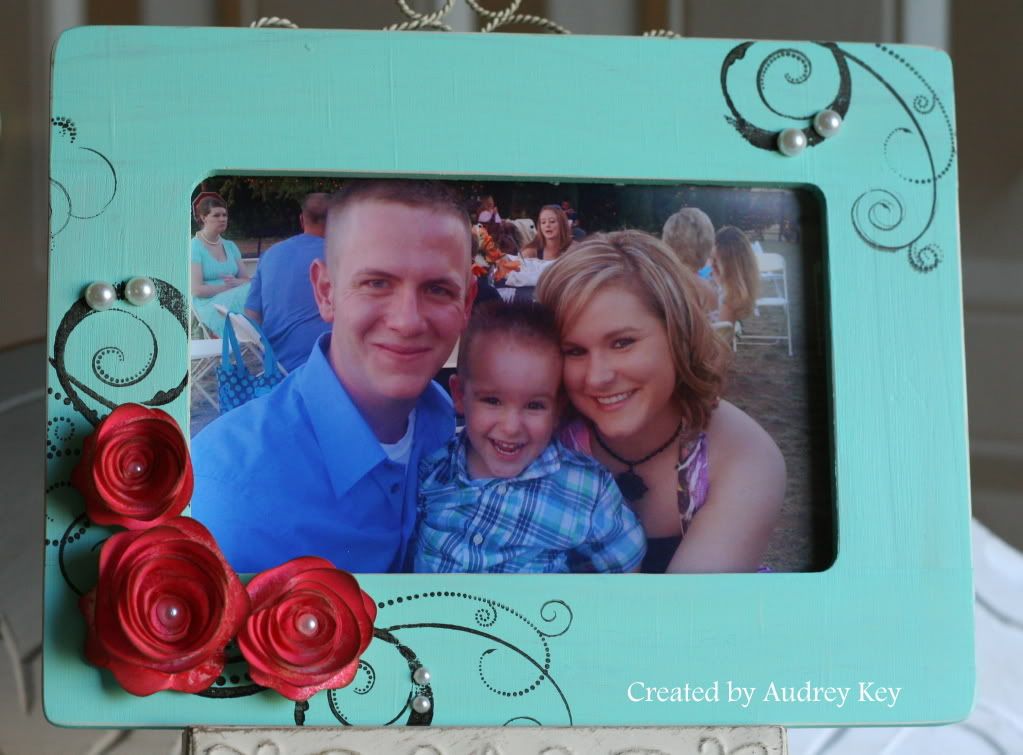
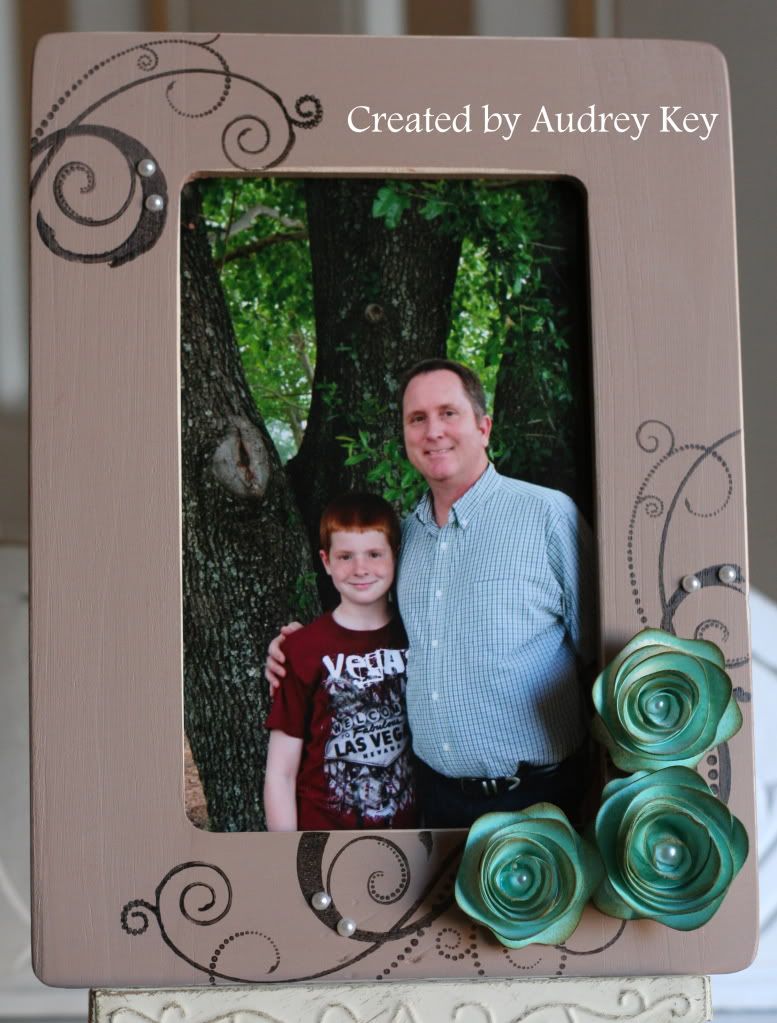
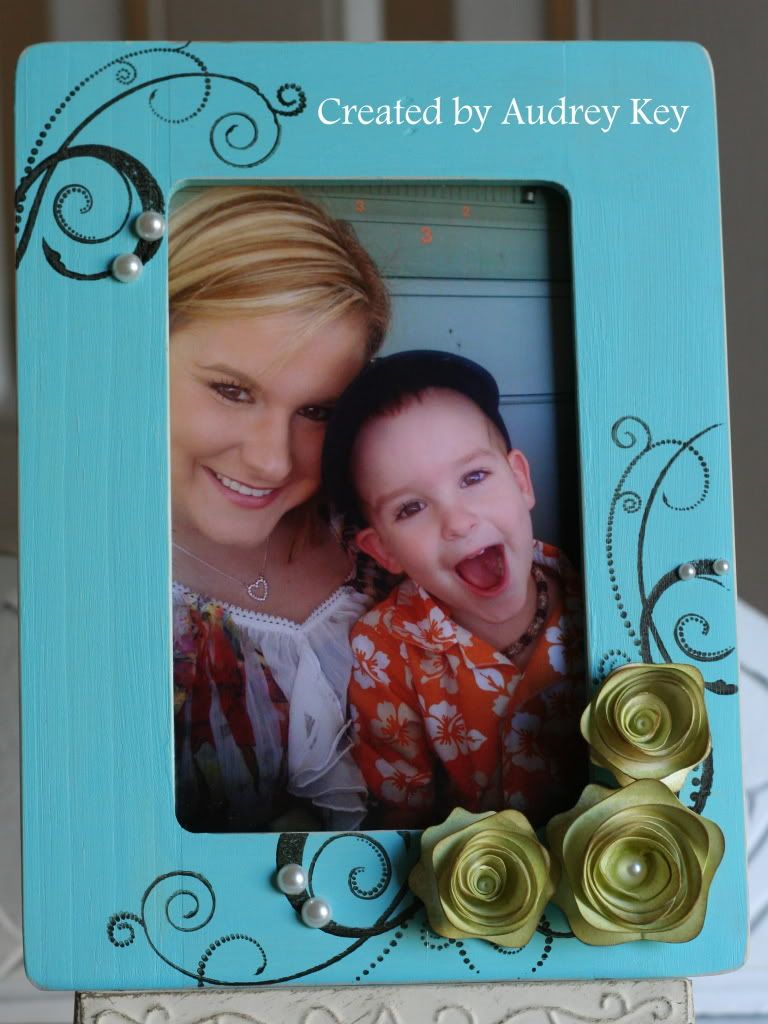
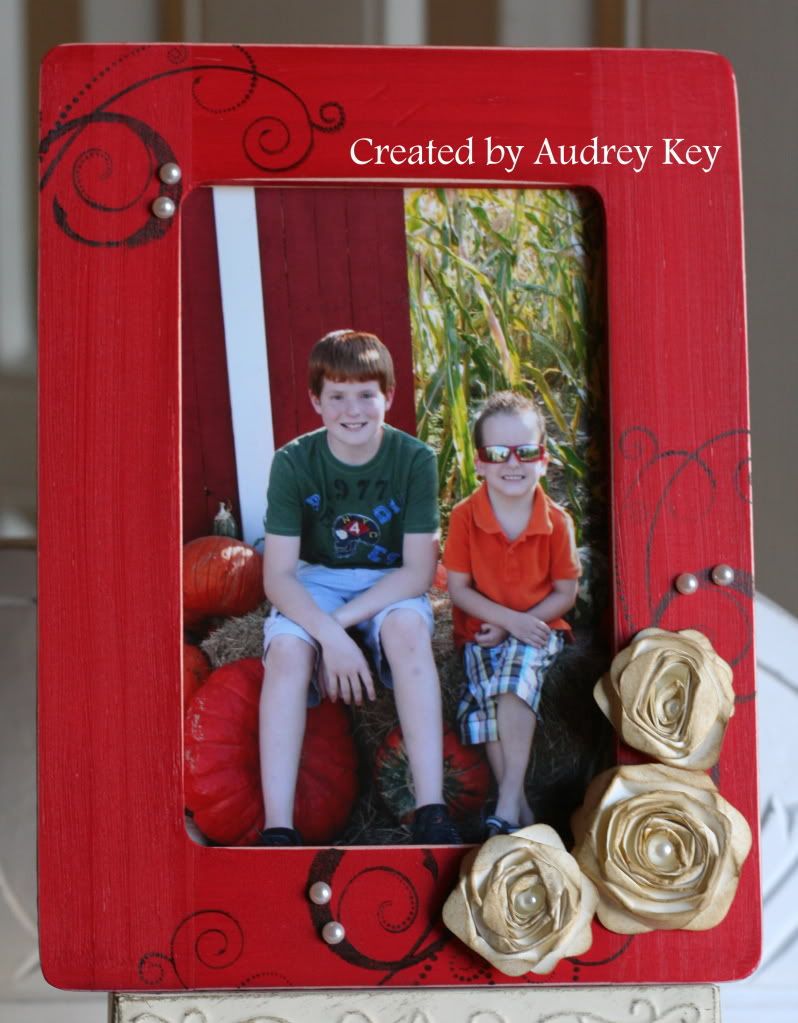
And, last but not least, a plain wooden frame (also purchased at Michael's), becomes a work of art! Wouldn't it be a perfect gift for grandparents with a family photo or the child's school portrait?
The kids were able to choose which color of paint they wanted to use for their frame.
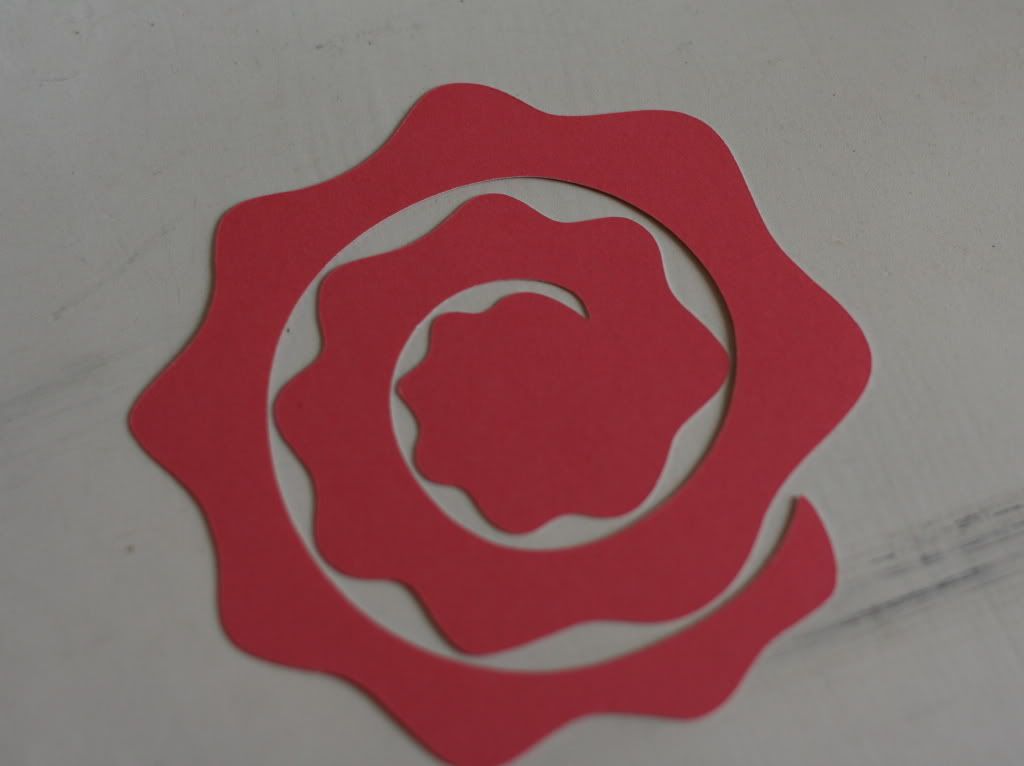
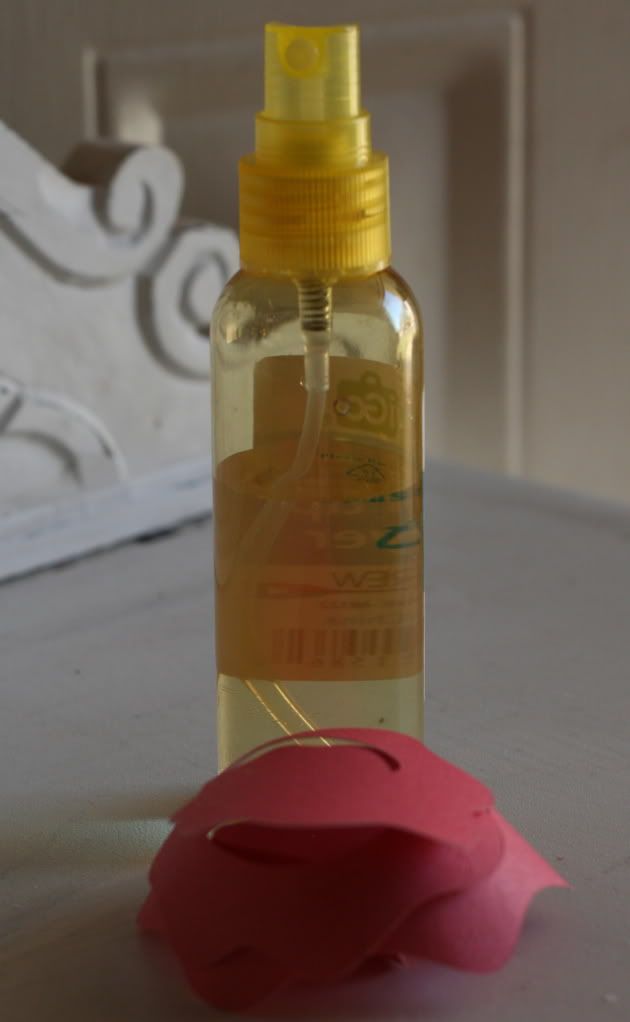
I cut all of the roses from Colonial White Cardstock on the Cricut. The kids chose which color they wanted their roses to be. I mixed water and re-inker in little spritz bottles (I used Lagoon, Cranberry, and Sweet Leaf re-inker). We spritzed them and set them aside to dry. When they were dry we sponged the edges with Desert Sand ink.
We used the Love Life Stamp Set to stamp these beautiful flourishes with Brown StazOn Ink. I know that I keep saying it, but Love Life is my FAVORITE stamp set in this catalog!
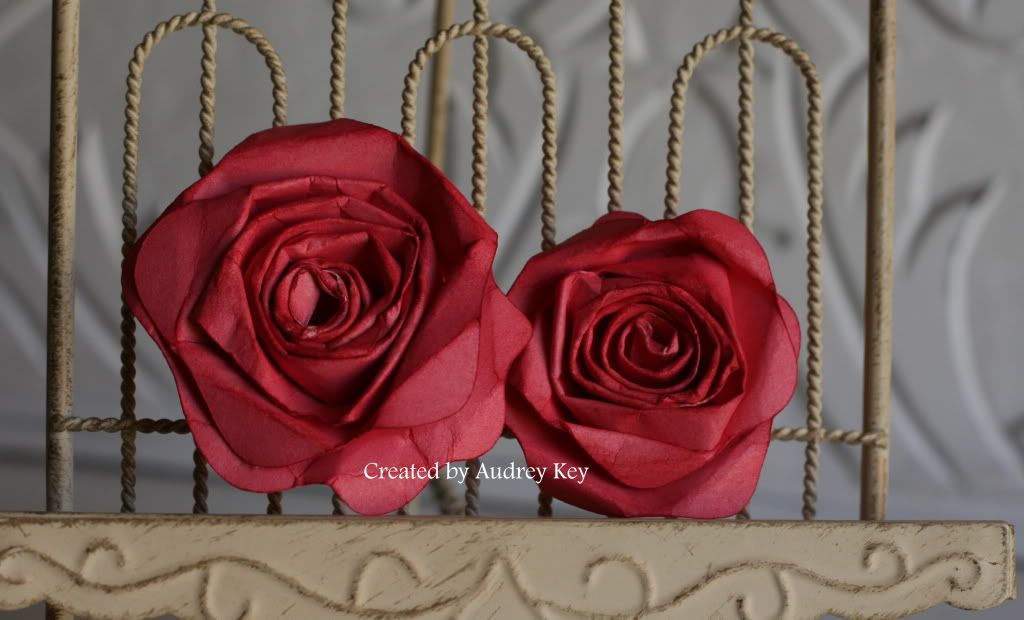
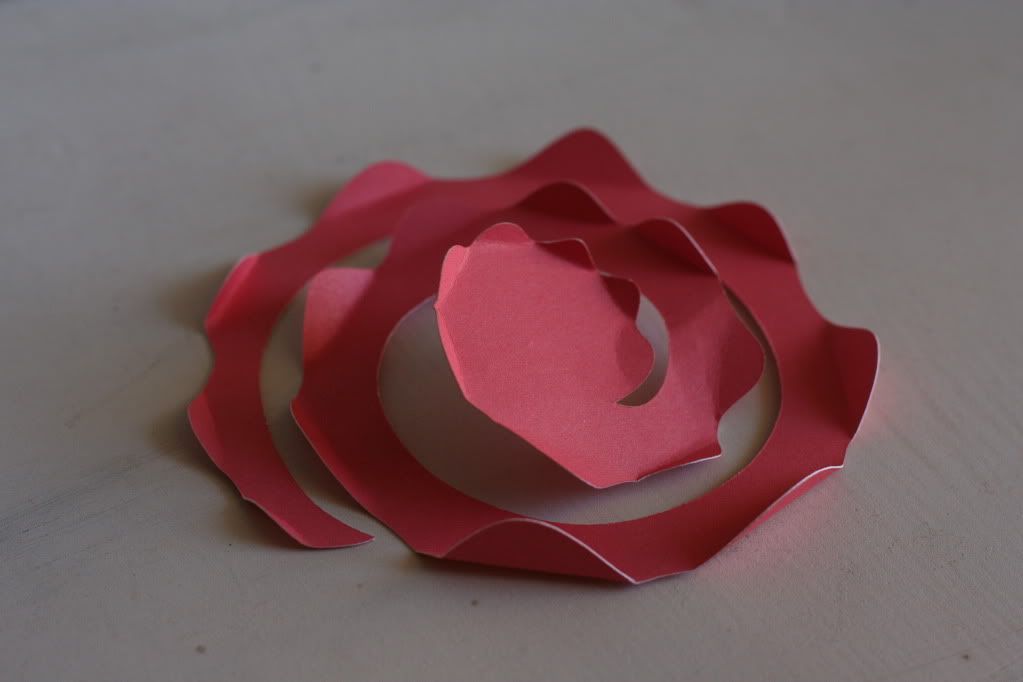
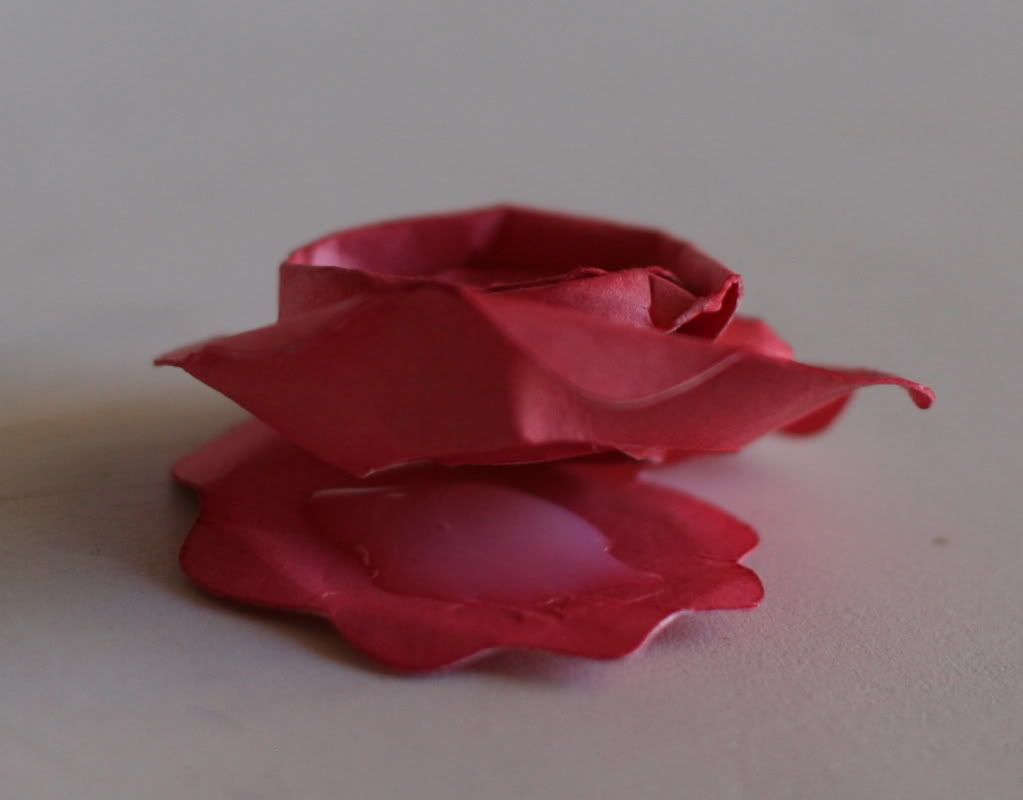
The red frame is my favorite one (because it matches my home decor and it is one of my favorite colors). I made distressed roses for this one (see the post on Sunday, October 30 for the Distressed Flower Tutorial) and simply sponged them with Desert Sand ink. We used Pearl Opaques to embellish the frames - and it covers up some of the stamping issues that occur when stamping on wood, using StazOn, etc. (you know what I always say....."Mistakes are opportunities to embellish!")
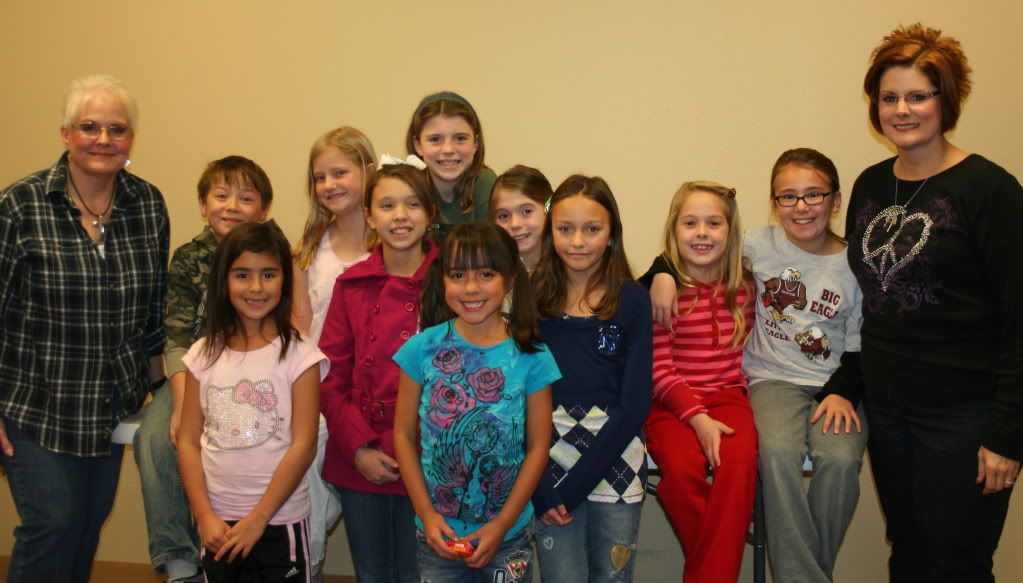
These are the Santa's Workshop Kids Kamp Participants (and teachers):
Thank you sweet kids for making Santa's Workshop Kids Kamp a success. I look forward to having it again next year!