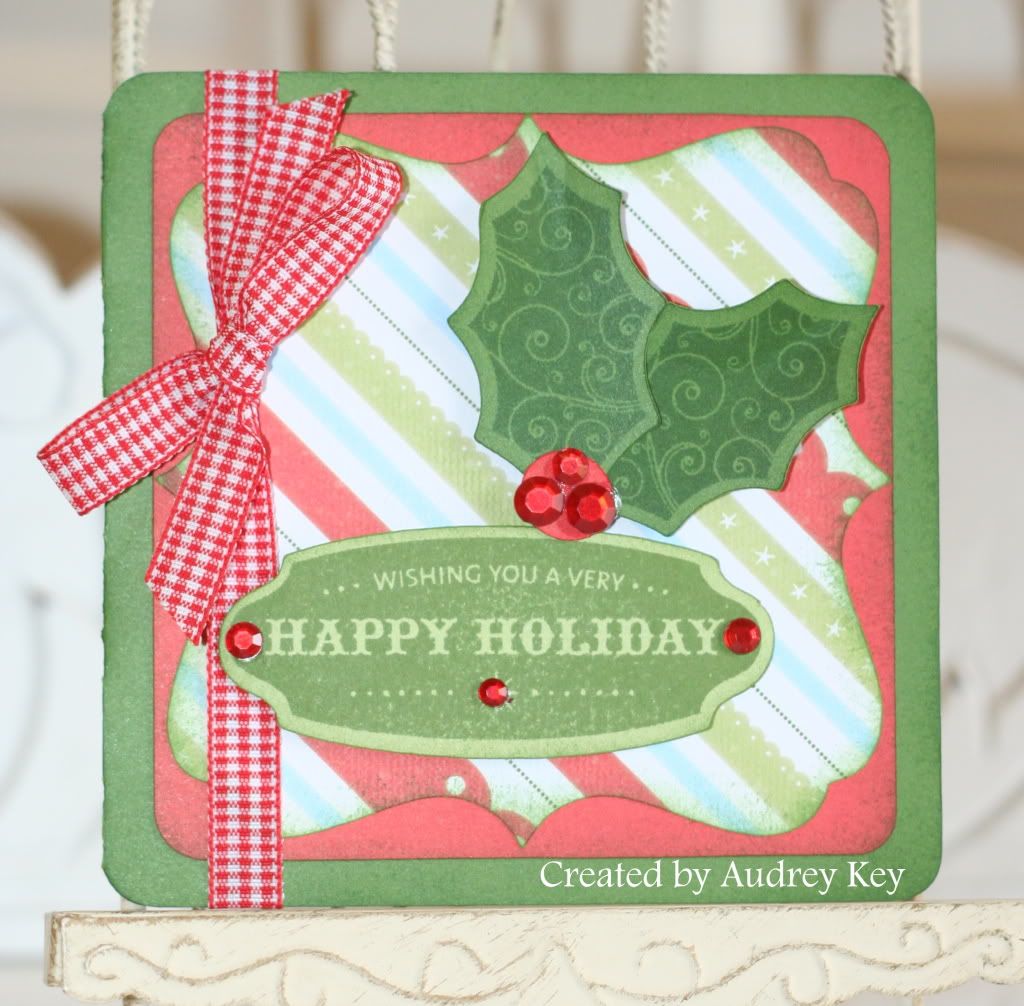
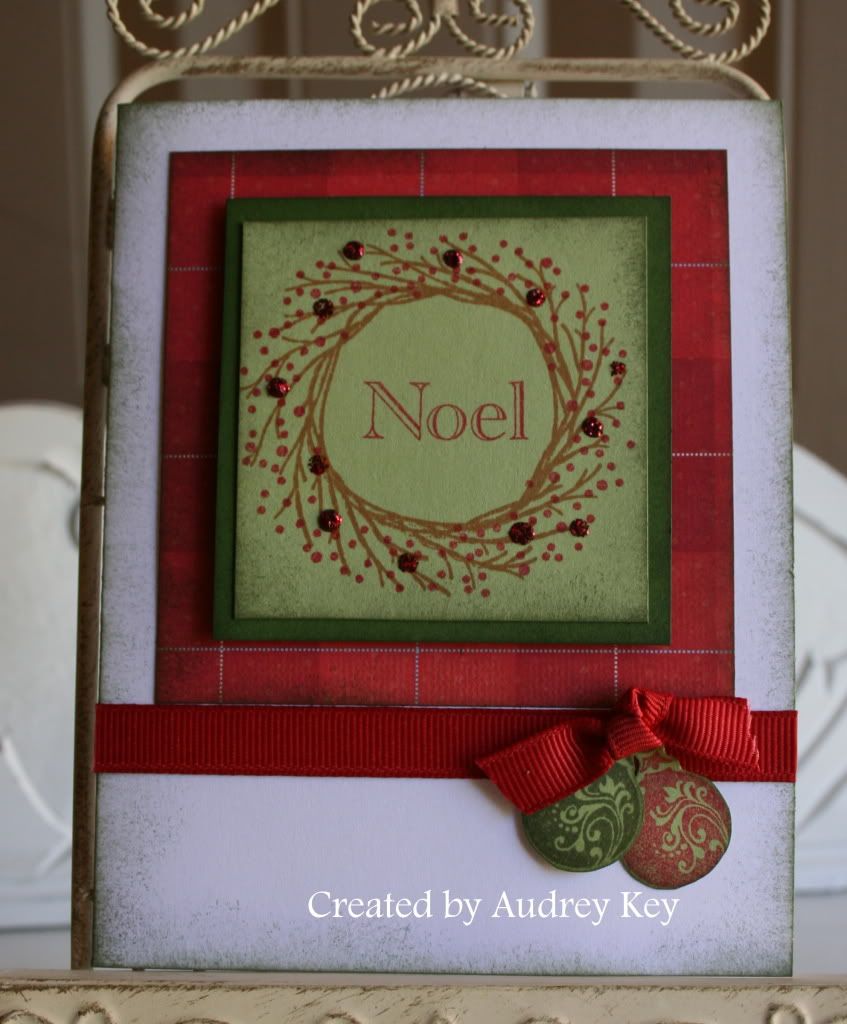
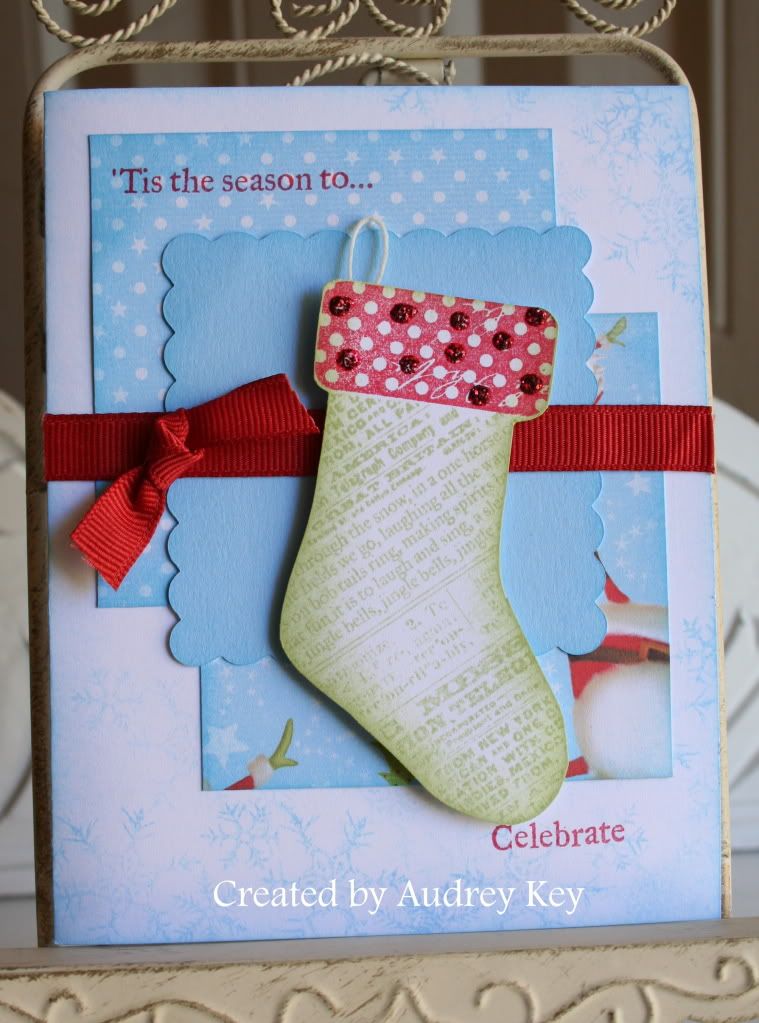
This 4 1/2" square card is from the Cricut Class last week. The card base; red and striped background pieces; holly leaves; and the focal point piece were all cut on the Cricut. If you are interested in which keys were used, please email me and I will give you that information. I used "A Holiday" and "Holiday Cheer" stamp sets. I embellished the card with Red Sparkles and checked ribbon.
Showing posts with label Believe. Show all posts
Friday, December 23, 2011
Wednesday, December 14, 2011
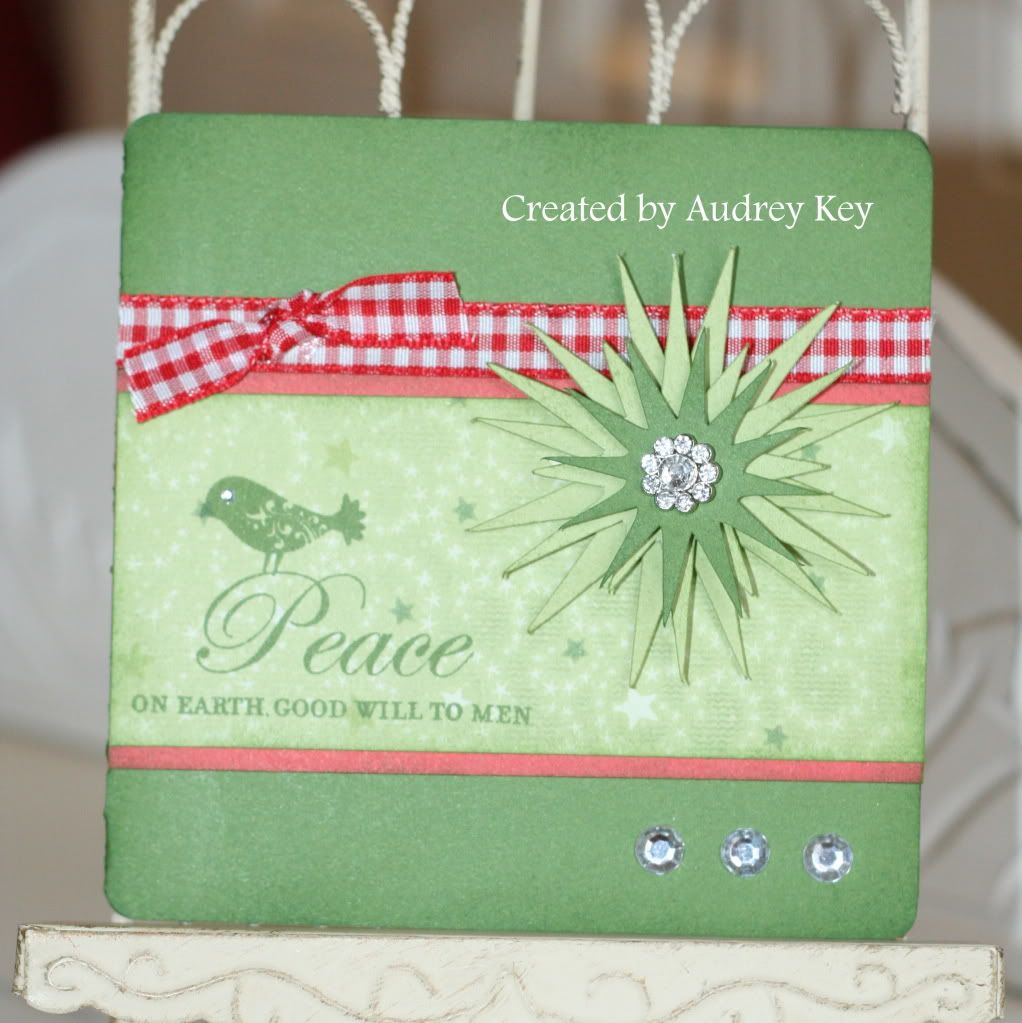
Peace on Earth Card
This card is also a product of the <square1> key on the Cricut. The star embellishment is the <star1> in graduated sizes and I popped each layer with 3D Foam Tape. I chose the Christmas Love stamp set for the sentiment and I used a Rhinestone brad and sparkles to jazz it up a bit. The card was cut as a 4 1/2" card from the <square1> key.
Tuesday, December 13, 2011
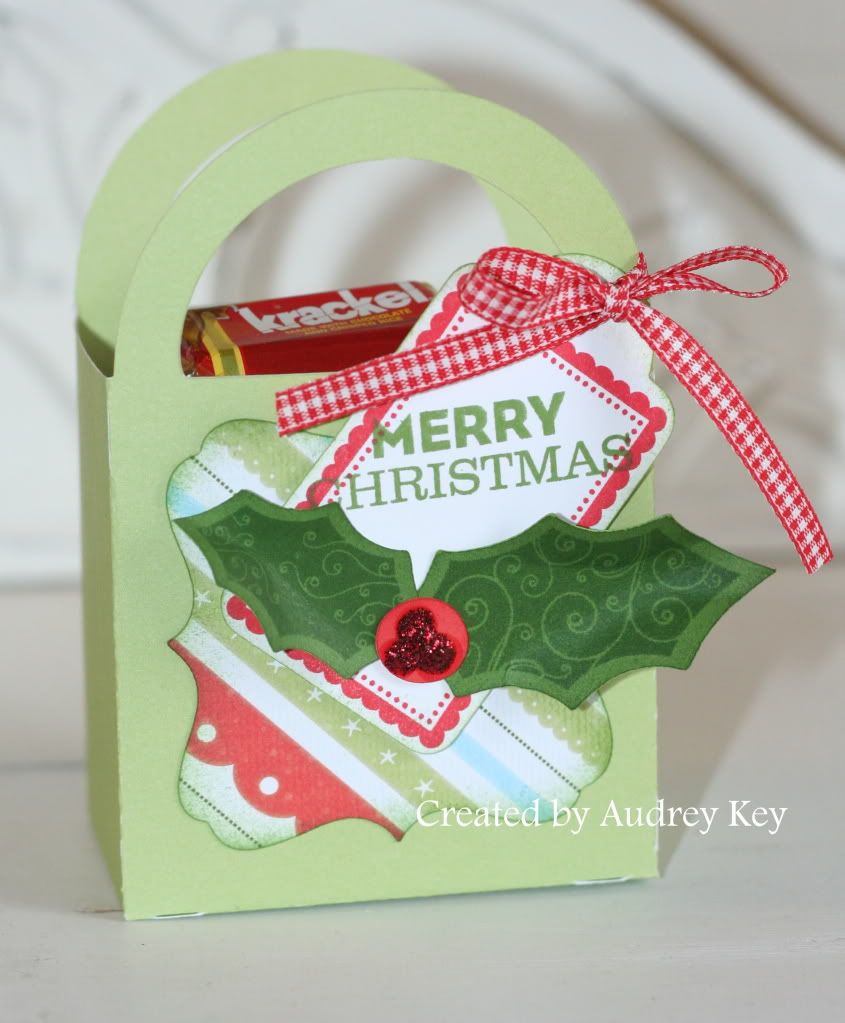
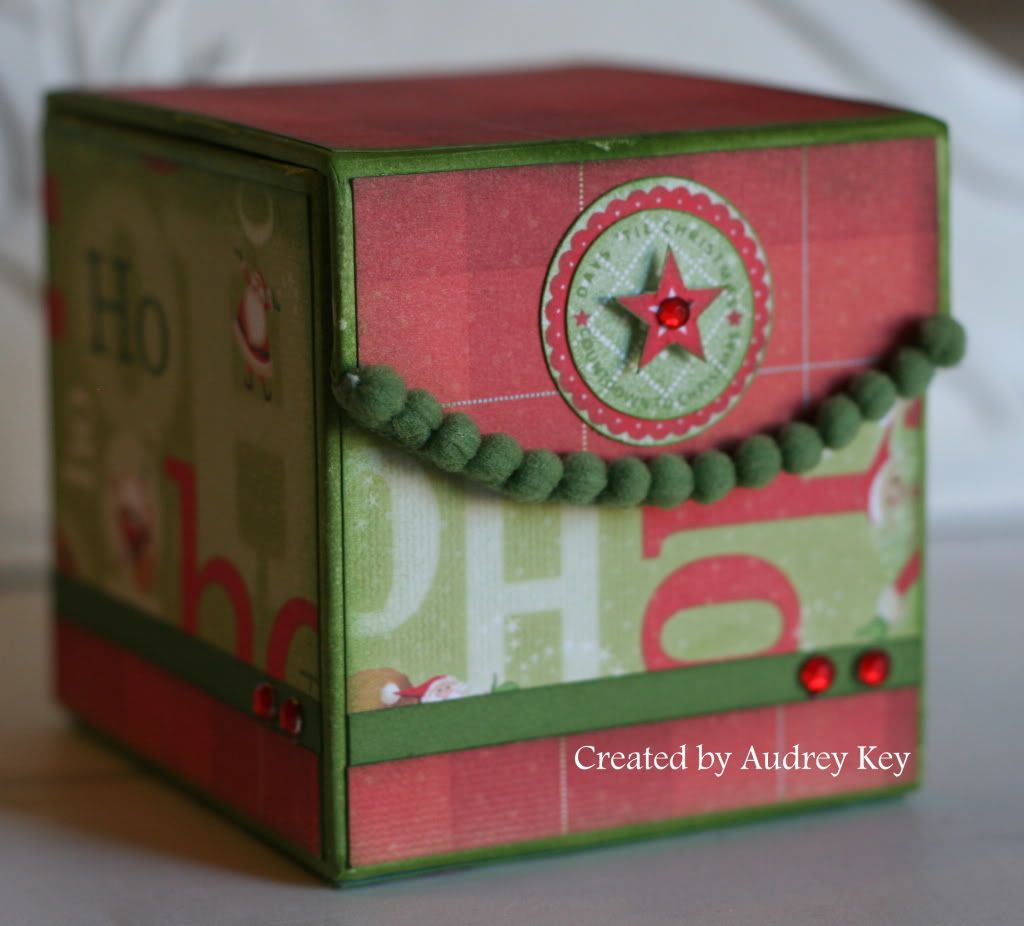
Merry Christmas Treat Box
December is proving to be a busy month! It has been days since I have been able to post due to lots of family events. will try to be better the rest of the week about posting!
We made this little treat box at my Cricut Class last night. All of the dimensional boxes from the Cricut Art Philosophy Cartridge are so fun to create and decorate.
This box is located on the <square1> key. It was cut at
5 3/4" (using the keys: Font Layer; Shift; <square1>;
on page 23 of the Cricut Booklet).
We also used the <square3> on page 43 to decorate the box. The tag was cut on the Cricut and stamped with the tag on the Christmas Cheer stamp set.
The Holly leaves were cut on the Cricut and then stamped with the coordinating stamps from A Holiday stamp set. We stamped the holly berries from A Holiday on a 3/4" circle which was also cut on the Cricut.
We sponged the edges of the pieces with Topiary ink and then added Red Glitz Glitter Gel over the holly berries. Fill it with candy and it is a sweet treat for someone special!
Thursday, December 1, 2011
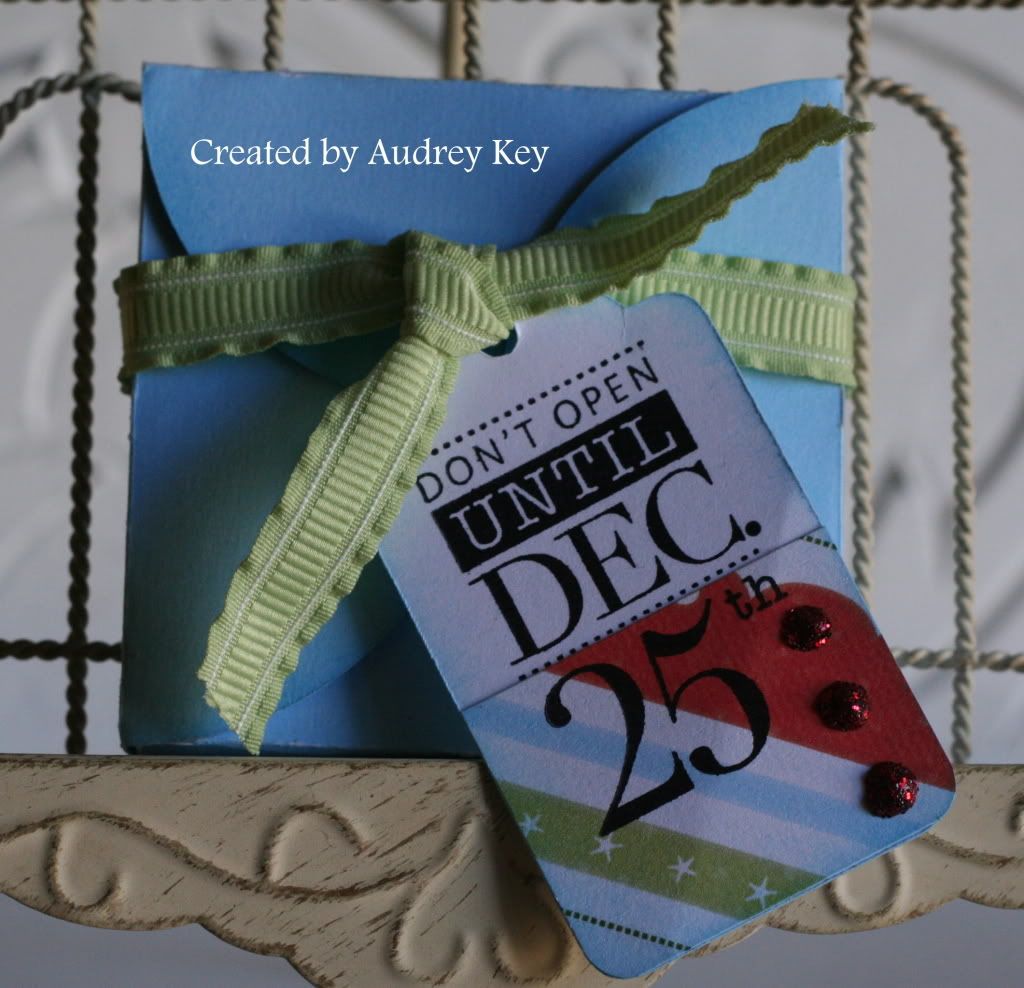
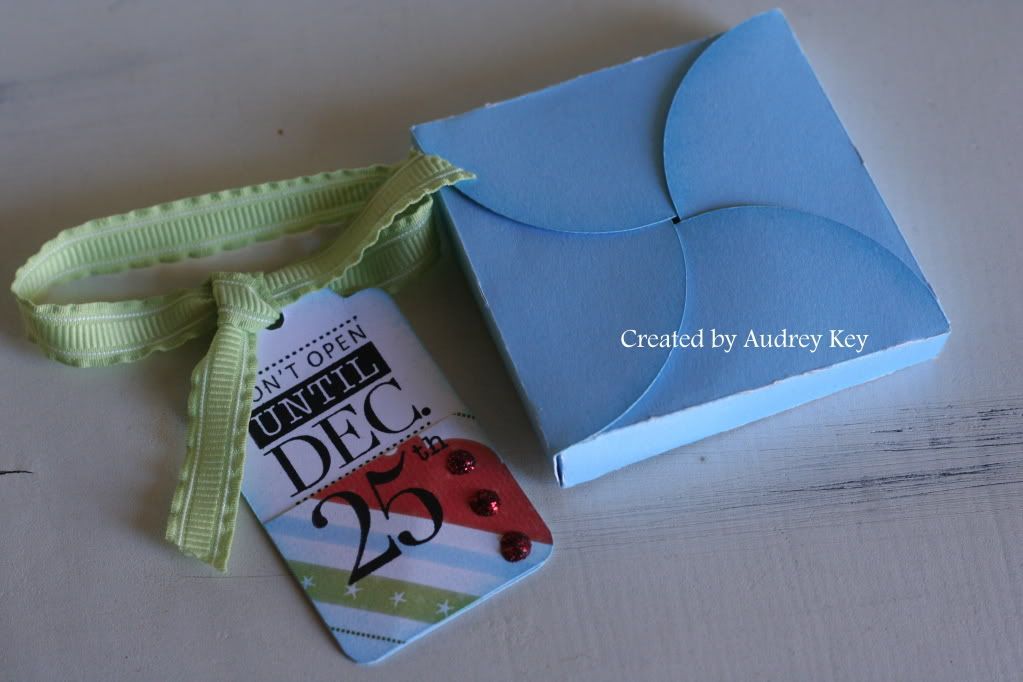
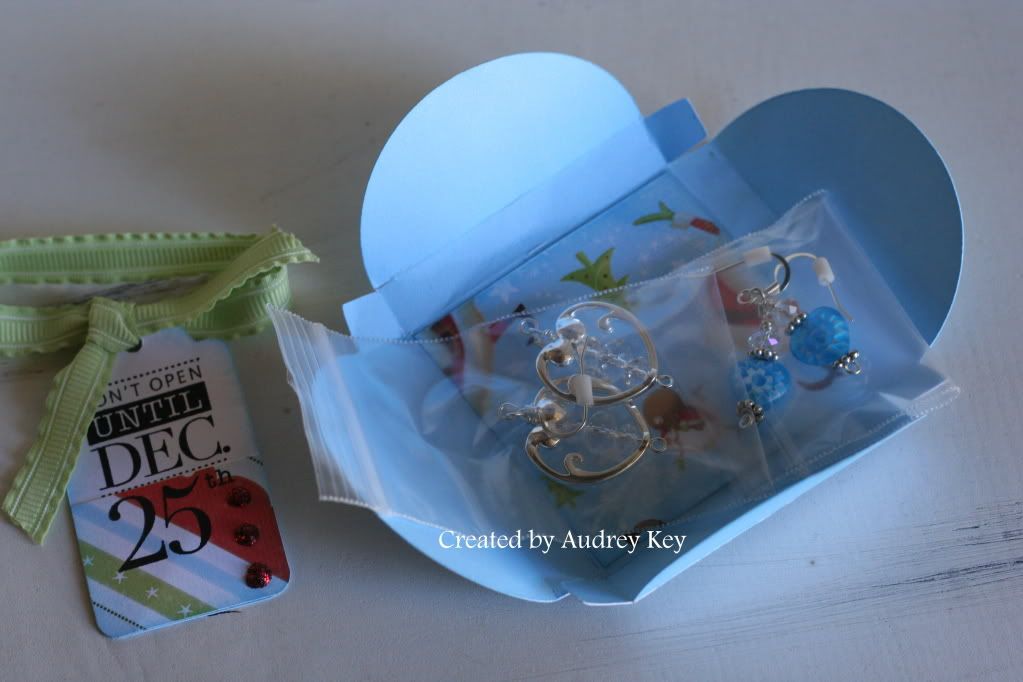
Don't Open Until Dec. 25th - Christmas Petal Box
I was so excited about the Cricut boxes on our new cartridge. I quickly realized that you need to cut various sizes from scrap paper before you decide on the size you want. The finished size of this little box is 3" - this surprised me because I set the dial to 6" when I cut it.
The products I used for this little petal box are: Believe Level 2 Paper, Red Glitz Glitter Gel, and the Green Ribbon Assortment. The gift tag is on the Cricut cartridge and I used the December 25th My Acrylix Stamp to stamp the sentiment.
Those who know me well, know that I love to make jewelry! It is only fitting that this cute little gift box have 2 pairs of heart earrings enclosed!
PS - Don't Open Until December 25!
Wednesday, November 30, 2011
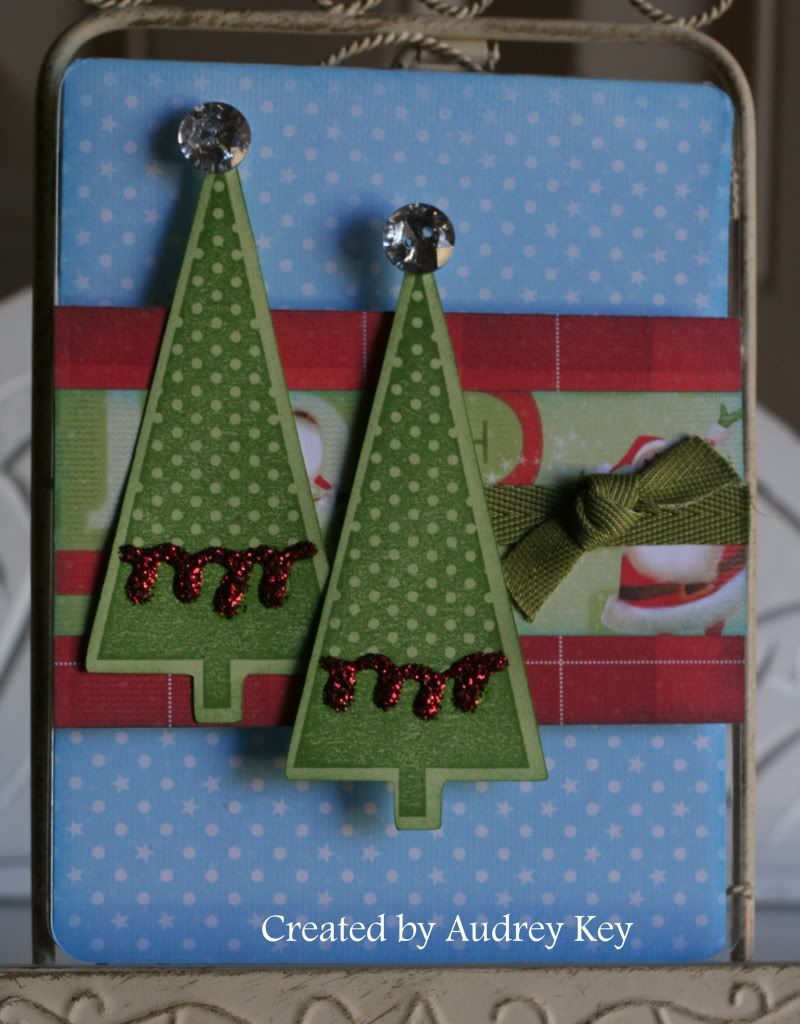
Christmas Tree Clear Card
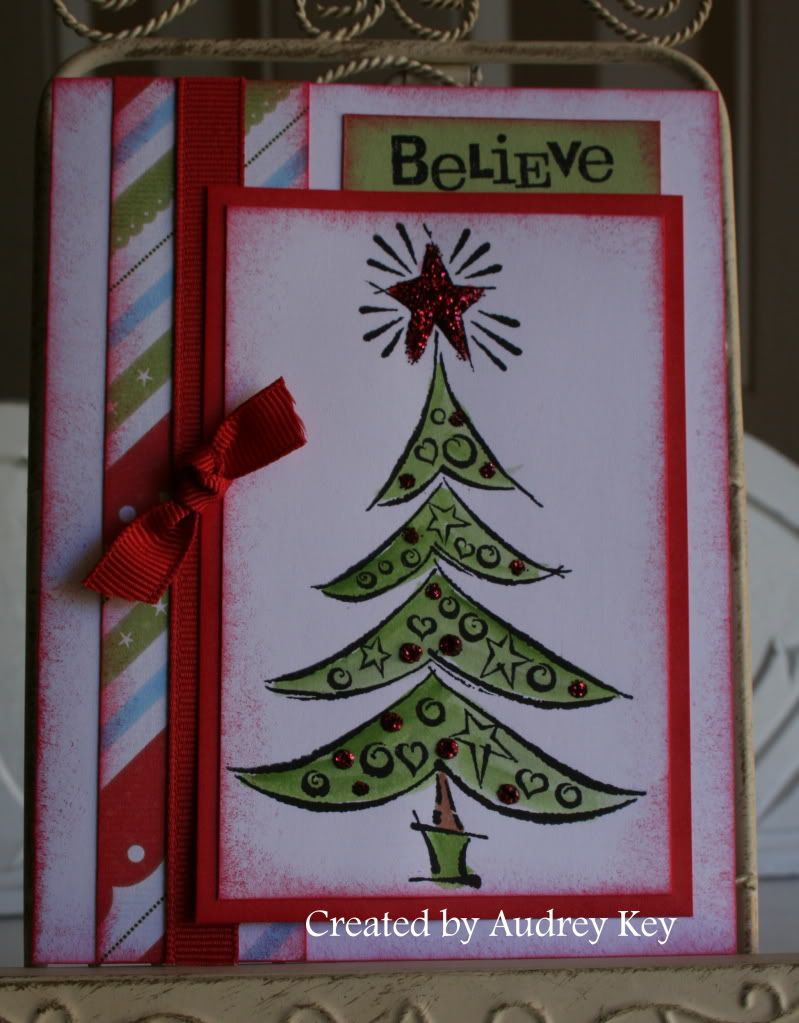
This is one of the first projects I made using the Cricut Art Philosophy Cartridge and the stamps in the bundle. I cut the trees with the cricut and used the stamp set in the bundle to stamp them. This card is a clear card from our specialty card line. I used Believe paper, Green Ribbon Assortment, Bling Buttons, Cricut AP Cartridge and stamps, and Red Glitz Glitter Gel.
Tuesday, November 29, 2011
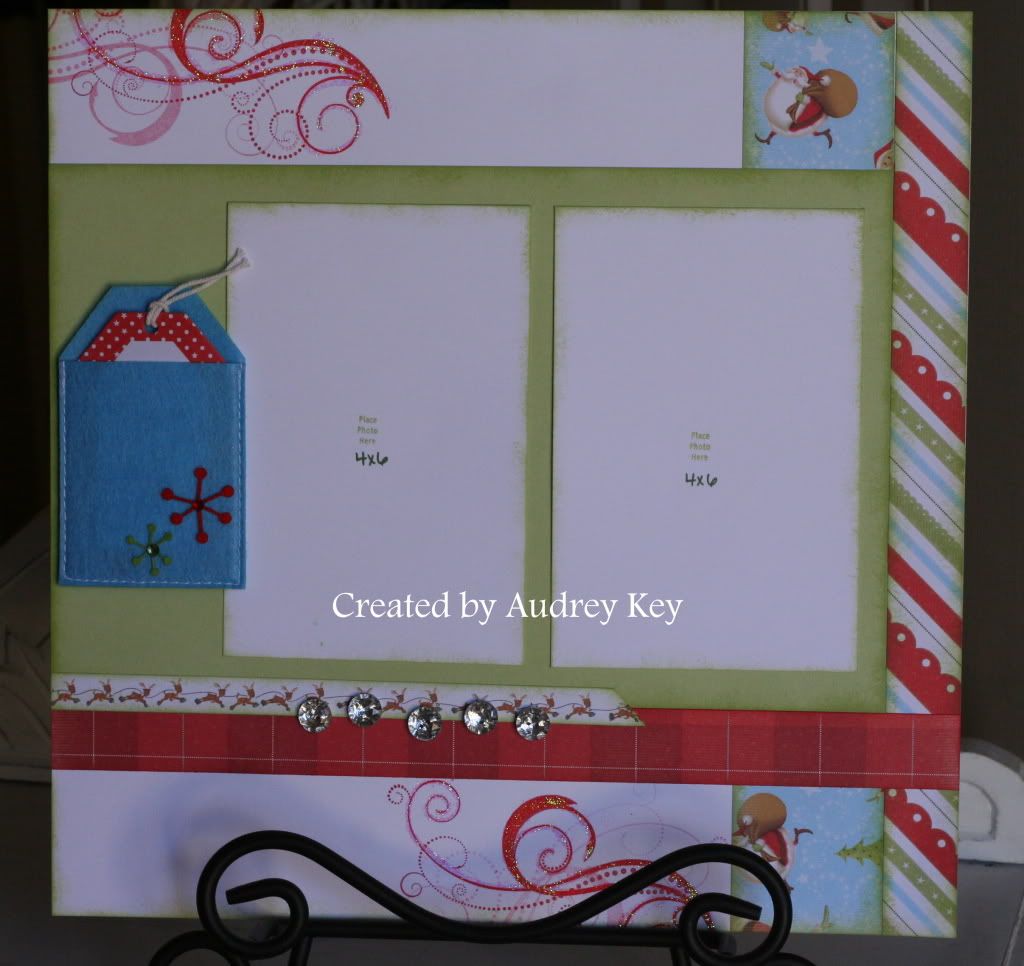
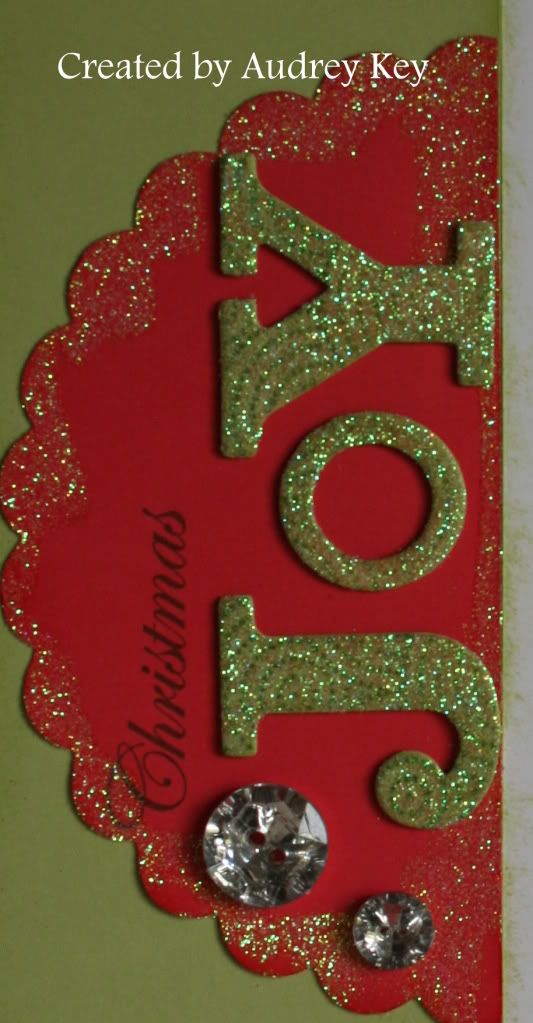
Christmas Joy Layout
I can't wait until Christmas gets here and I have photos to add to this cute layout! This 2-page layout features Believe Level 2 Paper, Dimensional Elements Monograms, Bling Buttons, our cute new Holiday Pockets and Prisma Glitter.
I used one of the Reindeer Zip Strips in the paper packet as "ribbon" across the layouts. I also used the Love Life stamp set to add the flourishes.
**Tip - To embellish the "JOY" Dimensional Elements Monograms I sponged them with Sweet Leaf Ink; I stamped a patterned stamp from the Love Life stamp set with Topiary Ink; I let the ink absorb into the chipboard a few minutes and then I covered them with Bonding Memories glue and sprinkled Prisma Glitter over them.
I cut the scalloped banner with the Cricut AP Cartridge and added bonding memories glue to the edges and sprinkled Prisma Glitter over that piece as well. I think it adds just the right amount of glitz.
Thursday, November 3, 2011
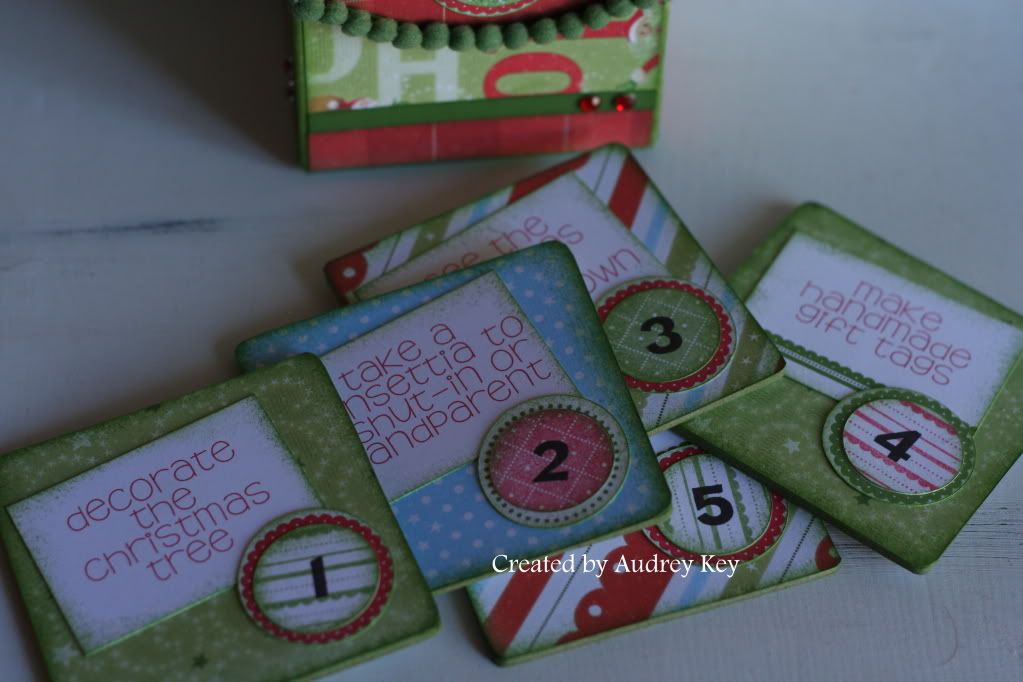
Advent Activity Box
This cute little box is filled with activities to countdown to Christmas! The box is our My Creations Memory Game. I used the Believe Paper Packet, Red Sparkles, Green Ribbon Assortment, and the Countdown Stamp Set.
Thursday, October 20, 2011
Believe Workshop on the Go Cards
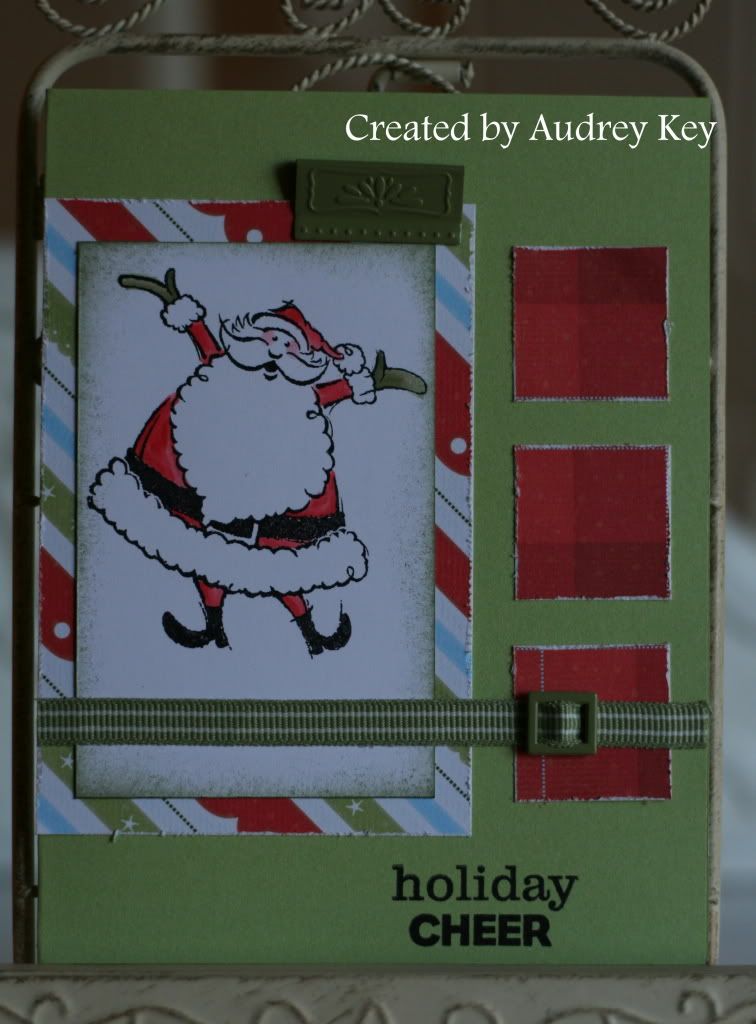
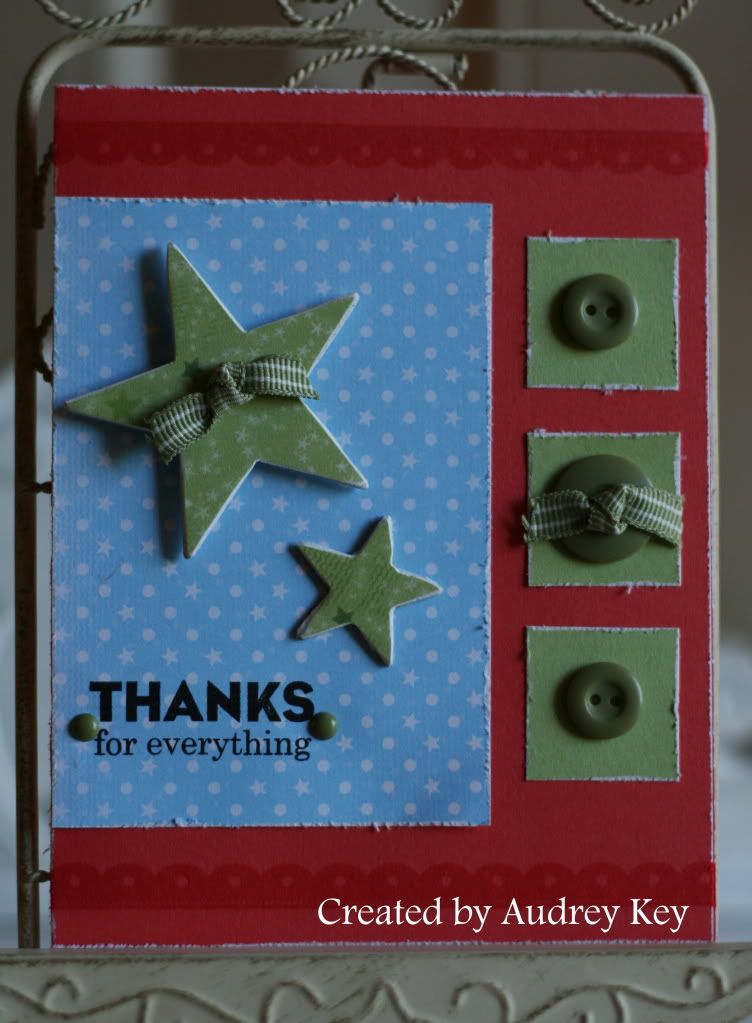
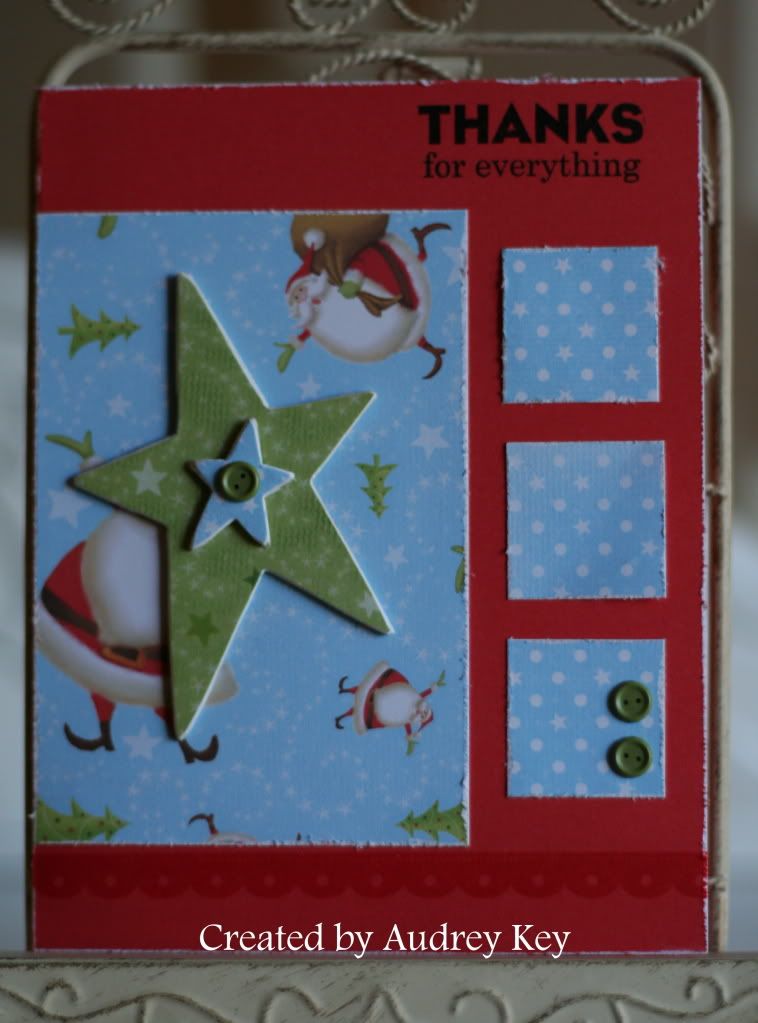
This month I chose to use Originals - Terrific Triplets card pattern for the Believe Workshop on the Go Cards. I think they turned out pretty cute!
I used the Blending Pen and stamp pads to fill in this cheerful Santa. I scissor distressed the edges (because a little birdie told me they were tired of sponging - wink, wink - you know who you are). I think the ribbon and ribbon slide are darling accents for a Santa card as it resembles his belt!
I utilized the Dimensional Elements Stars to embellish this card along with the Olive Mini Medley that comes in the workshop kit.
I don't know about you, but I can always use extra Thank You cards (especially at Christmas time). This one is adorned with a double stacked Dimensional Elements Stars and the cutest little button brads from the Olive Mini Medley.
Saturday, October 15, 2011
Believe It - 50 Christmas Cards in a Day
You may not "Believe It" but you CAN make 50 cards in one day! The way that this task is completed is to spend an hour and a half and complete 10 cards at each station (we rotate 5 times). The main objective is to follow the directions for cutting the paper, stamping the pieces, and finally, assembling the cards. It is a great workshop, and it is even more fun to leave the workshop with your Christmas cards ready to sign and address!
As you are reading this post, there are 17 lovely ladies participating in this workshop today. Their kit included: Believe Lev 2 Paper, White Daisy Cards and Envelopes, Cranberry Ribbon, Clear Buttons, Bling Buttons, and Red Glitz Glitter Gel.
(Does this stamp look familiar?)
I used Christmas Cheer on this cute tree card. The tree was stamped with StazOn ink and I waterbrushed it with Topiary ink. Red Glitz Glitter Gel was used to decorate it.
Holiday Magic is an awesome Stamp of the Month (available during October) to use for your holiday card making!
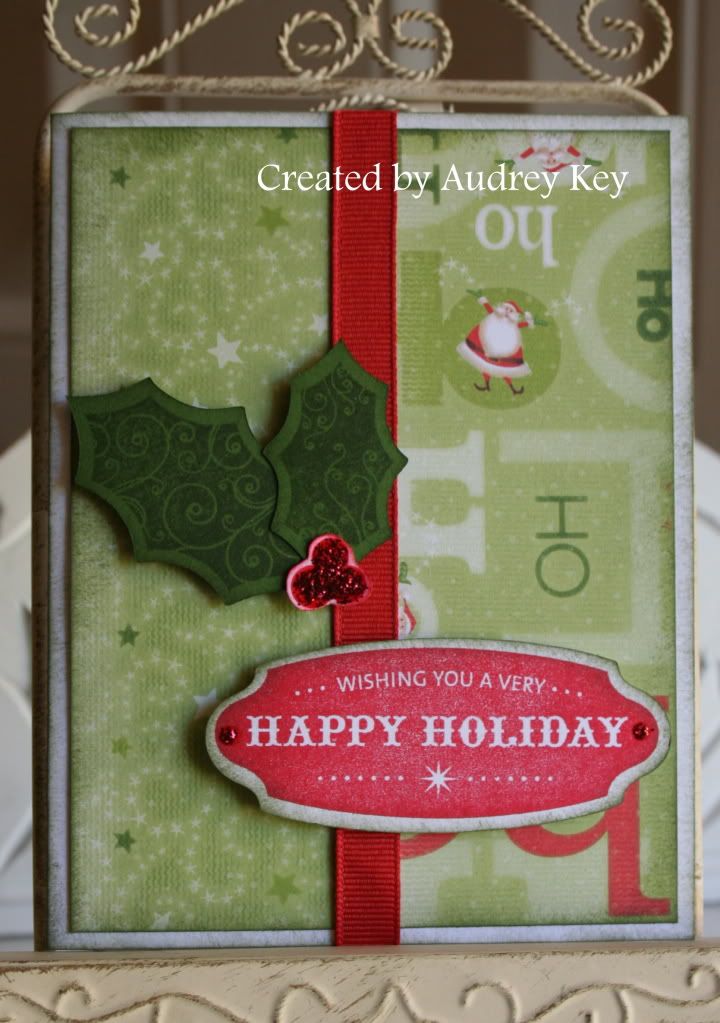
Holiday Cheer and A Holiday were used on this adorable Happy Holidays card! Of course the name plate and holly leaves were cut from the Cricut Art Philosophy Cartridge!
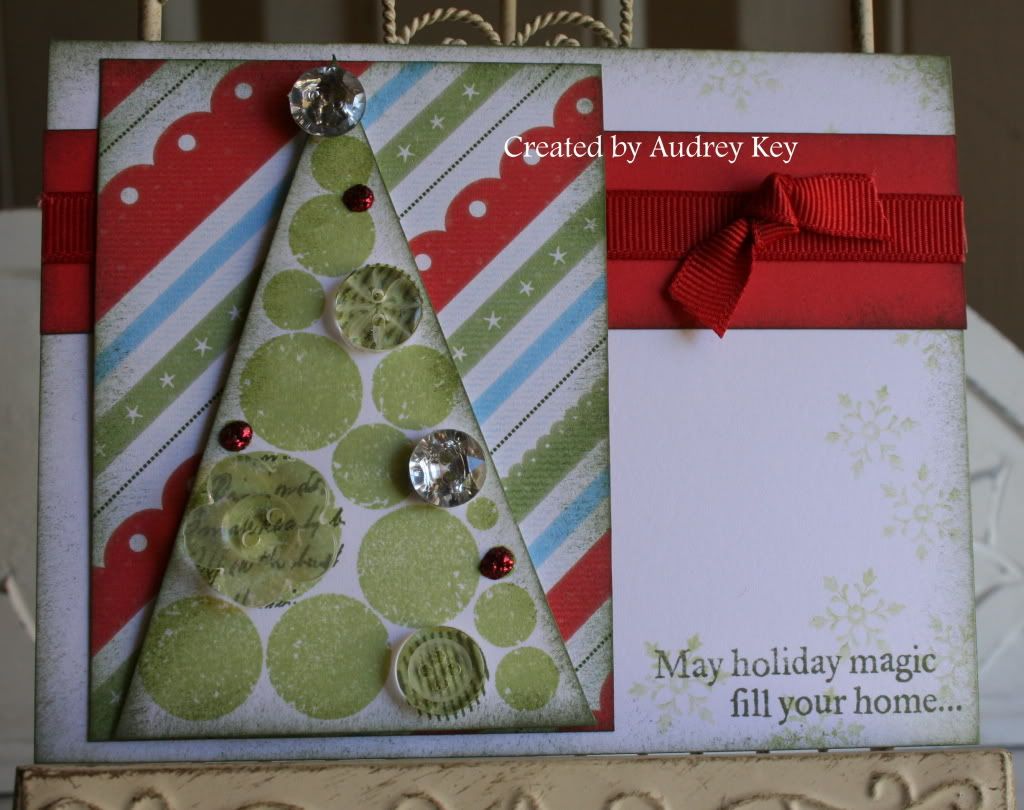
And last, but certainly not least, the buttoned up tree from Happy Clusters finishes our 50 cards off in grand style!
I hope you enjoyed a sneak peak at what we are making at our 50 Christmas Cards in a Day Workshop. I also hope that these cards inspire you to start making your Christmas Cards early! Have a wonderful weekend!
Wednesday, October 5, 2011
Holiday Magic Christmas Card
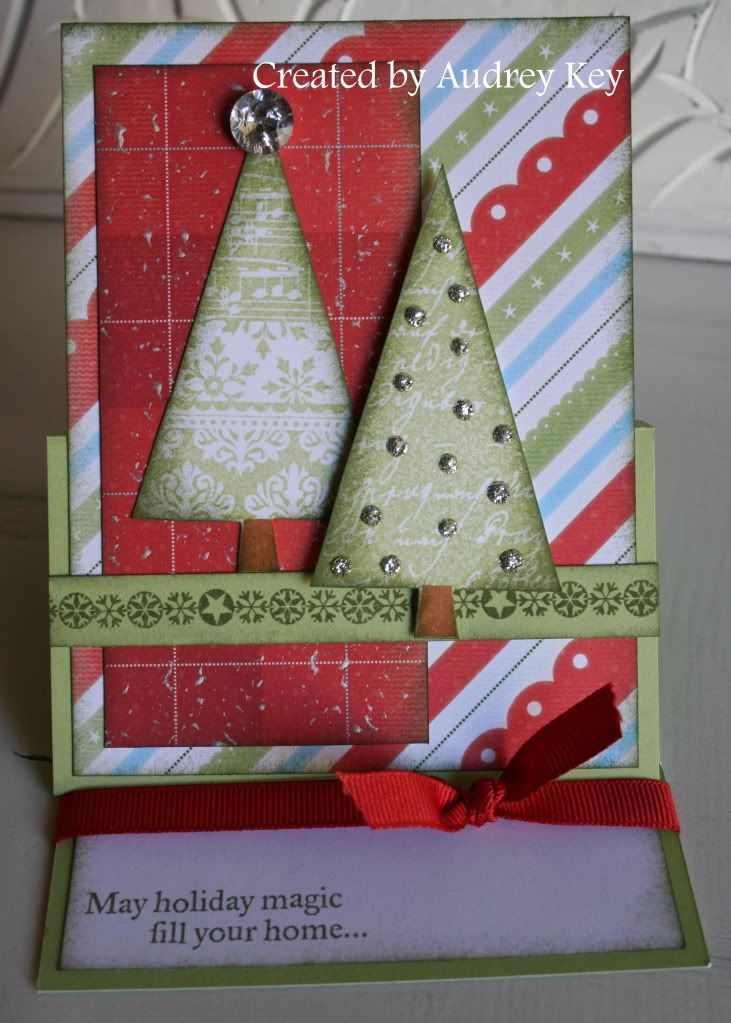
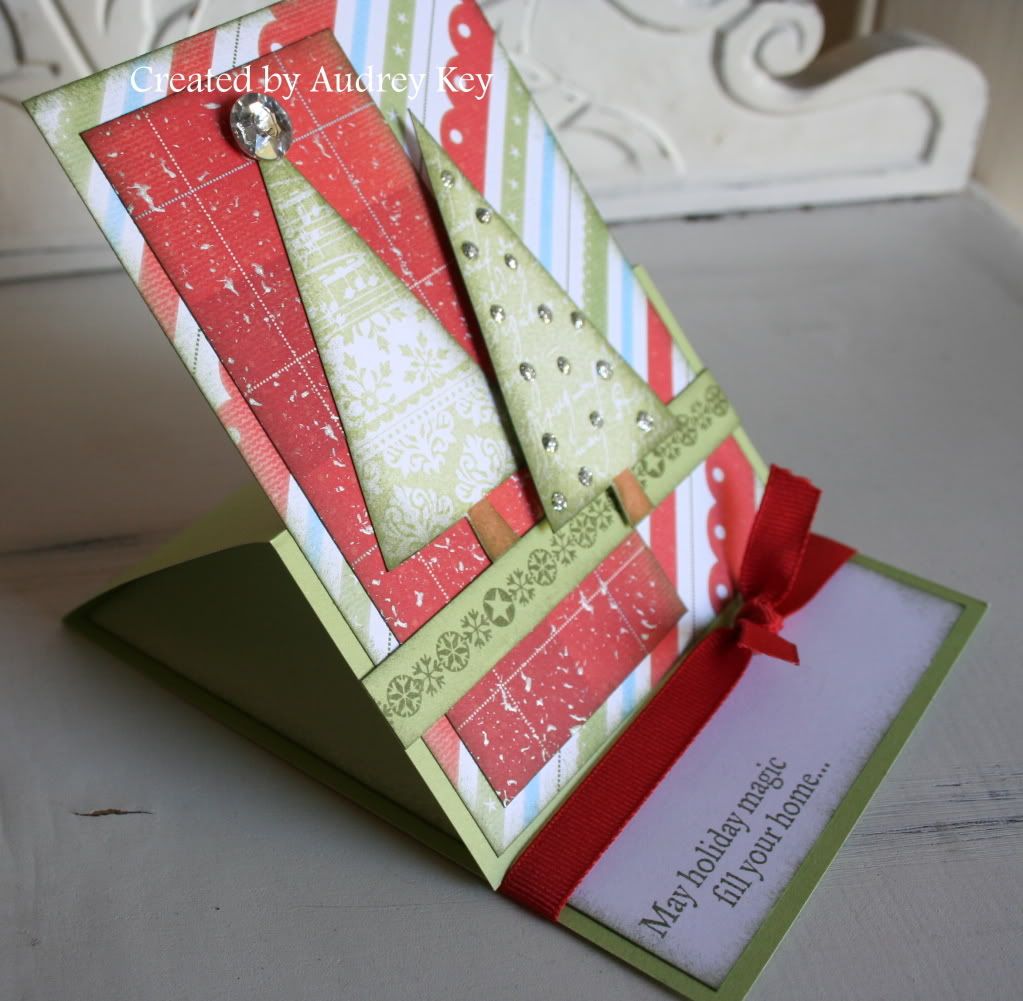
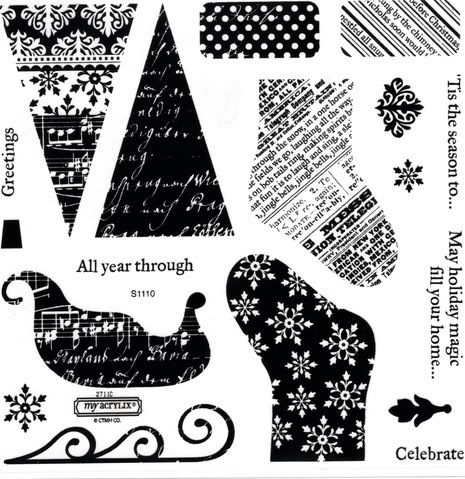
This cute card was inspired from my friend, Jan, who lives in South Texas! It is an easel card and it was a lot of fun to create. I used CTMH Believe paper, Bling Button, Silver Glitz Glitter Gel, and Pearl Paint. I used the CTMH black stubble tool and the Pearl Paint to create the snowy effect on the red plaid paper behind the tree. The stamp set is our October Stamp of the Month, "Holiday Magic."
It is easier to see how it "props" up with this side view.
During the month of October, this fabulous stamp set is only $5 with a $50 purchase (or you can buy it for $17.95 plus tax and shipping).
Thanks to Jan for the inspiration!
Tuesday, October 4, 2011
Believe Workshop on the Go
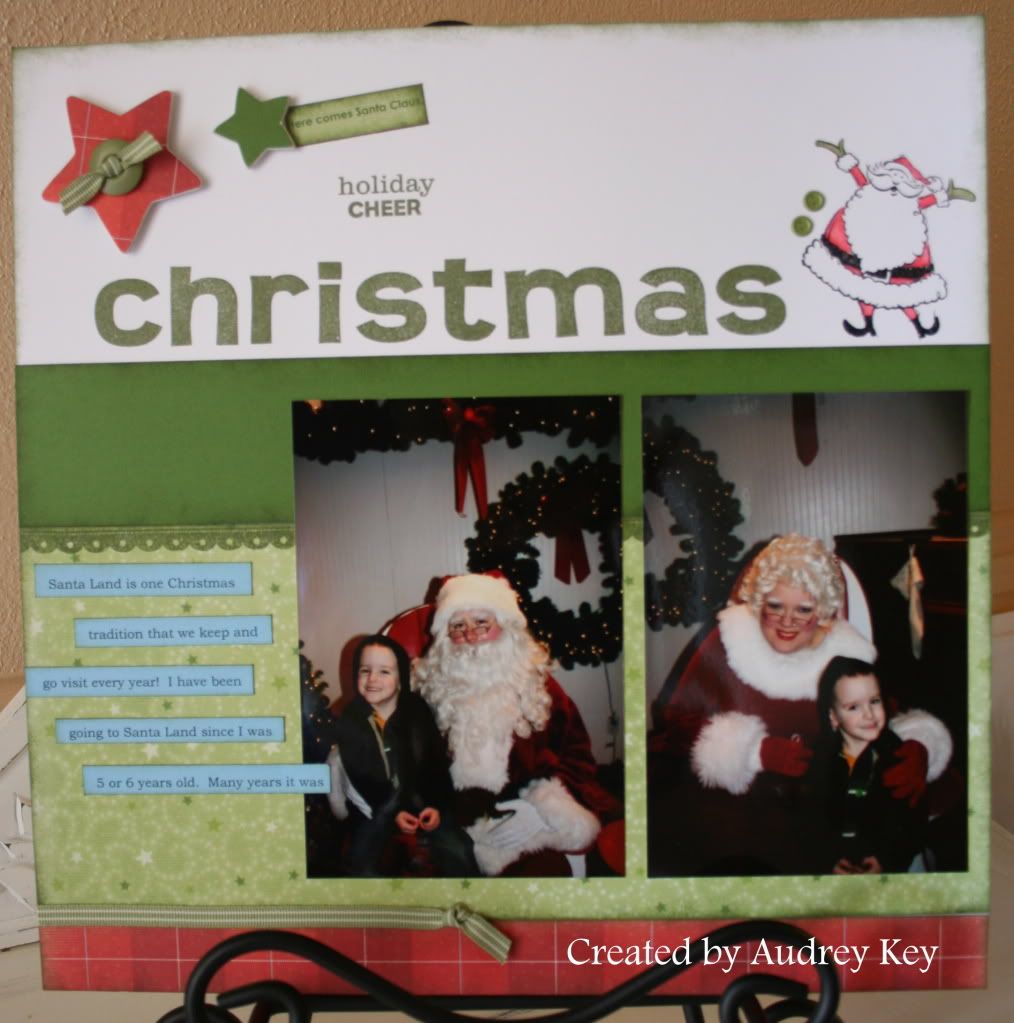
This month the Workshop on the Go is Believe. It is a really cute layout and was so much fun to create. I added sponging with New England Ivy ink. You all know that I like everything distressed! Here is the Left Layout.
This is the right layout. The story told in the journaling is about our tradition of going to Santa Land. I asked my mom when we started going to Santa Land and she said that I was probably 5 or 6. So Santa Land has been a family tradition for at least 40 years (man I am getting old!). The best thing about it is that we all love to enjoy a hot, steaming cup of Santa Land's cocoa after standing in line to see Santa....it is the BEST especially when enjoyed by the bonfire!
The Believe Workshop on the Go Kit includes: Believe Level 2 Paper Packet, My Acrylix Stamp Set "Believe," Dimensional Elements Stars, Mini Medley Olive Assortment, and the Believe Workshop Guide. The WOTG kit is $35 (that includes the tax and shipping).
The classes are:
*Tuesday, October 18 from 6:30 - 8:30 pm - Scrapbooking Workshop (layout above)
*Thursday, October 20 from 9 am - 1 pm- Full Workshop (layout above plus your choice of bonus layout or 6 cards - card instructions created by me)
*Thursday, October 20 from 6:30 - 8:30 pm - Card making Workshop (6 cards - 2 each of 3 styles - artwork created by me and will be posted later this week)
Subscribe to:
Posts (Atom)