Showing posts with label Pin Clips. Show all posts

Sunday, March 18, 2012

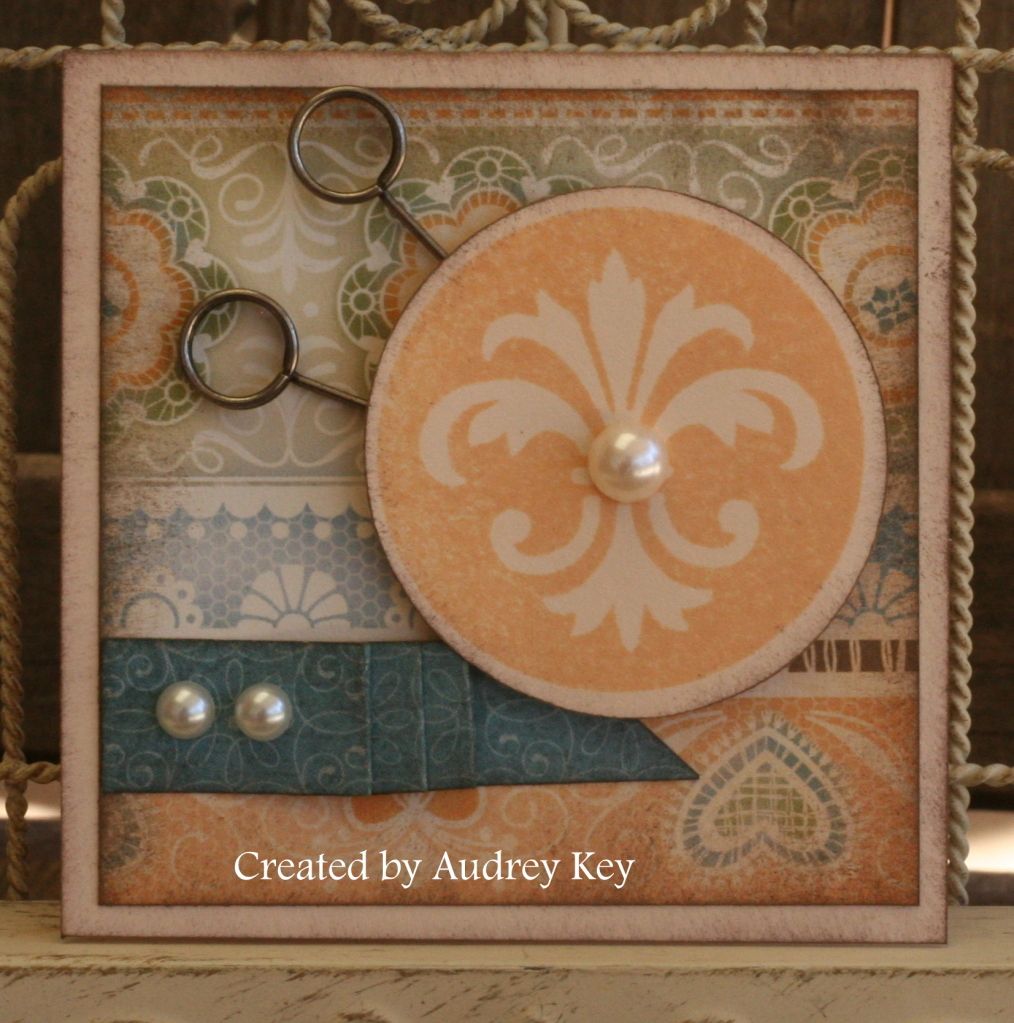
Florentine 3x3 Card


I made this 3x3 card using Florentine paper and our March Stamp of the Month "Potential".  Potential is Cricut compatible so I cut the circle on the Cricut and stamped the fleur de lis with Creme' Brulee ink.  WOTG kits inspired the pleated paper ribbon.  I used Pin Clips and Opaques as my embellishments.


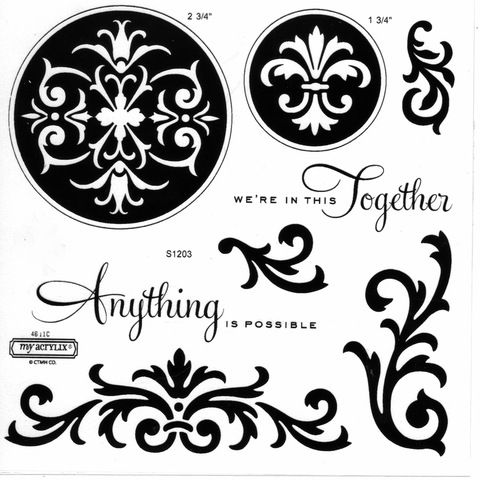
This is Potential - the March Stamp of the Month.  It is $17.95 or $5 when you make a $50 purchase.  During March, you can purchase it directly from me or from my brand new website http://ctmh.com/stampingaudrey.

Thursday, March 15, 2012

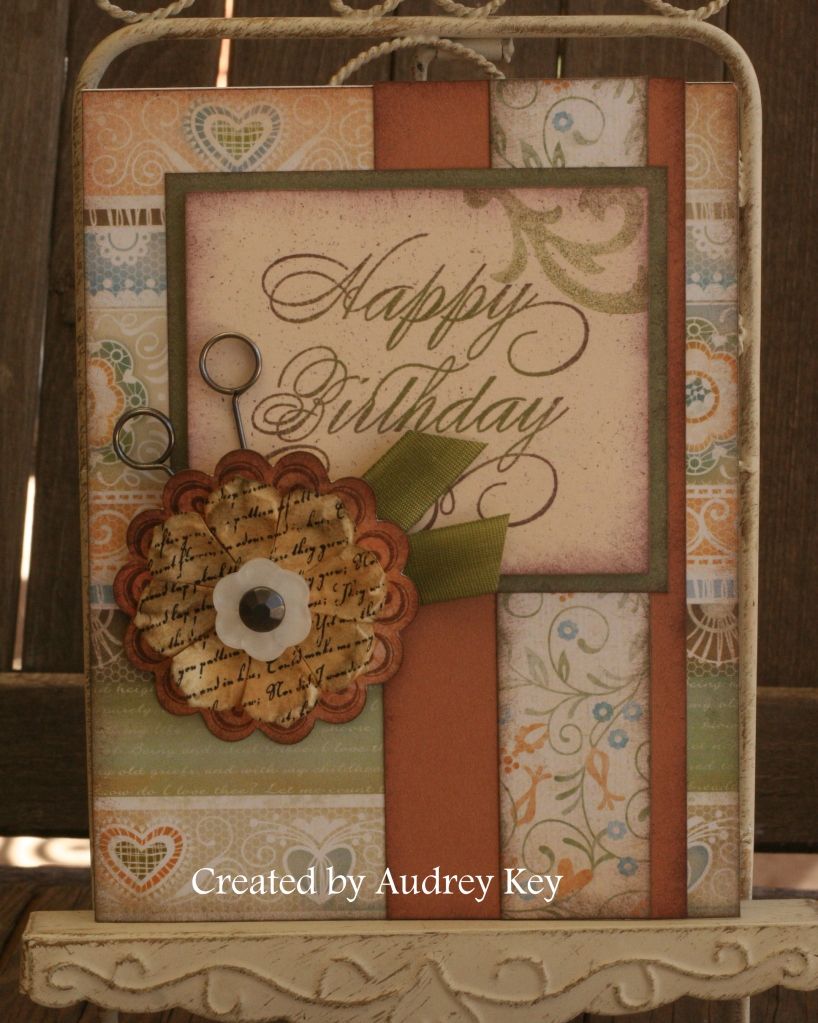
Florentine Happy Birthday Card


This birthday card was created from our Florentine paper packet.  Florentine is suitable for many different themes.  I used several stamp sets on this card:  Potential (March Stamp of the Month), Enjoy (the largest flower), 4 My Friend (the "happy birthday"). 

The embellishments that I used are:  Just Blooms Paper Shapes (just add ink), Pin Clips, Durables Pewter Stud, Color Ready Seam Binding (I added olive ink with a dauber to make beautiful ribbon leaves), and a flower button from the basic button assortment. 

Monday, February 6, 2012

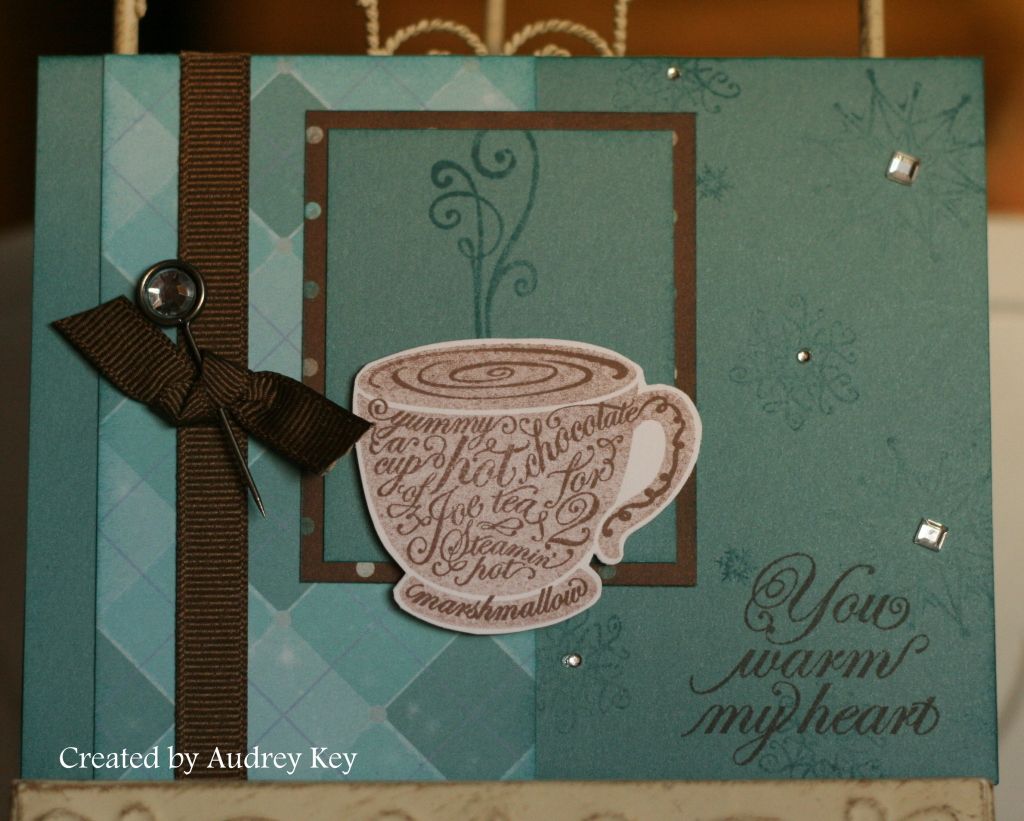
Wonderland Workshop on the Go Cards


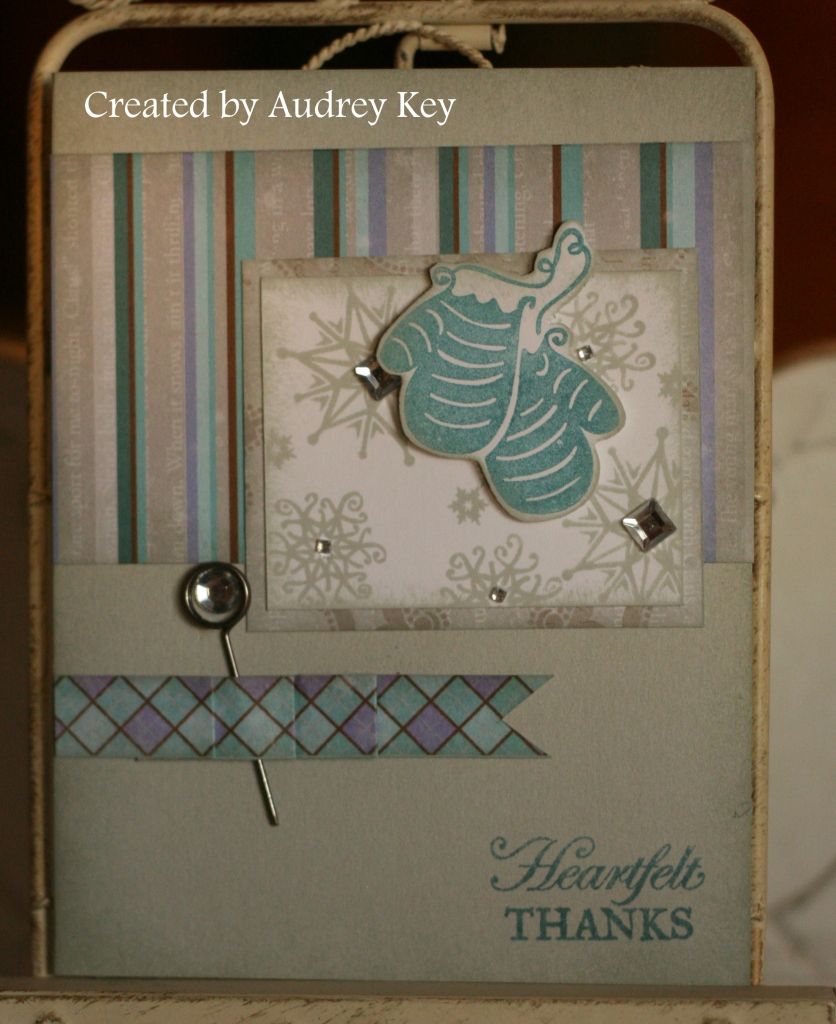
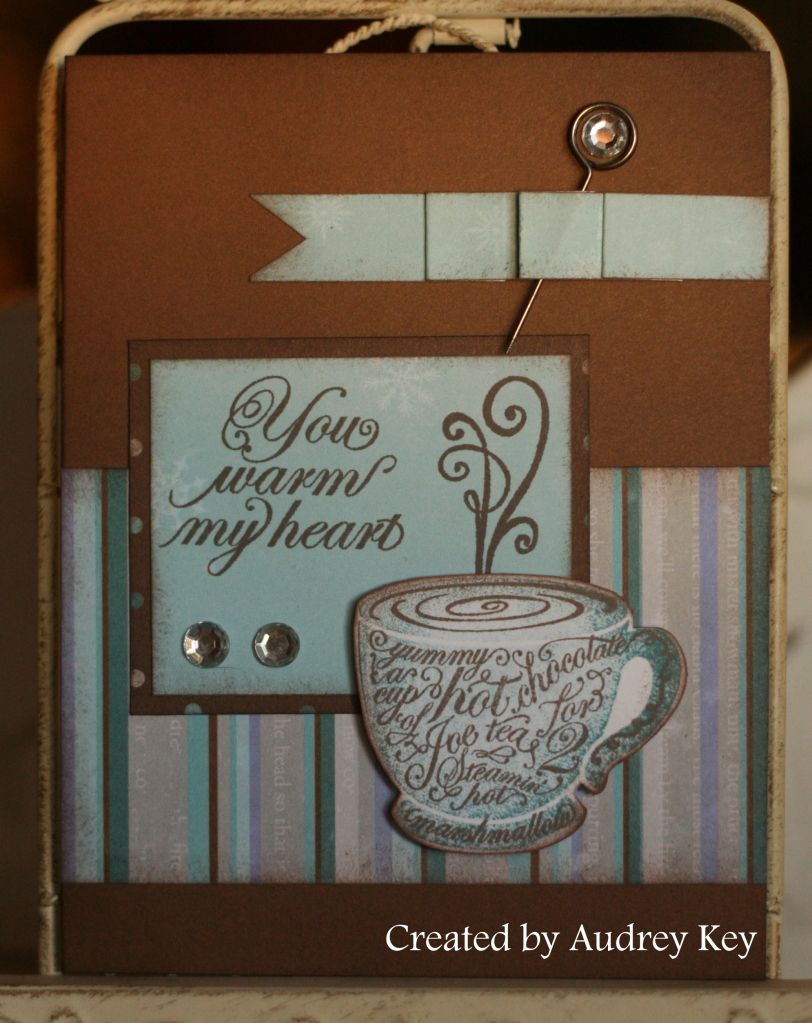
These cards are from the Wonderland Workshops on the Go that were held last week.  The kit included the Wonderland Paper,Wonderland Stamp Set, Pin Clips, Sparkles, and the Wonderland Workshop Guide.  I created these cards and the  instructions for the workshops.


Grey Flannel is not my favorite color in our 60 exclusive colors, however, I do love this card.  It looks icy and wintry.  I am still hoping for some winter weather in Texas!  


This ended up being my favorite card.  I used the rock 'n roll technique with 1st and 2nd generation Twilight ink and Chocolate for the word stamp.  And, who doesn't love a cappuccino, hot chocolate, or cup of hot tea!

Monday, January 23, 2012

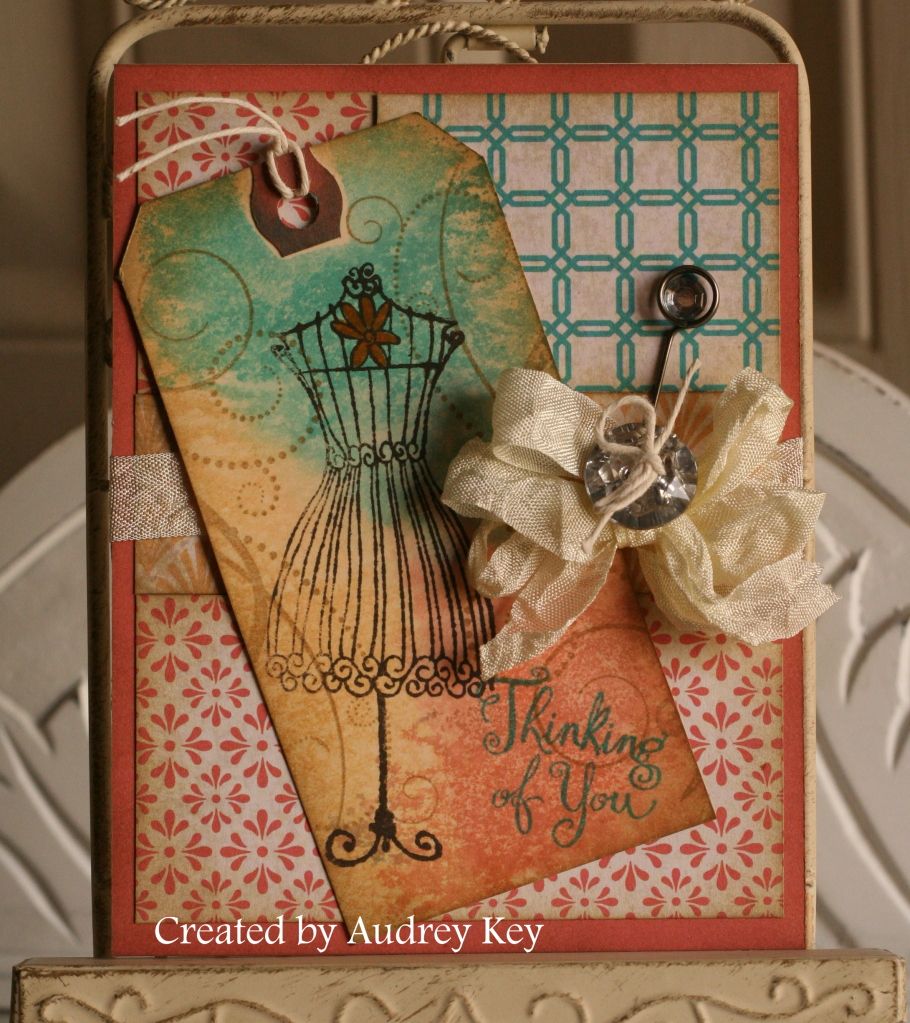
A Week of Stamp Camp Projects - #1 - Tailor Made Thinking of You


Stamp Camp is an event that I hold annually and this year was the 9th year.  The purpose of Stamp Camp is to learn new techniques.   We used the Elemental Paper Packet, paired with cardstock, for each of the projects!  You will see the versatility of Elemental with each project,
as the week goes on.

*For this card we rubbed the stamp pads on wax paper; laid the tag on the ink and pressed it a little.  Then we spritzed water over the wax paper  (which re-activated the ink) and laid the tag back on it and pressed it again.  When you lift it up it has a really cool watercolor looking image.  We set it aside to dry as we worked on the other steps. 
*We used crumpled seam binding as our ribbon - we spritzed it with water and crumpled it up and let it dry.  To get the fluffy bow, we tied three bows with the one length of ribbon securing it with a glue dot to hold it when we finished (you just keep tying bows until you run out of ribbon).
*The stamps that were used were:  Tailor Made, Love Life, and Childhood Portrait (for the sentiment). 
*We used Pin Clips, a large sparkle, and a large bling button to finish this beautiful card off!

I hope you visit tomorrow to see the next project!

Wednesday, November 9, 2011

Sonoma Sweet Moments Card


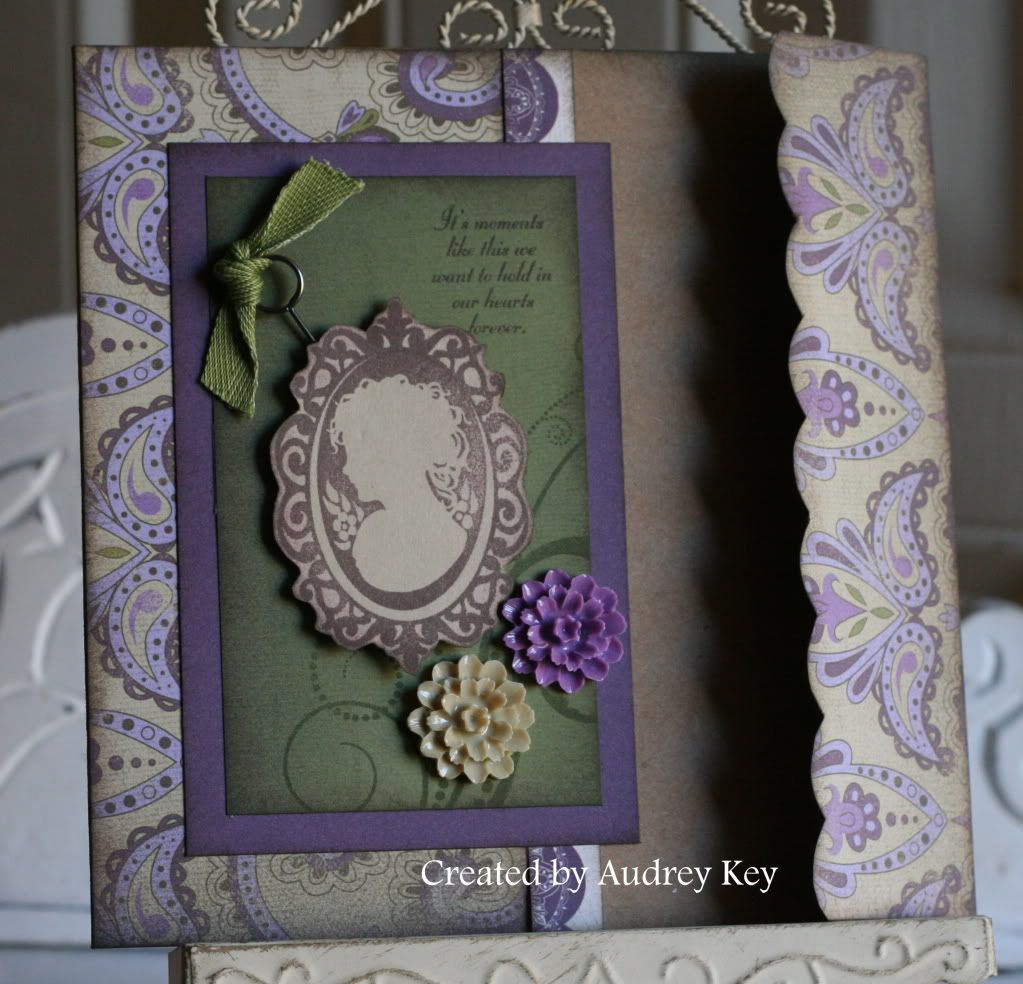
This card was created from our new 6x6 Kraft Cards (they have the scalloped edge that is a flap), Sonoma Level 2 Paper, Sweet Moments Stamp Set, Heirloom Assortment, Pink Clips, and Green Ribbon Assortment.  I also used the Love Life Stamp Set to stamp the flourish.

Friday, October 7, 2011

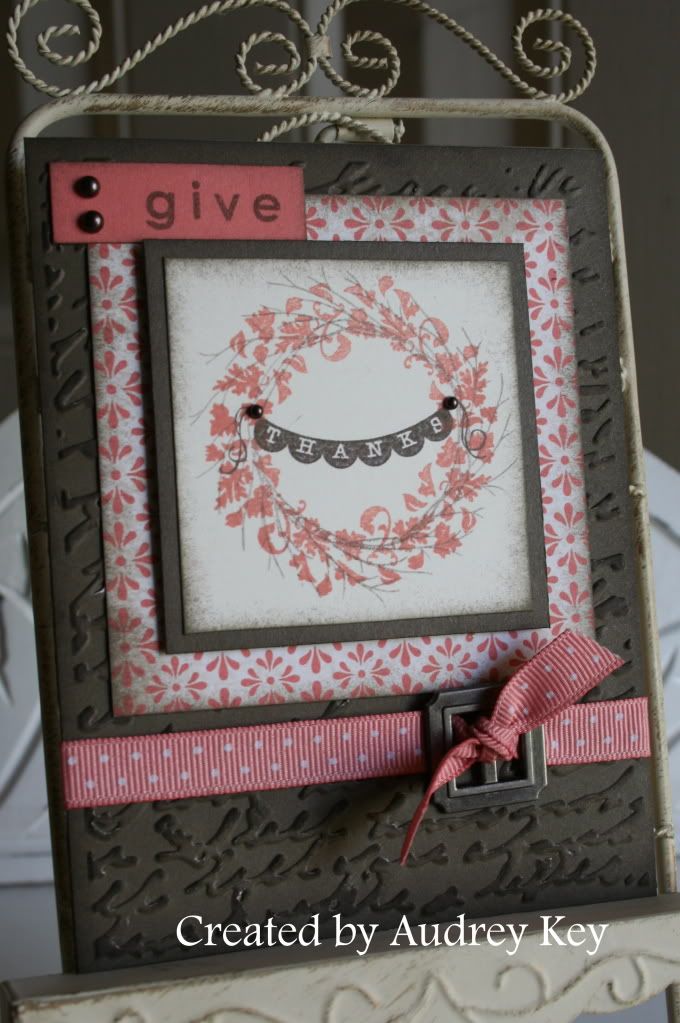
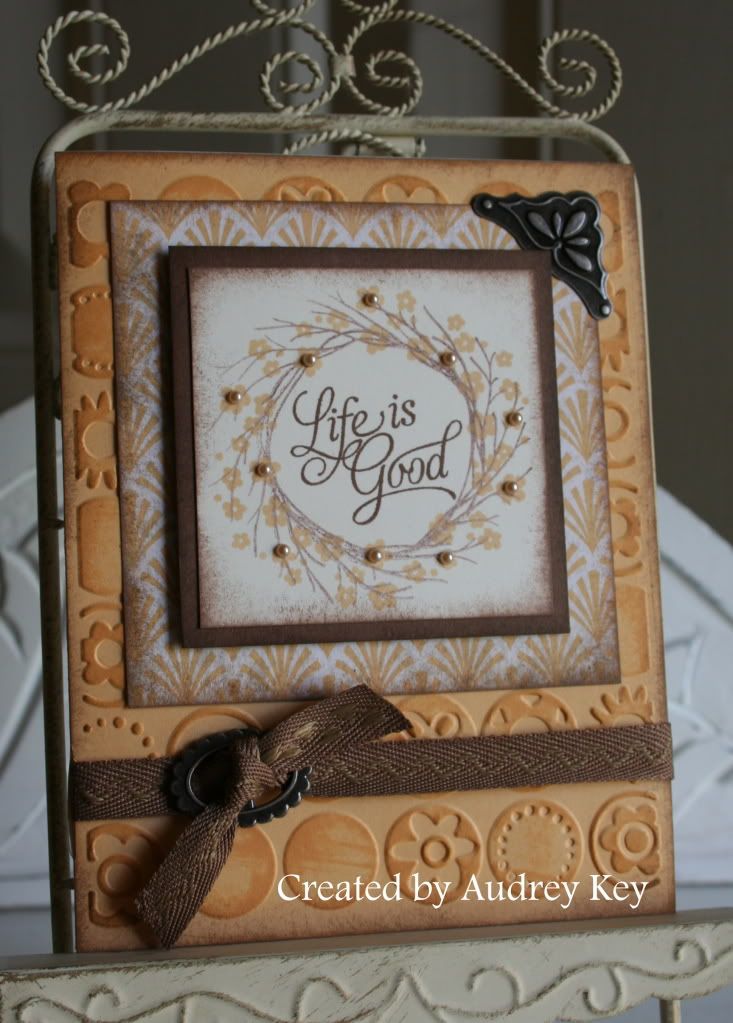
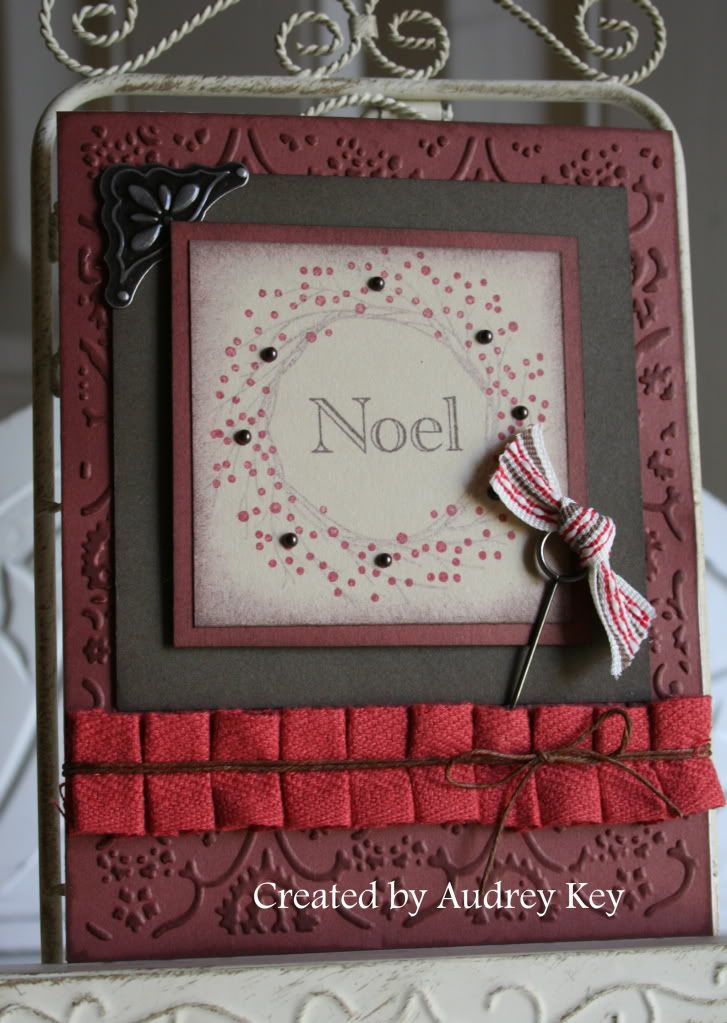
Remarkable Wreaths - 3 Ways!

I thought it would be fun to show you the versatility of our new stamp set "Remarkable Wreath."  I decided to try out the Cuttlebug that my sister bought me for Christmas 2 years ago (I know, it is pathetic that I haven't been using it!).  It is a very cool tool!  Brayden loved it too - he sat down and embossed everything he could get his little hands on!


 Give Thanks Card:   I used the fall leaves wreath along with the stick wreath which I stamped in second generation ink.  I used Elemental B&T along with Cocoa Cardstock,  Foundry Metal Accessories (Pewter Ribbon slides), Mocha Opaques, and Sorbet ribbon (from my stash).  I rubbed the Cocoa stamp pad across the embossed cardstock so that the embossing would show up better.


All Occasion Card:   I used the floral wreath along with second generation Chocolate ink for the stick wreath.  Elements on this card are Creme Brulee Cardstock along with Elemental B&T, Mini Medley Pewter Assortment, Foundry Metal Accessories, Mocha Opaques, and
Chocolate Ribbon. 


Noel Christmas Card:  The Berry Wreath was stamped with second generation Cranberry ink and I used second generation Cocoa ink for the stick wreath.  I used Barn Red Cardstock,  Cocoa Cardstock, Red Ribbon Assortment, Chocolate Waxy Flax, Mini Medley Pewter Assortment, Mocha Opaques, and Pin Clips.


Saturday, October 1, 2011

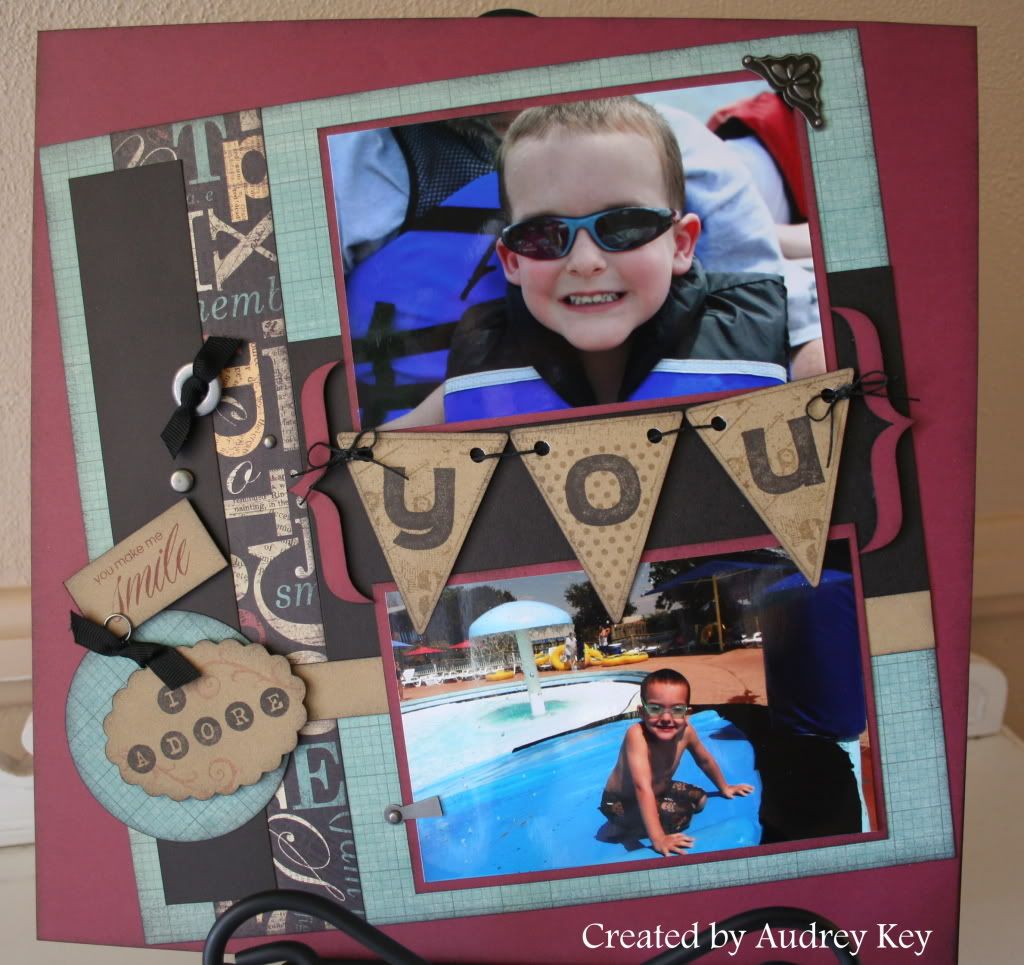
Brayden - I Adore You


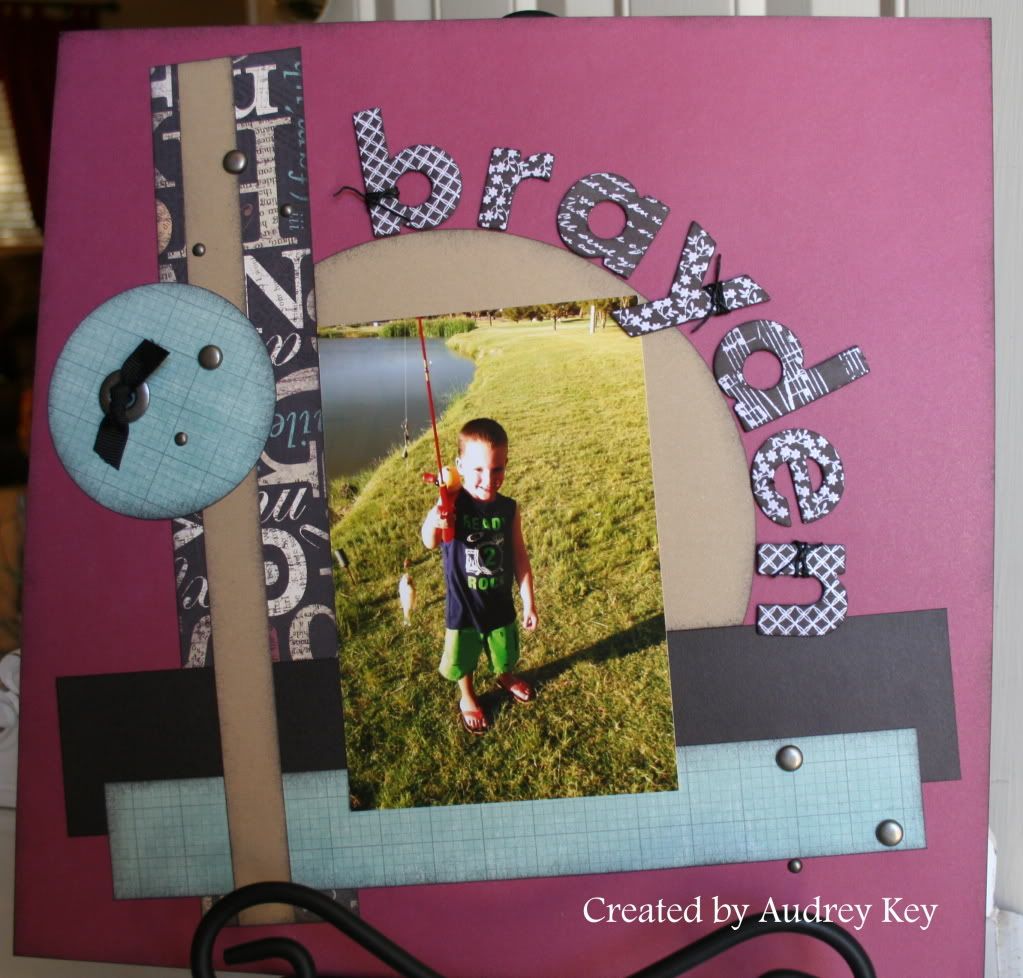
The above layout (which is the right side of the 2-page layout) was a project that we made at a home gathering for my dear friend Betsy and her friends.  As you can see we used the Typeset Kit, Mini Medley Pewter Assortment, Pin Clips, Black Ribbon, and Black Waxy Flax.


This is the left side of the 2-page layout.  And, YES, that is my grand baby and he is four years old!  He is getting so big!


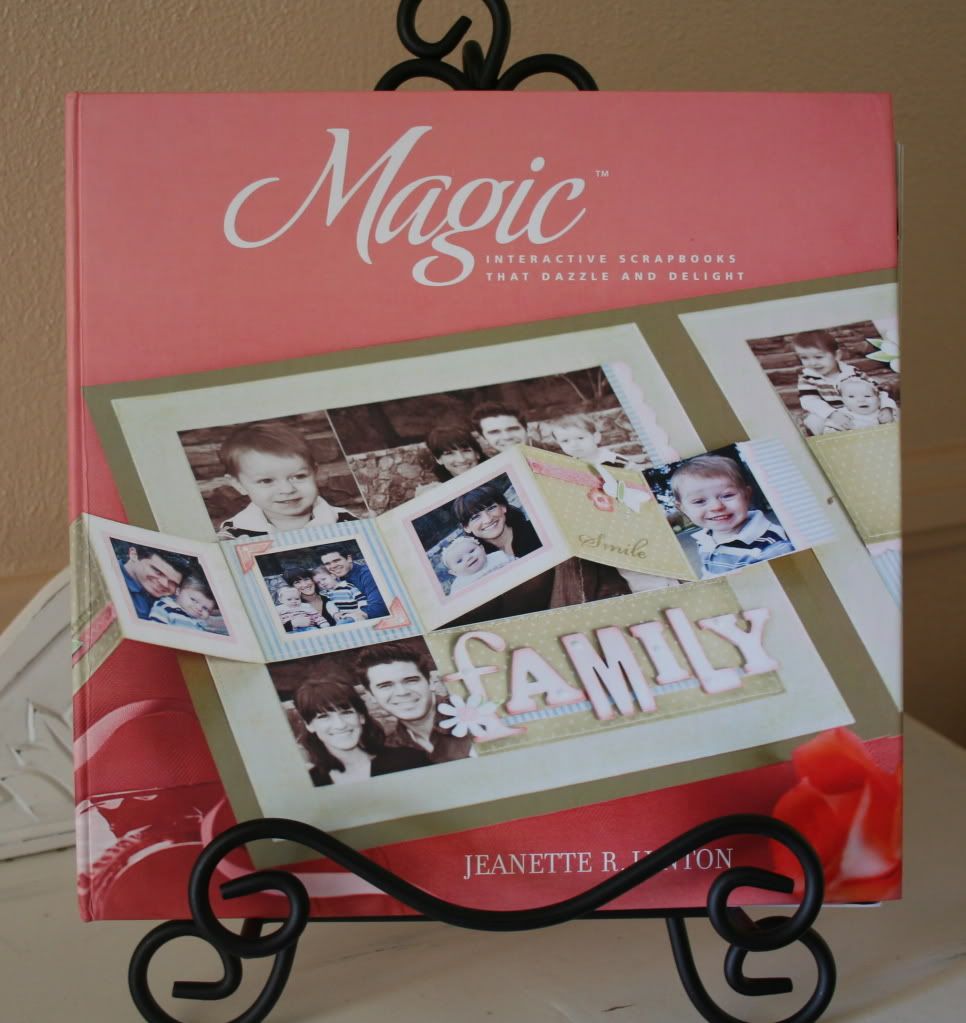
The layout pattern is from "Magic", and this layout is called On With the Show.  "Magic,"  as well as our other how-to books, are only $21.95 (plus tax and shipping)!  Each book offers many, many patterns and truly makes your scrapbooking faster, simpler, and easier.  They are full of tips and techniques, journaling tricks, etc.  Contact me to get your copy today (or click the Shop With Me button on the left side in the margin!).  Have a blessed day!


Tuesday, September 27, 2011

Hooray Bouquet Cricut Card

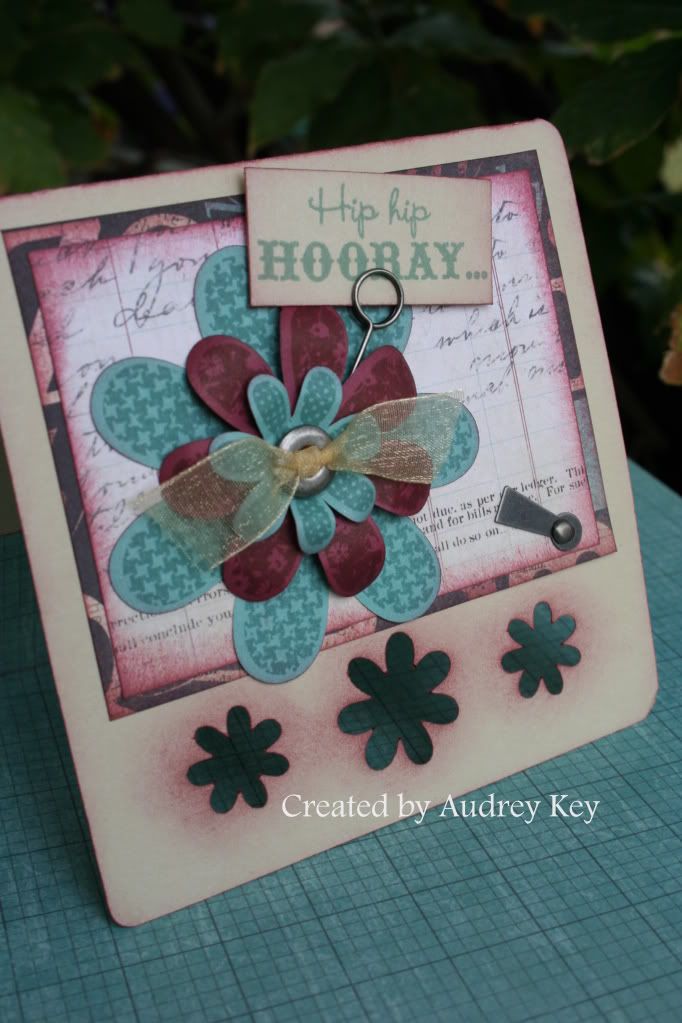
This entire card was created using the Cricut Art Philosophy Cartridge.  Can I just say that our new cartridge rocks?!  The card was cut out as a 4 1/2" card from the <banner2> shape on page 29 in the Cricut booklet.   I also cut the flowers from the same key.  Another cool feature, using the same button, is that it will cut an envelope for the card - you just need to add a 1/2" for the card to slide in the envelope easily - for this card I cut a 5" envelope.


I sponged all of the edges with Vineyard Berry ink as well as the little cut out flowers on the card base.  I used CTMH's new Mini Medley Accents Pewter Collection and our new Pin Clips.  The stamps that I used  were:
D1491 Hooray Bouquet (Cricut compatible) and
D1475 Card Chatter-Birthday. 


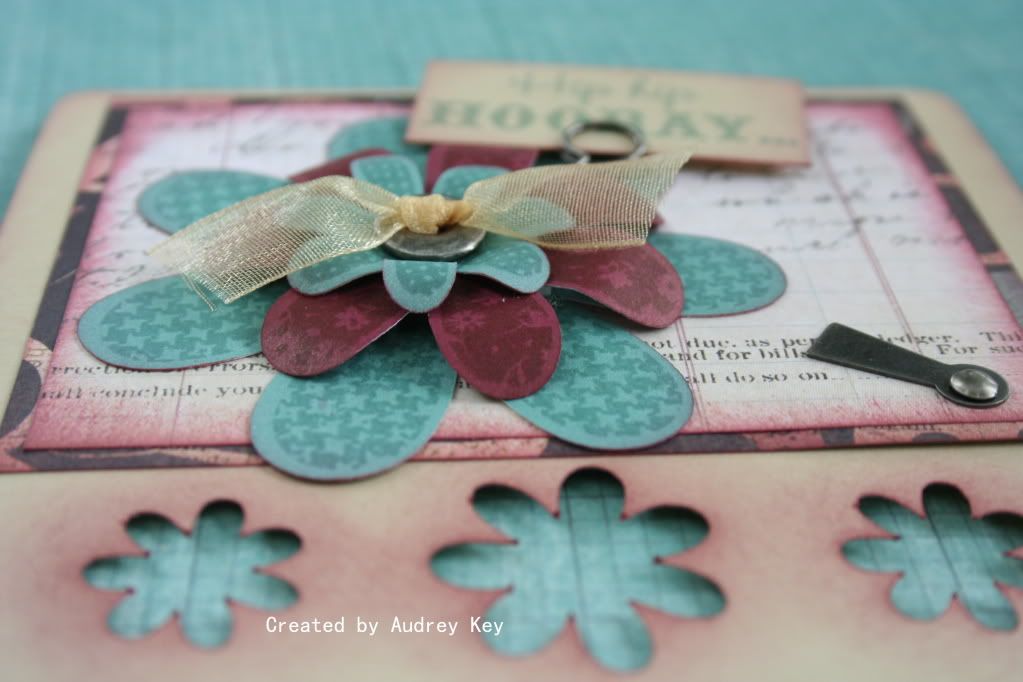
As you can see in the photo above, I used 3-D Foam Squares to pop the flower, which makes it appear more dimensional.  I also used a scoring stylus and curled the flower petals
(similar to the way you would curl curling
ribbon with scissors).