Showing posts with label Roxie. Show all posts

Tuesday, February 14, 2012

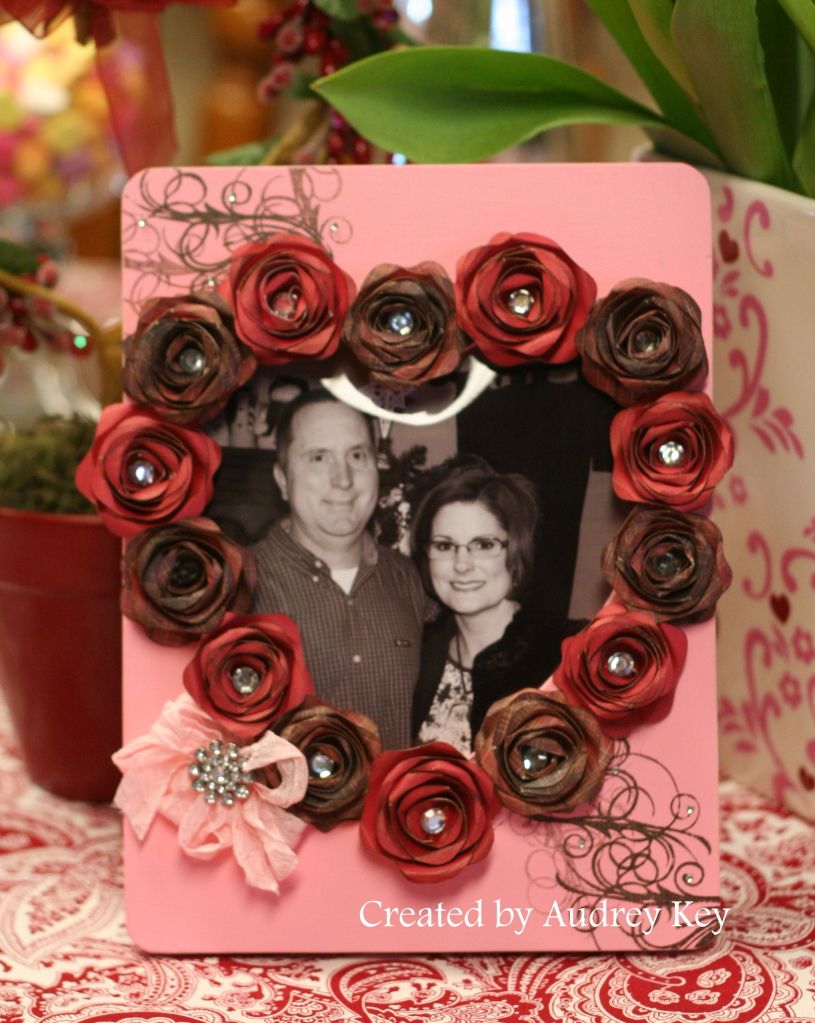
Valentine's Day - Heart Frame


I bought this frame at Michael's several months ago because I thought it would be the perfect Valentine's Day gift for my sweet husband, Dean.  

I painted the frame with pink acrylic paint and set aside to dry.  The flowers were cut from Roxie Plaid B&T and Tulip Cardstock with the Cricut AP Cartridge.  I sponged the edges of the flowers with Cocoa ink prior to rolling them up.  I used the Instant Memories stamp set to stamp the flourishes with Timber Brown StazOn ink.  Seam binding makes a fluffy little bow and a Designer Rhinestone Brad finishes it off.  Large sparkles were added to the center of each flower and Bitty Sparkles were added to the flourishes.

**Tip - Use Liquid Glass to adhere the flowers together and to adhere them to the frame. 

Thursday, February 2, 2012

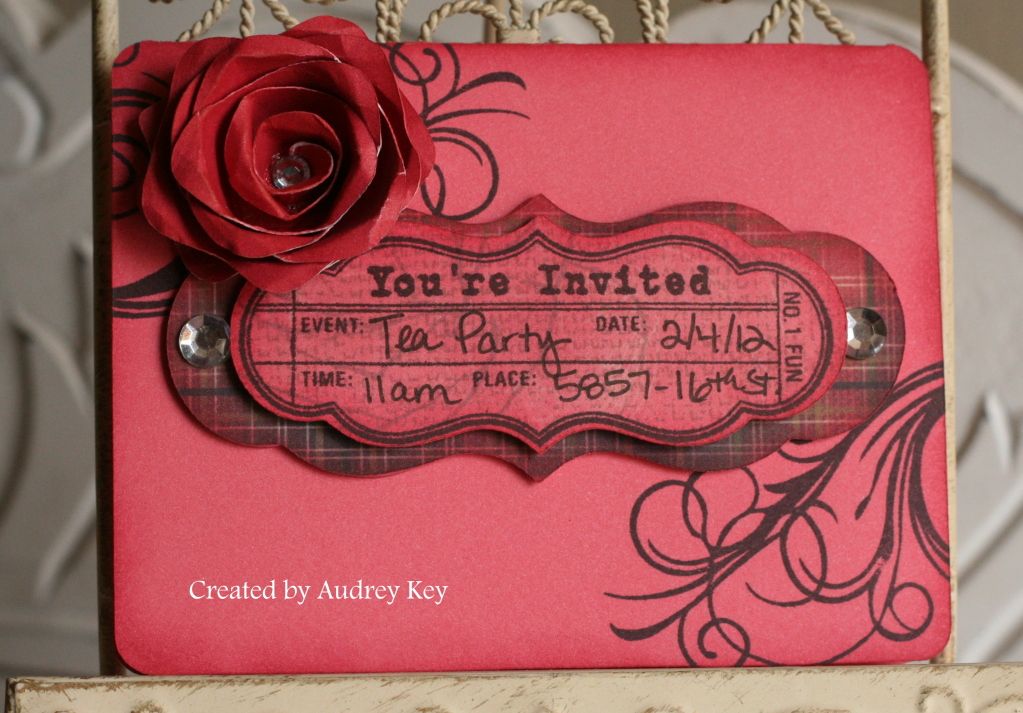
You're Invited Card


Here is another card that I created for the Cricut class last week.  The card base is on the <shape1>.  I used a chipboard shape from the Cricut bundle and the coordinating stamp set to create this "Tea Party Invitation".  You could use this stamp for any type of party - it is very versatile!  I cut a flower on the Cricut and used sparkles to embellish the flower  and the chipboard shape.  Instant Memories was used to stamp the flourishes.

Wednesday, February 1, 2012

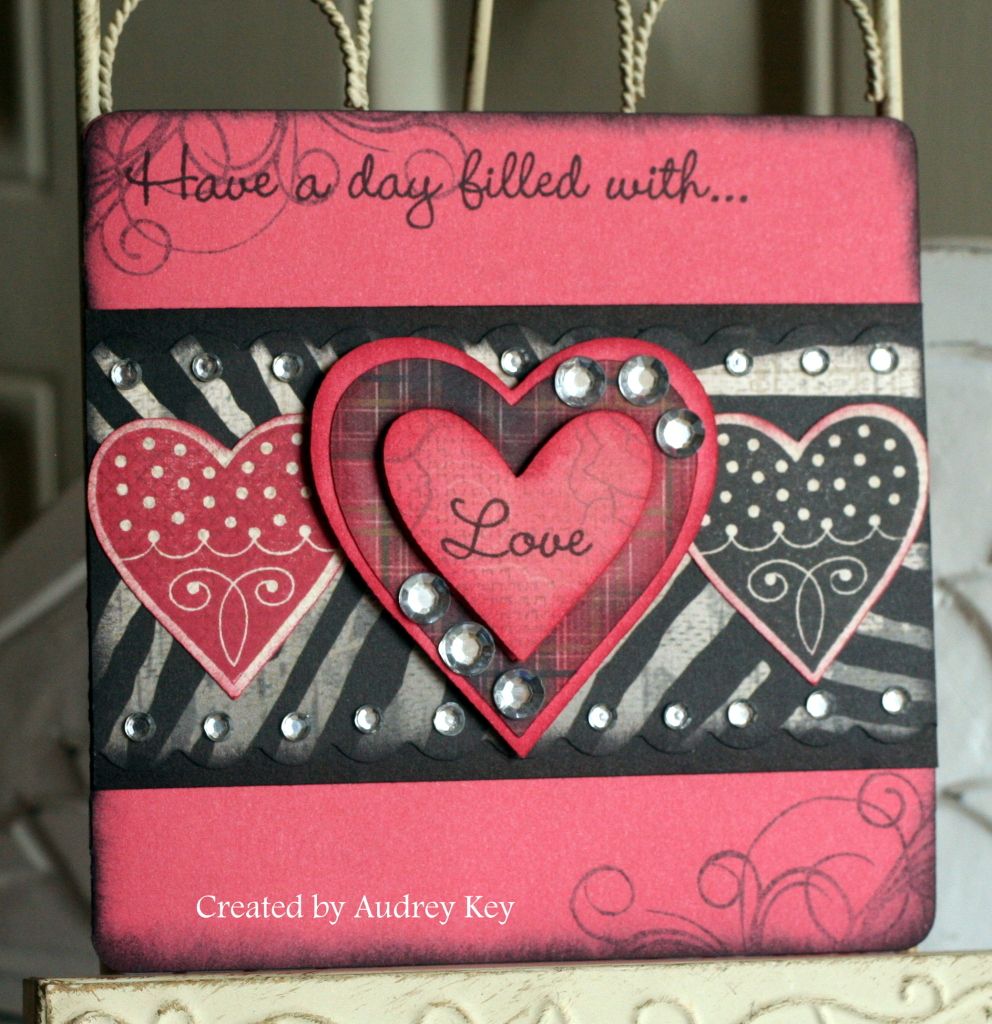
Have a Day Filled with Love Card


This card was also a card that I created for the Cricut class.  It is one of the cards on the <shape1> key on page 26.  I used the stamp set in the Cricut bundle to stamp the two hearts on outside edges of the card as well as for the sentiments.  The center hearts were cut from the <shape1> key and layered with foam tape.  I used Instant Memories to stamp the beautiful flourishes on the corners of the card.  Sparkles add the perfect amount of bling to this card!

Tuesday, January 31, 2012

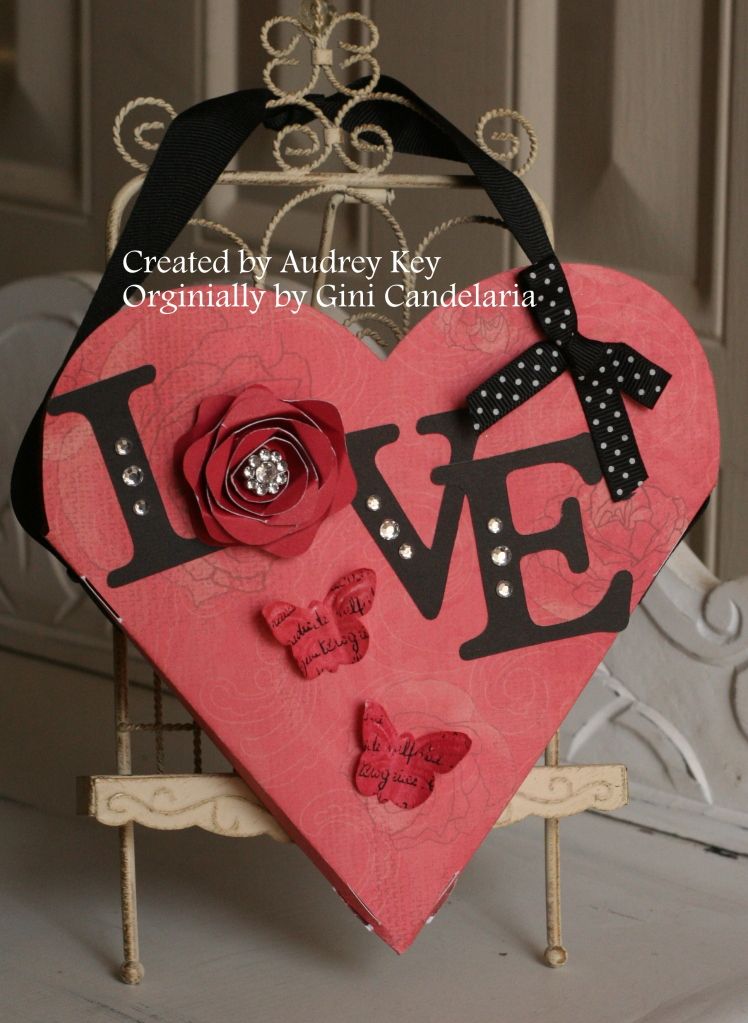
Love Valentine Pocket


This Valentine treat pocket was our project at the Cricut class last week and was inspired by a similar heart pocket that my friend and fellow consultant, Ginni Candelaria, made for me. 

 We cut this heart from the <shape1> key on page 26 in the Cricut booklet.  I cut the letters "L V E" and cut the flower  for the "O" -- all with the Cricut AP cartridge. 

We embellished the pocket with Sparkles, a Designer Rhinestone Brad for the flower center, ribbon, and Just Blooms Paper Shapes butterflies.  We added a "handle" by attaching wide ribbon with brads.

Wednesday, December 7, 2011

Roxie Workshop on the Go Cards


I created these cards for the Roxie Workshop on the Go - Cards Workshop.  The pattern is from the Wishes book and is called "File Pocket." 


The Roxie WOTG kit includes:  Roxie Level 2 Paper, Roxie My Acrylix Stamp Set, Bling Assortment, Black Hemp and the Roxie Workshop Guide.  The kit is $35 (which includes tax and shipping). 


When you purchase the Roxie WOTG kit, I will include the card instructions to complete these cards.

Saturday, December 3, 2011

You're Sweet


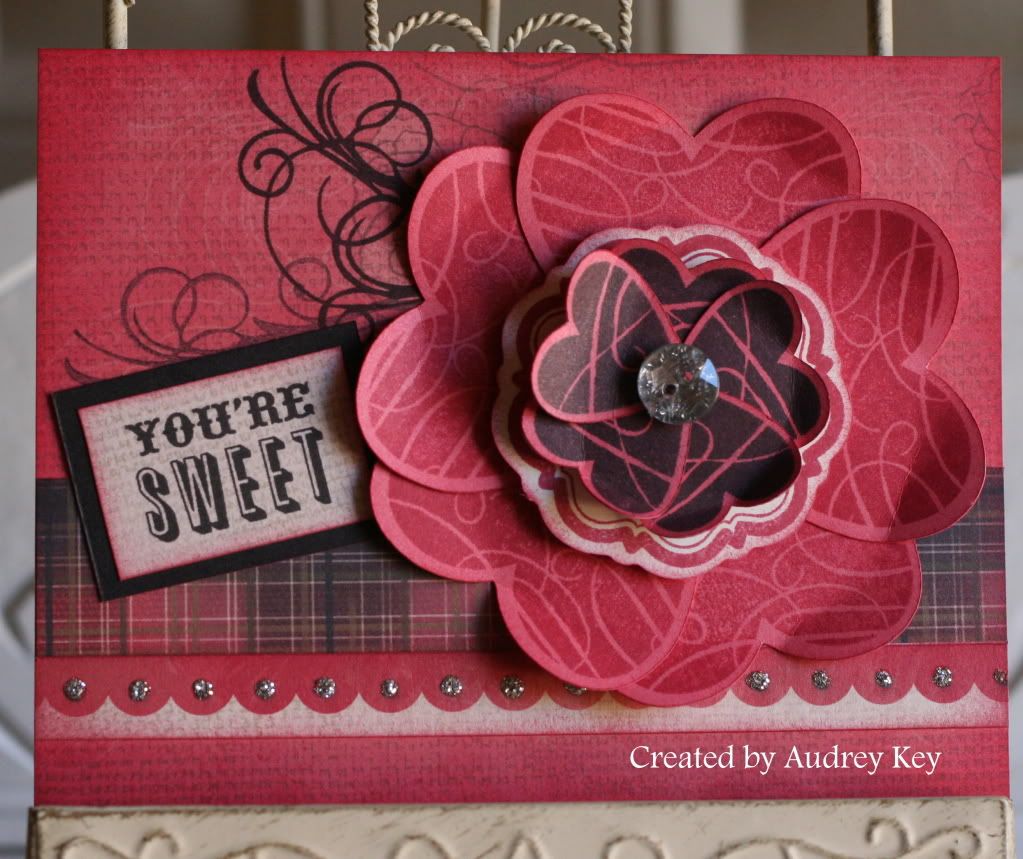
This card was also inspired by my friend, Karen Pedersen.  This card features the December Stamp of the Month "Mad About You."  The flowers are made from 5 hearts for the lower layer and 5 hearts for the top layer - all of the hearts were cut on the Cricut and then stamped with the coordinating stamp.   Silver Glitz Glitter Gel adds that special sparkle to the border along with a bling button that I added to the center of the flower.  The flourish is from the Instant Memories stamp set.

Friday, December 2, 2011

Love To Love You Card


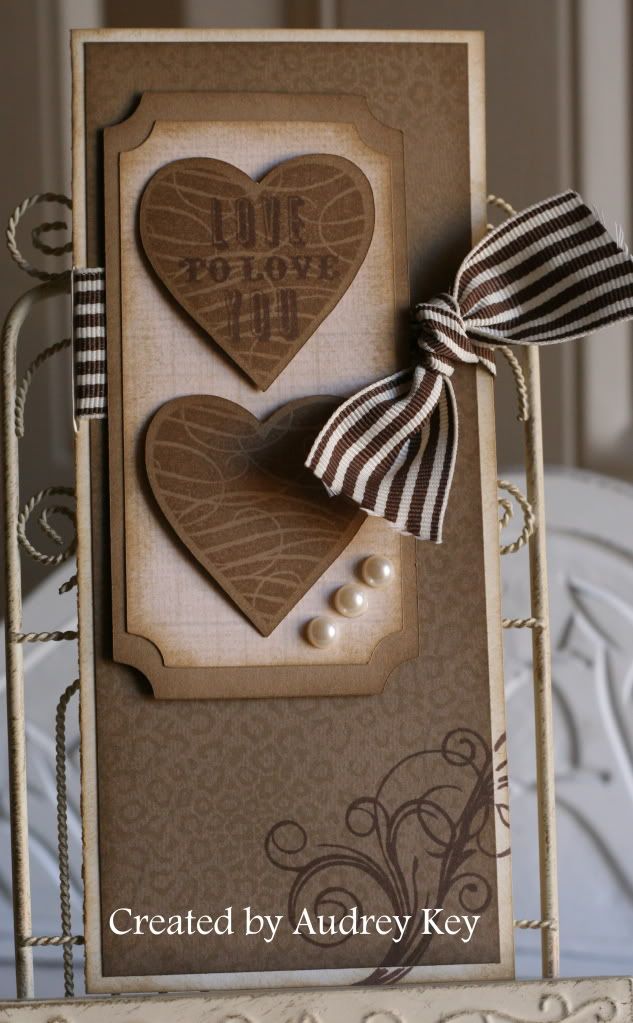
This 3 1/2" x 8" card was inspired by my friend, Karen Pedersen who lives in Utah.  We served on the CTMH Advisory Board together and she is a dear friend AND a brilliant artist!   Check out Karen's blog here!

I used the Roxie paper packet along with the Mad About You (stamp of the month) and Instant Memories stamp set.  I embellished the card with our Chocolate Striped Ribbon and Pearl Opaques.  The hearts were cut on the Cricut.

Friday, November 25, 2011

Hip Hip Hooray Clear Card


Here is another card made with the Childhood Portrait stamp set.  I love this little boy playing with his yo yo.  I used Red Glitz Glitter Gel to highlight the yo yo.   I used a Clear Card, Roxie Level 2 paper, Cricut AP Cartridge, Dimensional Elements Mixed Shapes, black heat embossing powder, black ribbon and Licorice Opaques.

** Tips - I punched holes in the scallop of the clear card to dress it up.  You could thread ribbon through the holes for added dimension.

Tuesday, November 22, 2011

Love to Love You Card


Our December Stamp of the Month (Mad About You) is inspiring me to think about Valentine's Day.  I know, we haven't even celebrated Thanksgiving, but if you make cards for holidays, then you need to think ahead, right? 

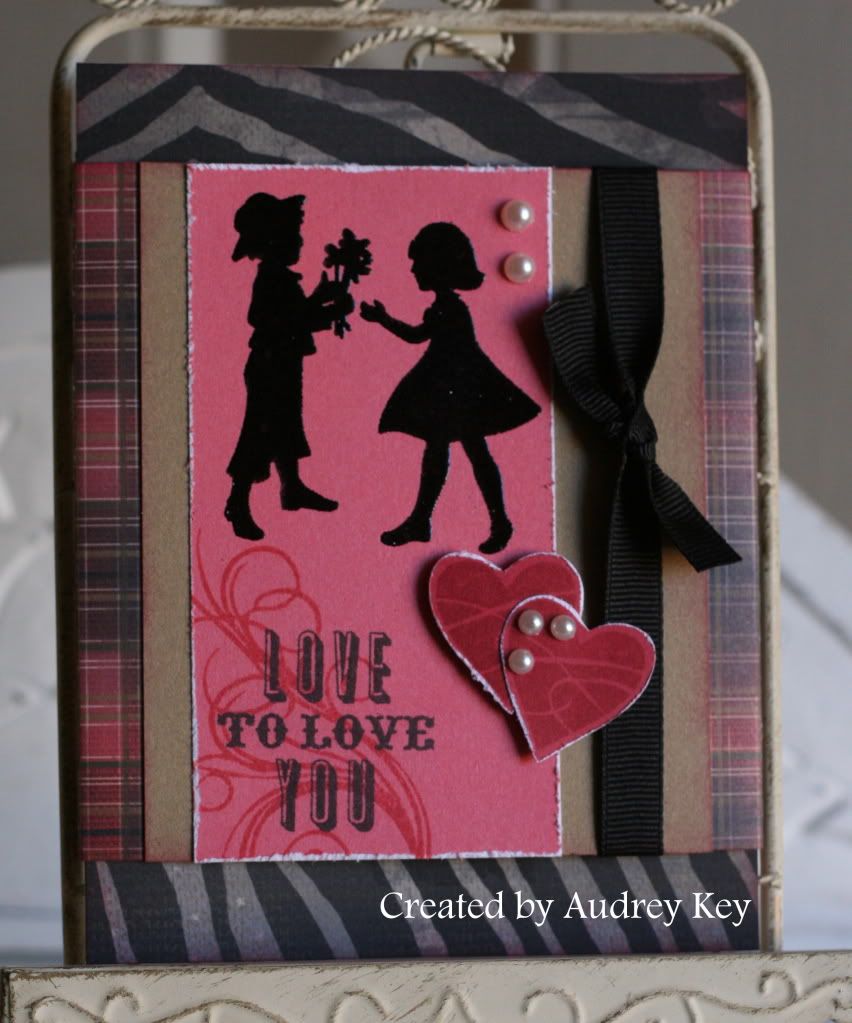
I used Roxie Level 2 Paper, Childhood Portrait stamp set, Instant Memories stamp set, Mad About You stamp set, Pearl Opaques, and black ribbon. 

The card pattern is in the Originals book and is called "It's a Wrap."  The card is "wrapped" with a band which is very cute and different than just a standard card.  I heat embossed the kids with Versamark and Black Embossing Powder.  The Childhood Portrait stamp set takes me back to yesteryear because reminds me of the silhouette pictures that my Grandmother had in her bedroom when I was a little girl.  Every time I see something made with this stamp set it reminds me of her.

Saturday, November 19, 2011

Over the Moon In Love Card


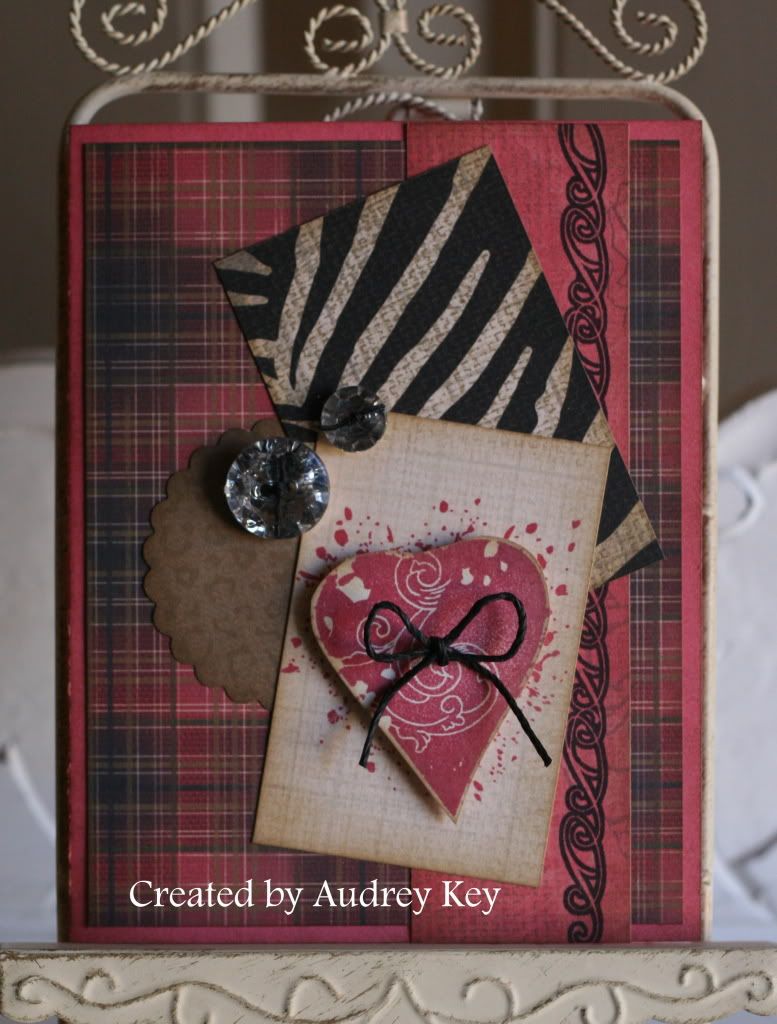
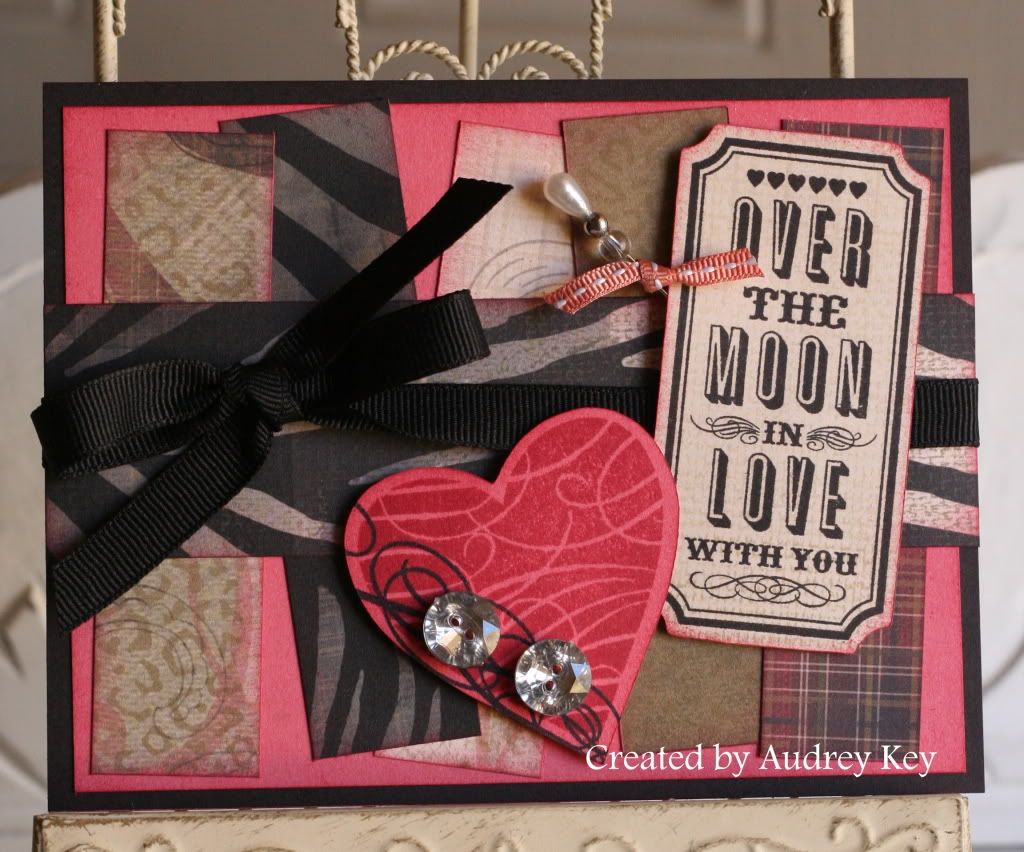
I couldn't wait to make this card!  I dreamed about it last week and knew that when we returned home I HAD to make it.  I used Roxie Level 2 paper, Red Ribbon Assortment, Black Ribbon, Bling Assortment, and the December Stamp of the Month called "Mad About You."  The ticket and the heart were cut on the Cricut!  Imagine that - the December Stamp of the Month is Cricut compatible!   This stamp set is great for wedding, Valentine's Day, or love cards and/or scrapbook pages.  In my opinion, it is a must have!

Tuesday, November 15, 2011

Roxie Rolodex


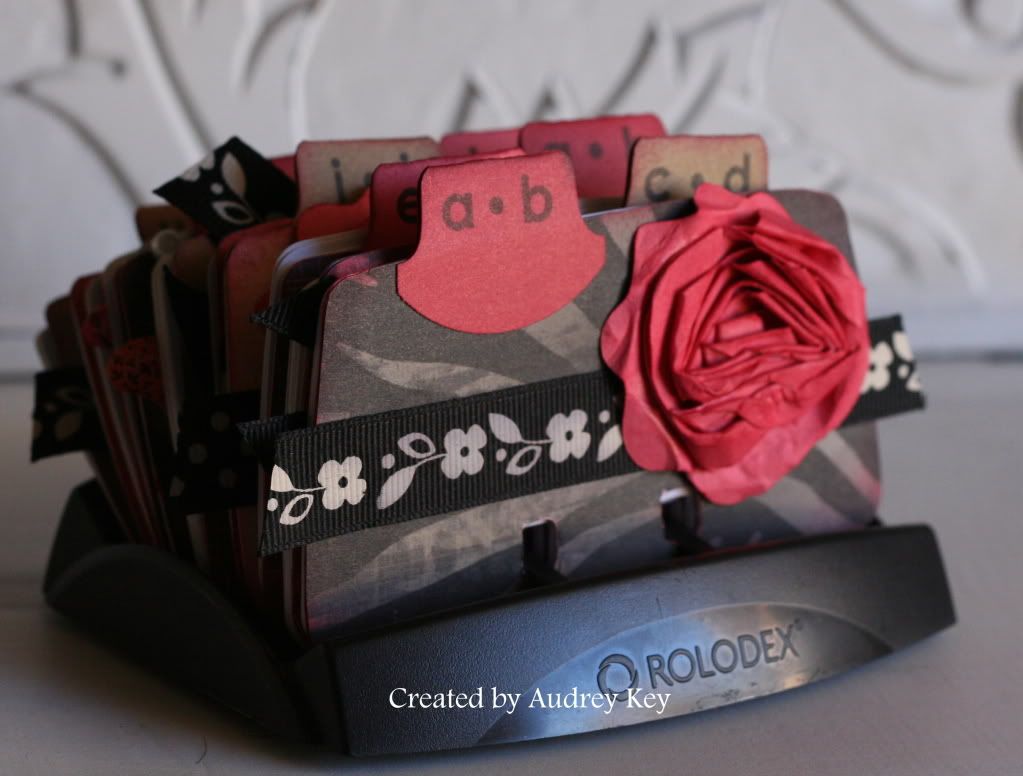
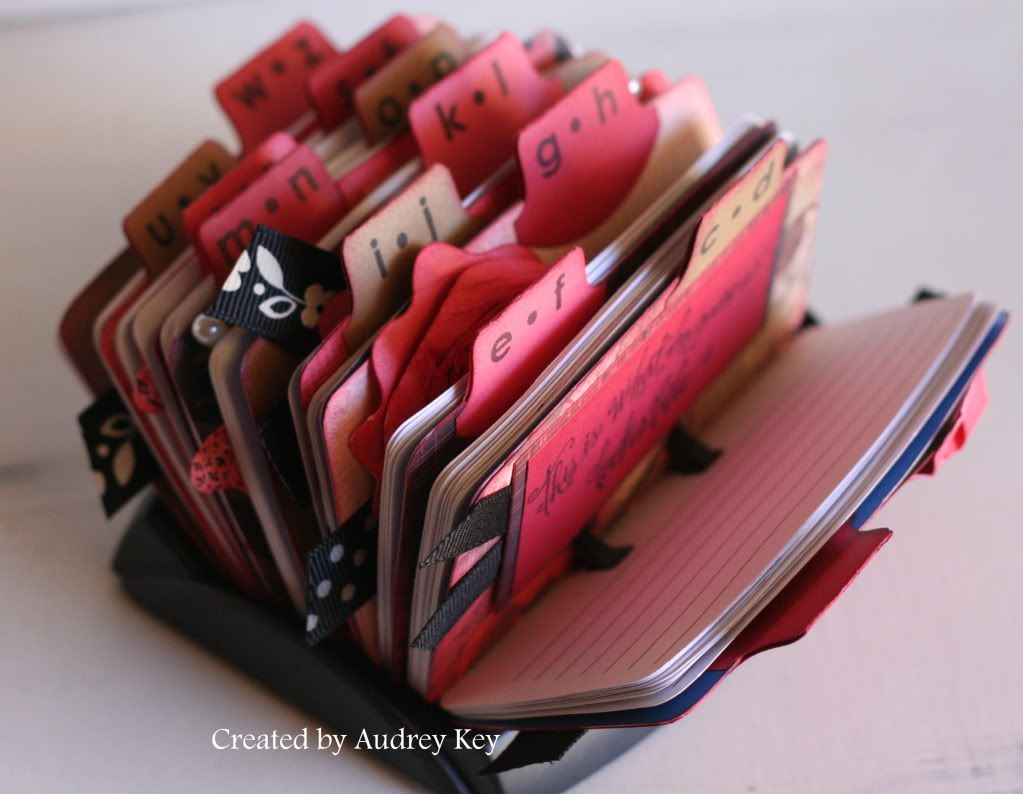
I have missed not posting (for a week now).  We were out-of-town and so I want you to know that I am happy to be back in the "saddle".  I started this little project last week before we left but ran out of time to complete it.  I have had this Rolodex for at least a year and had been meaning to decorate it.  This isn't your typical Rolodex as it is a place for those endless passwords that we all have.  It is a pet-peeve of mine that every website makes you use different cases, numeric characters, etc.  I can never remember them all!


Since we have reds and animal prints in our house I thought it fitting to use the Roxie Level 2 Paper packet.  I also included lots of black ribbon, Bling Assortment, Pearl Opaques, Sparkles, and the Cricut Art Philosophy flowers. 

Saturday, October 29, 2011

Roxie - 10 Things I Cherish Board Book


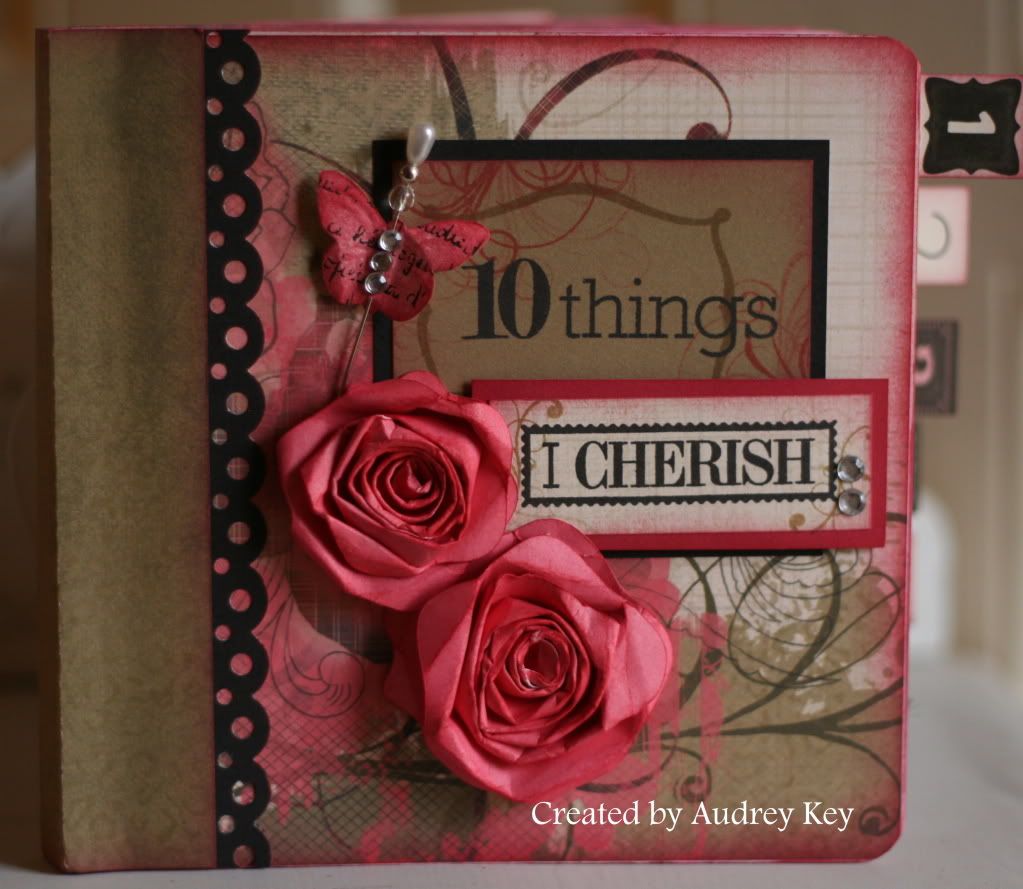
This darling book started out as a white chipboard book and ended up as a work of art!  In it are 10 Things that I Cherish - 1) Family; 2) Home; 3) Dean; 4) Stephanie; 5) Connor; 6) Brayden; 7) Holidays; 8) Summer Fun; 9) Birthday Celebrations; and 10) Vacations.  Yes, I know there are many more things that could be included but, I only had 10 pages! 

I used the 10 Things My Acrylix Stamp Set and Instant Memories Stamp Set as well as Roxie Level 2 Paper, Bling Assortment, Just Blooms Paper Shapes, 10 Things Pocket (tags), Cricut Art Philosophy Cartridge, and sparkles.


Monday, September 26, 2011

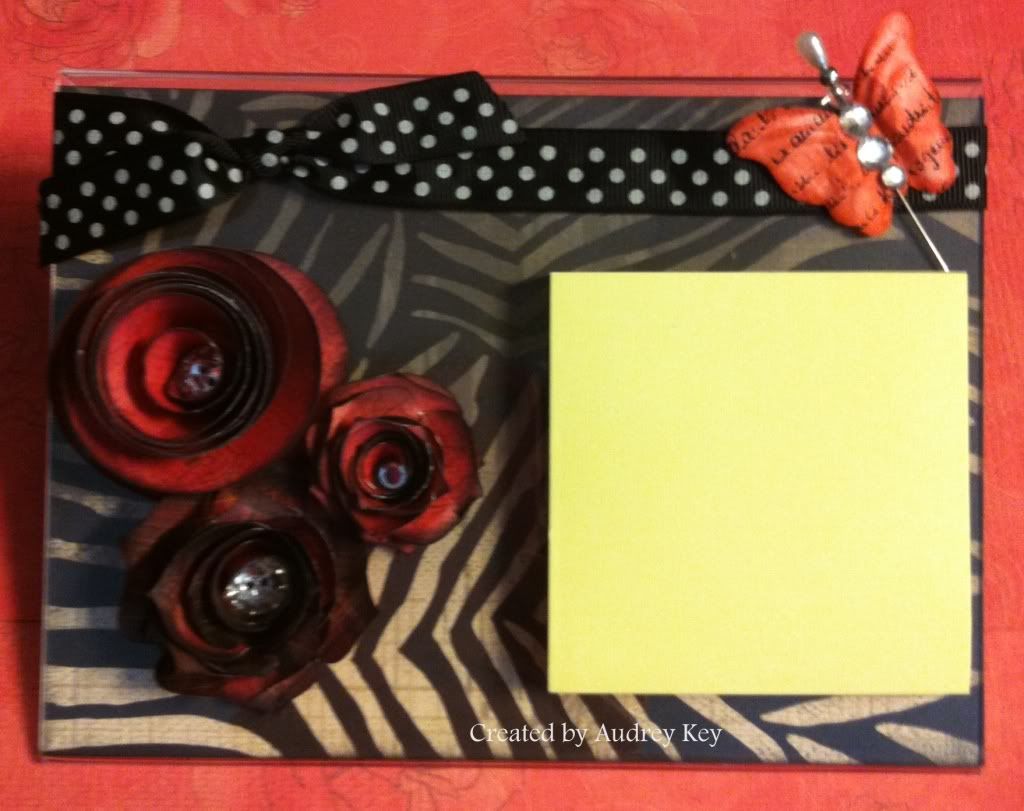
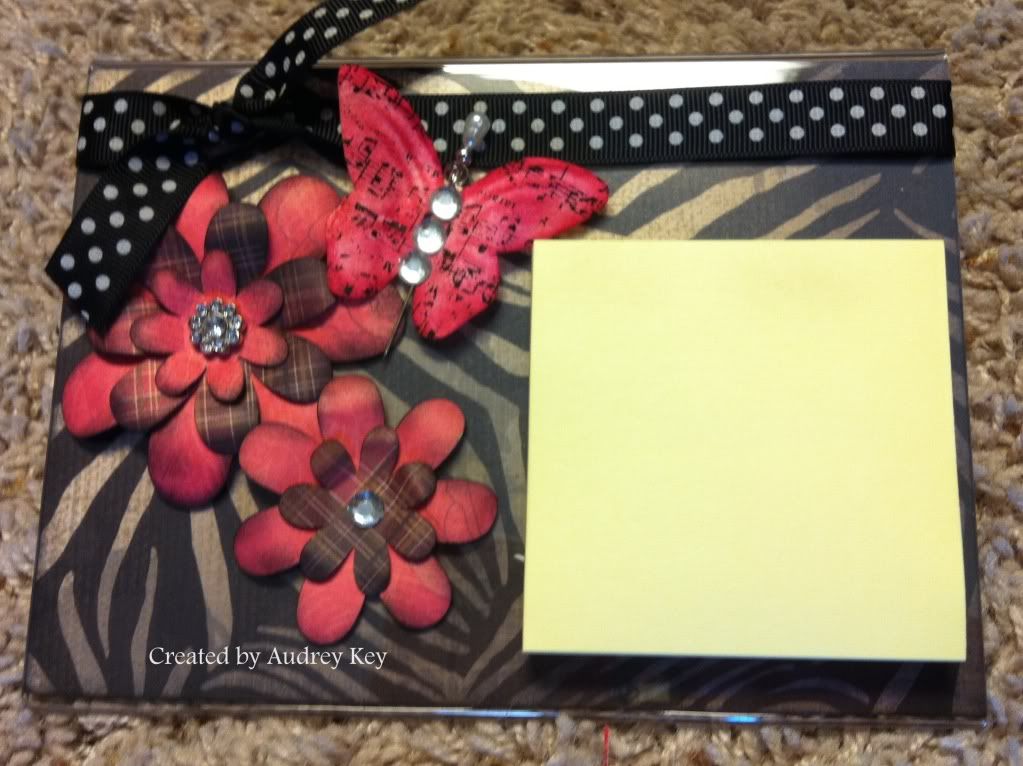
Roxie Post-It Note Stand

Today's project is a Post-It Note Stand created from a 5x7 Acrylic Frame (thanks to Anna R. for the idea).  It is a very inexpensive gift/item to create.  I  used CTMH's Roxie Level 2 Paper pack for the insert and for the flowers that were cut on the Cricut Art Philosophy cartridge.   I also used Just Blooms Paper Shapes, Bling Assortment, and Sparkles.  The ribbon was some that I had in my huge ribbon stash (can you say ribbon hoarder?!).


This is a close up of the awesome flowers that you can create on the Art Philosophy Cartridge!  I sponged the edges with black ink for a more finished look.


I made this Post-It Note Stand for my daughter, Stephanie, when she moved into the new salon she is working at.  The decor at Michelle's Salon is French Country with zebra accents so this matches perfectly!  I used a different style flower her's and lots of bling because she is a blingy girl!