Showing posts with label Glitz Glitter Gel. Show all posts

Wednesday, June 6, 2012

"A Little Birdie Told Me....It's your Birthday" Card


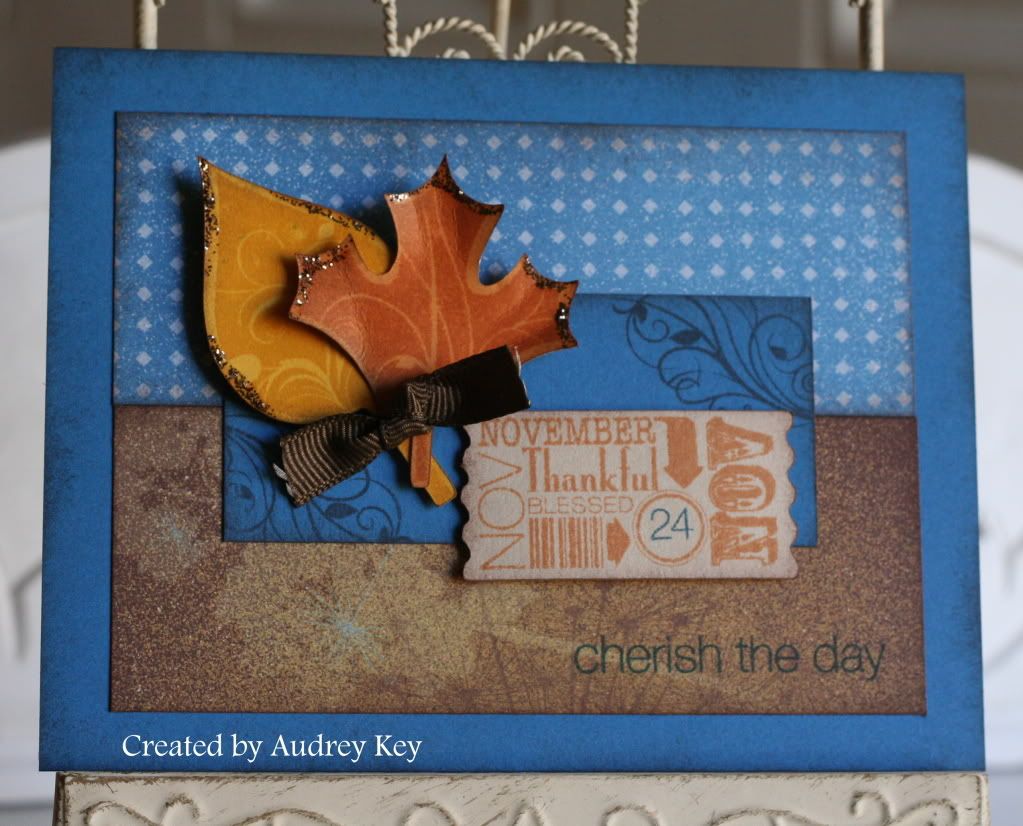
This is the card we made at $10 Month Playgroups this week.  We used the June Stamp of the Month, "Life is Tweet" along with the Lucy paper packet, coordinating stamp pads, and markers.  I cut the Colonial White and Cotton Candy paper using the Cricut Art Philosophy cartridge - I LOVE that cartridge!

 We stamped the bird with StazOn ink on the Colonial White piece; stamped it again on the yellow floral paper; and cut it out.  The yellow bird piece is popped with Foam Tape for added dimension.  We used a Black Opaque Pearl for his eye and embellished the party hat with Silver Glitz Glitter Glue.  We also added seam binding to the card to finish it off.


Life is Tweet is available through June 30.  You may purchase it for $17.95 or $5 with a $50 subtotal purchase.  This stamp set is Cricut AP Compatible as you can see. 

This is also Stampaganza Month!  That means - Purchase 2 stamp sets, get the 3rd one FREE (equal or lessor value - tax and shipping applies).  Click here to shop for your awesome My Acrylix Stamp Sets and Life is Tweet today!

Monday, May 21, 2012

Treasured Friend Card


This card was made last week at our $10 Month Club Playgroups.  I used the Pemberly paper packet and the May Stamp of the Month, "Friendship Bouquet."  We also used the Eclectic Edges and the Stitched Together stamp sets. 

The technique I showed at Playgroups demonstrated how to use our awesome Watercolor Pencils and our Blending Pen.  These items lead to beautiful water colored images.  You will feel like Picasso when you use them!  I used Round Durables Studs and Bronze Glitz Glitter Gel to embellish this card.

Don't miss your opportunity to order "Friendship Bouquet."  It is available during the month of May and is only $5 when you purchase other items totaling $50 subtotal!


Wednesday, February 22, 2012

Congratulations Card


This Pemberly card was cut out on the Cricut (you just have to love that Cricut AP Cartridge!).   I used the Card Word Puzzle to stamp the flowers, leaves and "congratulations."   I stamped the flowers and the leaves with Brown StazOn ink and then water colored the flowers with  Buttercup ink and the leaves with Desert Sand.  I stamped the flourish with the Love Life stamp set.

The butterflies are from the Color Ready Accents assortment and I sponged Honey ink over them.  I embellished the card with Bronze Glitz Glitter Gel, Pearl Opaques, and ribbon from my stash. 

Tuesday, December 13, 2011

Merry Christmas Treat Box


December is proving to be a busy month!  It has been days since I have been able to post due to lots of family events.   will try to be better the rest of the week about posting! 

We made this little treat box at my Cricut Class last night.  All of the dimensional boxes from the Cricut Art Philosophy Cartridge are so fun to create and decorate. 

This box is located on the <square1> key.  It was cut at
5 3/4" (using the keys: Font Layer; Shift; <square1>;
on page 23 of the Cricut Booklet). 

We also used the <square3> on page 43 to decorate the box.  The tag was cut on the Cricut and stamped with the tag on the Christmas Cheer stamp set. 

The Holly leaves were cut on the Cricut and then stamped with the coordinating stamps from A Holiday stamp set.  We stamped the holly berries from A Holiday on a 3/4" circle which was also cut  on the Cricut. 

We sponged the edges of the pieces with Topiary ink and then added Red Glitz Glitter Gel over the holly berries.  Fill it with candy and it is a sweet treat for someone special!

Saturday, December 3, 2011

You're Sweet


This card was also inspired by my friend, Karen Pedersen.  This card features the December Stamp of the Month "Mad About You."  The flowers are made from 5 hearts for the lower layer and 5 hearts for the top layer - all of the hearts were cut on the Cricut and then stamped with the coordinating stamp.   Silver Glitz Glitter Gel adds that special sparkle to the border along with a bling button that I added to the center of the flower.  The flourish is from the Instant Memories stamp set.

Thursday, December 1, 2011

Don't Open Until Dec. 25th - Christmas Petal Box


I was so excited about the Cricut boxes on our new cartridge.  I quickly realized that you need to cut various sizes from scrap paper before you decide on the size you want.  The finished size of this little box is 3" - this surprised me because I set the dial to 6" when I cut it.   


The products I used for this little petal box are:  Believe Level 2 Paper, Red Glitz Glitter Gel, and the Green Ribbon Assortment.  The gift tag is on the Cricut cartridge and I used the December 25th My Acrylix Stamp to stamp the sentiment.


Those who know me well, know that I love to make jewelry!  It is only fitting that this cute little gift box have 2 pairs of heart earrings enclosed! 

PS - Don't Open Until December 25!


Wednesday, November 30, 2011

Christmas Tree Clear Card


This is one of the first projects I made using the Cricut Art Philosophy Cartridge and the stamps in the bundle.  I cut the trees with the cricut and used the stamp set in the bundle to stamp them.  This card is a clear card from our specialty card line.  I used Believe paper, Green Ribbon Assortment, Bling Buttons,  Cricut AP Cartridge and stamps, and Red Glitz Glitter Gel.

Monday, November 21, 2011

Dreamin' Workshop on the Go Cards

These are the cards for the Dreamin' Workshop on the Go that we are making this week.  The Dreamin' Kit includes:  Dreamin' Level 2 Paper, Dreamin' My Acrylix Stamp Set, Bronze Glitz Glitter Gel,  Shimmer Brads, and the Workshop Guide.   The price is $35 (includes tax and shipping).  These cards/ instructions were made by me for the workshop.


Card 1


Card 2

Card 3

If you purchase the Dreamin' WOTG kit I will include the card instructions.


Friday, November 18, 2011

Leaves and Acorn Harvest Happiness Card

This card is on the <shape11> key; Card button.  It is a 4 1/2" card.  I used the Dreamin' Paper Packet, Harvest Happiness Stamp Set and Bronze Glitz Glitter Gel.


The cool thing about the Harvest Happiness stamp set (and others in our catalog)  is that it coordinates with shapes on our Cricut cartridge.  The stamp set "carrier sheet" tells you what size to cut the image so that you can stamp on it.  It is so fun to stamp and NOT have to cut it out by hand.   I cut the card, leaves, and the acorn with the Cricut Cartridge.  I also utilized the zip strip from the B&T as "ribbon" for this card - what a cool use for those little strips!

Thursday, November 17, 2011

Have a Splendid Day Card

I used the Cricut Cartridge to create the card, flower and sentiment. The card is from the <shape 11> key; Card button; Shift - it is 4 1/2". The "splendid" flower is on the <flower4> key. I cut it 5 times beginning with 2 1/2" and turned the size dial down one tick each time I cut the flower. 


The items used for this card are the Dreamin' Paper Packet, Mini Medley Pewter Assortment, Bronze Glitz Glitter Gel, and Cocoa Ribbon.

**Tip - I cut 5 flowers from the Pacifica Dots B&T and utilized both sides of the B&T for the flower (alternating sides as I stacked them up).   I curled the petals downward using a stylus tool; adhered the flowers together and placed a brad in the center.  I also cut <shape11> at the 3/4" size to use as the leaves for the flower.


Wednesday, November 16, 2011

A Season of Thanks Pillow Box


This was the project we created at my Cricut Class this week.  It is a pillow box from the Cricut Art Philosophy Cartridge and is on <shape11> key.  To get this 7" shape you need to push  Font Layer,<shape11> and Shift.  Fill it with candy or a small surprise and put on your Thanksgiving table (see page 64 in the Catalog IdeaBook). 

I used the Dreamin' paper packet, Captured Moments stamp set, Harvest Happiness stamp set, Foundry Metal Accessories, and Bronze Glitz Glitter Gel.

Monday, November 7, 2011

Cherish the Day Fall Card

This is the $10 Month Club Playgroup card for November.  I used Dreamin' Paper, Cherish the Day Stamp of the Month, Harvest Happiness stamp set, and the Cricut Art Philosophy to cut the leaves and the ticket.


This photo shows that the leaves are popped up with 3D Foam Tape and embellished with Bronze Glitz Glitter Gel.  The Glitz Glitter Gel adds just the right amount of sparkle!

Friday, October 28, 2011

Celebrate Flower Card


In my monthly Cricut Class, I cut everything that one key will cut and show at the class.  This card was  cut from the <tag5><cupcake> key.  Most of the images on this card are cut from that one key.  The flower is the spiral flower on the Shift/Font <tag5>.  The Border is from the Font Layer <tag5>; the Tag Topper is from the Shift/Decorative Layer <tag5>;  and the card is Card <tag5>. 

I used Silver Glitz Glitter Gel in the center of the flowers and Sweet Leaf Ribbon form the leaves.   Sofia paper provided the color scheme for this cute little card.  

*PS - Today is your last opportunity to bid on our auction Honoring Becky Smith card sets.  Please see post on Tuesday, October 25, to place your bid by Midnight.   

Thursday, October 27, 2011

Hey There Cupcake


This 4 1/2" card was created by cutting the card base from the Cricut Art Philosophy Cartridge.  This card is on the <tag5><cupcake> key.  I used the coordinating cupcake stamp (in the Cricut bundle) to stamp the shading on the cupcake frosting and paper.  I also placed a piece of white cardstock behind the cutout cupcake that is part of the card base; using another frosting and cupcake paper that I cut separately.  I adhered the cupcake pieces with 3D Foam Tape to make it more dimensional.  Sweet Leaf ribbon, Silver Glitz Glitter Gel and Sofia paper were used to
embellish this card. 

*PS - Don't forget to check the bids today for the auction Honoring Becky Smith.  Please see post from Tuesday, October 25 to place a bid.

Wednesday, October 26, 2011

Cupcake Box - Cricut Class


We made this little box at my Cricut Class on Monday night.  The Cupcake Box was created using our fabulous Cricut Art Philosophy Cartridge!  I used Sofia paper, Sweet Leaf Ribbon, and Silver Glitz Glitter Gel.  Put a cupcake inside the box and give it to someone for their birthday!

*PS - Don't forget to place a bid on the card sets Honoring Becky Smith (see Tuesday's post).

Saturday, October 15, 2011

Believe It - 50 Christmas Cards in a Day

You may not "Believe It" but you CAN make 50 cards in one day!  The way that  this task is completed is to spend an hour and a half and complete 10 cards  at each station (we rotate 5 times).  The main objective is to follow the directions for cutting the paper, stamping the pieces, and finally, assembling the cards.   It is a great workshop, and it is even more fun to leave the workshop with your Christmas cards ready to sign and address! 

As you are reading this post, there are 17 lovely ladies participating in this workshop today.  Their kit included: Believe Lev 2 Paper, White Daisy Cards and Envelopes, Cranberry Ribbon, Clear Buttons, Bling Buttons, and Red Glitz Glitter Gel.

 I used Remarkable Wreath for this card.
(Does this stamp look familiar?)


 I used Christmas Cheer on this cute tree card.  The tree was stamped with StazOn ink and I waterbrushed it with Topiary ink.  Red Glitz Glitter Gel was used to decorate it.


Holiday Magic is an awesome Stamp of the Month (available during October) to use for your holiday card making!


Holiday Cheer and A Holiday were used on this adorable Happy Holidays card!  Of course the name plate and holly leaves were cut from the Cricut Art Philosophy Cartridge!


And last, but certainly not least, the buttoned up tree from  Happy Clusters finishes our 50 cards off in grand style!


I hope you enjoyed a sneak peak at what we are making at our 50 Christmas Cards in a Day Workshop.  I also hope that these cards inspire you to start making your Christmas Cards early!  Have a wonderful weekend!


Wednesday, October 5, 2011

Holiday Magic Christmas Card


This cute card was inspired from my friend, Jan, who lives in South Texas!  It is an easel card and it was a lot of fun to create.  I used CTMH Believe paper, Bling Button, Silver Glitz Glitter Gel, and Pearl Paint.  I used the CTMH black stubble tool and the Pearl Paint to create the snowy effect on the red plaid paper behind the tree.  The stamp set is our October Stamp of the Month, "Holiday Magic." 

It is easier to see how it "props" up with this side view.


During the month of October, this fabulous stamp set is only $5 with a $50 purchase (or you can buy it for $17.95 plus tax and shipping).


Thanks to Jan for the inspiration!