Showing posts with label 3-D Foam Tape. Show all posts

Tuesday, July 10, 2012

You Are My Sunshine


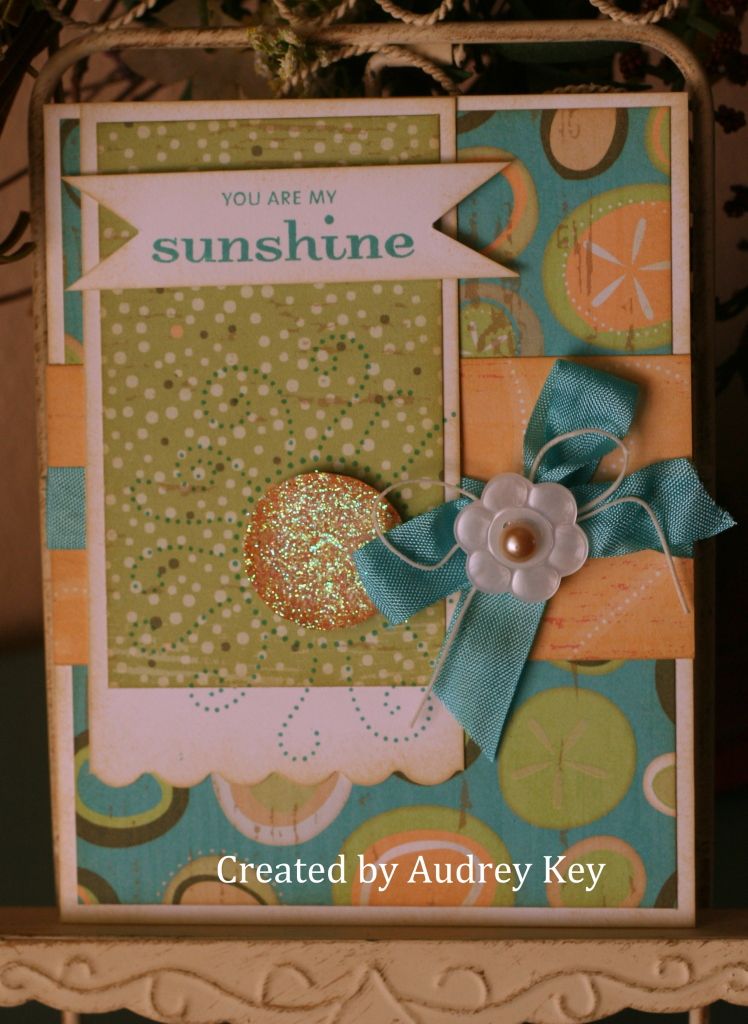
So, I need to tell you, that when I see this phrase, "You Are My Sunshine," it takes me back many years!  This was Stephanie's (my daughter) favorite song as a little girl.  I used to sing it to her all of the time.   I think it would be a perfect all occasion card to give her.

I created it with the Footloose paper packet, the Just Chillin stamp set, and the Kick Back stamp set.  I used Prisma Glitter to highlight the sun.  I also used seam binding, waxy flax, a flower button and an opaque for the center of the button.
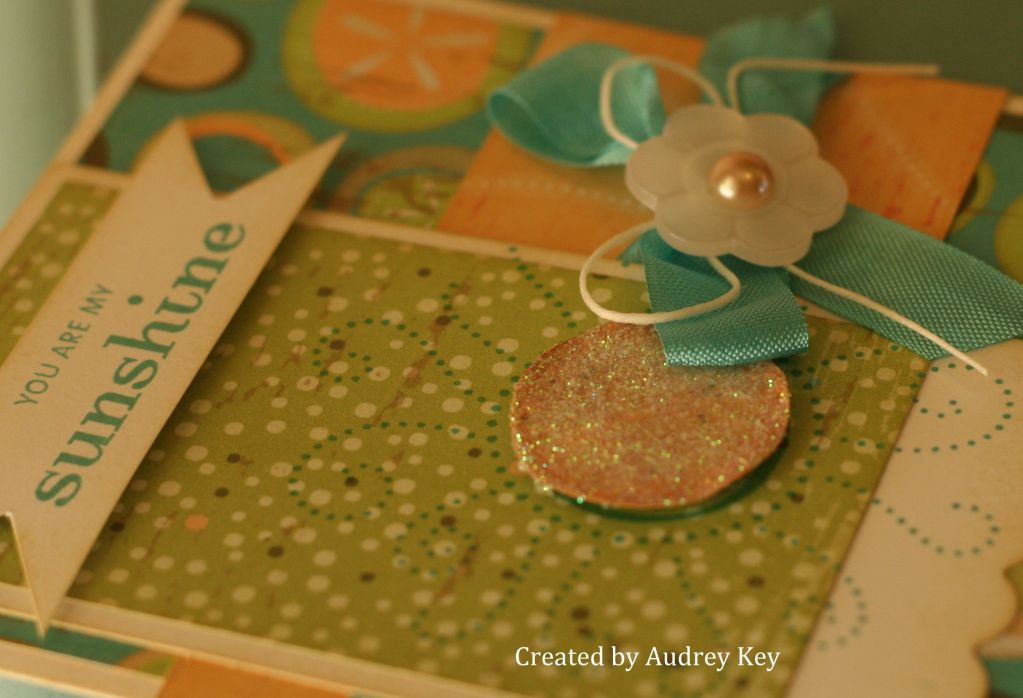

I took a close-up of the sunshine so that you could see it a little better.  I stamped it on the card with Lagoon ink and then again on a piece of the Creme' Brulee' paper in the paper packet.  I cut the center of the sun out and popped it up with foam tape.  I then added bonding memories glue and Prisma glitter to make it shine!

And, Stephanie, you are still my sunshine....just a little older! 

Friday, June 29, 2012

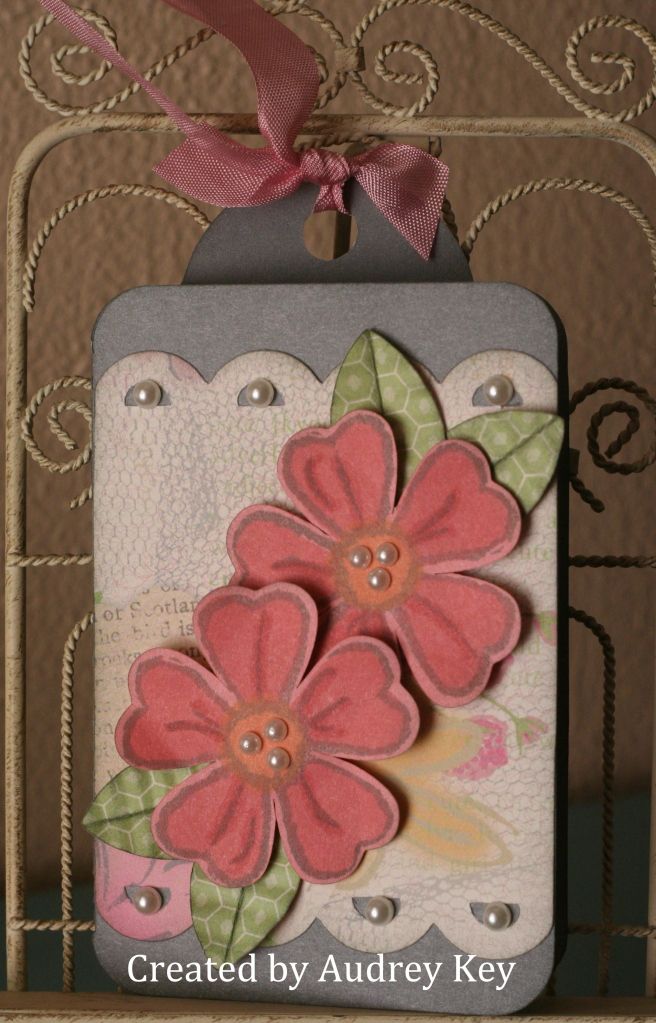
Lucy Tag Card - Cricut Class


This card was one that I made for the Cricut Class last week.  The card shape is on page 50 (our focus page) and is on the Card button - I cut it 5 1/2" - The Cricut AP measures the height of whatever you are cutting.  The scalloped piece is on the Decorative Layer on page 50 as well (cut 5 1/2"). 

I also cut the flowers with <flower8> and used the Lucy Workshop on the Go stamp set to stamp the flowers.  I cut the leaves using <petal2> and then crimped them with the Fiskars crimping tool.  I used Foam Tape to pop the flowers up and added Pearl Opaques to dress it up.  I added pink Seam Binding to top of the tag card to finish. 

Monday, June 18, 2012

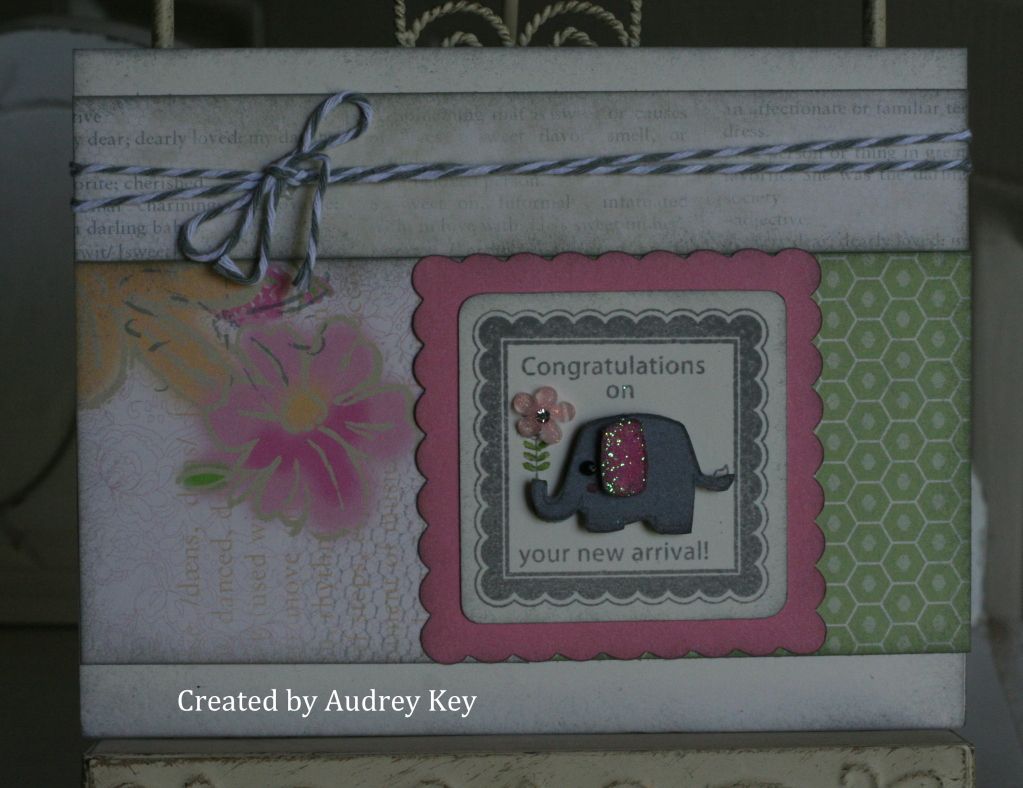
Congratulations on Your New Arrival Card


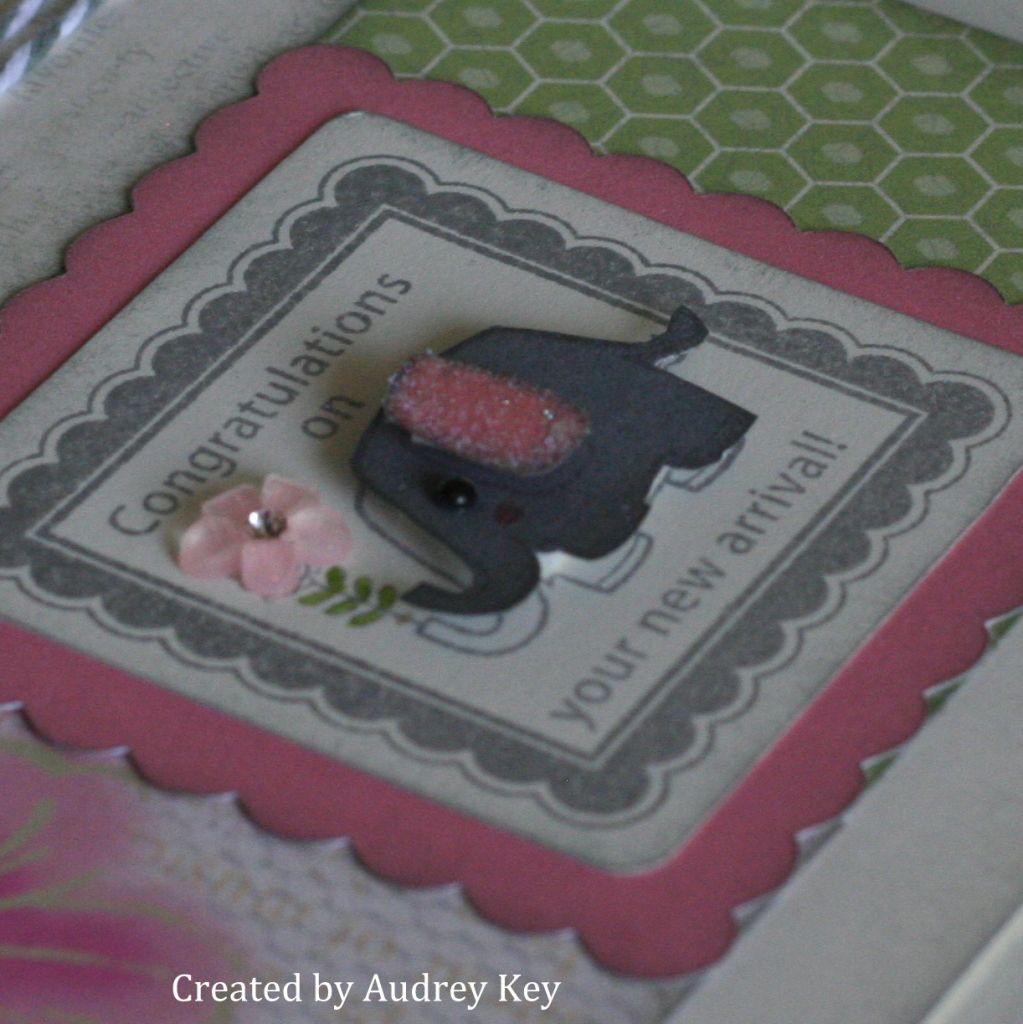
The focal point on this card was inspired by my friend, Christine Adams.  I just love this little elephant and I scraplifted the way she made his ear on her card!  The stamp is from the New Arrival set and is Cricut AP compatible, so I cut out the Colonial White piece and the Blush Cardstock piece on the cricut.  The paper is from the Lucy paper packet - so cute for a baby girl!


I stamped the elephant on the Colonial White Cardstock; again on Grey Wool Cardstock; and a third time on Blush Cardstock.  I cut the Grey Wool Elephant out and popped it up with foam tape and repeated that step for the pink ear.  I used our bonding memories glue pen on the ear and let it dry a bit; then added prisma glitter. 

The flower is from our new "Bitty Buds" assortment and I colored the leaves with pear marker.  I used Grey Wool Baker's Twine and a Licorice Opaque to finish it off.  I don't know about you, but I need to make baby cards!  If you have made any lately, please email me a picture!  You may win A PRIZE!

Wednesday, June 6, 2012

"A Little Birdie Told Me....It's your Birthday" Card


This is the card we made at $10 Month Playgroups this week.  We used the June Stamp of the Month, "Life is Tweet" along with the Lucy paper packet, coordinating stamp pads, and markers.  I cut the Colonial White and Cotton Candy paper using the Cricut Art Philosophy cartridge - I LOVE that cartridge!

 We stamped the bird with StazOn ink on the Colonial White piece; stamped it again on the yellow floral paper; and cut it out.  The yellow bird piece is popped with Foam Tape for added dimension.  We used a Black Opaque Pearl for his eye and embellished the party hat with Silver Glitz Glitter Glue.  We also added seam binding to the card to finish it off.


Life is Tweet is available through June 30.  You may purchase it for $17.95 or $5 with a $50 subtotal purchase.  This stamp set is Cricut AP Compatible as you can see. 

This is also Stampaganza Month!  That means - Purchase 2 stamp sets, get the 3rd one FREE (equal or lessor value - tax and shipping applies).  Click here to shop for your awesome My Acrylix Stamp Sets and Life is Tweet today!

Wednesday, March 28, 2012

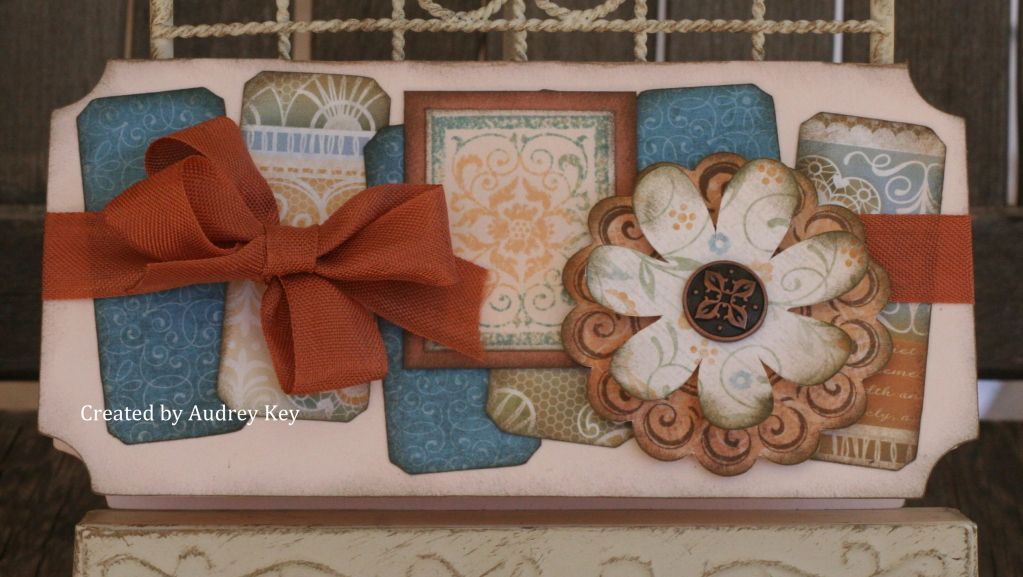
Florentine Ticket Card

I have a monthly Cricut Class and my goal is to teach participants how to use their Cricut.  We focus on one page in the Cricut AP Cartridge Booklet each month.  This month our focus was on page 25 in the booklet which is <rectangle4> and <star2>. 


This card is one of the pieces of artwork that I created to show at our Cricut Class this past week.  The card base is on the "Card" button - which you will find on the <rectangle4> button.  The size of the card is 5 1/2" tall.  I also cut the <rectangle4> shapes and used them across the front of the card.

I used the Enjoy stamp set to stamp the bottom layer of the flower (it was cut on the Cricut too).  The top flower is the <flower6> shape.  I sponged the edges of both flowers and curled the petals upward on the top flower. I used an Antique Copper Designer Brad in the center of the flower. 

I also used the Family Love stamp set to stamp the focal point.  I stamped it by using the rock n roll technique with  Creme' Brulee ink and Twilight ink,  Seam binding ribbon finishes this card off.

If you have a Cricut and need to learn how to use it, you should join me for the next class which is scheduled for April 9 (pre-registration is required).  The project is $2 or FREE when you place an order at the class.

Monday, October 17, 2011

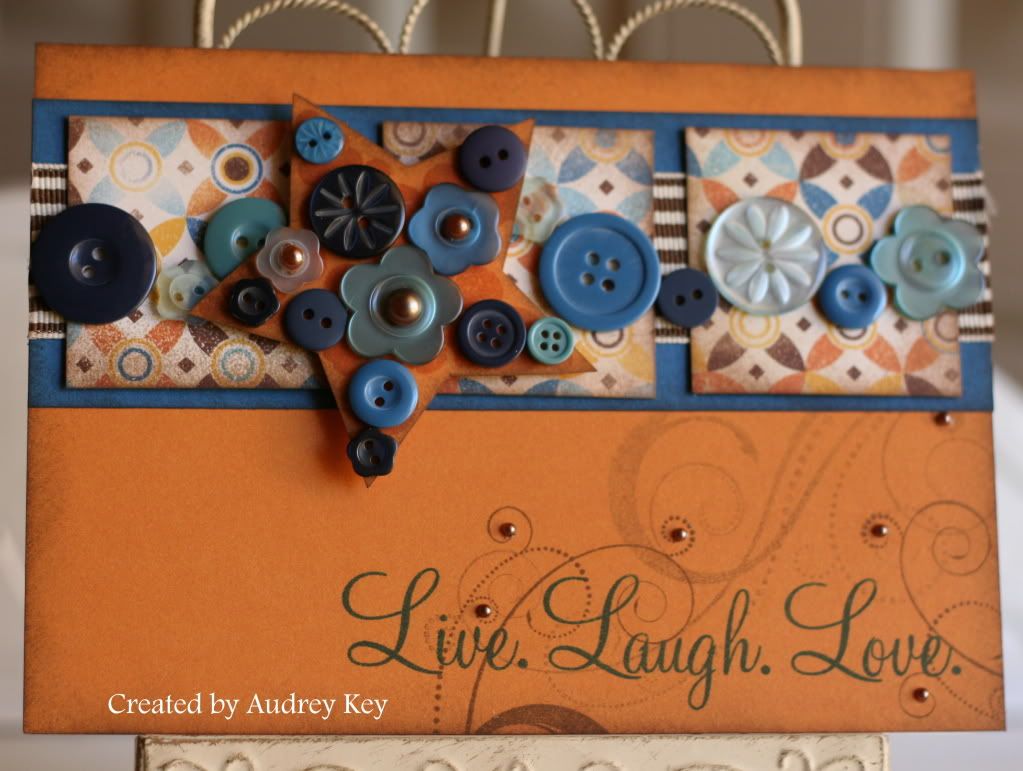
Live. Laugh. Love.


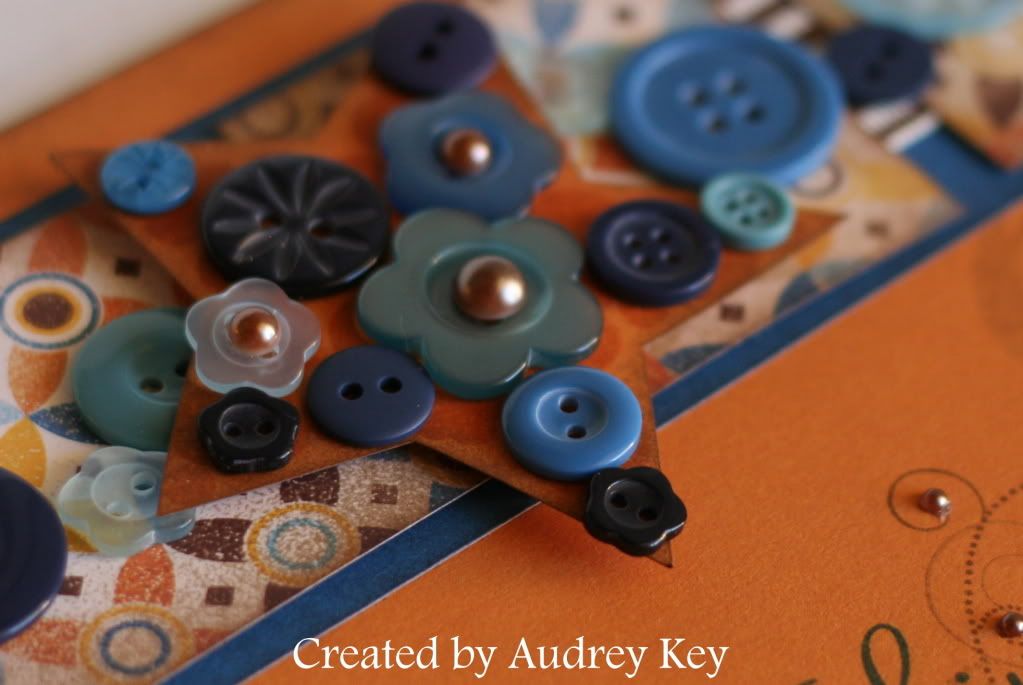
I used CTMH  Dreamin' Level 2 Paper to create this 5x7 card.  The stamps I used are:  Love Life stamp set and the Happy Clusters stamp set.  The embellishments on this card are a selection of buttons from the Blue Button Assortment and Mocha Opaques.


Two thicknesses of 3D Foam Tape were used pop the star up and I sponge distressed the edges with Chocolate Ink.

Wednesday, October 12, 2011

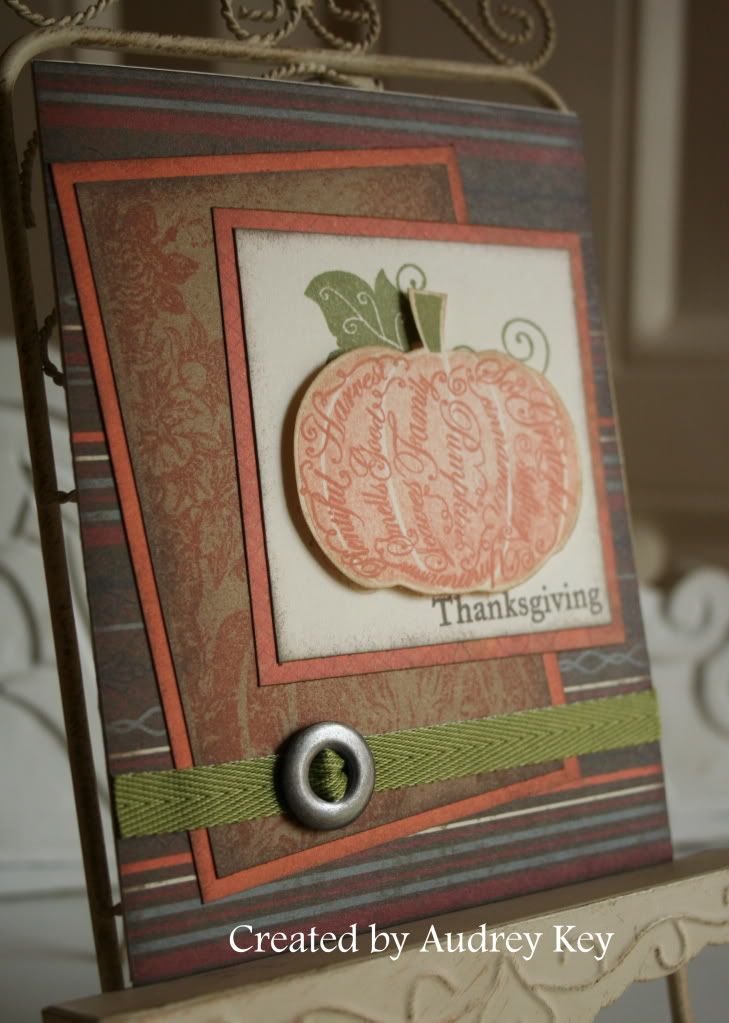
So Grateful for You Thanksgiving Card


I don't typically send Thanksgiving cards but the older I get, I realize that I should be letting people know that I am thankful they are in my life.  Wouldn't it be fun and uplifting to send Thanksgiving cards to those for whom you are thankful, letting them know how much they mean to you? 

The items I used on this card are:  Mischief paper, So Grateful Stamp Set, Backdrop-Charmed Stamp Set, Mini Medley Pewter, 3-D Foam Tape, and our new Green Collection Ribbon.

Monday, October 10, 2011

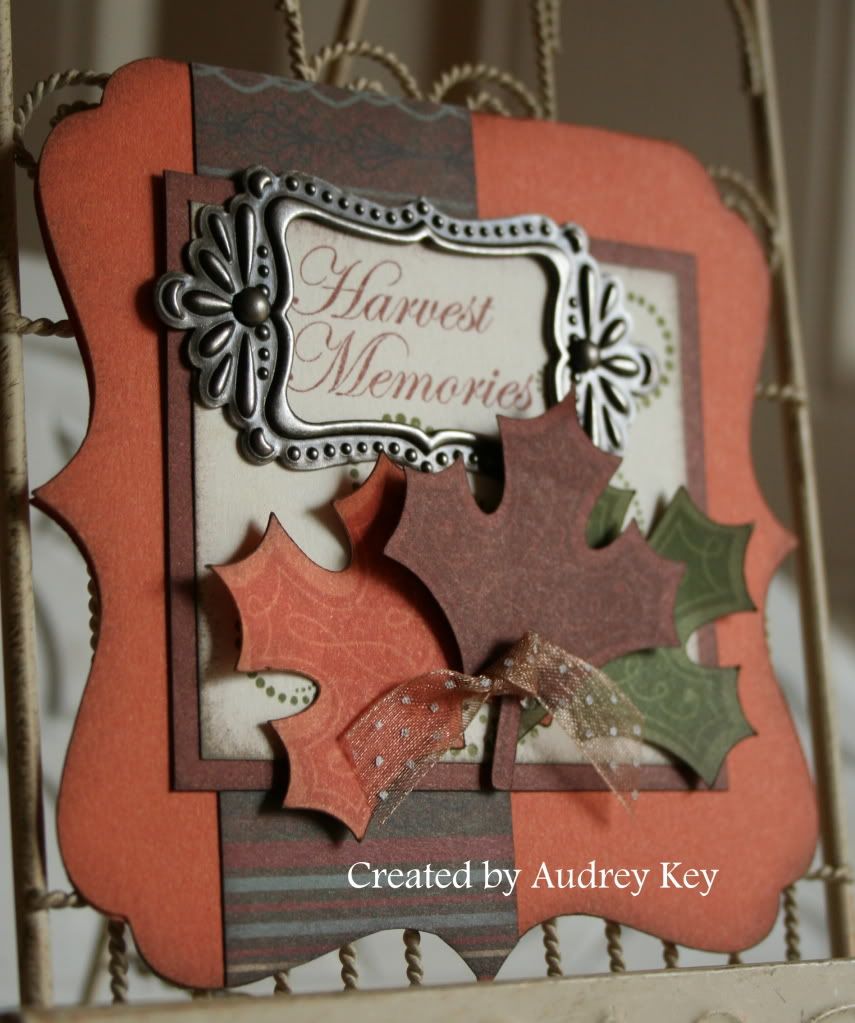
A Harvest of Memories Card


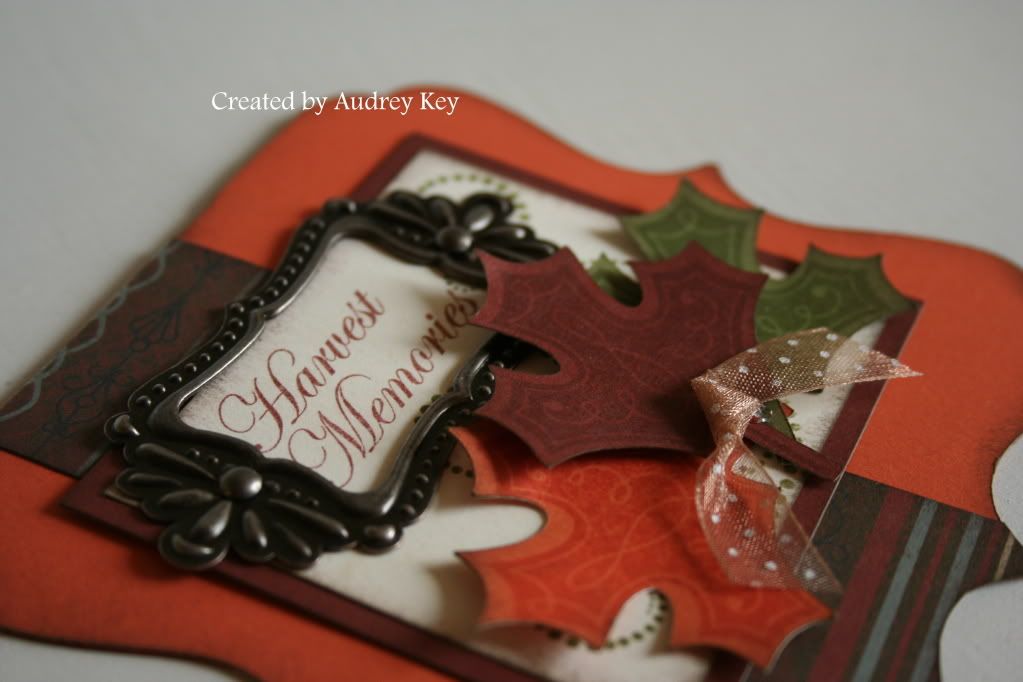
When you see the Mischief paper packet, you automatically think "Halloween."  As you look through the IdeaBook, think outside the box.  Mischief is totally appropriate for Fall projects.  For this card, I used  Mischief paper, Mini Medley Pewter Assortment, Cricut Art Philosophy and coordinating leaf stamp set (in the Cricut bundle), Chocolate Ribbon, Love Life Stamp Set, and So Grateful Stamp Set.


I adhered two of the leaves to the card and the third one is adhered with 3-D Foam Tape (I love that stuff!  No scrapbook bag is complete without it!)