Showing posts with label Cricut Art Philosophy. Show all posts

Saturday, June 30, 2012

A Little Birdie Told Me....Circle Cricut Card


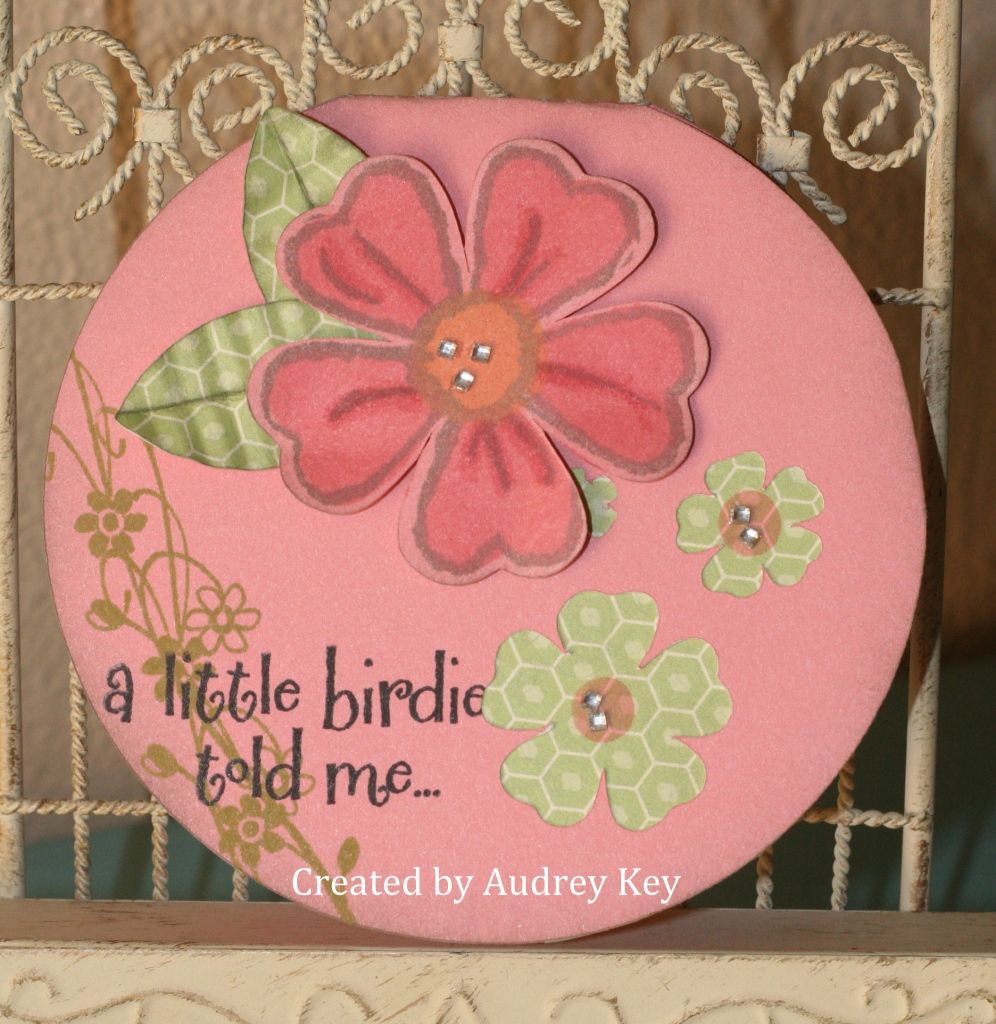
This is the final card from my Cricut Class last week.  This card was cut using the Card/Shift buttons and I cut it 4 1/2".  The cricut cuts the small flowers out of the card base, so I added Lucy B&T paper behind them to peek through. 

I cut the large flower <flower8> on page 50 and stamped it with the Lucy WOTG stamp set.  I used Sparkles to embellish the flowers.  I cut the leaves from the <petal2> key and crimped them with the Fiskar Crimping Tool.  I used the "Life is Tweet" stamp of the month for the sentiment and the vines.
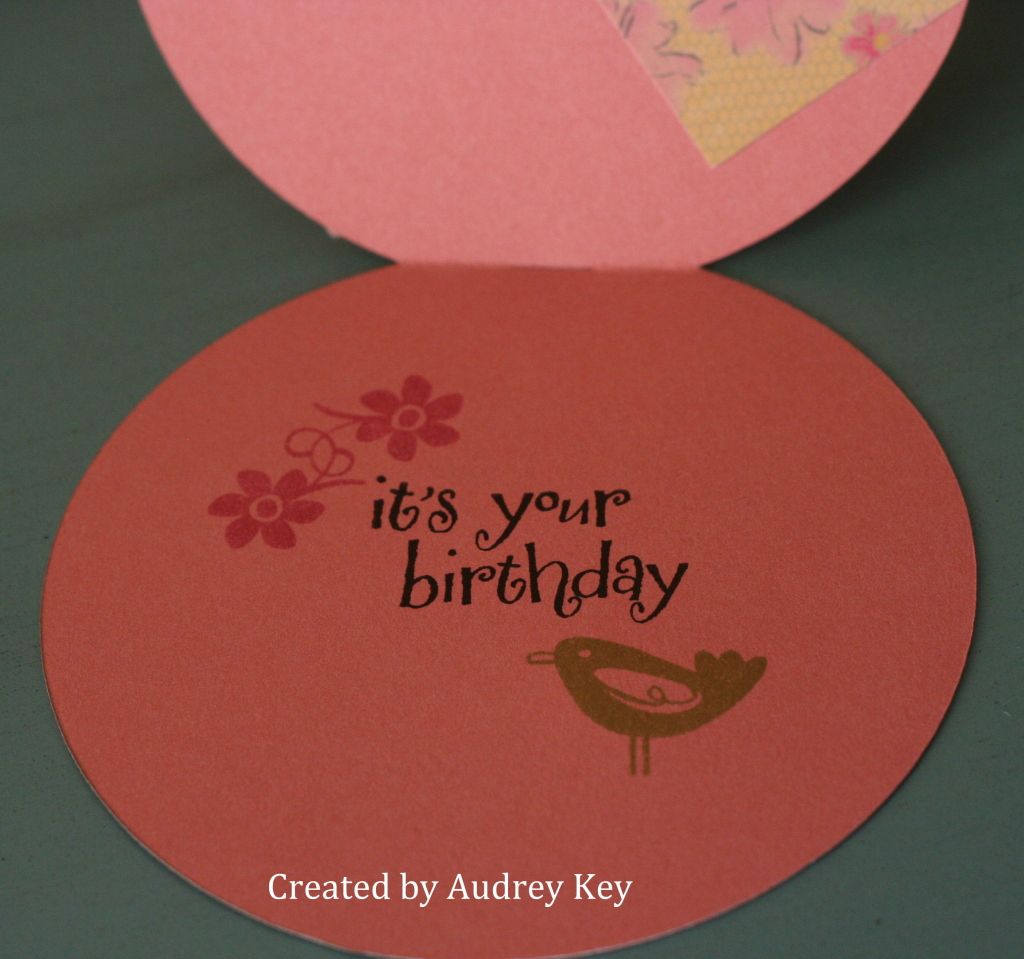

This is the inside of the card and I used the sentiment, flowers, and bird from "Life is Tweet."  Today is the last day to order your "Life is Tweet" June Stamp of the Month.  Also, Buy 2 stamp sets, Get 1 FREE ends today too! 

Friday, June 29, 2012

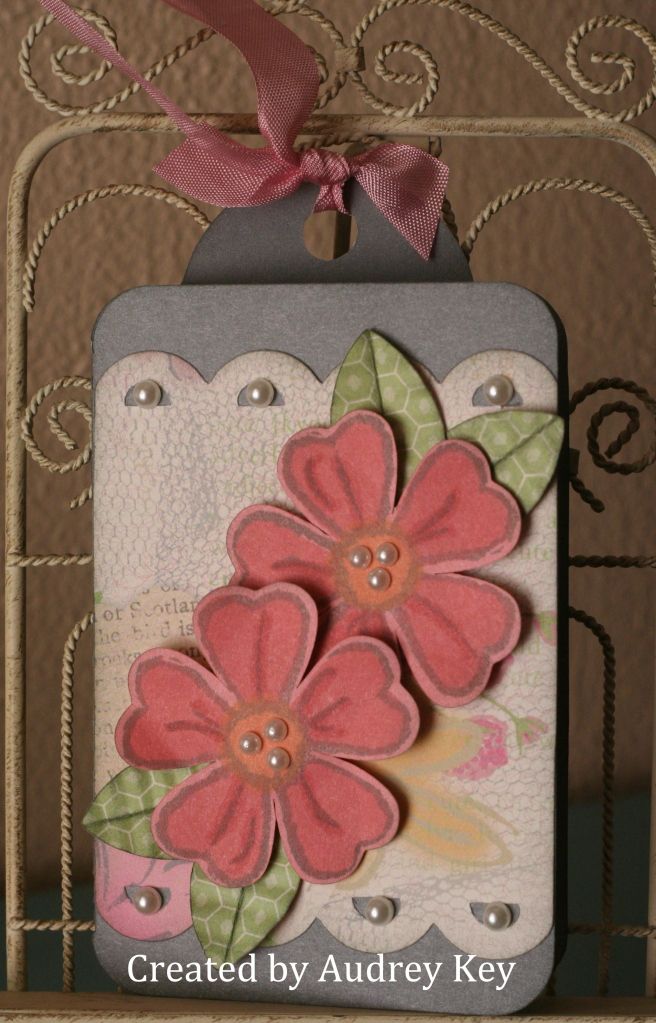
Lucy Tag Card - Cricut Class


This card was one that I made for the Cricut Class last week.  The card shape is on page 50 (our focus page) and is on the Card button - I cut it 5 1/2" - The Cricut AP measures the height of whatever you are cutting.  The scalloped piece is on the Decorative Layer on page 50 as well (cut 5 1/2"). 

I also cut the flowers with <flower8> and used the Lucy Workshop on the Go stamp set to stamp the flowers.  I cut the leaves using <petal2> and then crimped them with the Fiskars crimping tool.  I used Foam Tape to pop the flowers up and added Pearl Opaques to dress it up.  I added pink Seam Binding to top of the tag card to finish. 

Thursday, June 28, 2012

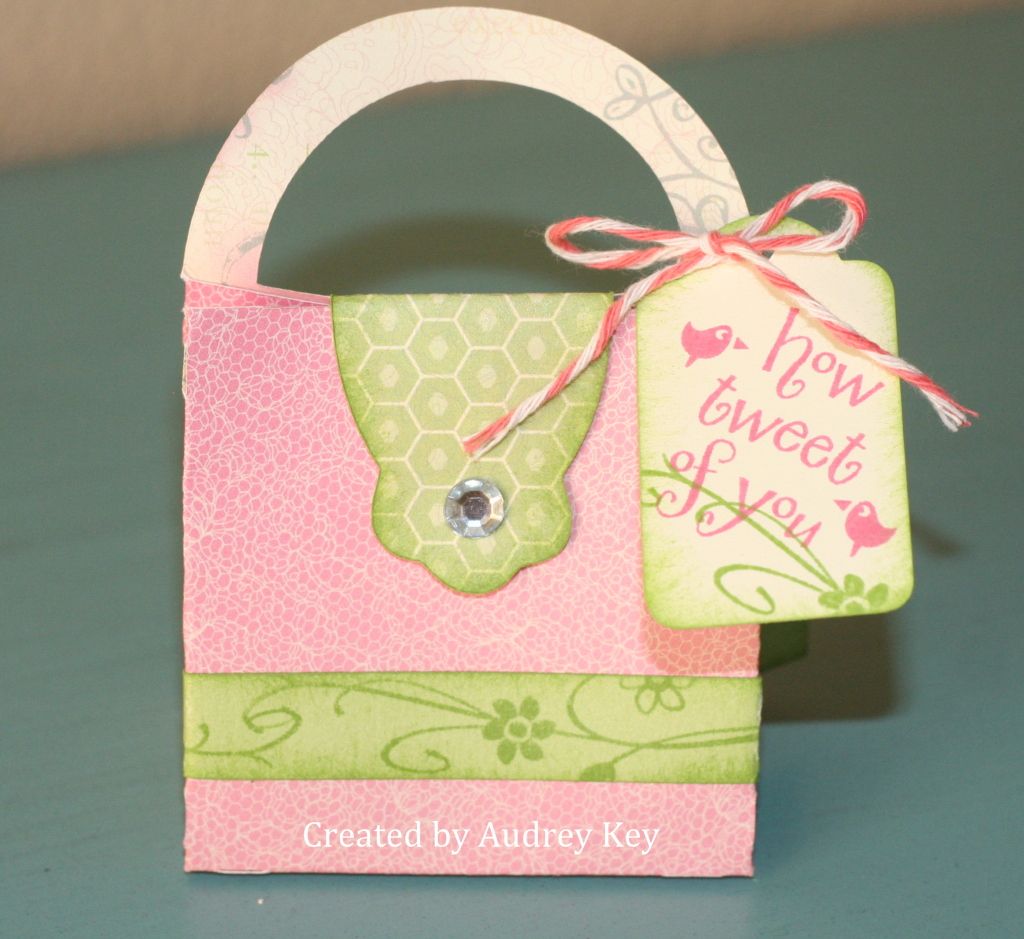
How Tweet Of You Cricut Project


We made this cute little purse at my cricut class last week.  Our focus page from our Cricut AP Cartridge was page 50 - the tag is on that page and we cut it at 2". 

The purse is on page 23 and on the Font Layer/Shift Keys (5").  We cut the front handle off and added <shape2> for the purse tab/buckle (tab was cut at 1 1/4" and I used a small piece of velcro as the closure). 

We used the "Life is Tweet" Stamp of the Month for the stamping.  A large sparkle and Paradise Baker's Twine were used to embellish this cute purse.

These would be perfect as a favor for a Tea Party, Birthday Party, Wedding, etc.  You could put candy, earrings, or anything small in this little purse! 

Monday, June 18, 2012

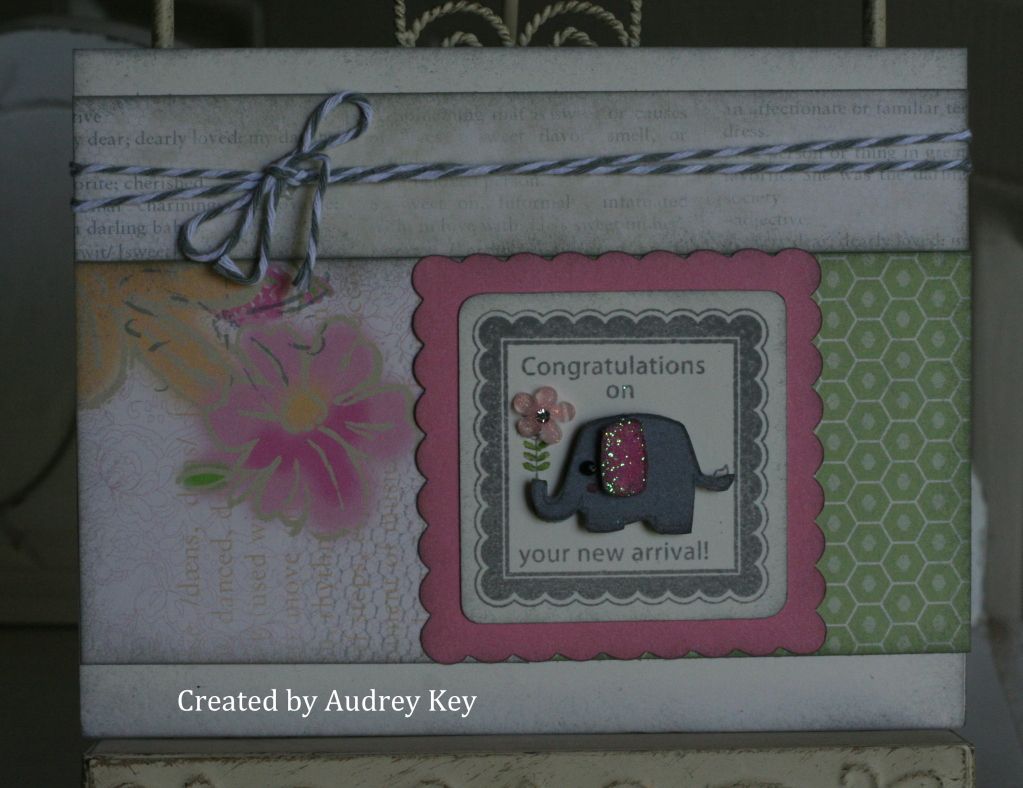
Congratulations on Your New Arrival Card


The focal point on this card was inspired by my friend, Christine Adams.  I just love this little elephant and I scraplifted the way she made his ear on her card!  The stamp is from the New Arrival set and is Cricut AP compatible, so I cut out the Colonial White piece and the Blush Cardstock piece on the cricut.  The paper is from the Lucy paper packet - so cute for a baby girl!


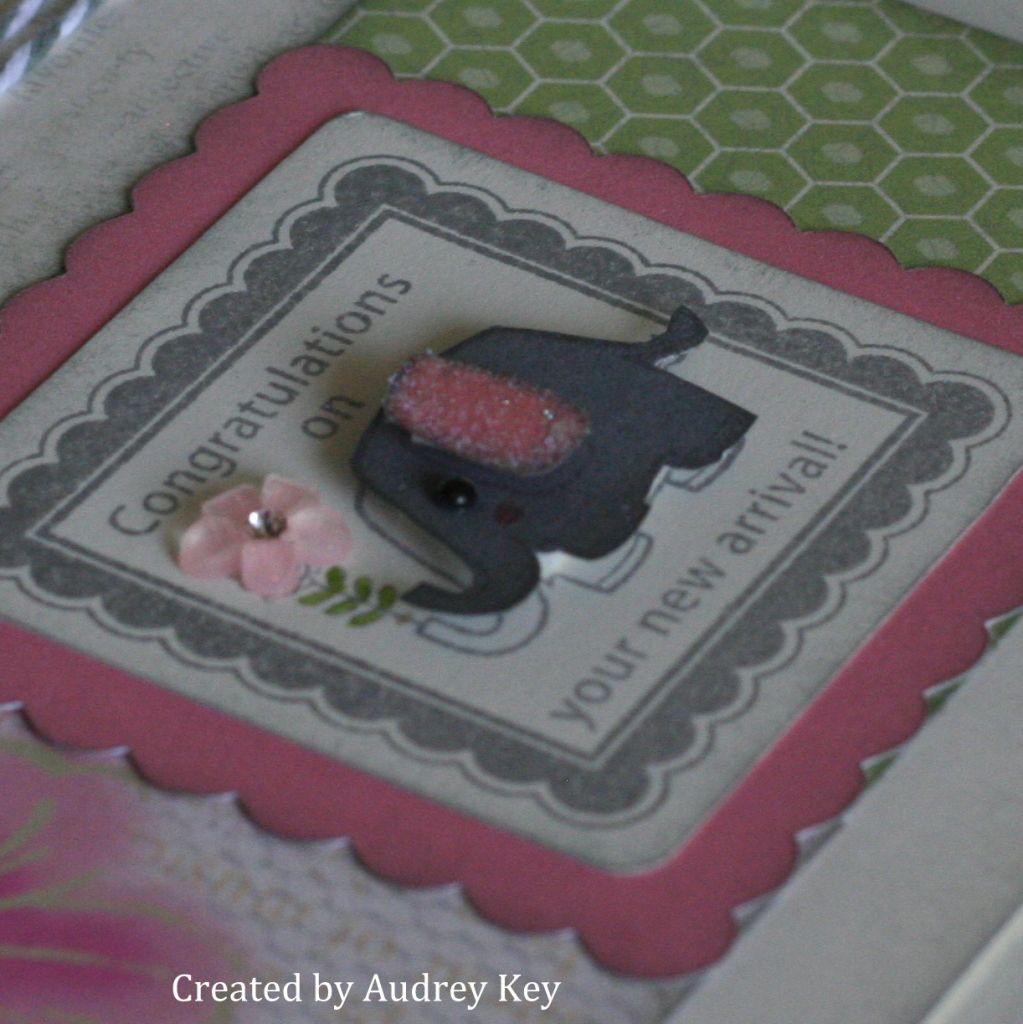
I stamped the elephant on the Colonial White Cardstock; again on Grey Wool Cardstock; and a third time on Blush Cardstock.  I cut the Grey Wool Elephant out and popped it up with foam tape and repeated that step for the pink ear.  I used our bonding memories glue pen on the ear and let it dry a bit; then added prisma glitter. 

The flower is from our new "Bitty Buds" assortment and I colored the leaves with pear marker.  I used Grey Wool Baker's Twine and a Licorice Opaque to finish it off.  I don't know about you, but I need to make baby cards!  If you have made any lately, please email me a picture!  You may win A PRIZE!

Saturday, June 16, 2012

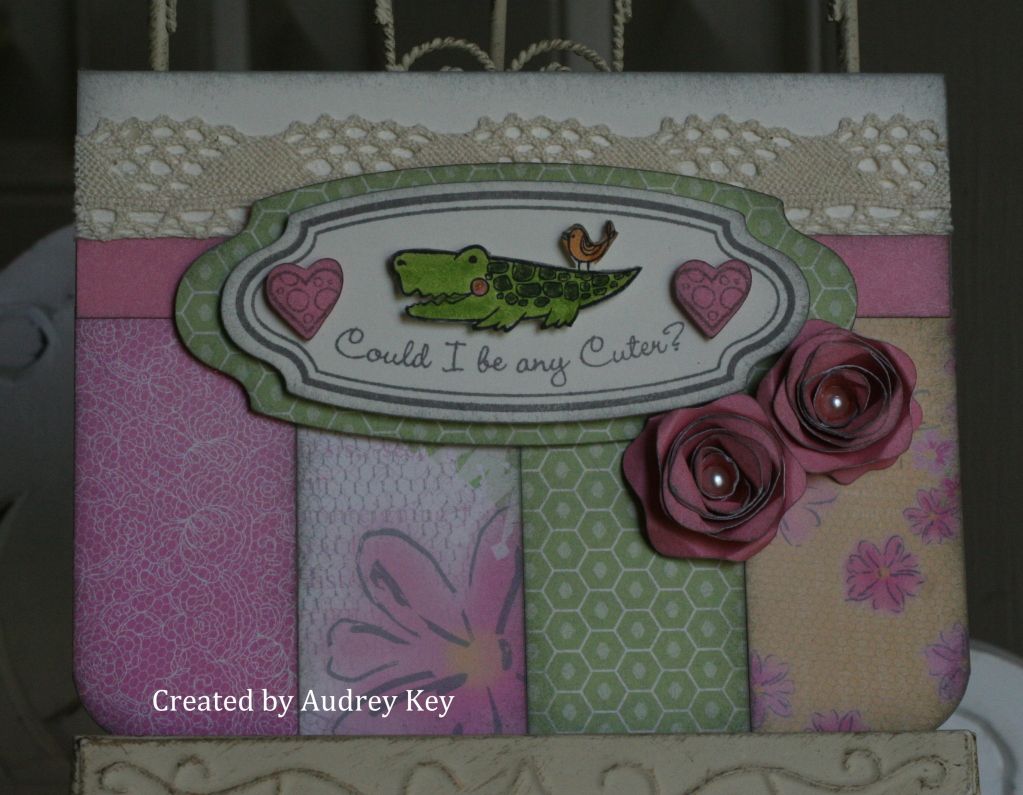
Could I Be Any Cuter? Baby Card


I love our new stamp set called New Arrival.  It is really fun to use with all of the cute animals and it also is Cricut compatible.  I cut the focal point; focal point mat; hearts and roses with the Cricut AP Cartridge. 

I stamped the crocodile and colored him with our markers.  I cut the crocodile out and popped it up with foam tape.  I used Pearl Opaques in the center of the roses and I used
lace trim from my stash.

Friday, June 15, 2012

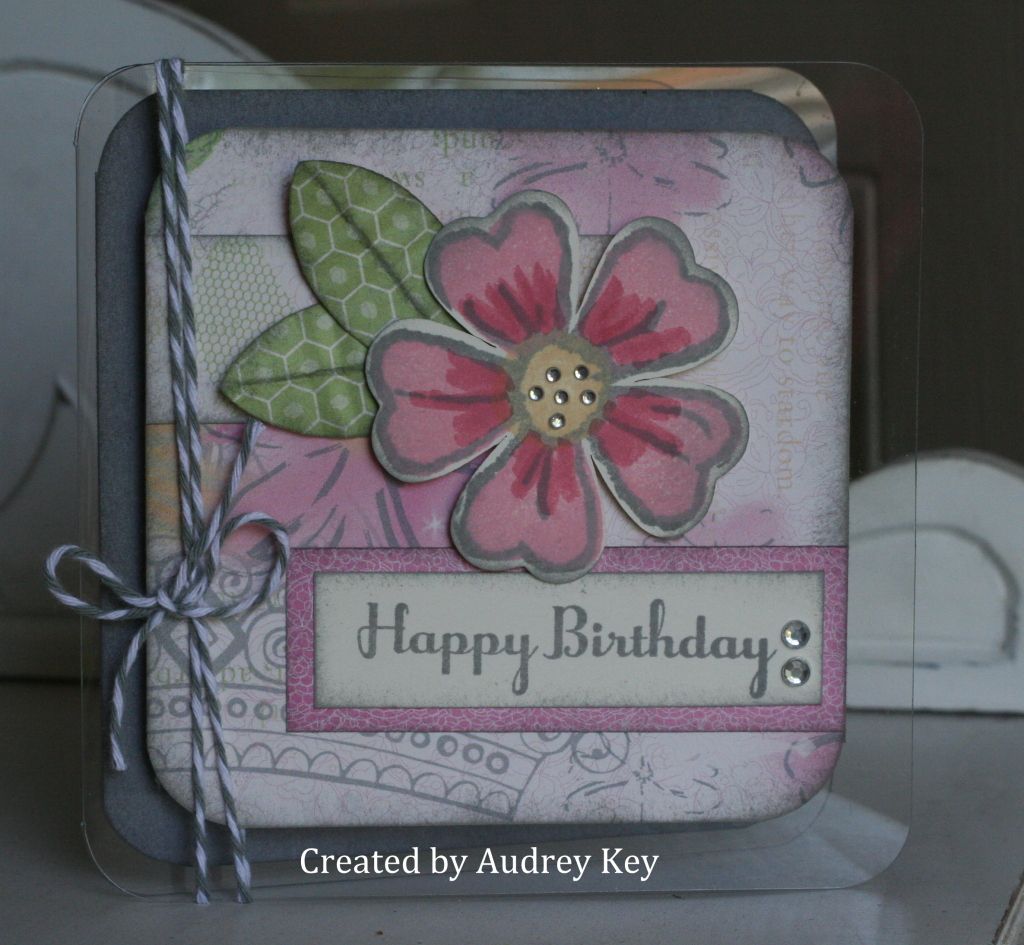
Happy Birthday Clear Card


This is one of our clear cards and I used Lucy paper and the Lucy Workshops on the Go stamp set for all of the stamping.  I cut the flower with the Cricut AP Cartridge and then used the coordinating stamp.  I cut the leaves out on the cricut and crimped them with my Fiskars crimping tool.  I made a  fold in each leaf and distressed them with grey wool ink.

I used sparkles and Neutral Baker's Twine in grey wool to embellish this card. 


Thursday, June 14, 2012

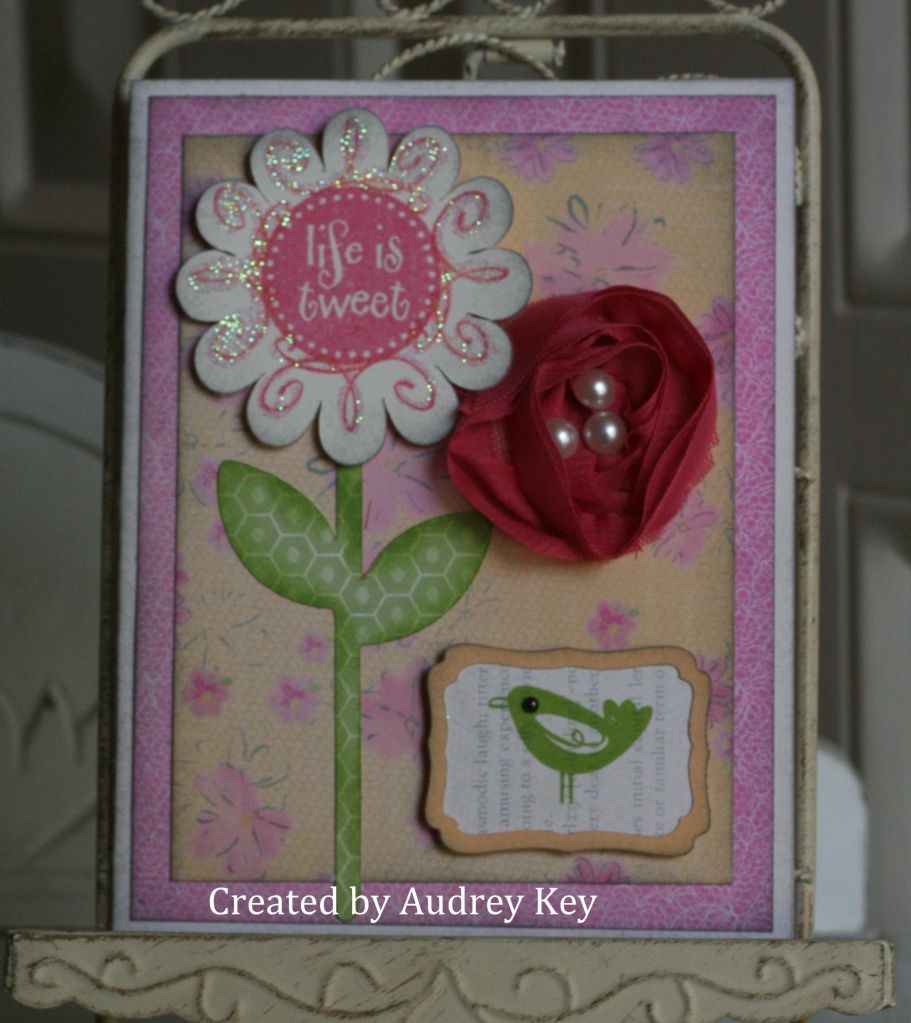
Life is Tweet Card


Here is another June Stamp of the Month card.  I cut the Colonial White flower out with the Cricut AP Cartridge and stamped it with the coordinating stamp.  I also cut the stem/leaf and the little bird piece with the Cricut as well. 

The large pink flower is from our Pink Ribbon Collection and I trimmed one flower off and adhered it with glue dots.  I added Pearl Opaques to the center of the flower and also to the bird's eye. 

After the card was assembled, I used our Bonding Memories Glue pen and traced the design on the large flower; I let it dry a bit; and then I added Prisma Glitter.

Wednesday, June 6, 2012

"A Little Birdie Told Me....It's your Birthday" Card


This is the card we made at $10 Month Playgroups this week.  We used the June Stamp of the Month, "Life is Tweet" along with the Lucy paper packet, coordinating stamp pads, and markers.  I cut the Colonial White and Cotton Candy paper using the Cricut Art Philosophy cartridge - I LOVE that cartridge!

 We stamped the bird with StazOn ink on the Colonial White piece; stamped it again on the yellow floral paper; and cut it out.  The yellow bird piece is popped with Foam Tape for added dimension.  We used a Black Opaque Pearl for his eye and embellished the party hat with Silver Glitz Glitter Glue.  We also added seam binding to the card to finish it off.


Life is Tweet is available through June 30.  You may purchase it for $17.95 or $5 with a $50 subtotal purchase.  This stamp set is Cricut AP Compatible as you can see. 

This is also Stampaganza Month!  That means - Purchase 2 stamp sets, get the 3rd one FREE (equal or lessor value - tax and shipping applies).  Click here to shop for your awesome My Acrylix Stamp Sets and Life is Tweet today!

Tuesday, May 29, 2012

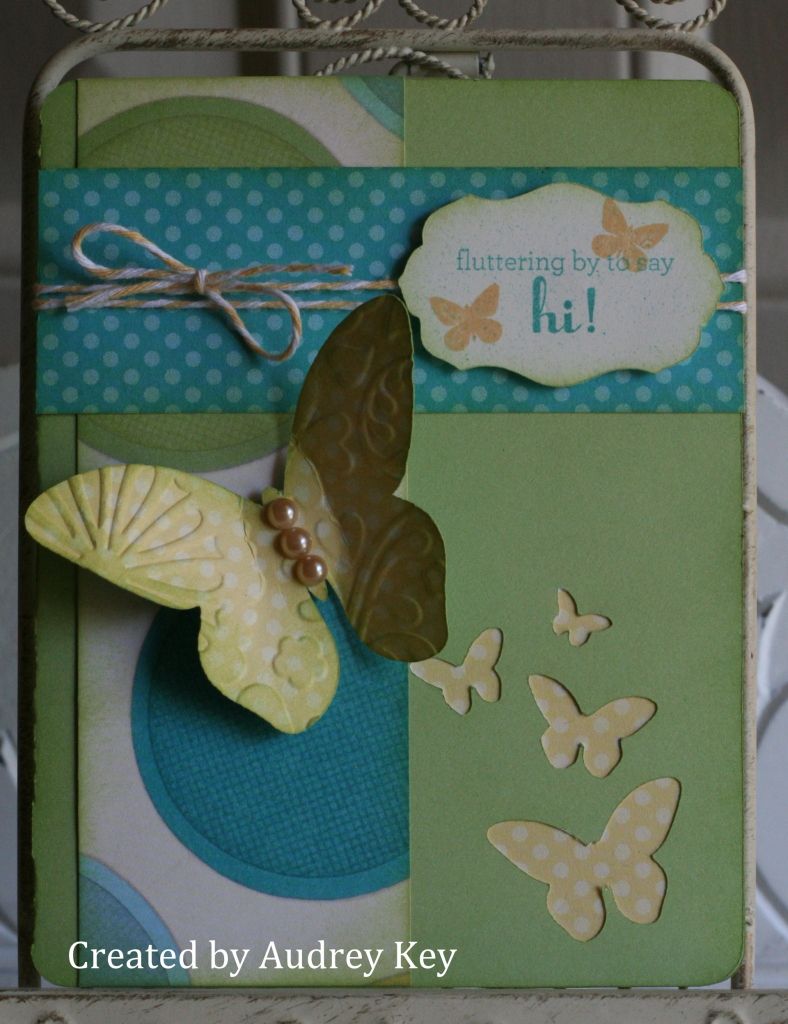
Dotty for You - Fluttering By Card


This is the final card that I showed at the Cricut Class last week.  It is the 2nd card base on page 55 (card/shift keys).  I adhere a piece of Dotty paper inside the card show that it would show through the cut out butterflies.  I used a 2" butterfly that I embossed with the cuttlebug and adhered it with foam tape - I used Mocha Opaque for the body.

I stamped the sentiment and butterflies from the "A Tree" stamp set and used the stubble tool to add color to it.  I also used Paradise Baker's Twine.

Monday, May 28, 2012

Dotty For You - Cheer Up Card


This Dotty For You card was created for the Cricut Class last week as well.  It is the card on page 55 in the Cricut AP Cartridge booklet.  I cut a 4 1/2" card from sweet leaf cardstock and then again from the Striped Dotty for You paper.  I cut the striped card in 1/2 and used the card front to adhere to the sweet leaf card base; trimming a 1/2" from the top and the bottom of the striped piece.

I used the "4 My Friend" stamp set to stamp "Cheer Up" in the window of the card.  I cut the Colonial White focal point from  <rectangle7> and stamped the bird from the "A Rainbow" stamp set.   I used Mocha Pearls, Tan Hemp, and feathers (purchased at craft store) to embellish this card.

Sunday, May 27, 2012

Dotty For You - Monogram Card


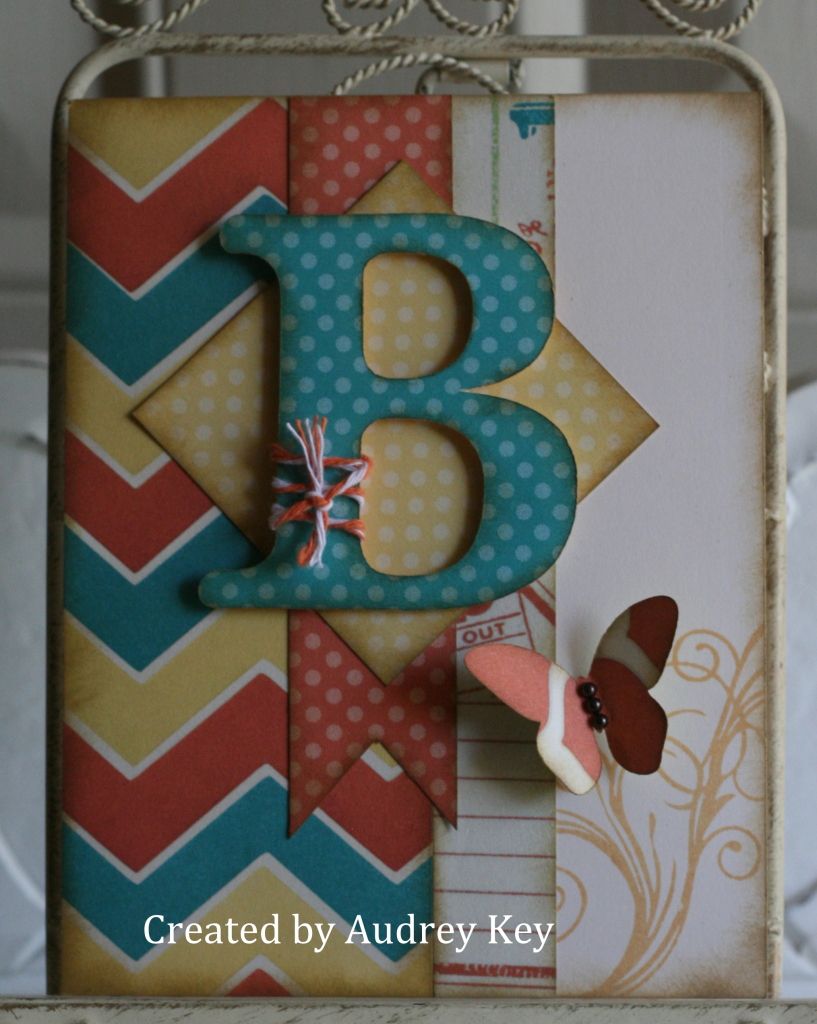
This is a monogram card that I created for my Cricut class last week.  This month, we focused on page 55 of the Cricut AP Cartridge booklet.  That page includes the <rectangle7> and <buttrfly2>.  The "B" is found on the font/shift keys.  I think monogrammed cards are really fun - I had planned to make them for our office staff at school but ran out of time.

I used the  Instant Memories stamp set (flourish).  I cut a
 2 1/2" "B" and tied our new Paradise Baker's Twine on it.  I used Mocha Pearls to create the butterfly's body.

The "Dotty for You" paper packet is only available for 4 more days.  Get yours for $5 with a $35 subtotal purchase.

Tuesday, May 22, 2012

Dotty For You - Butterfly Wreath


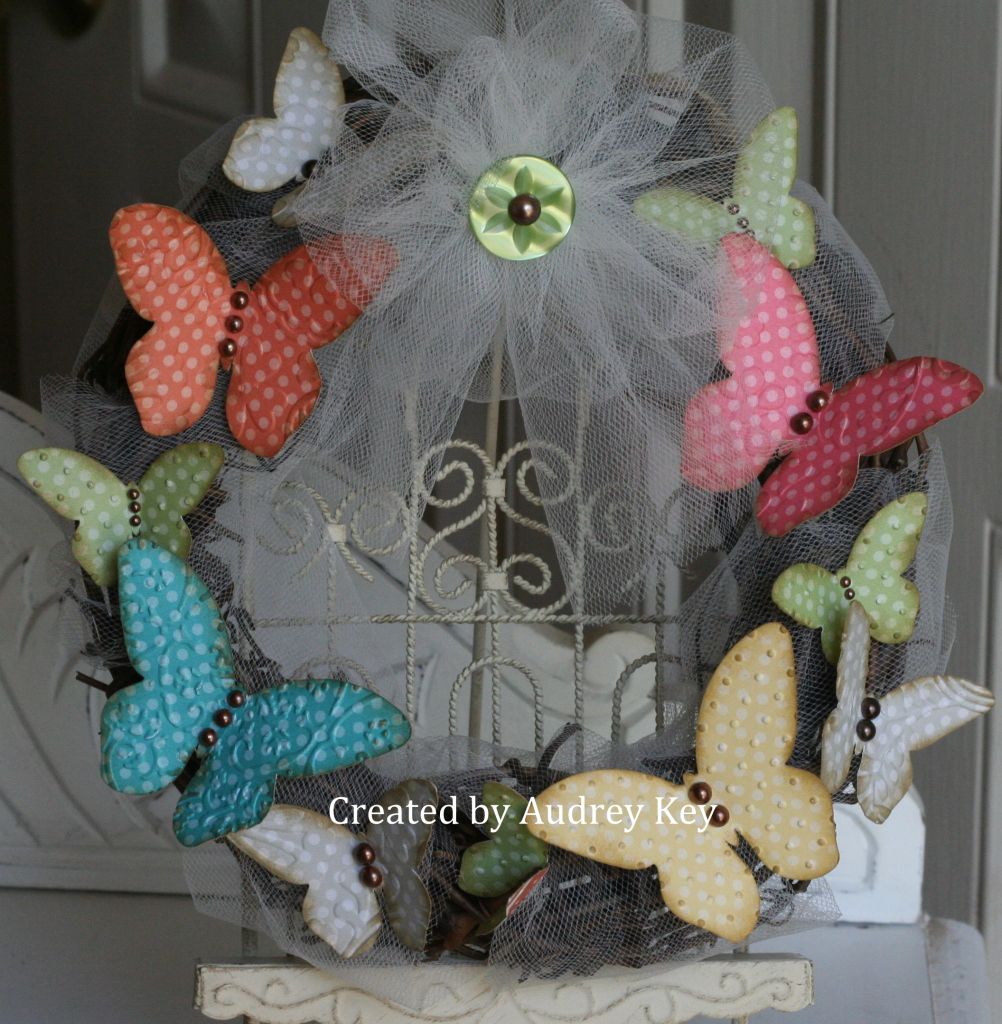
This is the project that we made last night at my Cricut Class.  I used a small wreath from Hobby Lobby and we added tulle and butterflies that I cut with the Cricut AP Cartridge. 


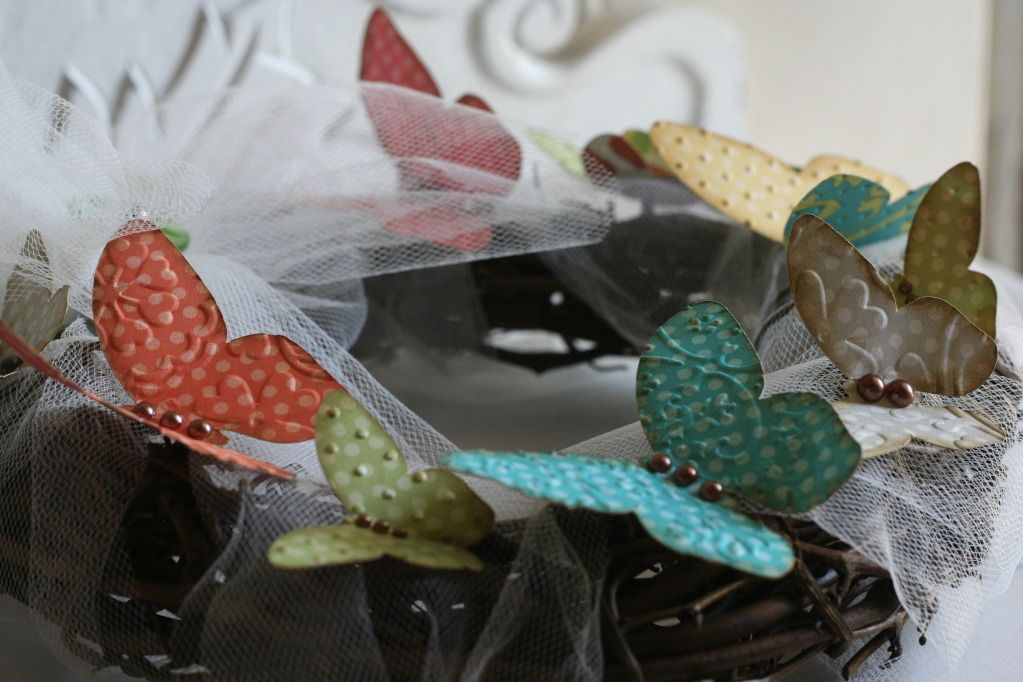
I embossed the butterflies with the Cuttlebug using several folders. We embellished the butterfly bodies with our Mocha Pearl Opaques and then adhered them to the tulle
with glue dots. 

The Dotty For You Paper Packet is only available until May 31 (or while supplies last)!  To get yours, you need to make a $35 subtotal products purchase and then you are able to purchase Dotty for You for $5!  Click Here to Shop or simply email me your order.


Tuesday, May 15, 2012

Birds of a Feather - Mother's Day Card


If you have been a CTMH customer for any length of time you might remember this paper packet.  It is an oldie and I will tell you why I decided to use it. 

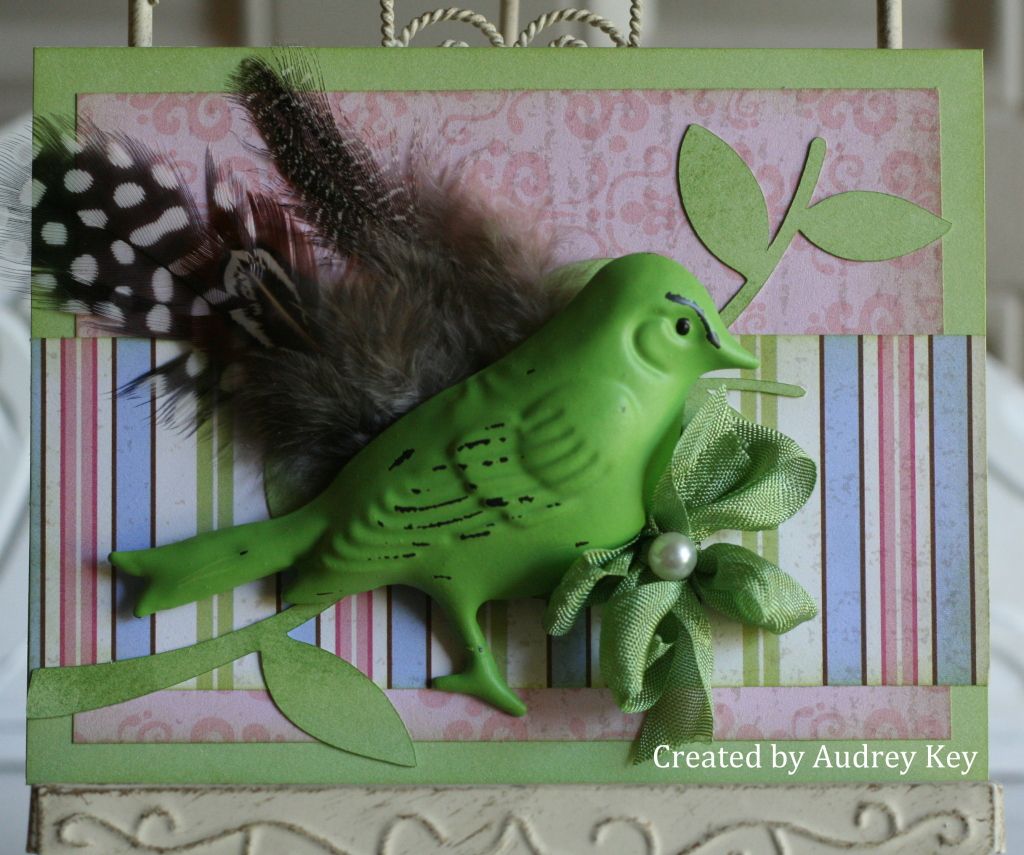
 I bought these cute little metal birds at Hobby Lobby before Easter and thought they would be very cute on a card.  As I started to make Mother's Day cards for the mom's in our lives, I decided to look through older paper and see if the birds coordinated with anything in my stash. 

Low and behold, Life's Delights was a perfect match (there were one each of pink, green, and purple birds in the package).   I would normally showcase something new on my blog, but let's face it...we all have paper we haven't used.  Why do we "save" it?  Get it out and USE it to make something delightful!

I used my Cricut AP cartridge to cut a branch for my bird.  I also used seam binding and an opaque to dress it up.  Needless to say, the mom's loved the card!  I hope that you are making things that brighten people's day.  Happy Scrapping and Stamping!

Tuesday, April 24, 2012

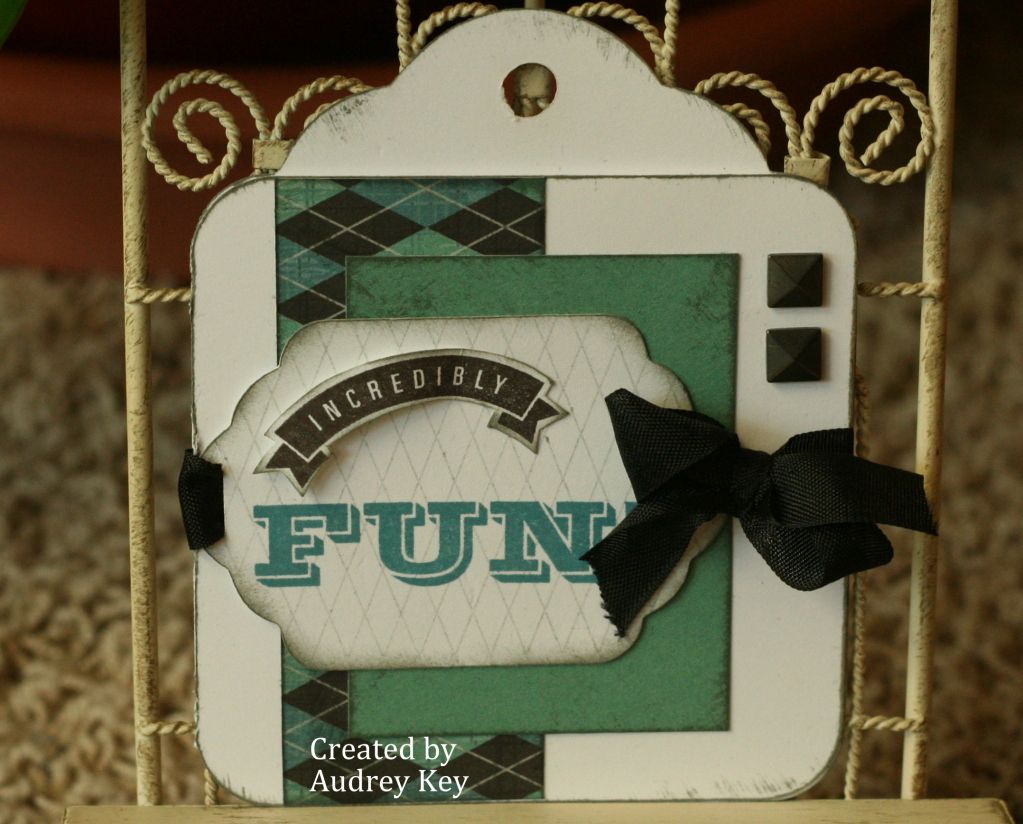
Incredibly Fun Cricut Card


I made this card for the Cricut Class last week. Each month we focus on one page in the Cricut AP booklet. This month we used page 40 which is <tag2> and <star5>. The card was cut as a 4 1/2" card. I cut the ribbon slide/tag from the tag key on page 40 as well. I used the April Stamp of the Month, "You Are...," to add the sentiment and seam binding ribbon and Durables Studs to embellish this card. This card would be really cute tied to a coordinating sack.

Sunday, April 15, 2012

Cricut French Fry Box - Cricut Class Project

Wow, it has been a busy time of year in my world. I have missed not blogging the past few weeks and I am hoping to have a little more time to post inspiring projects for you!


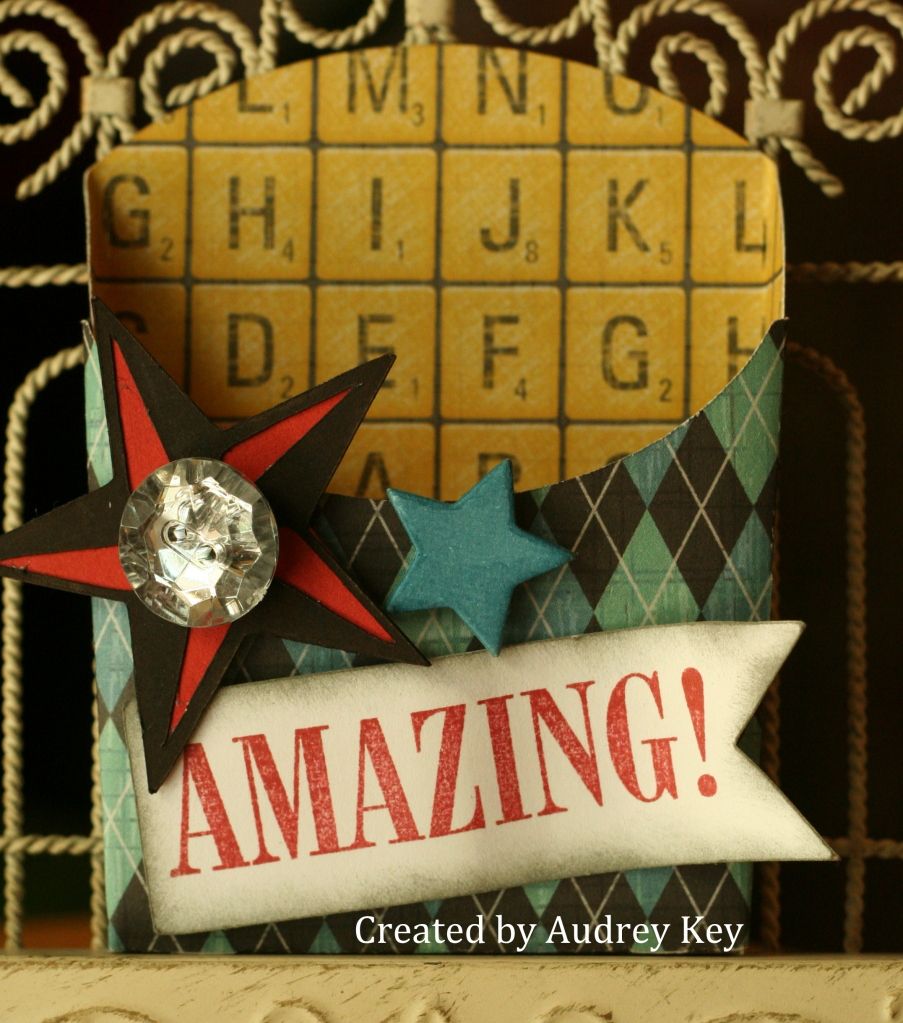
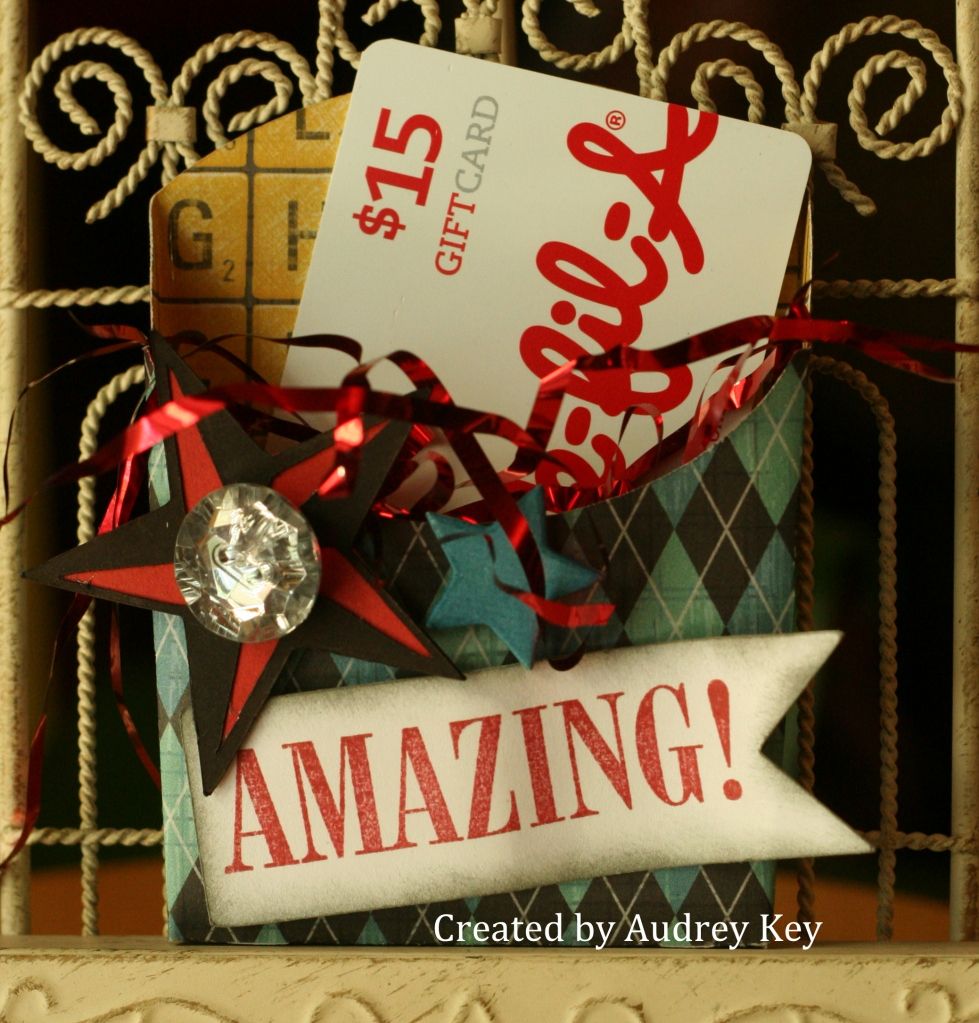
Here is a cute little French Fry Box made with the Cricut AP Cartridge (font layer; shift; <shape6>) .  The french fry box is made from the Cruisin' paper packet and I cut the box 7".  The red and black stars and the banner were cut with the AP cartridge as well. 

I used a small star out of our Dimensional Elements Stars package and I colored over the star with the brush tip of a Twilight Marker.  The word "Amazing" is from the April Stamp of the Month called "You Are...".    A bling button adds dazzle to this project.


This little box could be used for lots of purposes.  I think this is perfect for a gift card holder like the above picture shows (stuff with gift shred and put a gift card in).  A few ideas are:  graduation, a new baby, birthday, etc.  The class participants said they thought it would be fun stuff with candy, or other small treats too.


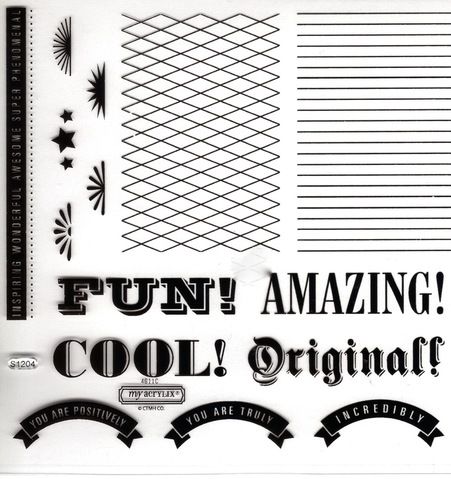
Above is the April Stamp of the Month, "You Are..."   It is $17.95 or $5 with your purchase of $50 or more.  I would be happy to order it for you, or you can shop on my website http://ctmh.com/stampingaudrey from the comfort of your home.
 

Thursday, March 29, 2012

Florentine Star Card


This card is another sample that I made for the Cricut Class on Saturday.  I used the card button on page 25 and cut it out as a 4 1/2" card.  For the star I cut four sizes of <star2> (3"; 2 1/2"; 2"; 1 1/2").  I used a scoring stylus and our fabulous new ruler to emboss the lines on the back of each star - going point to point (use your versamat or a mouse pad under your star).  I creased the embossed lines and rubbed a Cocoa stamp pad across them.  3D foam tape between each layer makes the star look dimensional.

Don't you just love our Mini Medley's!  I used the Pewter Mini Medley corner and a button.  I tied a piece of Color Ready Seam Binding through the button.

Wednesday, March 28, 2012

Florentine Ticket Card

I have a monthly Cricut Class and my goal is to teach participants how to use their Cricut.  We focus on one page in the Cricut AP Cartridge Booklet each month.  This month our focus was on page 25 in the booklet which is <rectangle4> and <star2>. 


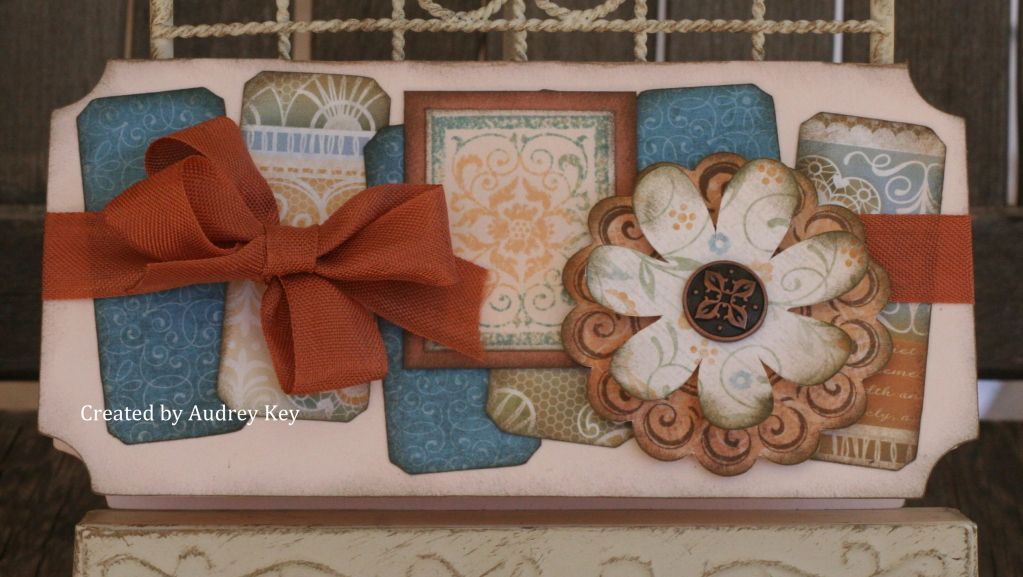
This card is one of the pieces of artwork that I created to show at our Cricut Class this past week.  The card base is on the "Card" button - which you will find on the <rectangle4> button.  The size of the card is 5 1/2" tall.  I also cut the <rectangle4> shapes and used them across the front of the card.

I used the Enjoy stamp set to stamp the bottom layer of the flower (it was cut on the Cricut too).  The top flower is the <flower6> shape.  I sponged the edges of both flowers and curled the petals upward on the top flower. I used an Antique Copper Designer Brad in the center of the flower. 

I also used the Family Love stamp set to stamp the focal point.  I stamped it by using the rock n roll technique with  Creme' Brulee ink and Twilight ink,  Seam binding ribbon finishes this card off.

If you have a Cricut and need to learn how to use it, you should join me for the next class which is scheduled for April 9 (pre-registration is required).  The project is $2 or FREE when you place an order at the class.

Monday, March 26, 2012

Seed Packet Door Hanger - Cricut Class Project


First, let me say that this project was inspired from my friend, Christine Adams.  She is very, very talented and made this project with the Lucy paper packet.  It was so darling, I knew that we just had to make that our Cricut Class
project for March!

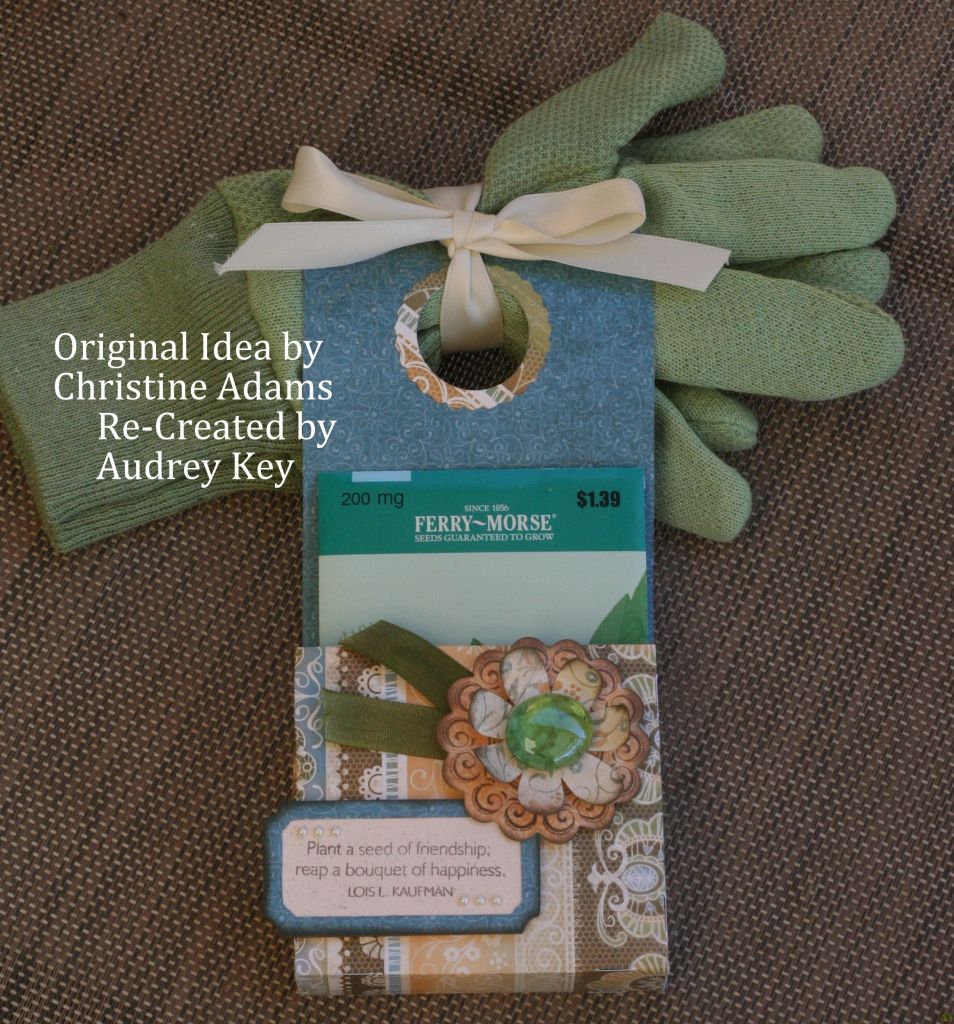
This door hanger is on page 25 of the Cricut Art Philosophy Booklet and it is on the Font Layer.  I cut the door hanger as  "Fit to Page" and the Cricut cut it as an
11 1/2" door hanger. 


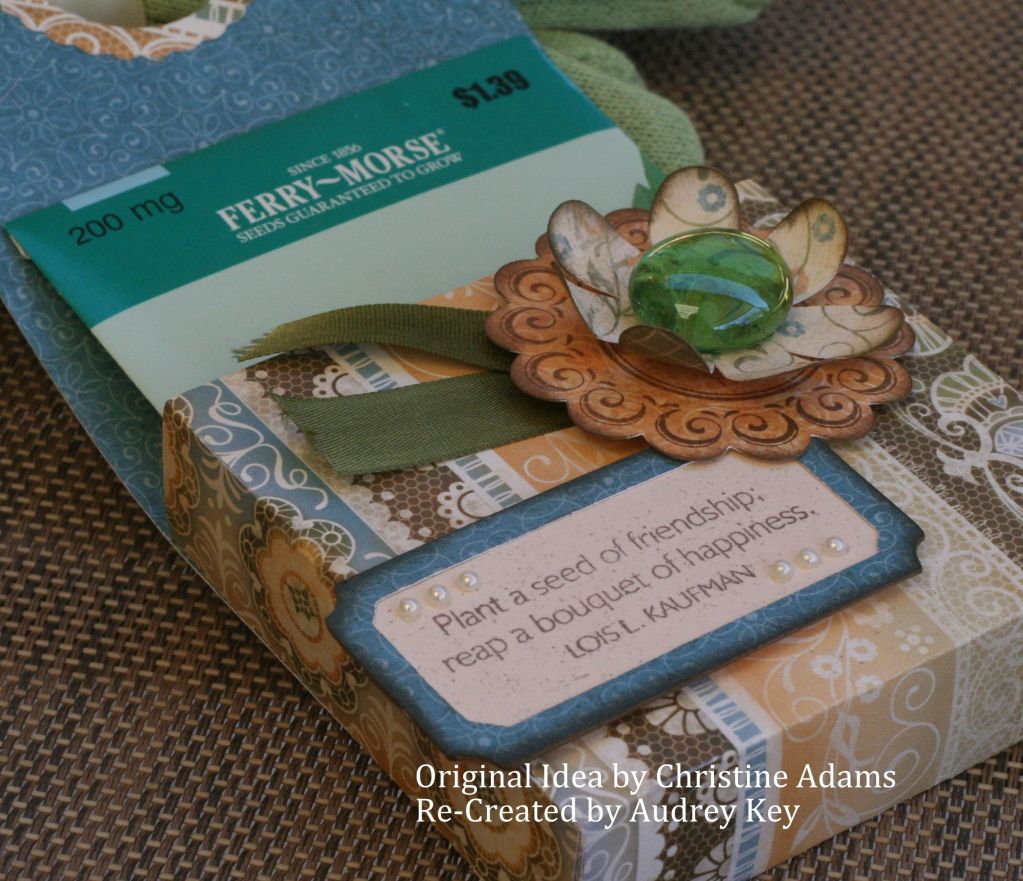
I used the Enjoy stamp set to stamp the flower (it is a Cricut image and the stamp says "freshly baked" - we covered the sentiment with the top flower).  I cut out a second flower on the Cricut.  We curled the petals upward on the top flower and layered the flowers with 3D Foam tape.  We used a glue dot to adhere a glass pebble to the flower center.  

The flower leaves are made from our new Color Ready Seam Binding - I used a sponge dauber to apply Olive ink to the seam binding.  The sentiment is from the May Stamp of the Month "Friendship Bouquet."  Pearl opaques were used on the corners of the sentiment. 

We used ribbon to add gardening gloves from Dollar Tree and a Basil Seed Packet purchased at Wal-Mart.   These would  be great little gifts for teachers or someone special.

**Tip - When adding ink to Color Ready Seam Binding, use a hot dry iron to help the drying process along .  Adhesive won't stick to wet ribbon!

Tuesday, March 20, 2012

Housewarming Gift Clear Card


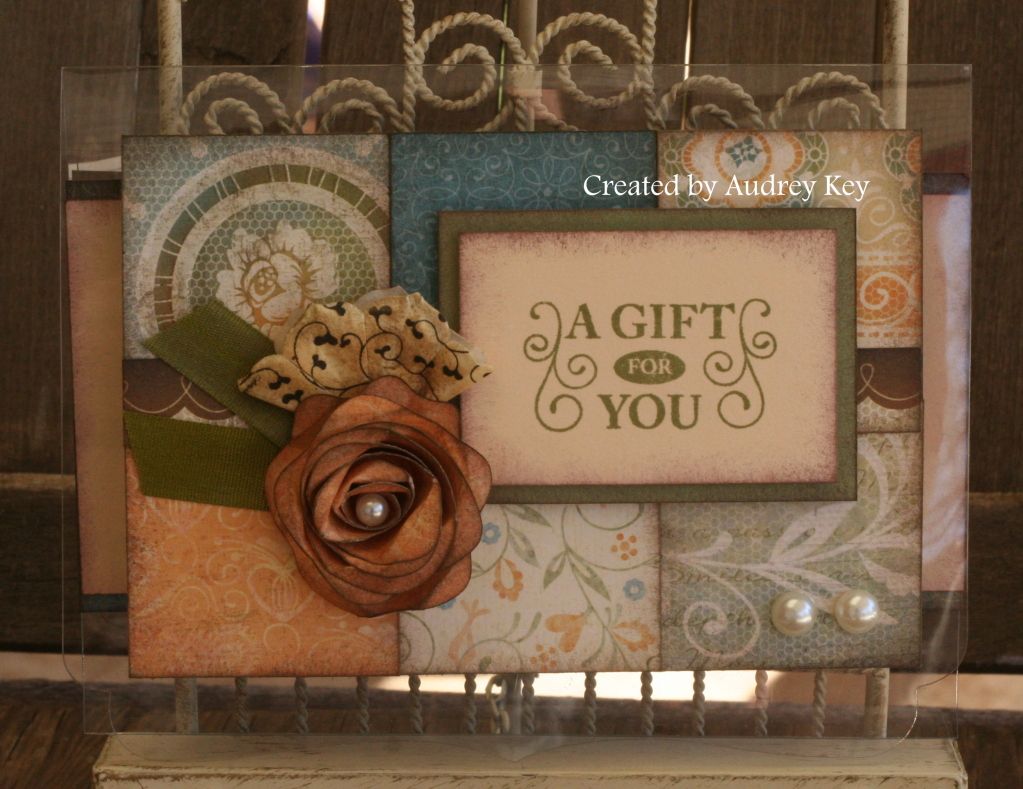
I made this card for a friend that just moved into a new house to go with her "housewarming gift."  This clear card is adorned with all 6 patterns from the Florentine paper packet.  Florentine is so versatile and it can be used for
many different themes. 

I used the Enjoy stamp set that is featured with Florentine.  I cut a rose from the Florentine B&T with the Cricut cartridge and sponged the edges of it with Cocoa ink.  I used our fabulous new Color Ready Seam Binding for the leaves and used a dauber to add Olive ink to it.  I also used our new Just Blooms Paper Shapes and added Creme' Brulee ink to it.  I folded it up and adhered it with 3D Foam Tape.  Opaques are the perfect embellishment for this beautiful paper!

Monday, March 19, 2012

Florentine Friends Tall Card


I love the stamp set that I used for this tall card
(it is 3 1/2" x 8").  This stamp set is called
 Beautiful Friendship.  I cut the leaves with the AP Cricut Cartridge and sponged Olive ink over them to make them look shaded.  The Twilight B&T is from the Florentine paper packet.  I also used Durables Pewter Studs to embellish the center of each floral image.

**Tips - I used the Rock 'n Roll technique on the floral images.  I actually used three colors of ink - Creme' Brulee, Olive, and Twilight.  You always want to start with the lightest color and finish with the darkest color.  In this case, I stamped with Creme' Brulee; then I rolled it the edges with Olive; and then rolled the very outer edges with Twilight.