Showing posts with label Prisma Glitter. Show all posts

Friday, July 20, 2012

You're a Star Clear Card


This clear card features Footloose paper and the Under the Sea stamp set.  I colored the center Starfish with a smoothie marker and then added Bonding Memories glue pen and Prisma Glitter.  I also added our Round Durables Brads.

If you like our clear cards, you need to order them
prior to July 31.  They are being RETIRED!  I am so sad they are retiring, however, we have to make room for all of awesome new products heading our way in the new Autumn/Winter catalog which begins on August 1.  If you would like to order clear cards, Click Here!

Monday, June 18, 2012

Congratulations on Your New Arrival Card


The focal point on this card was inspired by my friend, Christine Adams.  I just love this little elephant and I scraplifted the way she made his ear on her card!  The stamp is from the New Arrival set and is Cricut AP compatible, so I cut out the Colonial White piece and the Blush Cardstock piece on the cricut.  The paper is from the Lucy paper packet - so cute for a baby girl!


I stamped the elephant on the Colonial White Cardstock; again on Grey Wool Cardstock; and a third time on Blush Cardstock.  I cut the Grey Wool Elephant out and popped it up with foam tape and repeated that step for the pink ear.  I used our bonding memories glue pen on the ear and let it dry a bit; then added prisma glitter. 

The flower is from our new "Bitty Buds" assortment and I colored the leaves with pear marker.  I used Grey Wool Baker's Twine and a Licorice Opaque to finish it off.  I don't know about you, but I need to make baby cards!  If you have made any lately, please email me a picture!  You may win A PRIZE!

Thursday, June 14, 2012

Life is Tweet Card


Here is another June Stamp of the Month card.  I cut the Colonial White flower out with the Cricut AP Cartridge and stamped it with the coordinating stamp.  I also cut the stem/leaf and the little bird piece with the Cricut as well. 

The large pink flower is from our Pink Ribbon Collection and I trimmed one flower off and adhered it with glue dots.  I added Pearl Opaques to the center of the flower and also to the bird's eye. 

After the card was assembled, I used our Bonding Memories Glue pen and traced the design on the large flower; I let it dry a bit; and then I added Prisma Glitter.

Friday, May 25, 2012

Dotty for You - Sunflower Cards


This pretty card was made using the Dotty for You paper packet and our May Stamp of the Month, "Friendship Bouquet."  I  stamped the sunflower with StazOn ink and used our watercolors and blending pen to fill it in.  Pearl Opaques, a Clear Button, and seam binding finish it off.  We made this at Debbie Y's home gathering this week and everyone really enjoyed making it.

I am a follower of Christine Adam's blog.  This week she has had some really pretty Dotty/Friendship Bouquet cards that inspired me.  I re-created a couple of them for you and I am posting them here.  Check out her blog for more inspiration!


Stamp lifting Christine - I used StazOn Black ink along chalk to fill in this sunflower.  I used a blending pen with Lagoon ink to fill in the outer edges of the sunflower image.  Prisma glitter was used on the center of the flower.


Also, stamp lifting Christine's card - This is a monochromatic version of the sunflower card.  It is simply stamped with Black StazOn ink.  Then I used pearl paint and stroked it across the sunflower.  I think it is a very pretty version of the sunflower and so SIMPLE!

There are only a few days left to purchase the Dotty for You Paper packet and the Friendship Bouquet Stamp of the Month.  I think you will agree that they are a perfect match!  Dotty for You is only $5 when you make a $35 subtotal purchase and Friendship Bouquet is $5 with a $50 purchase...both are great deals!   
Click Here if you would like to purchase either of these items!


Thursday, January 26, 2012

A Week of Stamp Camp Projects - #4 - Snowflake


This beautiful card features our Dimensional Elements Snowflakes, Elemental Paper, Pacifica and Colonial White Cardstock, Prisma Glitter, and our Designer Rhinestone Brads.

*We sponged the DE Snowflake with Bamboo ink and set aside to dry.

*We sanded the Pacifica snowflake that was cut with the Cricut AP cartridge.

*We stamped 1st and 2nd Generation snowflakes with Bamboo ink on the Cricut Square image.  Then we stamped "Laugh until your heart overflows."  (that is my favorite sentiment in the catalog right now).

*We added Bonding Memories glue to the tips of the snowflake and dipped them in Prisma Glitter (Very, Very Messy - but pretty).

More to come tomorrow!

Wednesday, January 11, 2012

All Decked Out Snowman 2

It has been a while since I posted! We had a death in the family last week and traveled to East Texas. I am just getting back to "normal" since the holidays over and
getting back home.


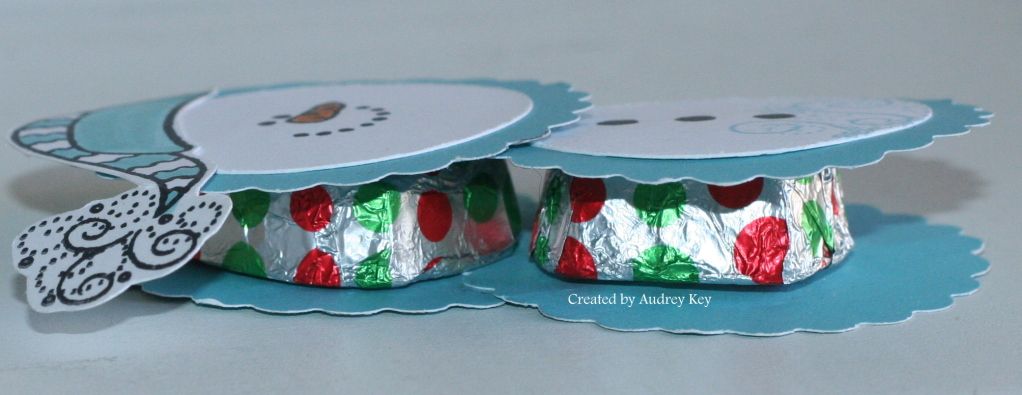
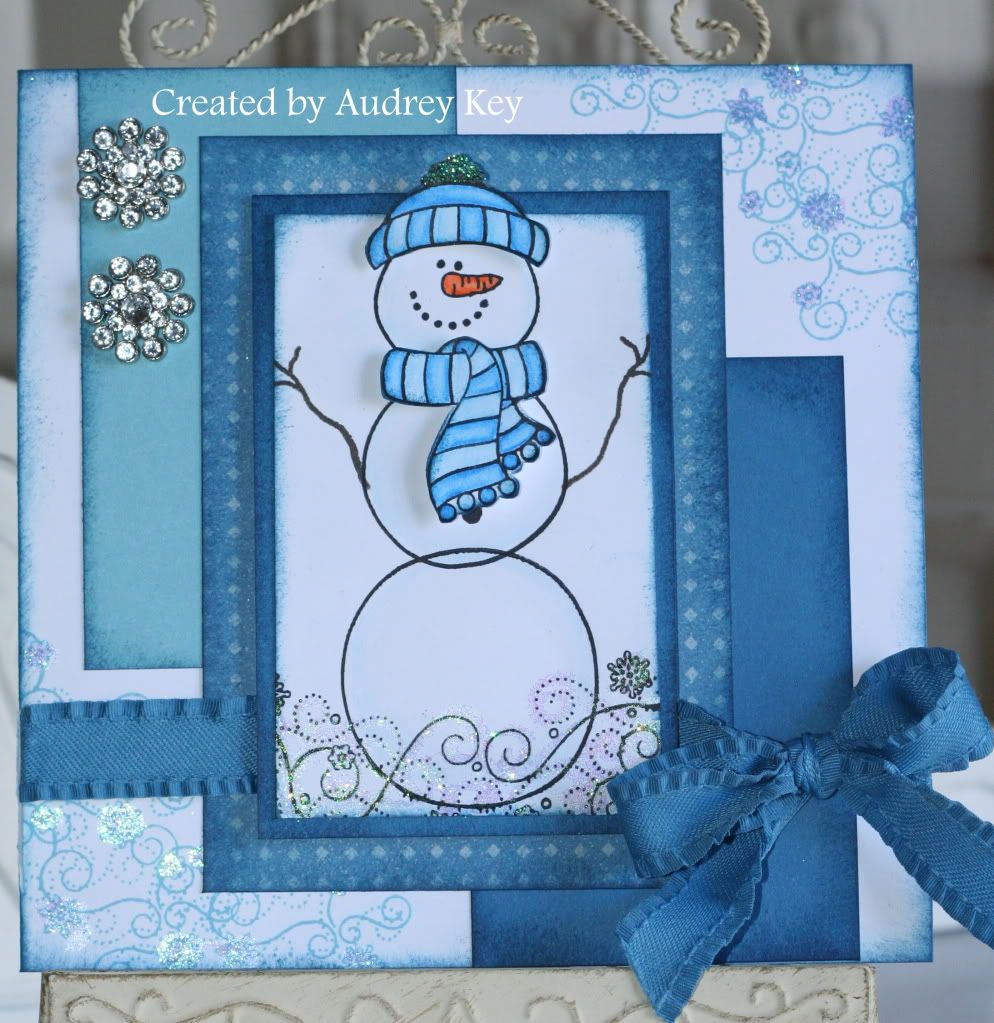
I have my sweet friend, Bea, to thank for this cute little snowman treat holder.  She made me one for Christmas that had peppermint patties in it and the background circles were black.  I am a snowman collector, so I thought it was darling, and I made lots of them for the kids at school and also for December class attendees.

You either punch the scalloped circle (2") with our circle punch (or you can cut them out with the Cricut AP cartridge - you will need 6 of the blue scalloped circles ).   The white circles (2)  are from a 1 1/2" punch (or cut on the Cricut).  
I used the "All Decked Out" stamp set to stamp his face, buttons, hat,  and the snow flourish.  I stamped the face, buttons, and hat with StazOn ink and then colored them with our markers (Goldrush and Crystal Blue).  Adhere the circles together and then adhere the candy in the middle.  We are making these at my Playgroups this week using White Chocolate Dove squares.


This side view shows the candy inside.  Any candy will do that is thin and within the size of your punched circles. 


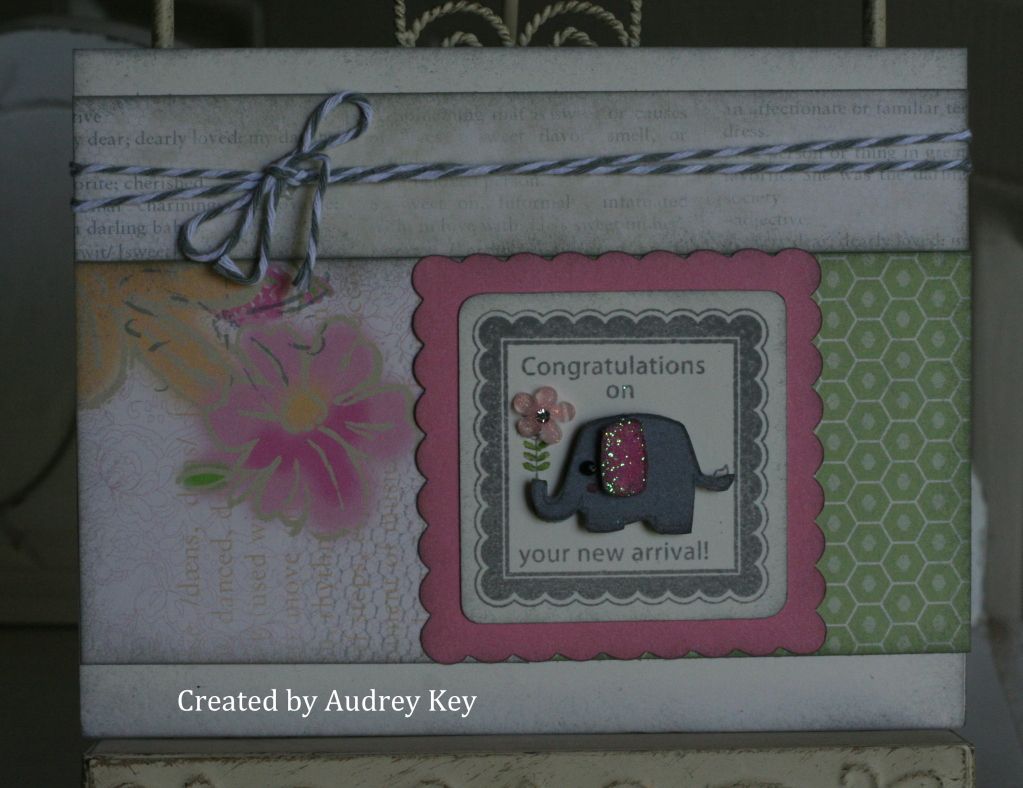
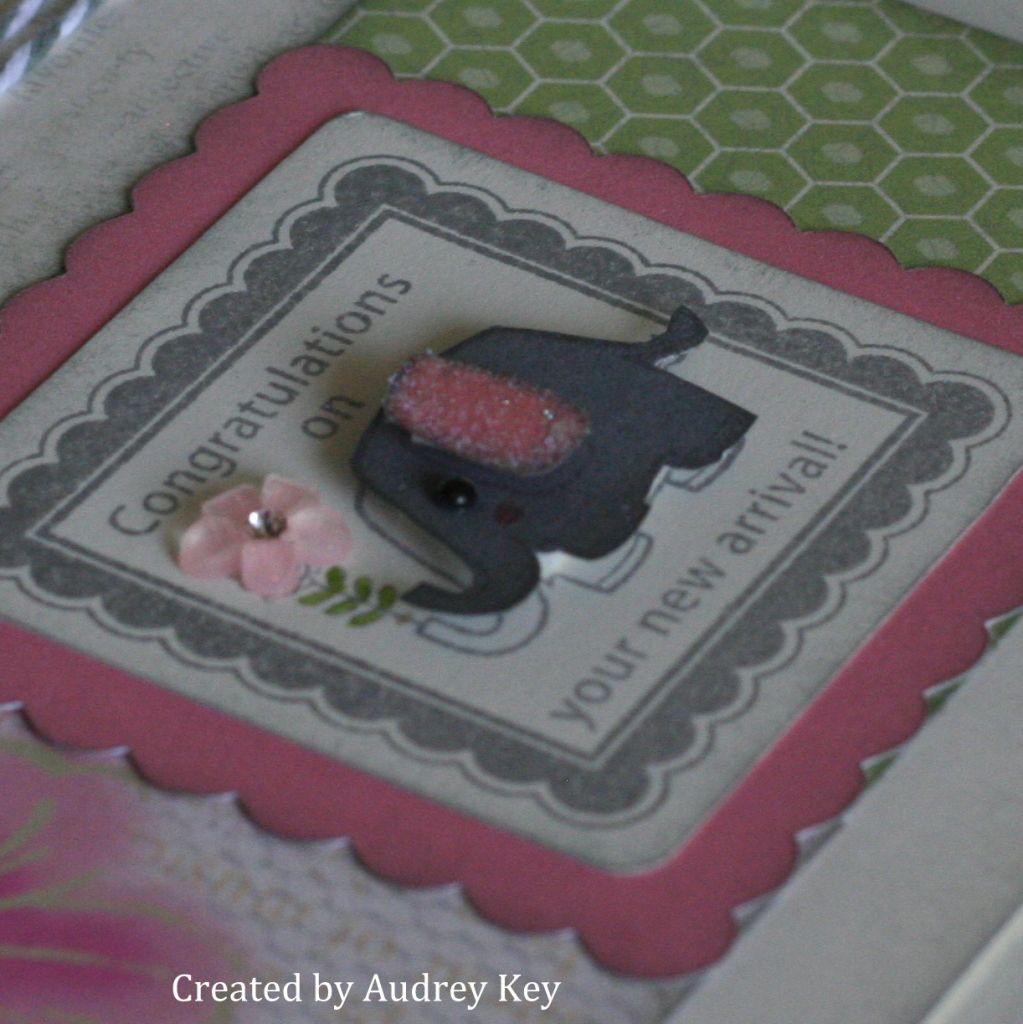
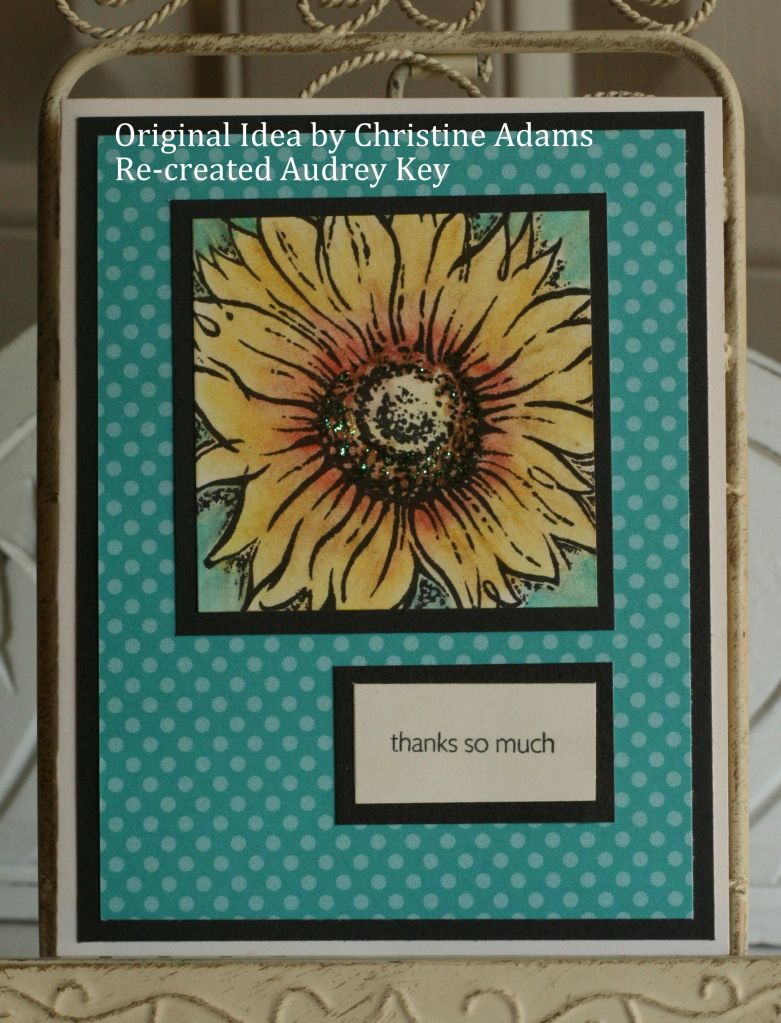
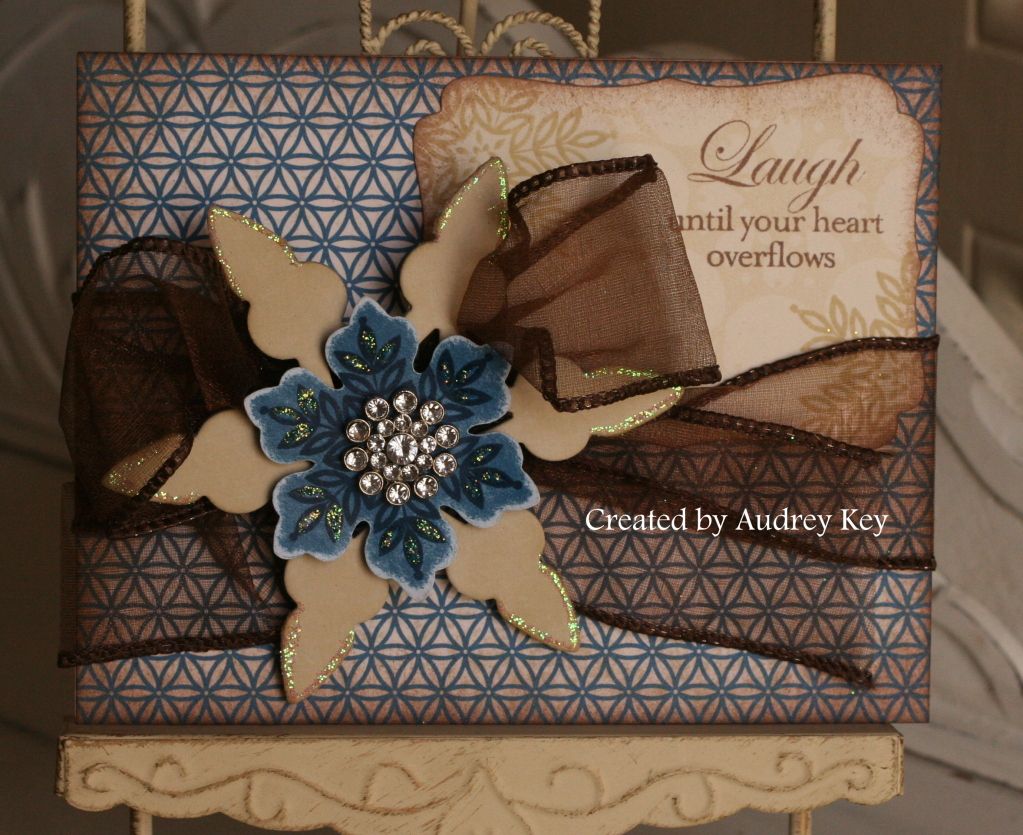
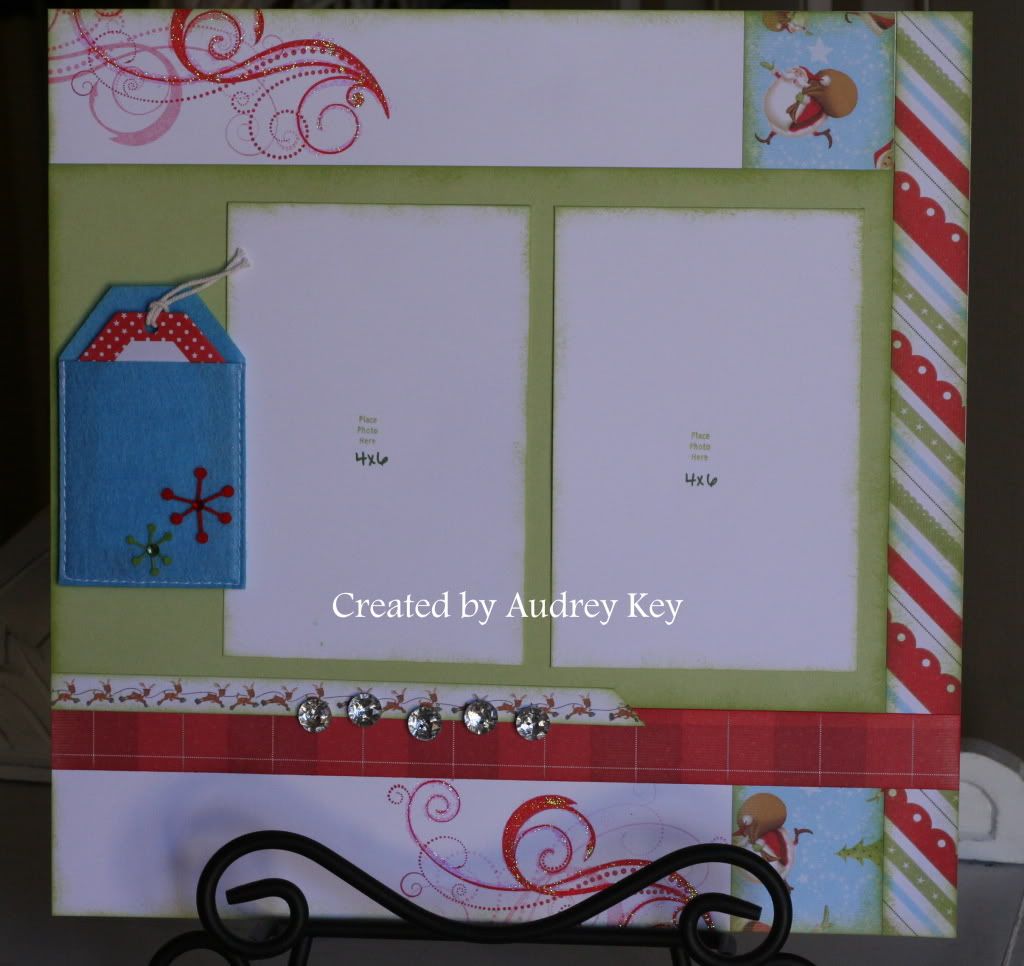
I dreamed about this card two nights ago and knew it was the one we needed to make at Playgroup this month (this month we are making 2 projects!).  I cut the scalloped circles, white circles, ticket, and the frame/rectangle on the Cricut (such a time saver!).  We made the same snowman to put on this card.  We used "All Decked Out,"  "Snow Flurries," and the sentiment is from "Bundled Buddies."  We embellished the card with pearl opaques, Prisma Glitter, and brown ribbon from my stash. 

PS - If you love the Wonderland paper packet, purchase it!  It will be retiring on February 1st so the last day you can purchase it is January 31st.

Tuesday, December 6, 2011

All Decked Out Snowman


I bought these cute socks at CVS Pharmacy several weeks ago because I love snowmen!  They inspired me to get out my All Decked Out stamp set and make this 6x6 card.


I love this stamp set! It is one of those stamps that you stamp and color the elements to add pop!  The All Decked Out stamp set includes snowman parts:  the body in separate pieces, mittens, arms, scarves, hats, and snowflake flourishes.   

Since the socks had two shades of blue, I looked through my stash to find things in those colors.  Believe it or not, the Pacifica B&T behind the snowman came from the Dreamin' paper packet!  I added Crystal Blue and Pacifica Cardstock to it and Whoala!  Think outside the box when choosing paper patterns and you will be amazed with what you can create!


I added this photo because I wanted you to see that Prisma Glitter was added to the snowflake flourishes, which was hard to see with the straight on shot of it.  The snowman is lightly water colored blue with our watercolor pencils and watercolor brush.  I used Rhinestone Brads to embellish  the card, as well as ribbon from the Blue Ribbon Assortment.

**Tips - Use Bonding Memories Glue Pen to add Prisma Glitter to any project.  Put the glue on the area you wish to highlight; let glue dry to clear; add Prisma Glitter with the eraser on a pencil (which just adds glitter where you want it and not all over your table and your lap!).

Tuesday, November 29, 2011

Christmas Joy Layout


I can't wait until Christmas gets here and I have photos to add to this cute layout!  This 2-page layout features Believe Level 2 Paper, Dimensional Elements Monograms, Bling Buttons, our cute new Holiday Pockets and Prisma Glitter.


I used one of the Reindeer Zip Strips in the paper packet as "ribbon" across the layouts.  I also used the Love Life stamp set to add the flourishes. 


**Tip - To embellish the "JOY"  Dimensional Elements Monograms I sponged them with Sweet Leaf Ink;  I stamped a patterned stamp from the Love Life stamp set with Topiary Ink; I let the ink absorb into the chipboard a few minutes and then I covered them with Bonding Memories glue and sprinkled Prisma Glitter over them. 

I cut the scalloped banner with the Cricut AP Cartridge and added bonding memories glue to the edges and sprinkled Prisma Glitter over that piece as well.  I think it adds just the right amount of glitz.