Showing posts with label Just Blooms Paper Shapes. Show all posts

Thursday, March 15, 2012

Florentine Happy Birthday Card


This birthday card was created from our Florentine paper packet.  Florentine is suitable for many different themes.  I used several stamp sets on this card:  Potential (March Stamp of the Month), Enjoy (the largest flower), 4 My Friend (the "happy birthday"). 

The embellishments that I used are:  Just Blooms Paper Shapes (just add ink), Pin Clips, Durables Pewter Stud, Color Ready Seam Binding (I added olive ink with a dauber to make beautiful ribbon leaves), and a flower button from the basic button assortment. 

Tuesday, January 31, 2012

Love Valentine Pocket


This Valentine treat pocket was our project at the Cricut class last week and was inspired by a similar heart pocket that my friend and fellow consultant, Ginni Candelaria, made for me. 

 We cut this heart from the <shape1> key on page 26 in the Cricut booklet.  I cut the letters "L V E" and cut the flower  for the "O" -- all with the Cricut AP cartridge. 

We embellished the pocket with Sparkles, a Designer Rhinestone Brad for the flower center, ribbon, and Just Blooms Paper Shapes butterflies.  We added a "handle" by attaching wide ribbon with brads.

Wednesday, January 25, 2012

A Week of Stamp Camp Projects - #3 - Thankful


This elegantly simple card was a fan favorite!  This card features Elemental Paper, Creme' Brulee Cardstock and Chocolate Cardstock.  We embellished the card with Just Blooms Paper Shapes, Seam Binding,
Opaques, and a Bling pin.

*We embossed the Creme' Brulee Cardstock.  We sanded it which shows the white core of CTMH's cardstock (it is a beautiful thing).

*We spritzed the seam binding/ribbon lightly with water; crumpled it up; and set it aside to dry.

*We sponged the Just Blooms Paper Shapes butterflies with Creme Brulee ink.  We added Mocha Opaques to create their bodies.

Stay tuned tomorrow for another fab Stamp Camp project!

Thursday, January 19, 2012

Elemental Workshop on the Go Cards


These are the cards that I created for the Elemental Workshop on the Go.  The great thing about the Elemental kit is that it so versatile.  This card was created to celebrate July 4th. 


This card is a birthday card.  The stamp set for this kit is Cricut compatible so all the images were cut out on the Cricut.  We used the sanding technique on all the cards as that was one of the techniques that they used for the WOTG. 


This card can be used for all occasions or birthday.  I love these Cricut flowers and I learned something new from my friend, Bea (she is so talented).  She said that she likes to bend the petals back with the tweezers and it works great! 

**Tips - I used the tweezers to roll the flowers up and then let them spring out. 
Use the back/curved side of the tweezers you can bend the petals back.
Re-roll by hand and glue in place with liquid glass. 

The Elemental WOTG Kit includes:  Elemental Level 2 Paper, Just Blooms Paper Shapes, Designer Brads Antique Copper, and the Workshop Guide.  The kit is $35 (that includes the tax and shipping)


Sunday, November 20, 2011

Santa's Workshop Kids Kamp Projects

Yesterday I had my first annual Santa's Workshop Kids Kamp, so that kids had an opportunity to come make gifts for family members.  We had so much fun and I wanted to share the projects that the kids made.


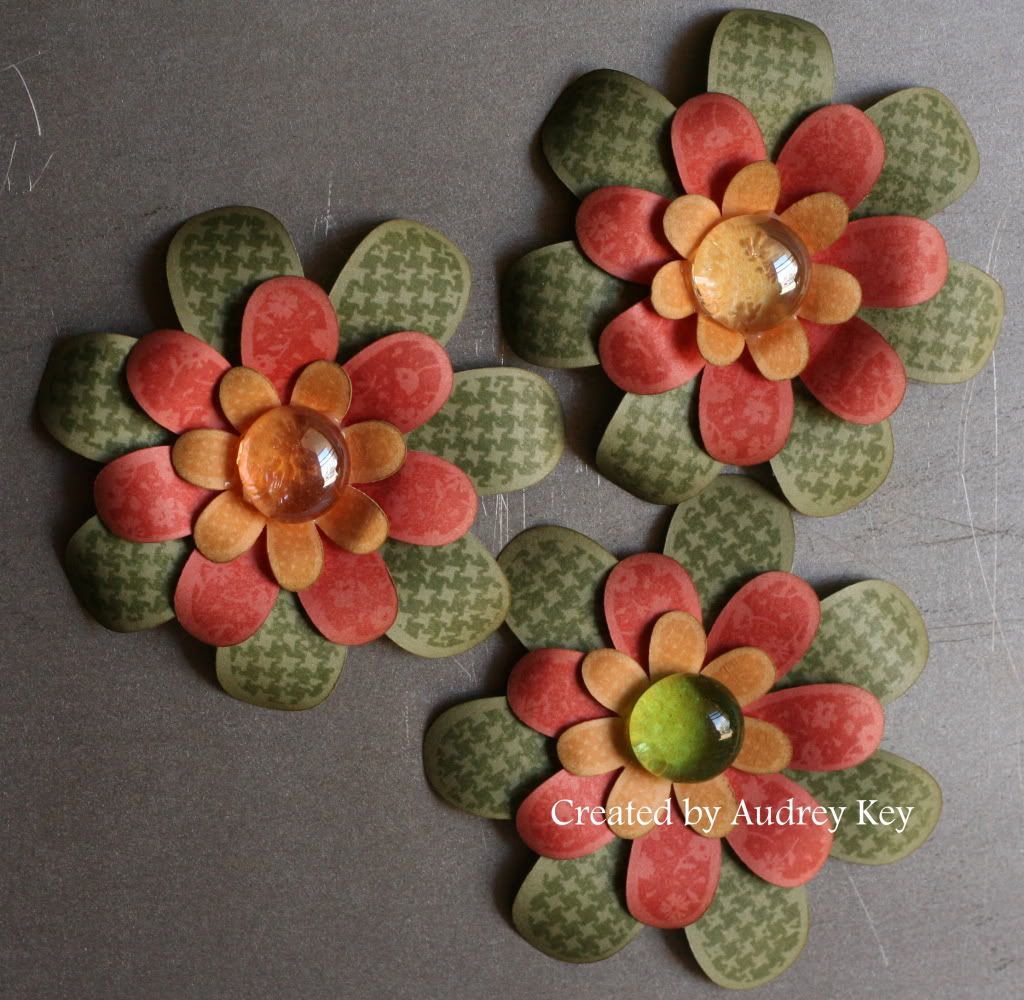
These are refrigerator magnets.  We cut the flowers on the Cricut and stamped them with the Hooray Bouquet stamp set.  The colors are Garden Green, Sorbet, and Creme' Brulee.  We used Alene's Magnetic Tacky Dots for the magnet and the pebbles were adhered with Liquid Glass.


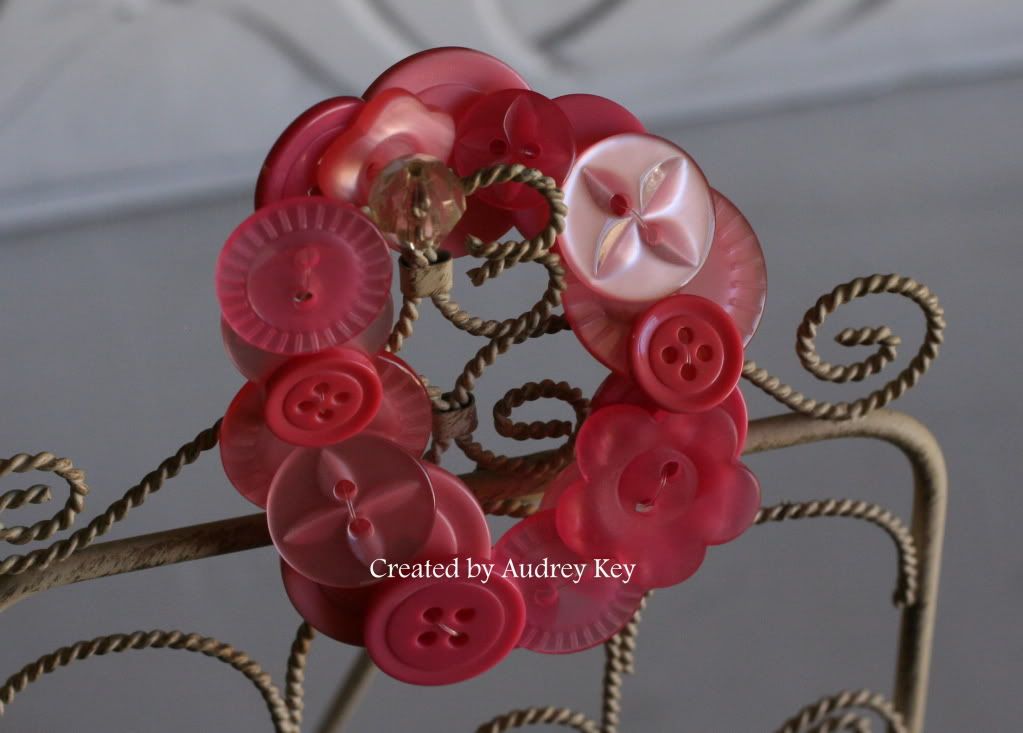
This fun bracelet is perfect to use up old (or new) buttons.  I used our Pink Button Assortment for this bracelet but each child got a different selection of buttons.  We stung the buttons with "Stretch Magic Jewelry and Bead Cord" that I purchased at Michael's.  When you make this type bracelet you need to wrap the Stretch Magic cord around your wrist twice which allows for the overlapping that naturally occurs as you string the buttons.


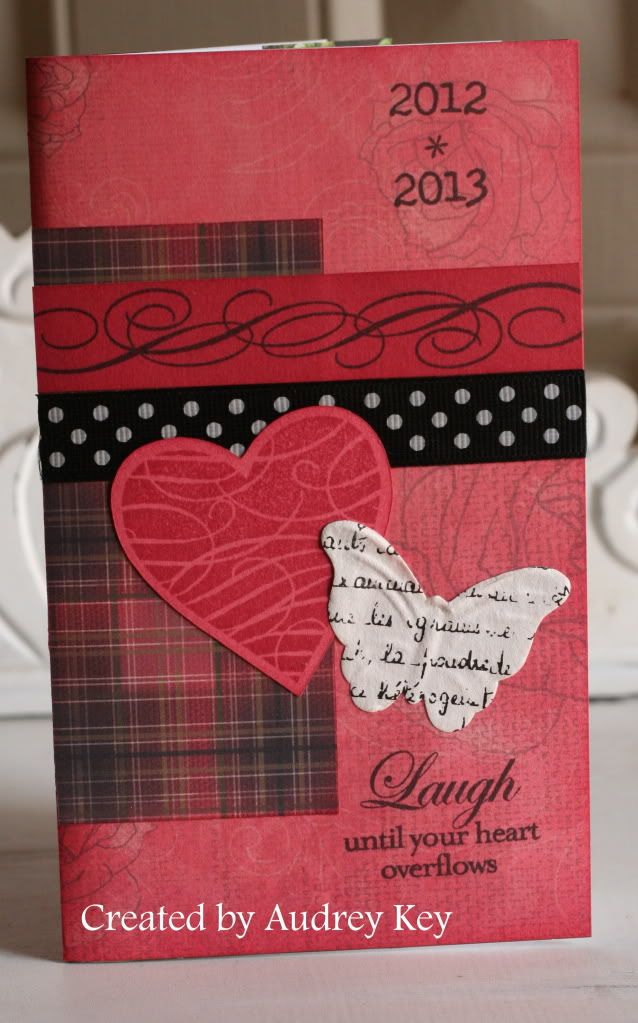
We took a $1 pocket calendar from Michael's Dollar Spot and created a work of art.


We used Roxie Paper, the Cricut to cut out the heart, Mad About You Stamp Set (December Stamp of the Month),  Winter Joy Stamp Set, Save the Date Stamp Set, black ribbon, and Just Blooms Paper Shapes to transform this pocket calendar.

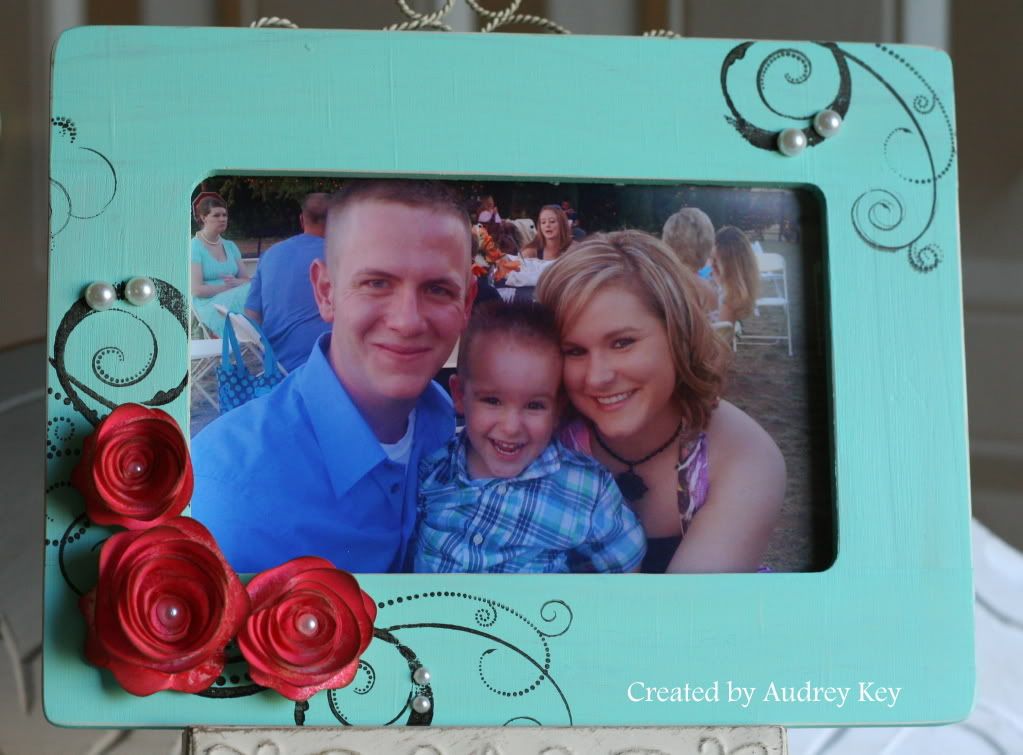
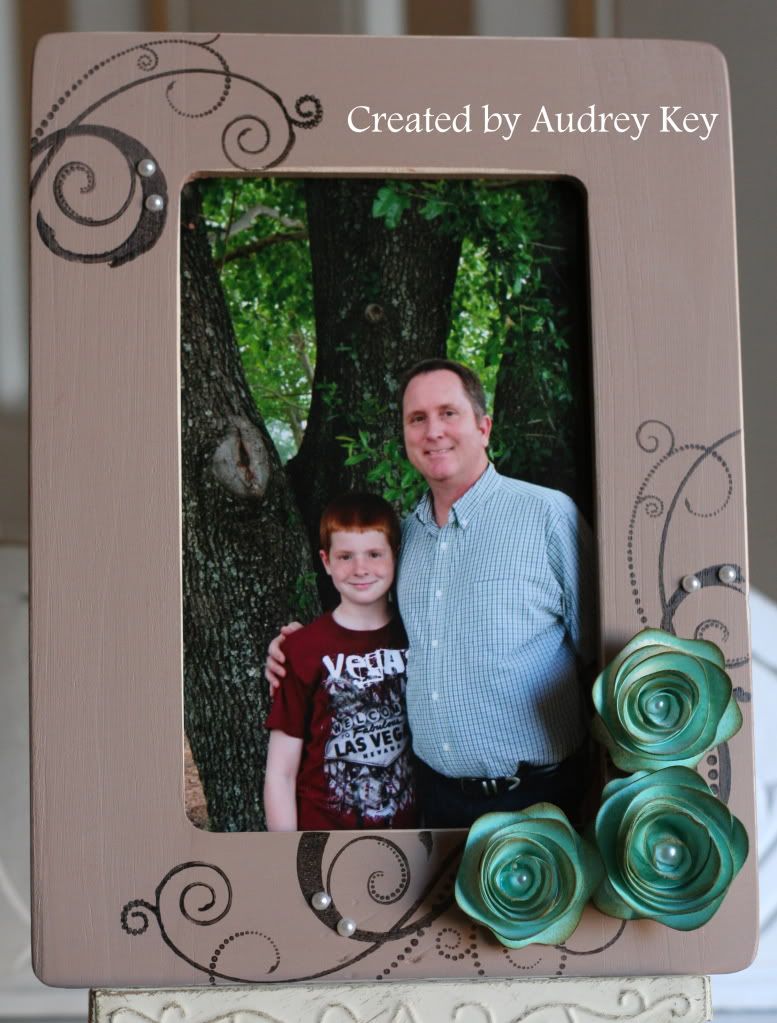
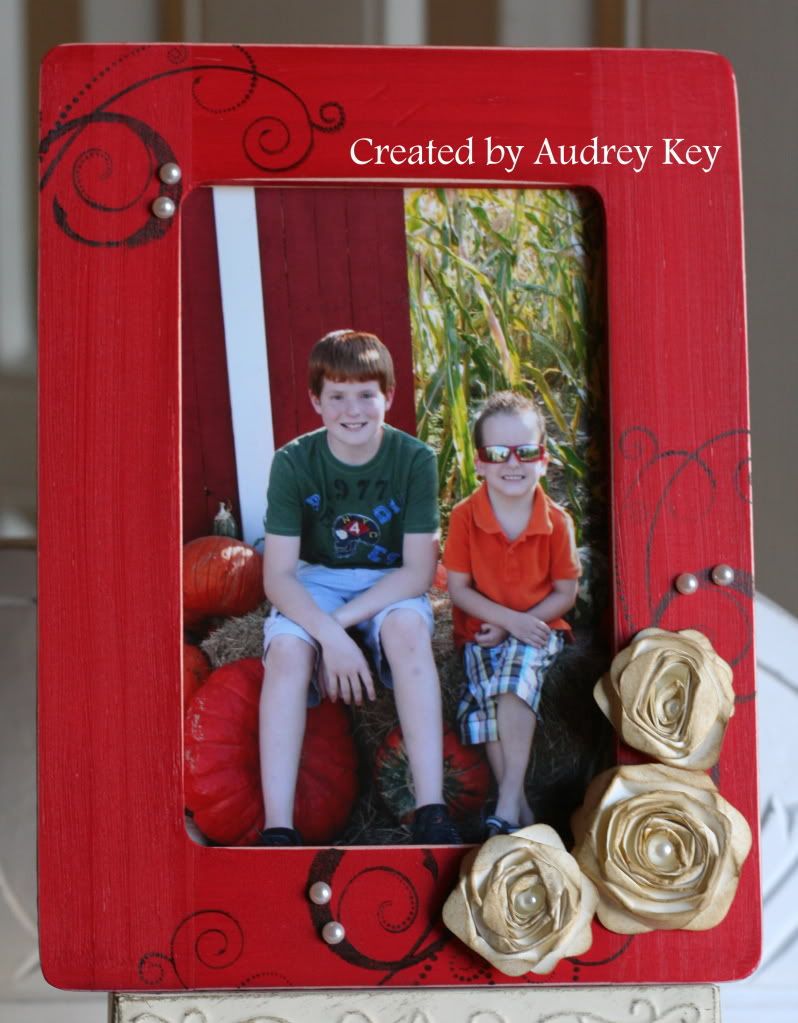
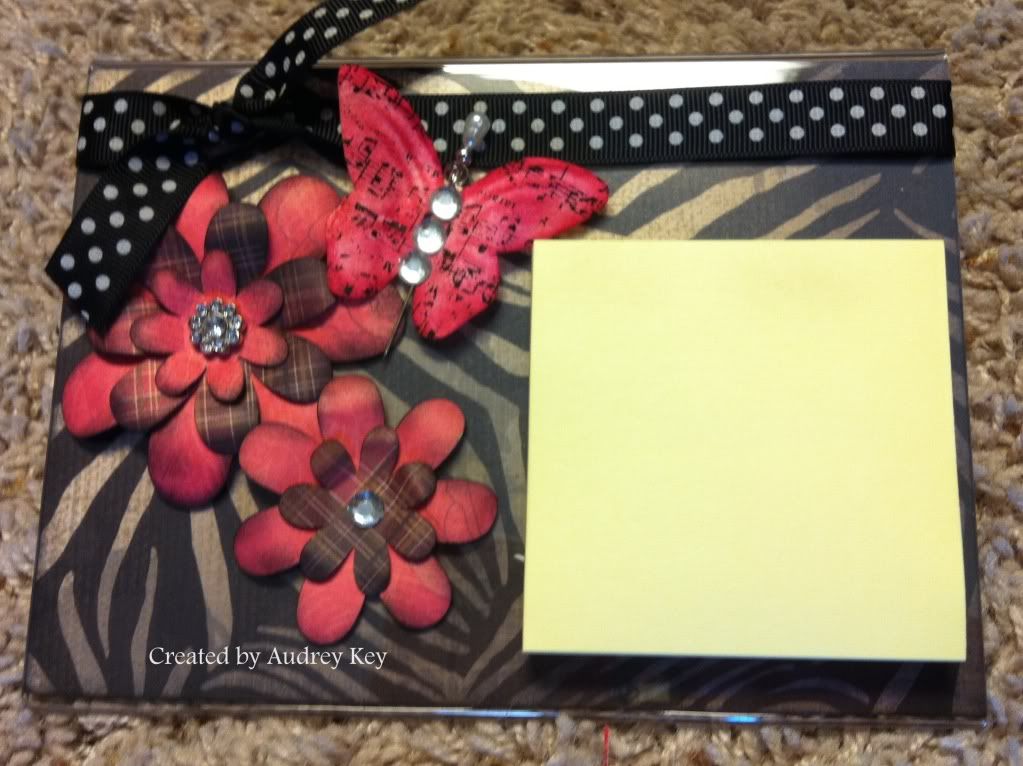
And, last but not least, a plain wooden frame (also purchased at Michael's), becomes a work of art!  Wouldn't it be a perfect gift for grandparents with a family photo or the child's school portrait?


The kids were able to choose which color of paint they wanted to use for their frame.


I cut all of the roses from Colonial White Cardstock on the Cricut.  The kids chose which color they wanted their roses to be.  I mixed water and re-inker in little spritz bottles (I used Lagoon, Cranberry, and Sweet Leaf re-inker).  We spritzed them and set them aside to dry.  When they were dry we sponged the edges with Desert Sand ink.


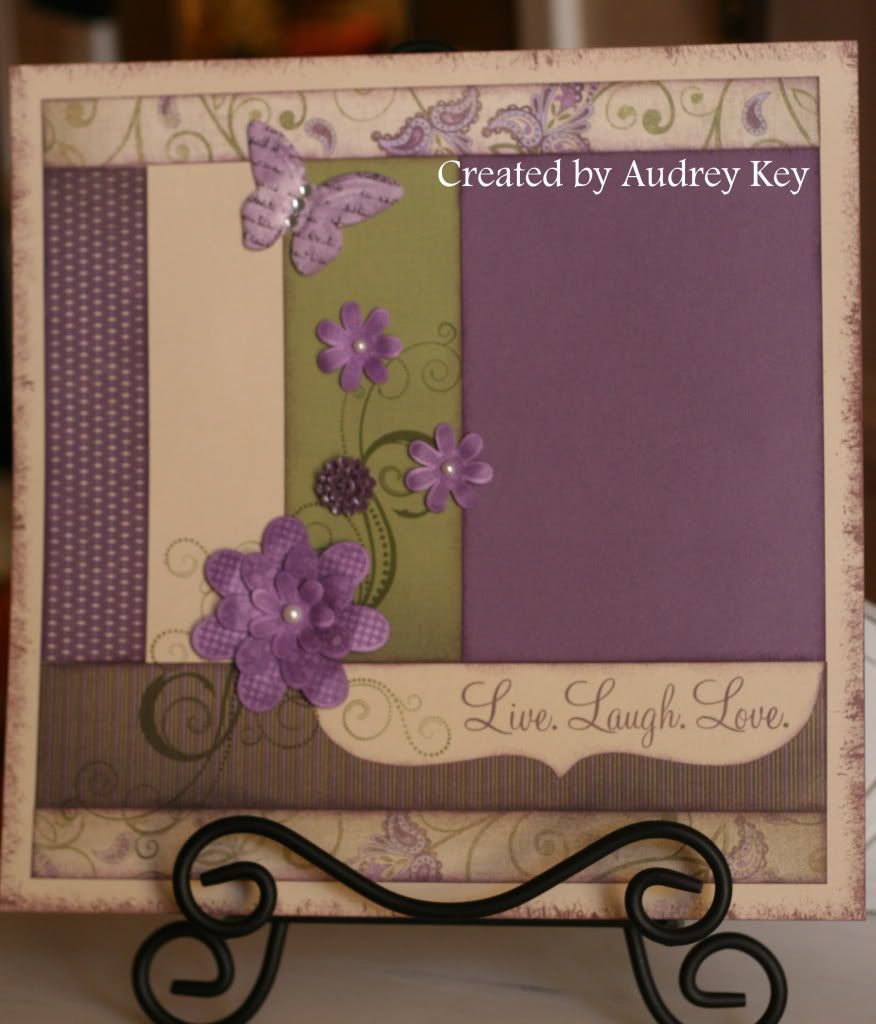
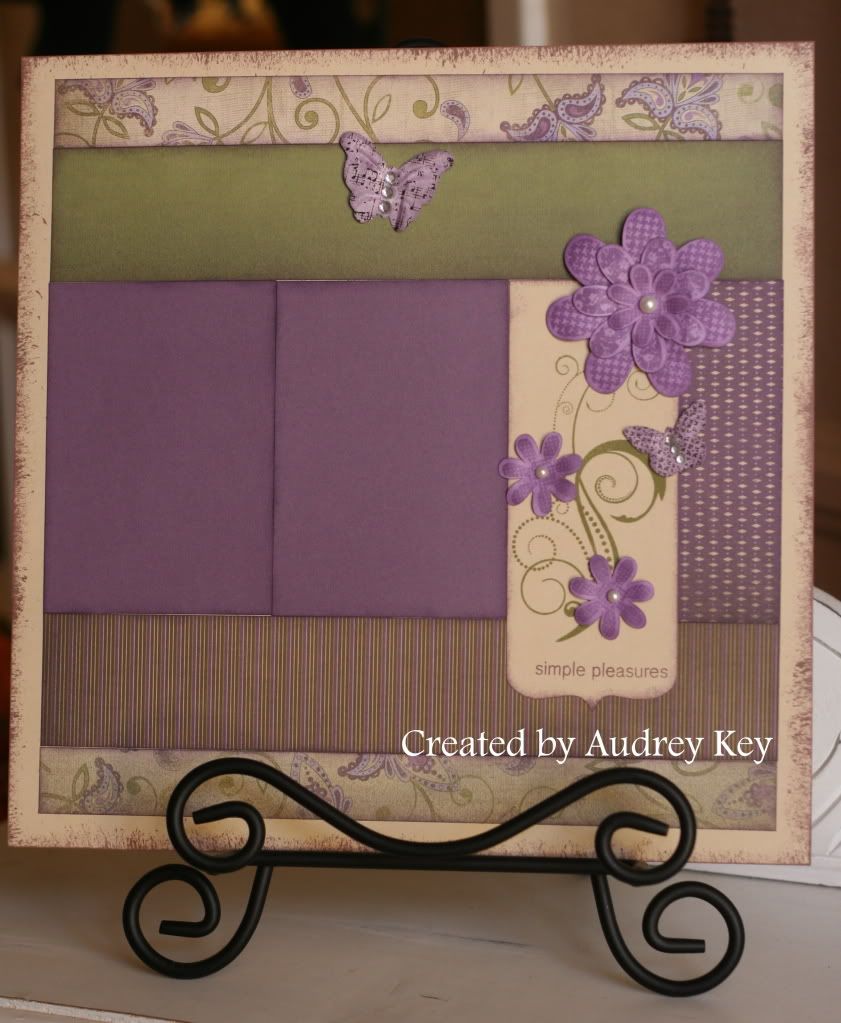
We used the Love Life Stamp Set to stamp these beautiful flourishes with Brown StazOn Ink.  I know that I keep saying it, but Love Life is my FAVORITE stamp set in this catalog!


The red frame is my favorite one (because it matches my home decor and it is one of my favorite colors).  I made distressed roses for this one (see the post on Sunday, October 30 for the Distressed Flower Tutorial) and simply sponged them with Desert Sand ink.   We used Pearl Opaques to embellish the frames - and it covers up some of the stamping issues that occur when stamping on wood, using StazOn, etc.  (you know what I always say....."Mistakes are opportunities to embellish!")

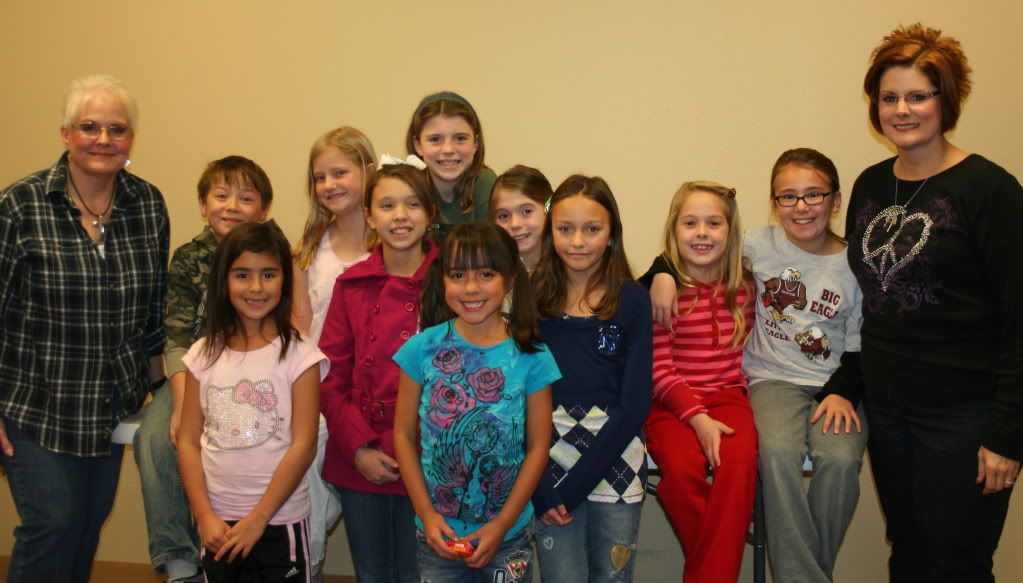
These are the Santa's Workshop Kids Kamp Participants (and teachers):


Thank you sweet kids for making Santa's Workshop Kids Kamp a success.  I look forward to having it again next year!


Friday, November 4, 2011

Live, Laugh, Love Layout


Sonoma quickly became one of my favorite new kits as I made this layout.  This is the left side of a 2-page layout that I made using our Sonoma Level 2 Paper, Love Life Stamp Set, Hooray Bouquet Stamp Set,  Just Blooms Paper Shapes, Pearl Opaques, Clear Sparkles, and the Heirloom Embellishment Assortment.


This is the right side of the layout.  The pattern is in the Magic How-To Book on page 48 & 49 ("Performance").  

    **Tip - The technique I used to distress the edges - Smokey Plum Reinker and the Stipple Brush from our Texture Tools set - dip the brush into a craft jar with reinker and use short strokes from the edge of the paper toward the center. 


This is a close up photo of the flowers.  They were cut out with the Cricut Art Philosophy Cartridge and then stamped with Hooray Bouquet stamp set.  You can also see the detail of the flowers from the Heirloom Assortment.  The Heirloom flowers have adhesive on the back so they are ready to adhere.   


Monday, September 26, 2011

Roxie Post-It Note Stand

Today's project is a Post-It Note Stand created from a 5x7 Acrylic Frame (thanks to Anna R. for the idea).  It is a very inexpensive gift/item to create.  I  used CTMH's Roxie Level 2 Paper pack for the insert and for the flowers that were cut on the Cricut Art Philosophy cartridge.   I also used Just Blooms Paper Shapes, Bling Assortment, and Sparkles.  The ribbon was some that I had in my huge ribbon stash (can you say ribbon hoarder?!).


This is a close up of the awesome flowers that you can create on the Art Philosophy Cartridge!  I sponged the edges with black ink for a more finished look.


I made this Post-It Note Stand for my daughter, Stephanie, when she moved into the new salon she is working at.  The decor at Michelle's Salon is French Country with zebra accents so this matches perfectly!  I used a different style flower her's and lots of bling because she is a blingy girl!