Monday, December 5, 2011

Sonoma Card Box and Cards

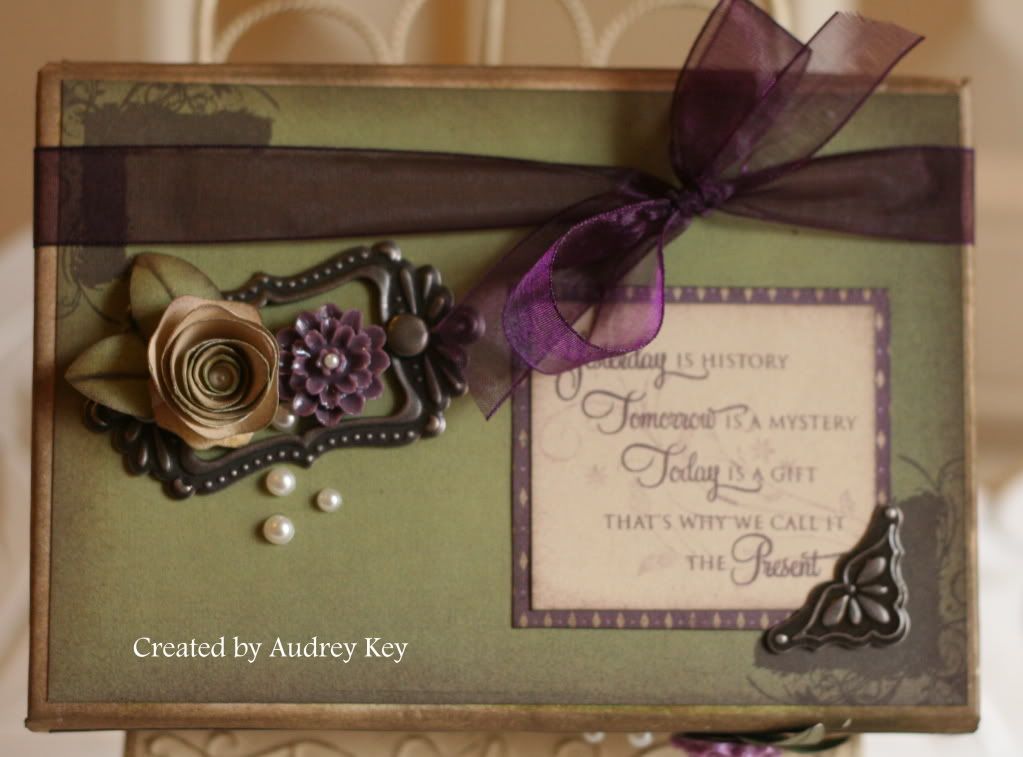
Yesterday I had a great group of ladies over for the Sonoma Card Box and Cards Workshop.  We wonderful time creating these cute card boxes filled with cards.  If you haven't made one of our My Creations boxes, you need to do it as soon as you can!  They are so much fun to create.


We used the My Creations Card Box, Sonoma Level 2 Paper, Mini Medley Pewter Assortment, Heirloom Assortment, The Present stamp set, Pearl Opaques, purple ribbon from my stash, and the Cricut cartridge to cut some of the
flowers and leaves.
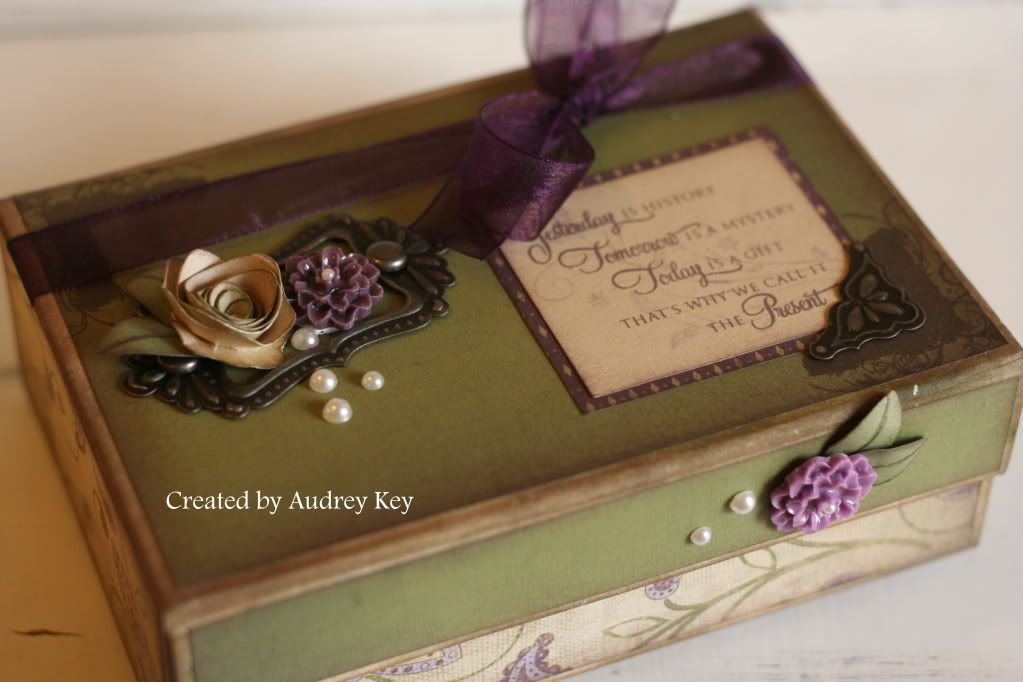

The Sonoma paper packet is just beautiful!  It features Olive, Smokey Plum, Bamboo, Amethyst, and Cocoa.  We distressed the edges of the box with cocoa ink and a sponge prior to decorating it. 

**Tip - Use Bonding Memories Glue Pen to get a good even bond between the paper and the box.   You need to work quickly so that you are adhering it when it is wet.  The Bonding Memories Glue Pen is wet when you put it on the paper and that provides a permanent bond.  When you let the glue dry to clear (or if you are not working quickly it will dry) and it is a temporary bond similar to that of a post-it note.
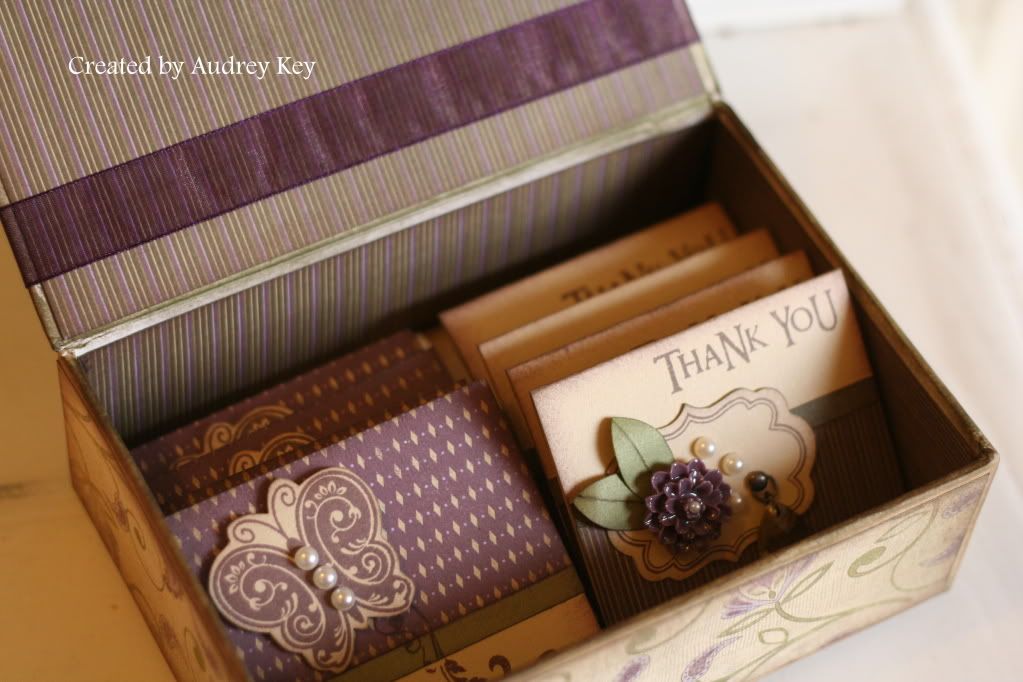

We made 10 cards with the remaining paper and the kits included CTMH 3x3 envelopes (10 per package).  This is a great gift to give someone and the box can be used as a trinket box later for jewelry or other small memorabilia.
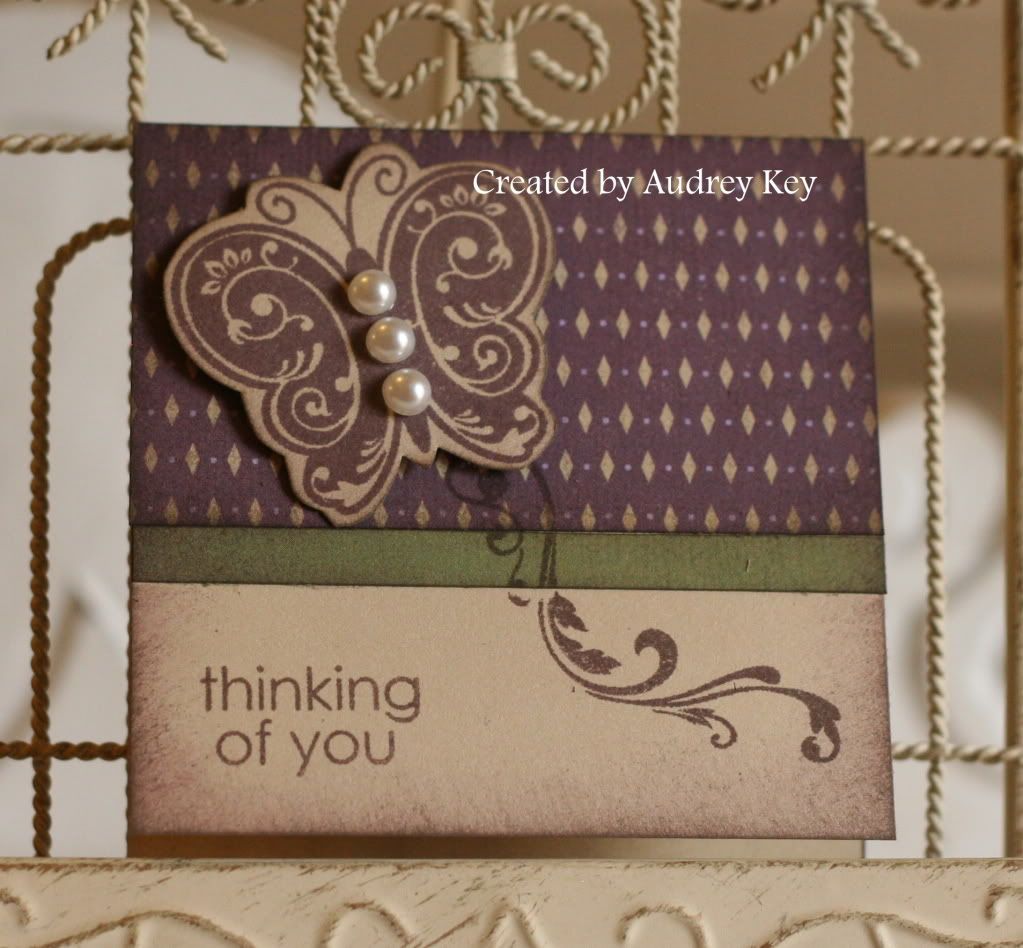

We made 5 cards of this style.  We used the Say It in Style stamp set for the sentiments.  If you don't own that set, you need it!  It is all inclusive with lot of phrases that are
great for card making.
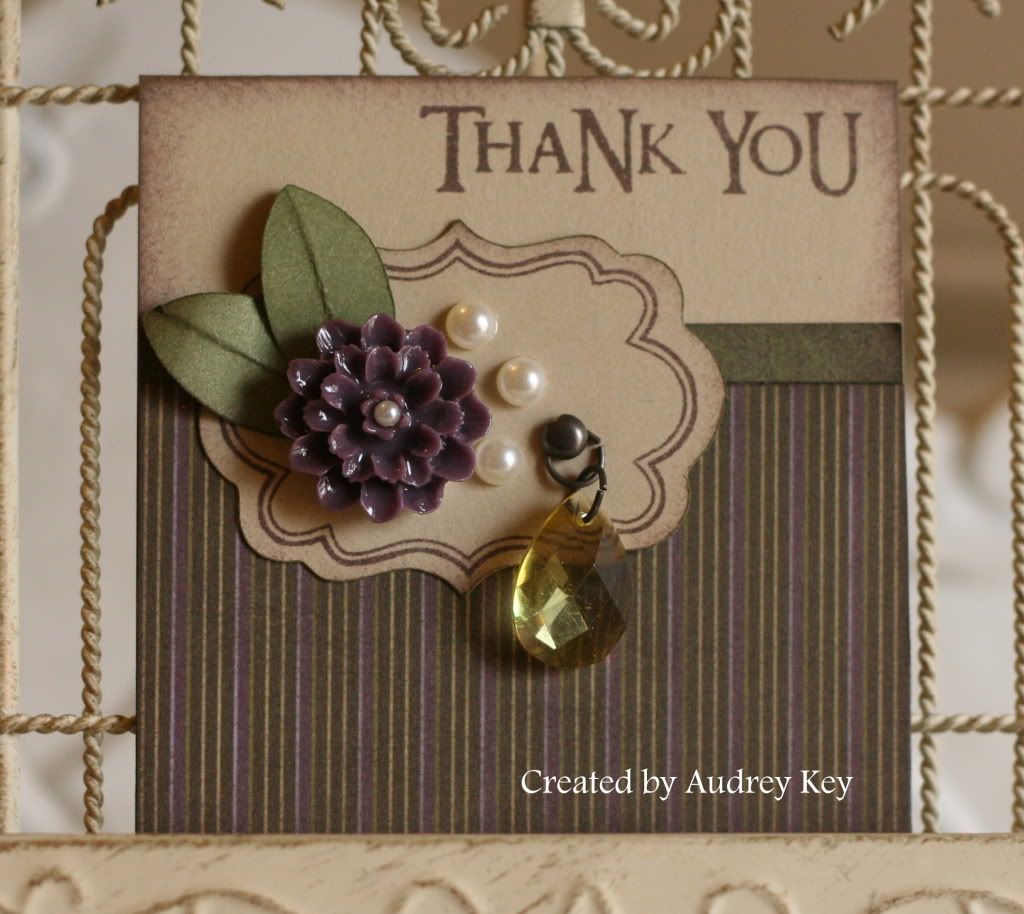

We also made 5 cards of this style.  This card features a Cricut frame and leaves, the Heirloom Assortment flower and jewel, and Pearl Opaques.  We used the Say It in Style stamp set for these cards too.


Sunday, December 4, 2011

Spiced Tea - Another Holiday Tradition

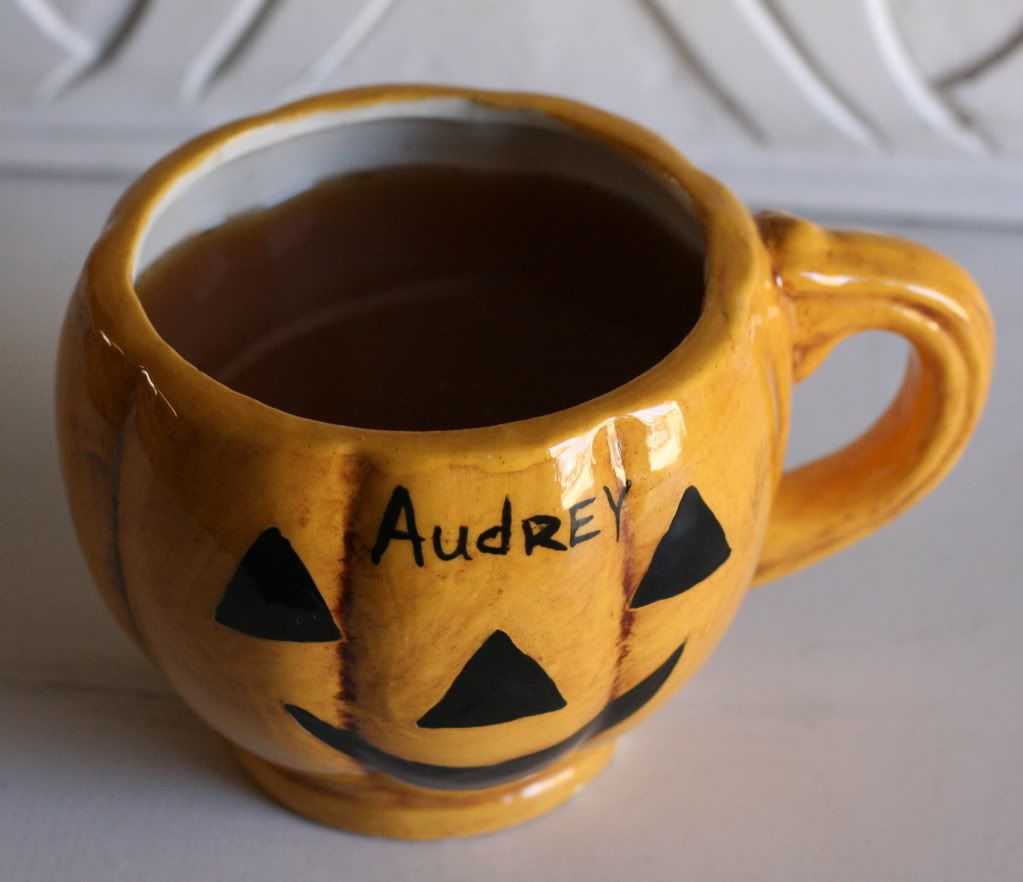
Many of you have been the recipient of Spiced Tea.  I love drinking a piping hot cup of it, especially during the fall and winter months and I like to give it to family and friends during the holidays!  My earliest memories of drinking it were in elementary school.  My mom's friend made my brother, sister and myself a cute little jack-o-lantern cup and we would drink our spiced tea in it.


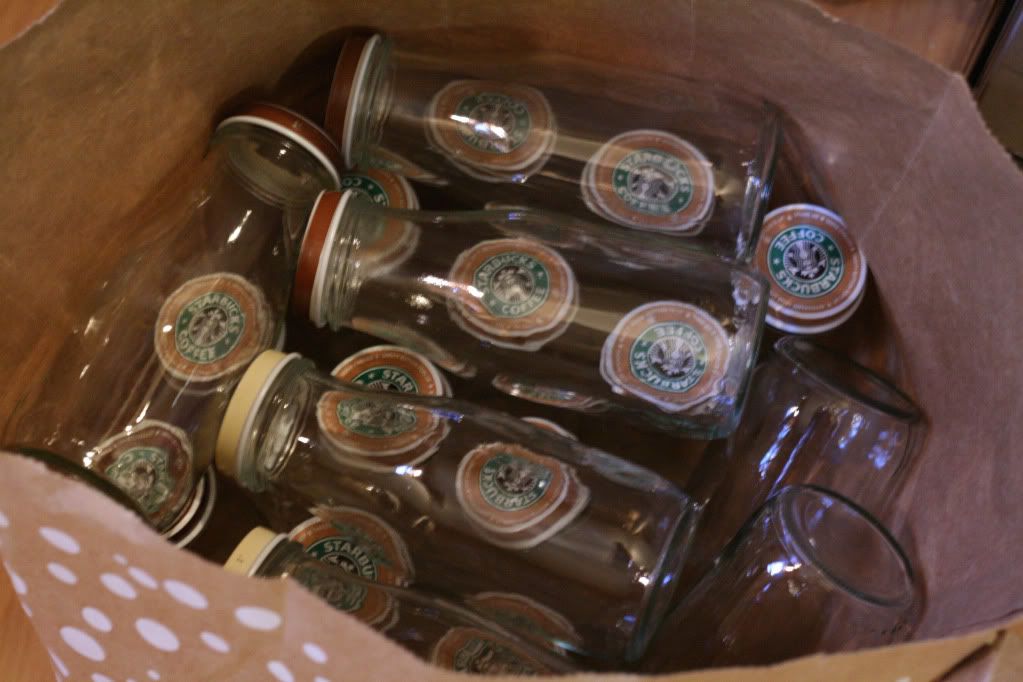
My friend, Tina, and I decided to make teacher's gifts with our spiced tea recipe and I wanted to share that process with you.  The first thing that you must do is get in the mood!  We put some Holiday tunes on and just had a good time preparing our little gifts!  We used recycled Starbucks Frappucino bottles and stamped our labels for the lid and the jar.  We bought cute Christmas ribbon at Hobby Lobby to finish them off.


Tina's mom saved the frappucino jars for us!


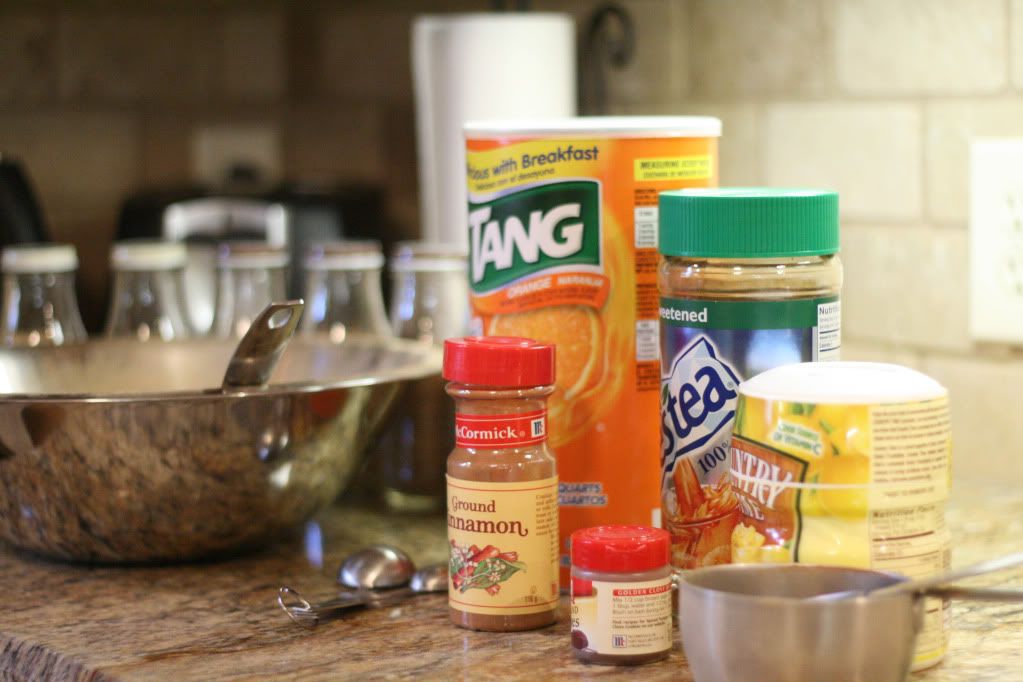
Quality ingredients make quality tea!


All mixed up!  It smells delicious!


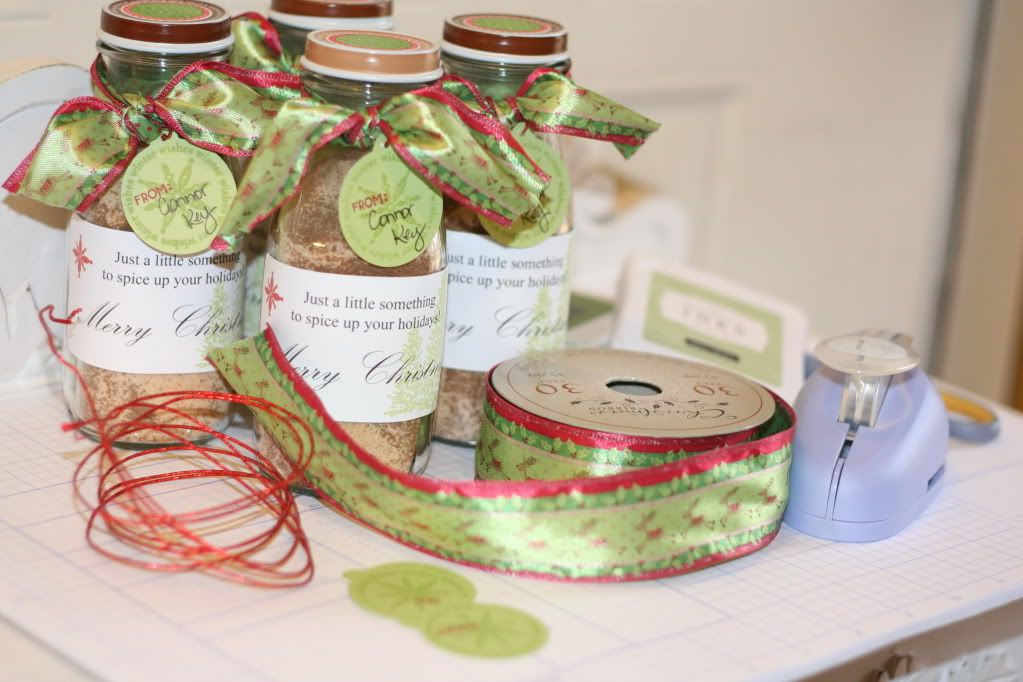
These jars look great filled and decorated. 

*We made Avery labels on the computer with the sentiment, "Just a little something to spice up your holidays! 
Merry Christmas!" 

*We stamped the labels using the trees from the Bundled Buddies stamp set and a snowflake from the December 25th stamp set to make them more decorative.  

*We cut the small green tags with the Cricut cartridge and stamped them with a snowflake from the December 25th stamp set. 

*We also stamped the circles from the Countdown stamp set on White Avery label paper and punched them out with our
1 1/4" circle punch - we used the cirlce labels to cover the
Starbucks logo on the lids. 

*Reindeer ribbon is tied around the neck of the bottle and the "from" tag is tied on with glitzy red wire.

My recipe actually came from "The Cottage" which used to be on 34th Street in Lubbock.  Our family loved that store and visited each year during their Holiday Open House. 

Here is the recipe:

2 Cups Tang
1 1/2 Cups Instant Tea
1 Cup Powdered Lemonade
1 1/2 Cups Sugar
1/2 tsp. Ground Cloves
1/2 tsp. Cinnamon

Mix ingredients well.  Stir 2 Teaspoons into 1 cup hot water.

In closing, may your holidays be filled with spice and the simple joy of spiced tea.  I challenge you to mix up a batch and give it as a gift.  You will make the recipient's holidays very happy and your's more memorable!

Saturday, December 3, 2011

You're Sweet


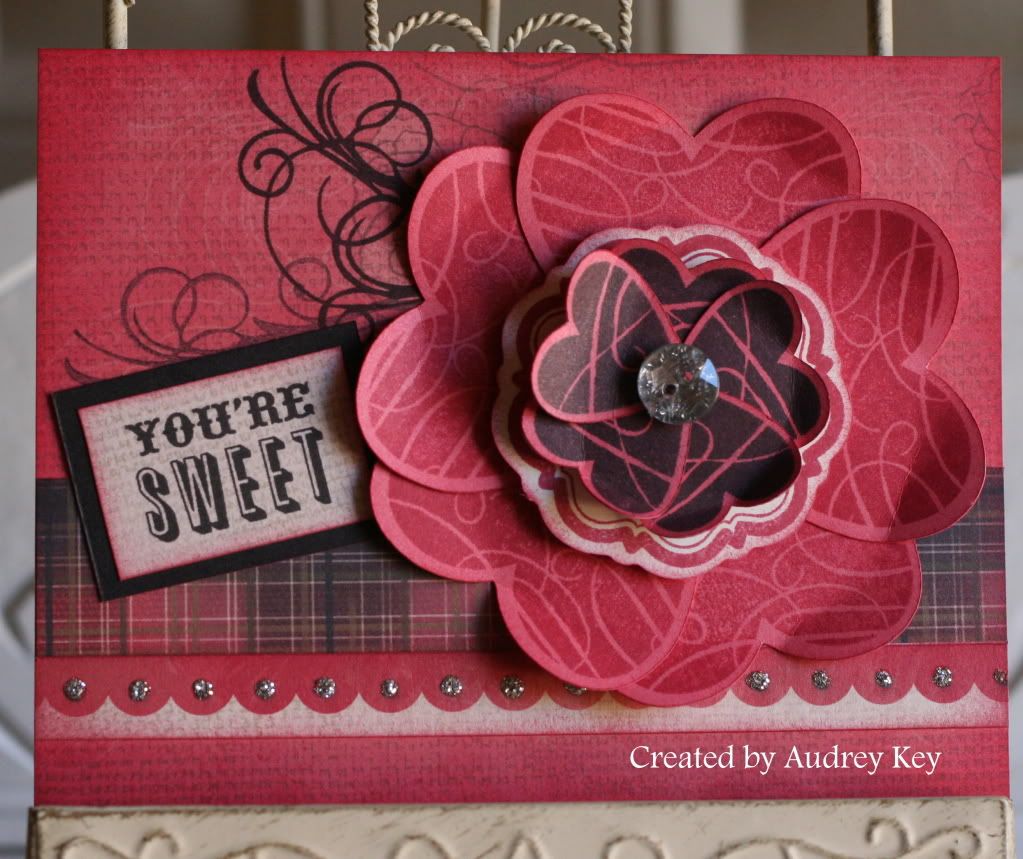
This card was also inspired by my friend, Karen Pedersen.  This card features the December Stamp of the Month "Mad About You."  The flowers are made from 5 hearts for the lower layer and 5 hearts for the top layer - all of the hearts were cut on the Cricut and then stamped with the coordinating stamp.   Silver Glitz Glitter Gel adds that special sparkle to the border along with a bling button that I added to the center of the flower.  The flourish is from the Instant Memories stamp set.

Friday, December 2, 2011

Love To Love You Card


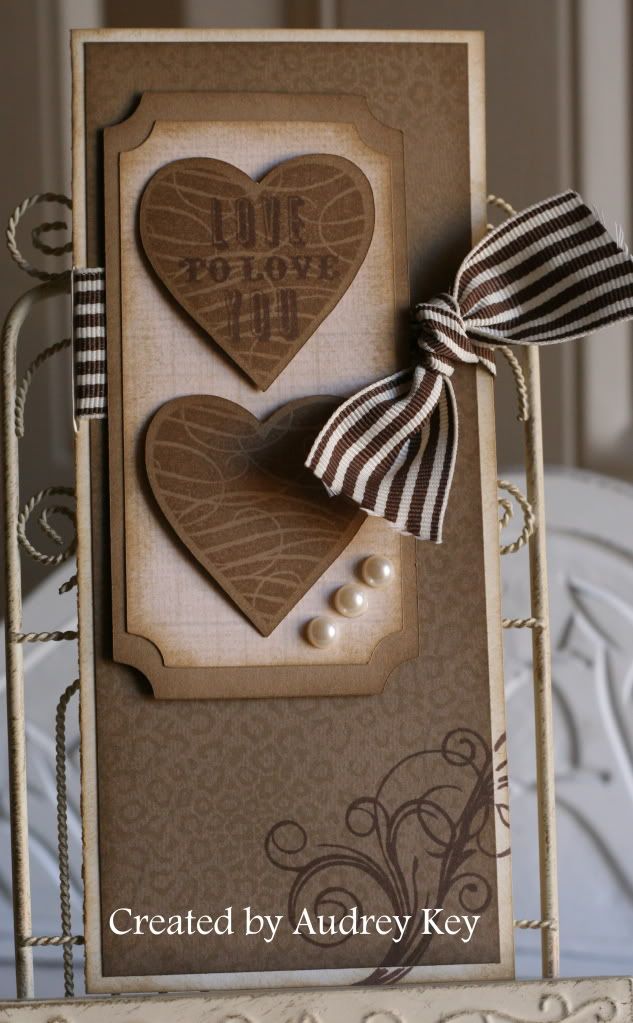
This 3 1/2" x 8" card was inspired by my friend, Karen Pedersen who lives in Utah.  We served on the CTMH Advisory Board together and she is a dear friend AND a brilliant artist!   Check out Karen's blog here!

I used the Roxie paper packet along with the Mad About You (stamp of the month) and Instant Memories stamp set.  I embellished the card with our Chocolate Striped Ribbon and Pearl Opaques.  The hearts were cut on the Cricut.

Thursday, December 1, 2011

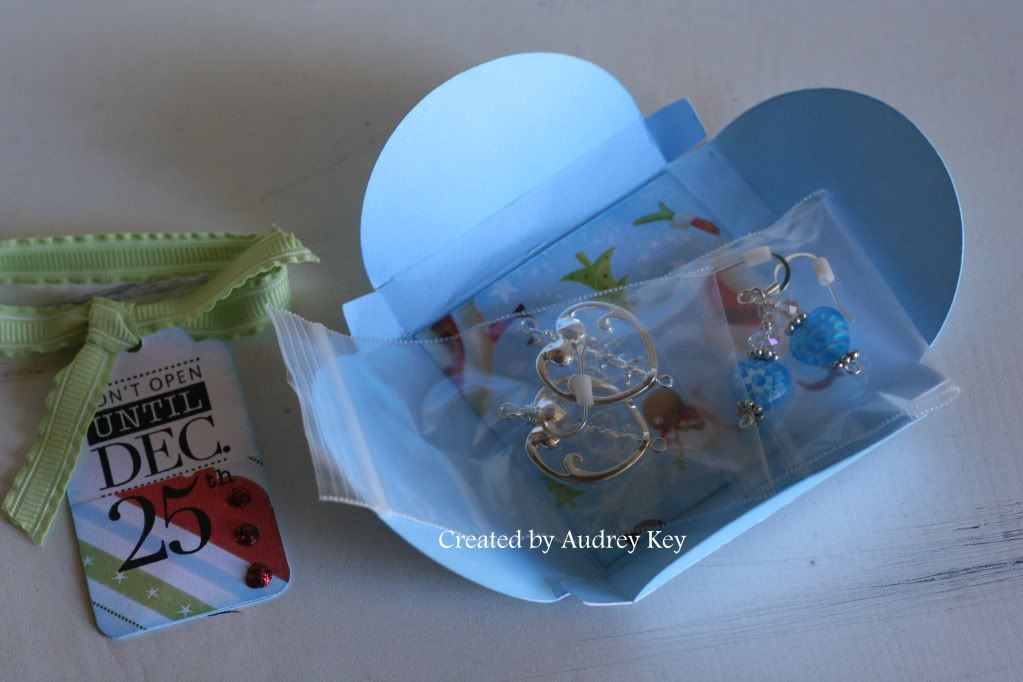
Don't Open Until Dec. 25th - Christmas Petal Box


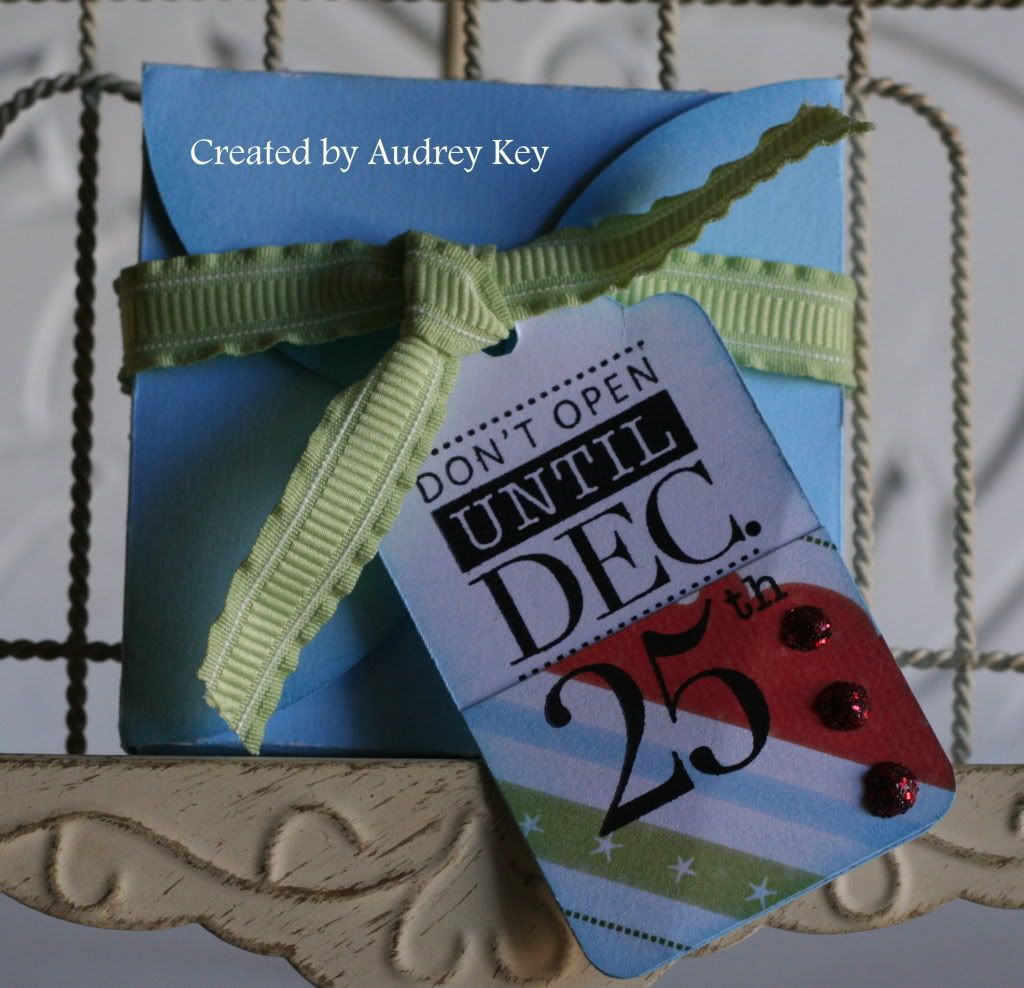
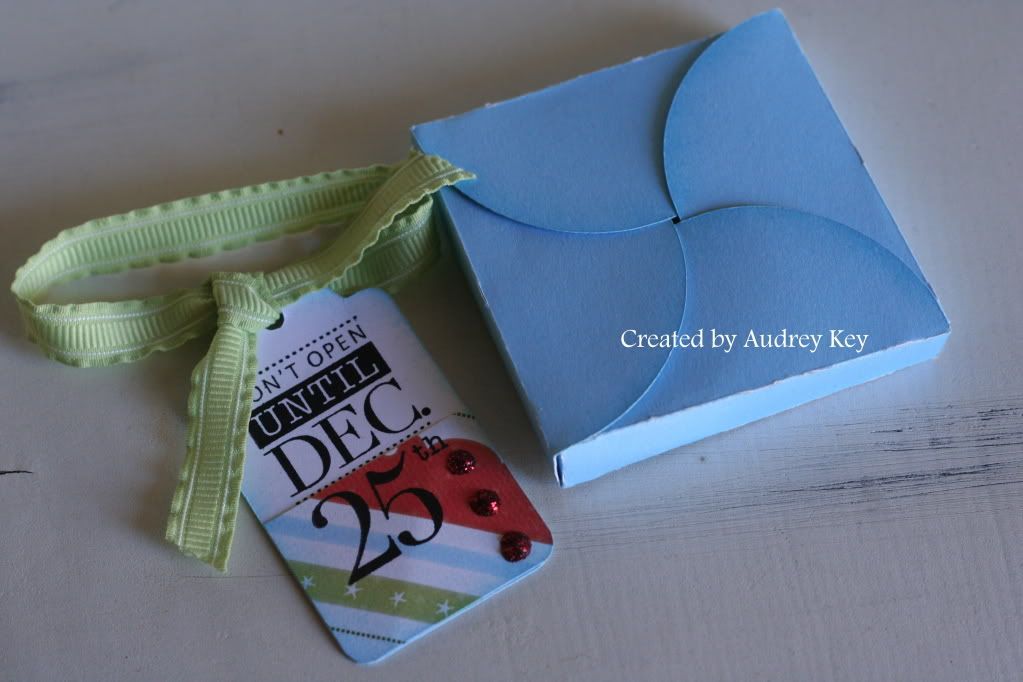
I was so excited about the Cricut boxes on our new cartridge.  I quickly realized that you need to cut various sizes from scrap paper before you decide on the size you want.  The finished size of this little box is 3" - this surprised me because I set the dial to 6" when I cut it.   


The products I used for this little petal box are:  Believe Level 2 Paper, Red Glitz Glitter Gel, and the Green Ribbon Assortment.  The gift tag is on the Cricut cartridge and I used the December 25th My Acrylix Stamp to stamp the sentiment.


Those who know me well, know that I love to make jewelry!  It is only fitting that this cute little gift box have 2 pairs of heart earrings enclosed! 

PS - Don't Open Until December 25!