Thursday, December 15, 2011

Turning Over a New Leaf

Well, I had an epiphany last week!  My son said that it is very meaningful to him, when he "creates" something, that his Granny's "play" with him and try out his creations.  He has been watching You Tube for weeks and learning how to make paper guns, ammo, swords, and knives....your typical boy things.   

After he said that, it started my thinking about his comments.  I don't know about you and your situation, but I am home with my son and grandson to raise them, teach them things about life, and help mold them into decent, responsible human beings that will eventually contribute to society in big ways! 

With all of my memories recently of MY grandmothers, I realized that they stopped and took time to play - play games, teach us crafts, teach us to cook, make root beer floats, etc.  They didn't work the entire time we visited and spent the night with them.  THEY TOOK TIME -- to love us, hold us, teach us things about life, and help to mold us into the adults we are today (the "we" is my brother, Stacy, and my sister, Billie, and myself).  

I want to be the Mimi that Brayden tells cool stories about when he grows up.  I want Connor and Stephanie to be able to say that I actually taught them something special!

So, last Thursday night, Brayden and I started making Christmas candy.  You must know that he loves to scrapbook with "Mimi" and he also enjoys setting up the classroom for all of my classes.  He is a great helper!  I want to teach him some other fun things in his little life too.  I know that all too soon he will be busy with sports, scouts, etc, and won't really care about such things.
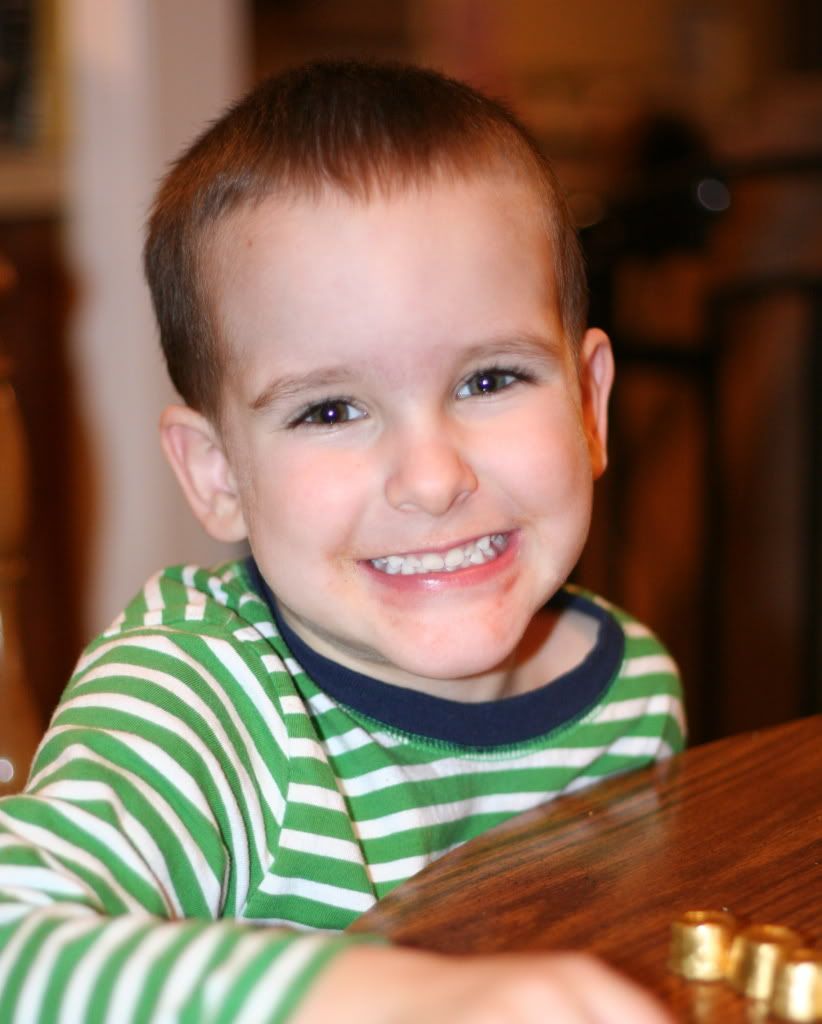

We started off with simple candy and made "Rolo Cookies".  They are really easy to make.  Brayden unwrapped all the rolos and placed them on the pretzels.  We asked Connor to help and he told us that he didn't want to do it until he saw how much fun we were having.  Then he jumped right in and helped (he wouldn't let me take his picture!).
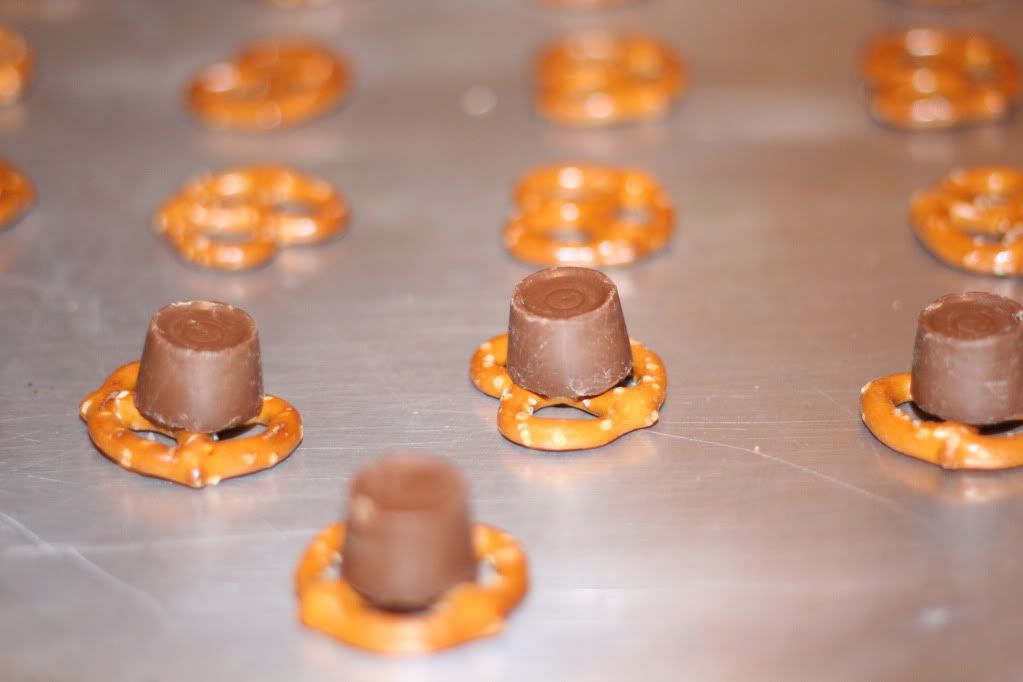

We baked them for 4 minutes at 350 degrees.
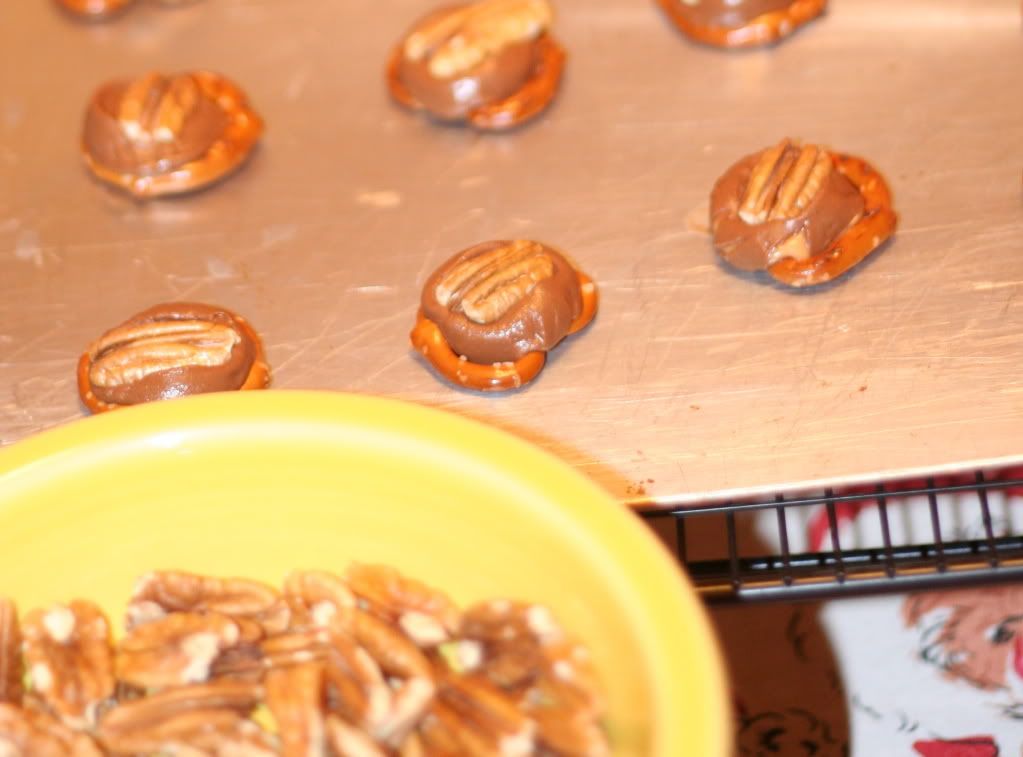

The final step is to add a pecan halve by gently pressing the pecan into the warm chocolate.   Let cool and they
are ready to enjoy. 

We also made Graham Cracker Toffee....thanks to Anna who gave us the recipe!  It is a new favorite around our house.  That was a little tricky because the caramel sauce has to be cooked on the stove top.  I stood Brayden in a chair and he helped me stir the pot.
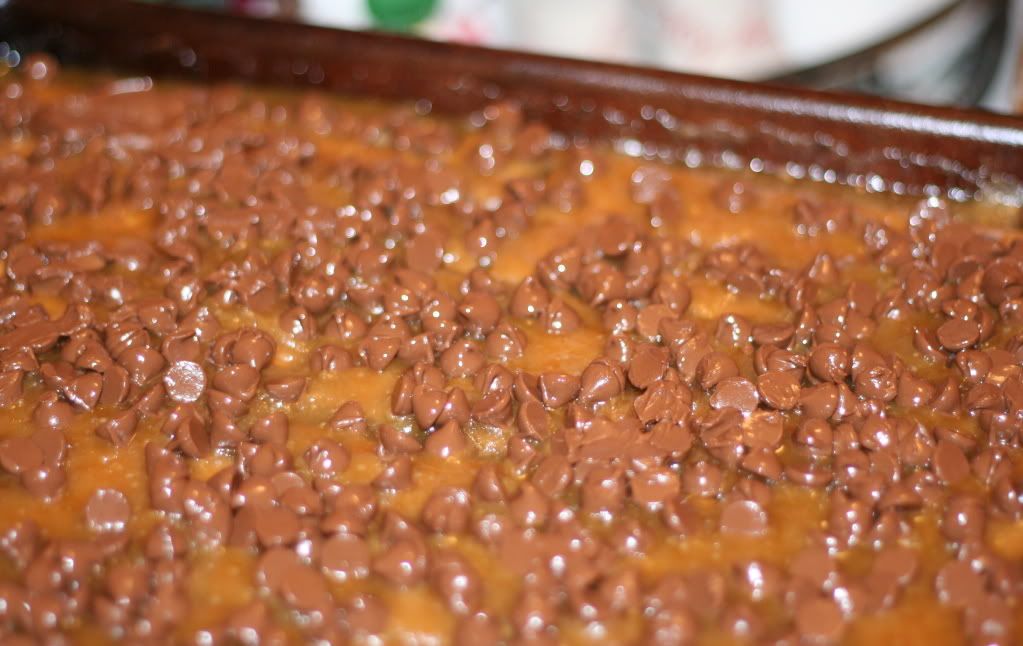

This is a photo of the toffee as it is cooling off.  It is O-SO yummy!  We took some of each kind of candy to the beauty shop (that Brayden's mommy works at) as a Christmas treat.

So, in closing, I am going to try to be better about building memories with both boys.  If you are a busy mommy, be sure to hold and "play" with your kiddos!  If you are a busy Mimi/Grandmother  be sure to hold and "play" with your grand kids!  They grow up too fast and then that time is gone.  Enjoy them everyday! 


Wednesday, December 14, 2011

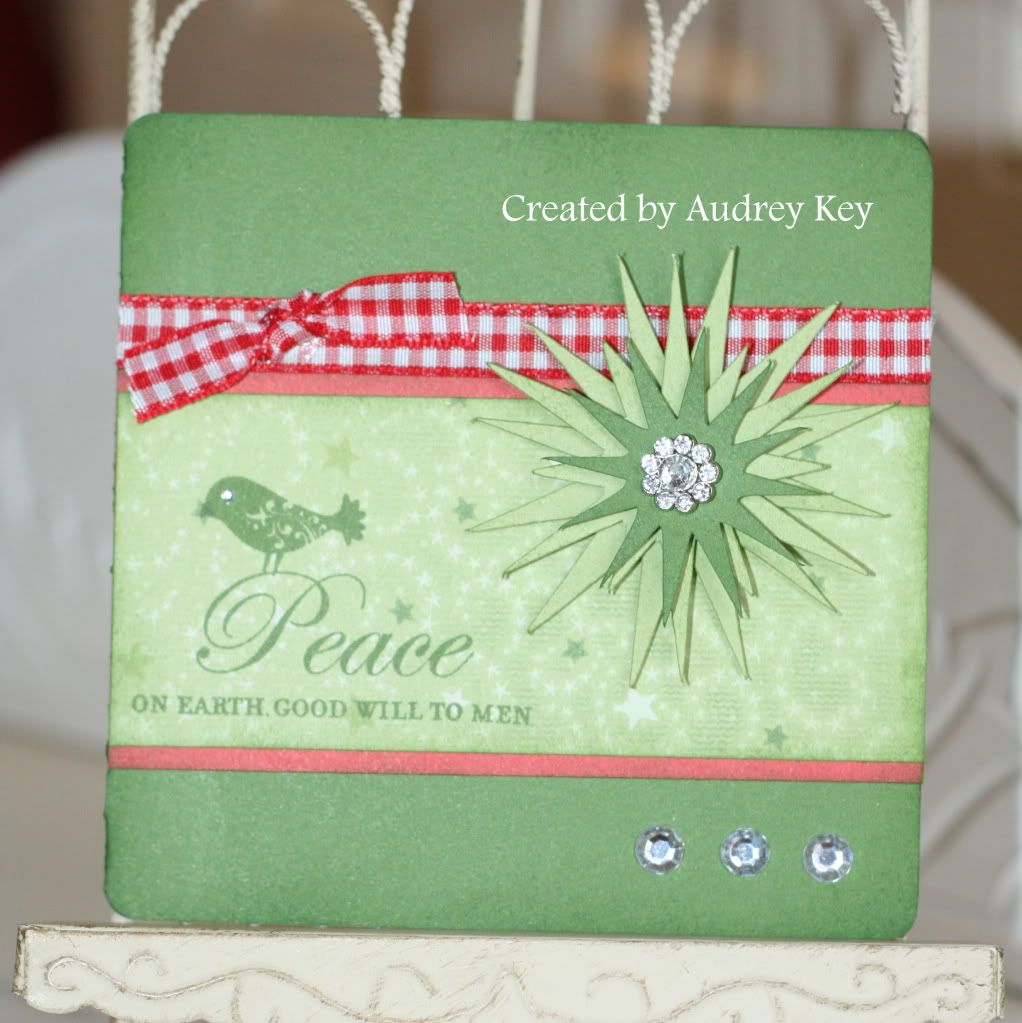
Peace on Earth Card


This card is also a product of the <square1> key on the Cricut.  The star embellishment is the <star1>  in graduated sizes and I popped each layer with 3D Foam Tape.   I chose the Christmas Love stamp set for the sentiment and I used a Rhinestone brad and sparkles to jazz it up a bit.  The card was cut as a 4 1/2" card from the <square1> key.

Tuesday, December 13, 2011

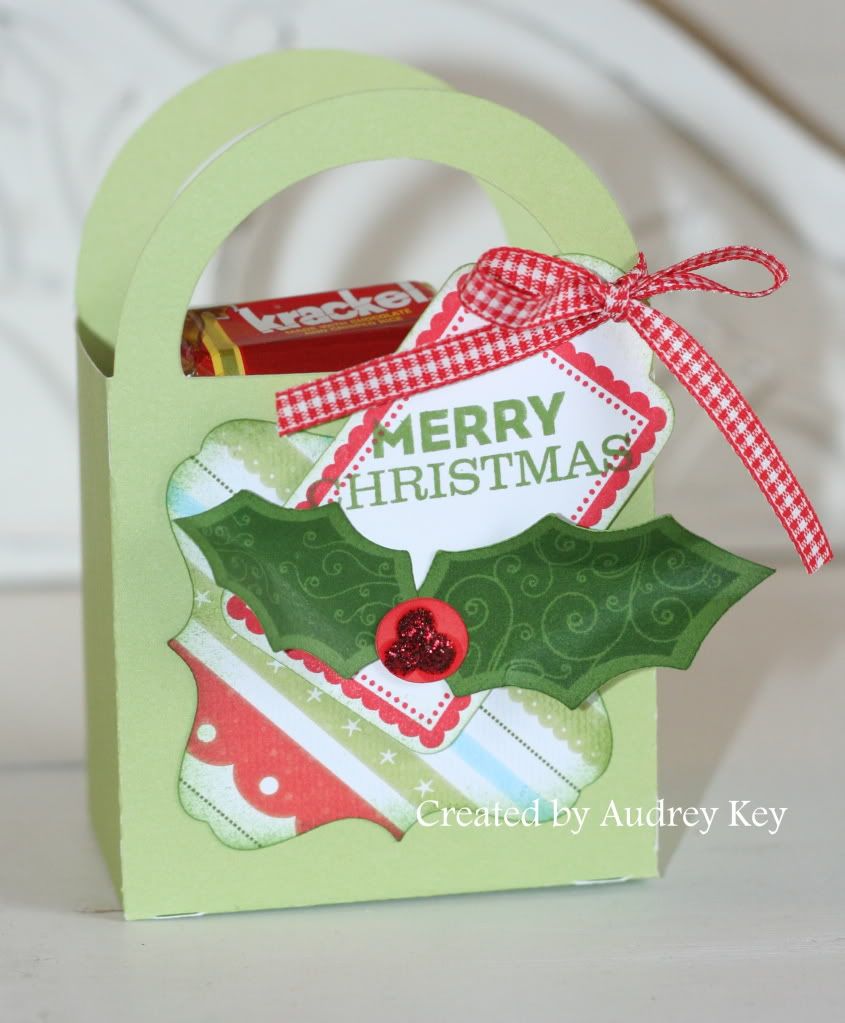
Merry Christmas Treat Box


December is proving to be a busy month!  It has been days since I have been able to post due to lots of family events.   will try to be better the rest of the week about posting! 

We made this little treat box at my Cricut Class last night.  All of the dimensional boxes from the Cricut Art Philosophy Cartridge are so fun to create and decorate. 

This box is located on the <square1> key.  It was cut at
5 3/4" (using the keys: Font Layer; Shift; <square1>;
on page 23 of the Cricut Booklet). 

We also used the <square3> on page 43 to decorate the box.  The tag was cut on the Cricut and stamped with the tag on the Christmas Cheer stamp set. 

The Holly leaves were cut on the Cricut and then stamped with the coordinating stamps from A Holiday stamp set.  We stamped the holly berries from A Holiday on a 3/4" circle which was also cut  on the Cricut. 

We sponged the edges of the pieces with Topiary ink and then added Red Glitz Glitter Gel over the holly berries.  Fill it with candy and it is a sweet treat for someone special!

Wednesday, December 7, 2011

Roxie Workshop on the Go Cards


I created these cards for the Roxie Workshop on the Go - Cards Workshop.  The pattern is from the Wishes book and is called "File Pocket." 


The Roxie WOTG kit includes:  Roxie Level 2 Paper, Roxie My Acrylix Stamp Set, Bling Assortment, Black Hemp and the Roxie Workshop Guide.  The kit is $35 (which includes tax and shipping). 


When you purchase the Roxie WOTG kit, I will include the card instructions to complete these cards.

Tuesday, December 6, 2011

All Decked Out Snowman


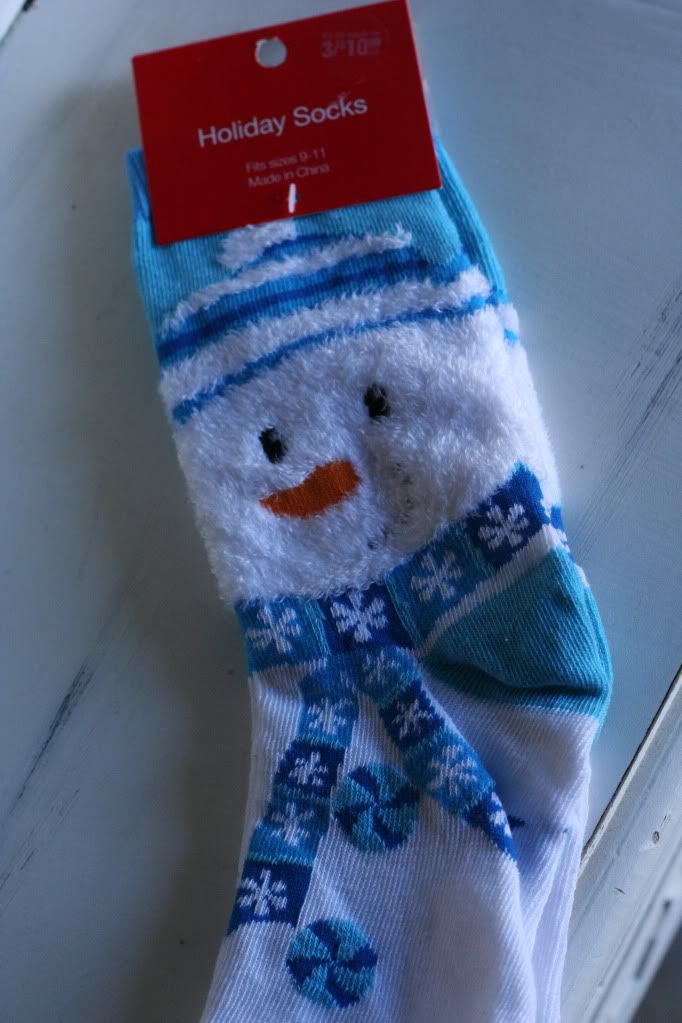
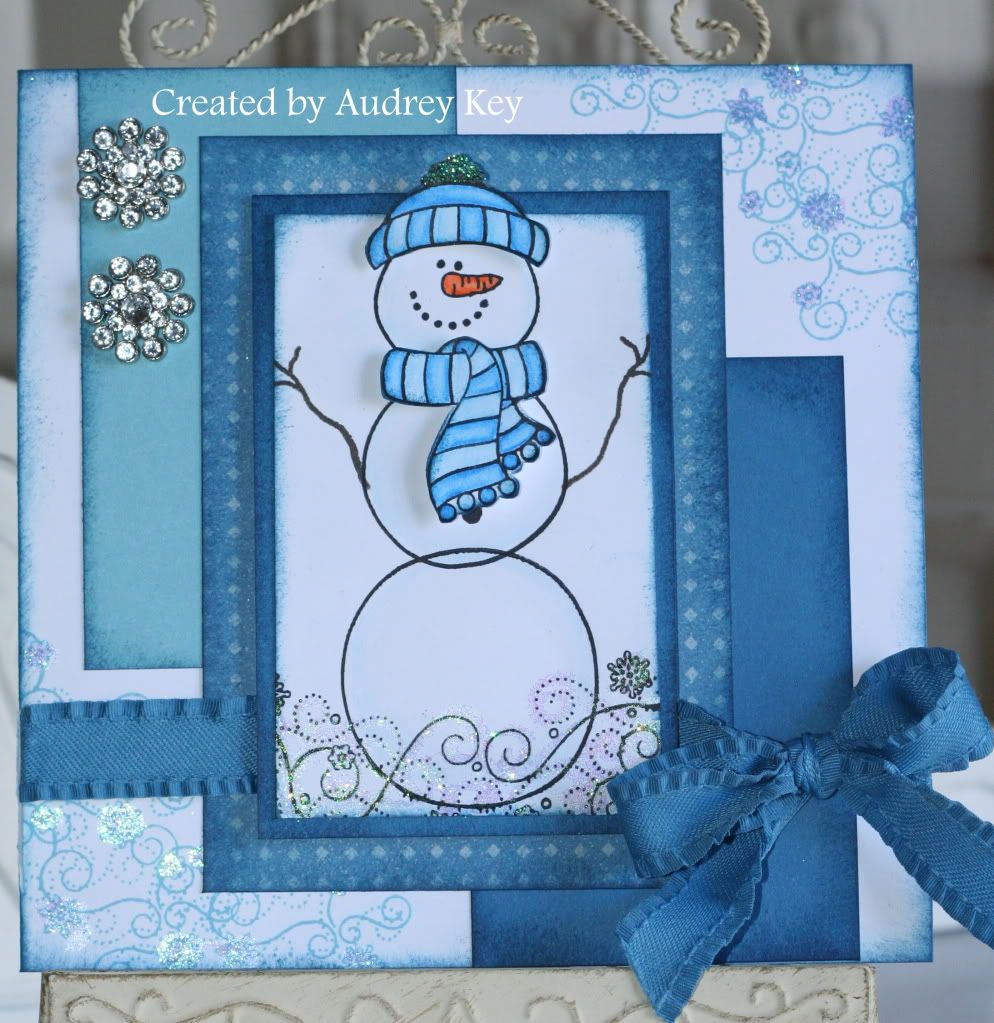
I bought these cute socks at CVS Pharmacy several weeks ago because I love snowmen!  They inspired me to get out my All Decked Out stamp set and make this 6x6 card.


I love this stamp set! It is one of those stamps that you stamp and color the elements to add pop!  The All Decked Out stamp set includes snowman parts:  the body in separate pieces, mittens, arms, scarves, hats, and snowflake flourishes.   

Since the socks had two shades of blue, I looked through my stash to find things in those colors.  Believe it or not, the Pacifica B&T behind the snowman came from the Dreamin' paper packet!  I added Crystal Blue and Pacifica Cardstock to it and Whoala!  Think outside the box when choosing paper patterns and you will be amazed with what you can create!


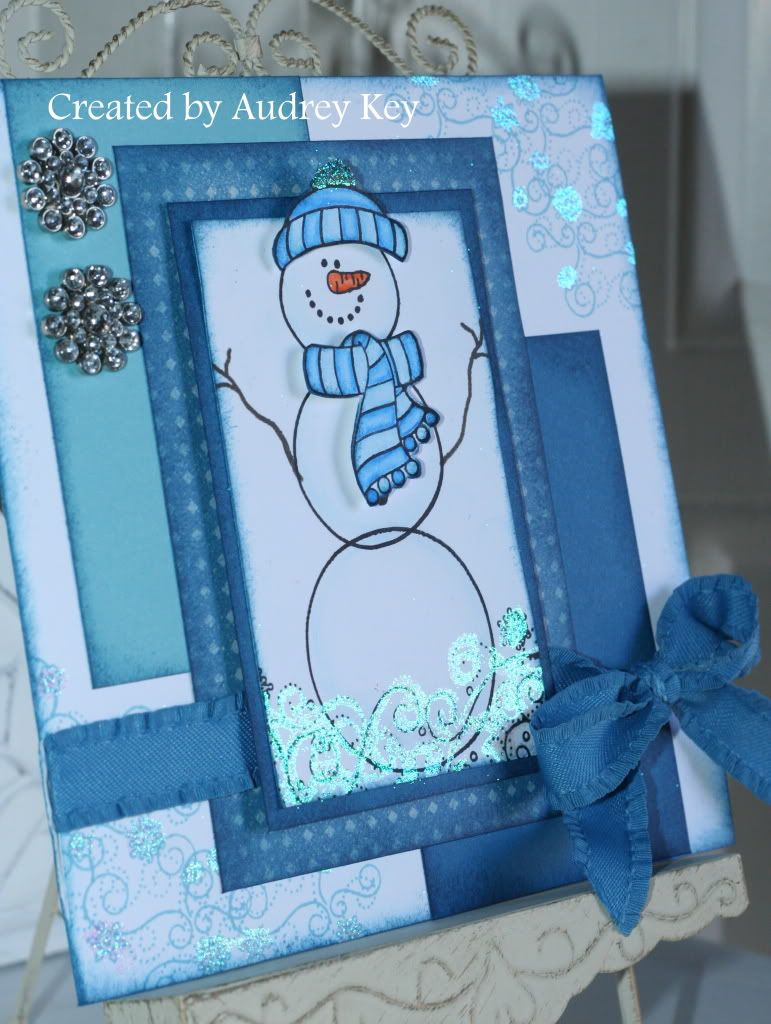
I added this photo because I wanted you to see that Prisma Glitter was added to the snowflake flourishes, which was hard to see with the straight on shot of it.  The snowman is lightly water colored blue with our watercolor pencils and watercolor brush.  I used Rhinestone Brads to embellish  the card, as well as ribbon from the Blue Ribbon Assortment.

**Tips - Use Bonding Memories Glue Pen to add Prisma Glitter to any project.  Put the glue on the area you wish to highlight; let glue dry to clear; add Prisma Glitter with the eraser on a pencil (which just adds glitter where you want it and not all over your table and your lap!).