Saturday, November 19, 2011

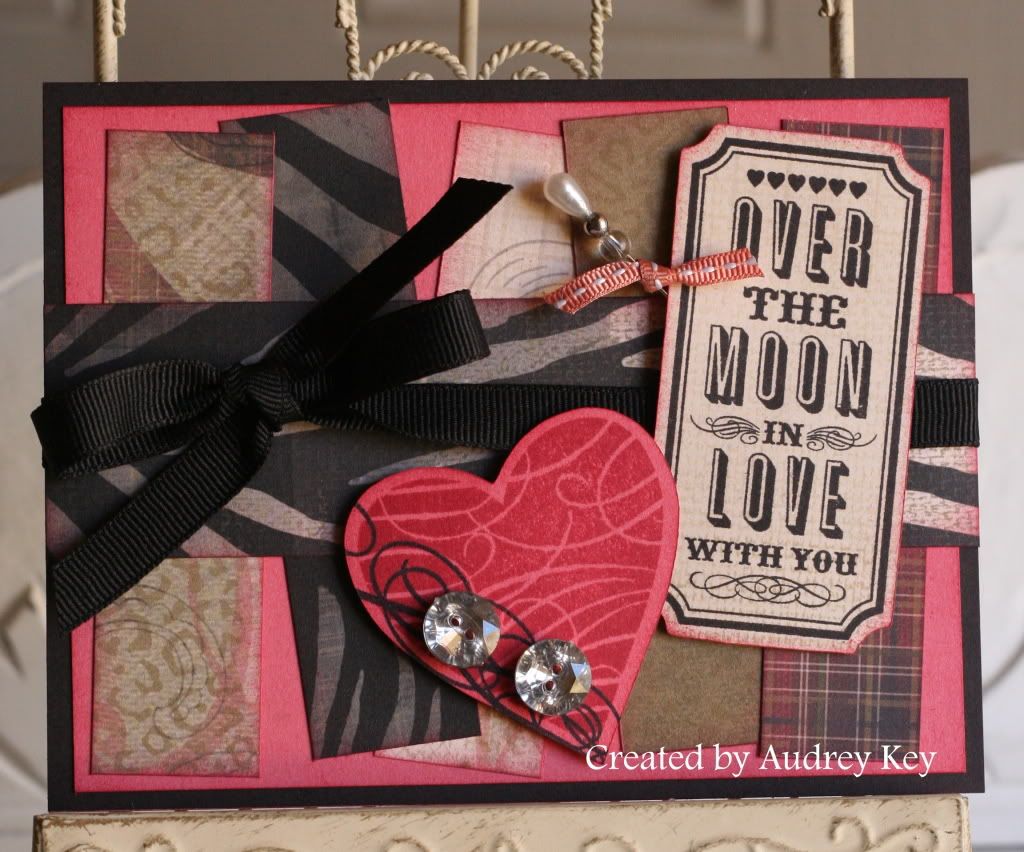
Over the Moon In Love Card


I couldn't wait to make this card!  I dreamed about it last week and knew that when we returned home I HAD to make it.  I used Roxie Level 2 paper, Red Ribbon Assortment, Black Ribbon, Bling Assortment, and the December Stamp of the Month called "Mad About You."  The ticket and the heart were cut on the Cricut!  Imagine that - the December Stamp of the Month is Cricut compatible!   This stamp set is great for wedding, Valentine's Day, or love cards and/or scrapbook pages.  In my opinion, it is a must have!

Friday, November 18, 2011

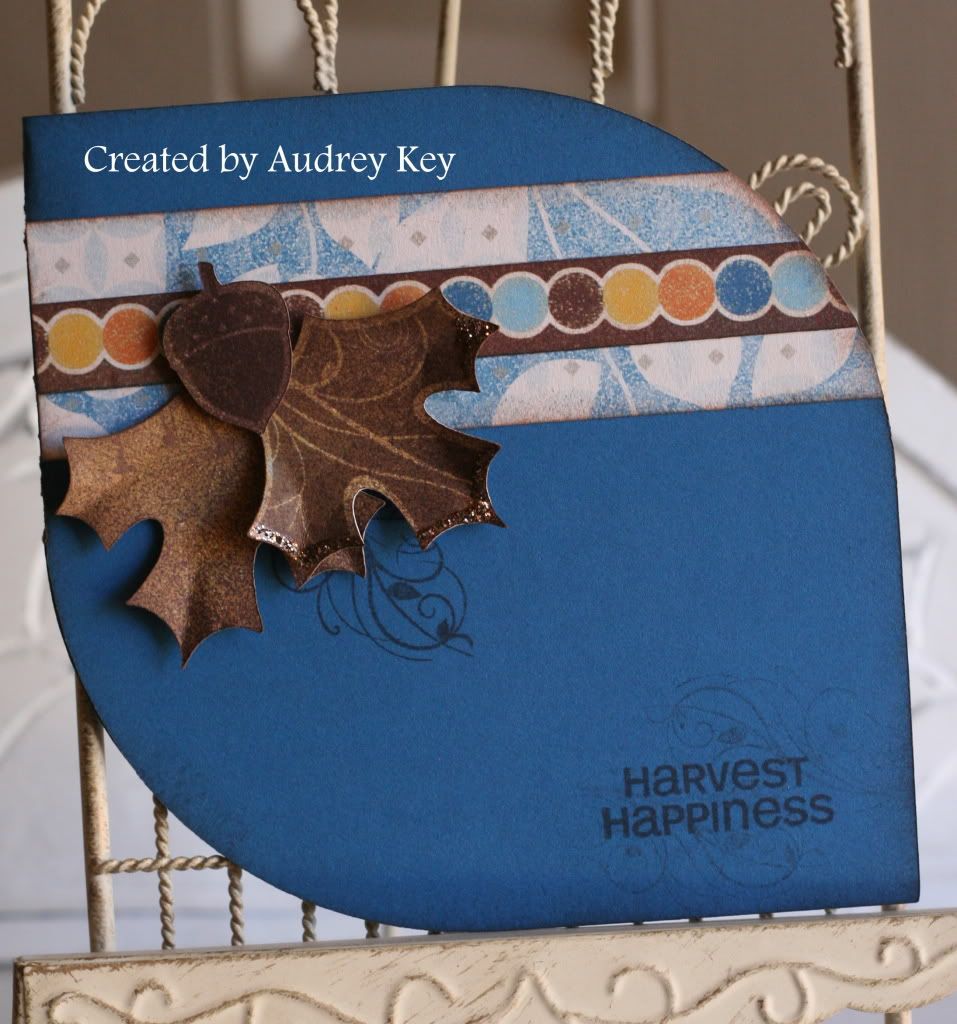
Leaves and Acorn Harvest Happiness Card

This card is on the <shape11> key; Card button.  It is a 4 1/2" card.  I used the Dreamin' Paper Packet, Harvest Happiness Stamp Set and Bronze Glitz Glitter Gel.


The cool thing about the Harvest Happiness stamp set (and others in our catalog)  is that it coordinates with shapes on our Cricut cartridge.  The stamp set "carrier sheet" tells you what size to cut the image so that you can stamp on it.  It is so fun to stamp and NOT have to cut it out by hand.   I cut the card, leaves, and the acorn with the Cricut Cartridge.  I also utilized the zip strip from the B&T as "ribbon" for this card - what a cool use for those little strips!

Thursday, November 17, 2011

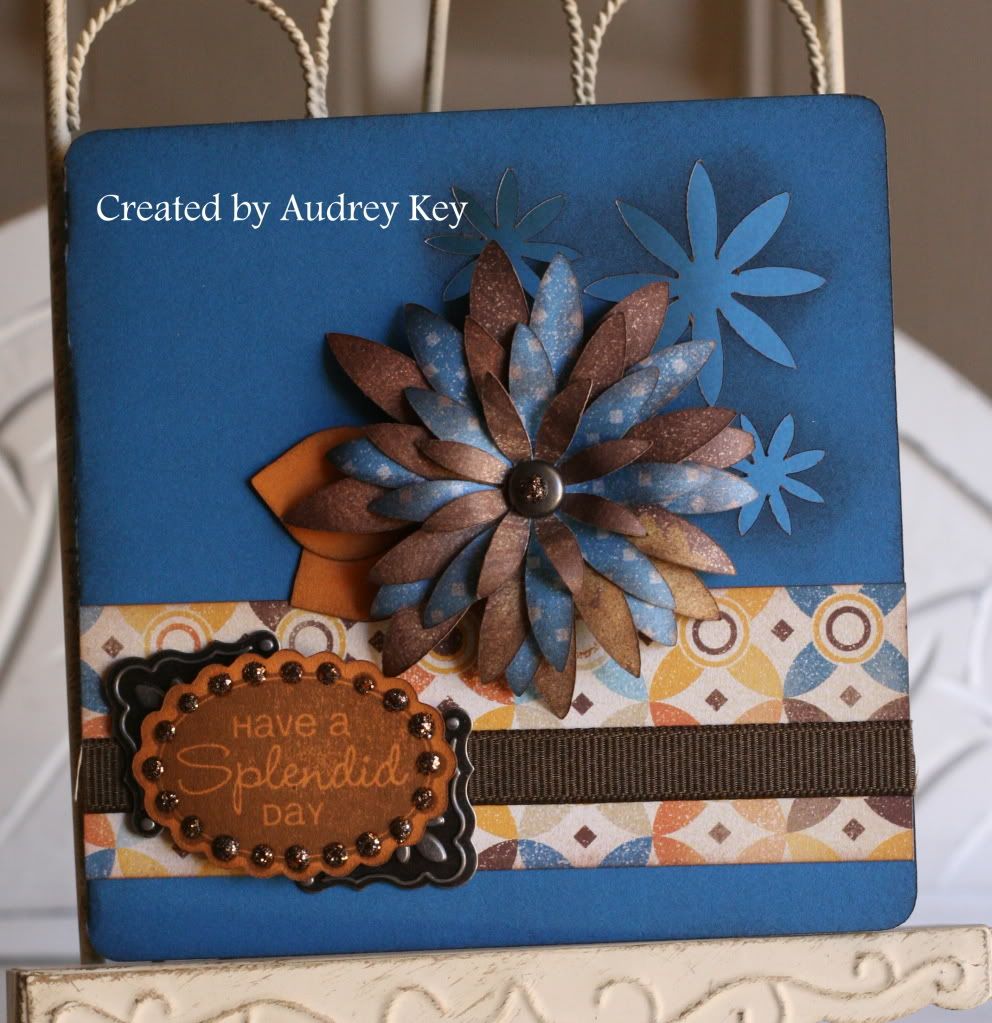
Have a Splendid Day Card

I used the Cricut Cartridge to create the card, flower and sentiment. The card is from the <shape 11> key; Card button; Shift - it is 4 1/2". The "splendid" flower is on the <flower4> key. I cut it 5 times beginning with 2 1/2" and turned the size dial down one tick each time I cut the flower. 


The items used for this card are the Dreamin' Paper Packet, Mini Medley Pewter Assortment, Bronze Glitz Glitter Gel, and Cocoa Ribbon.

**Tip - I cut 5 flowers from the Pacifica Dots B&T and utilized both sides of the B&T for the flower (alternating sides as I stacked them up).   I curled the petals downward using a stylus tool; adhered the flowers together and placed a brad in the center.  I also cut <shape11> at the 3/4" size to use as the leaves for the flower.


Wednesday, November 16, 2011

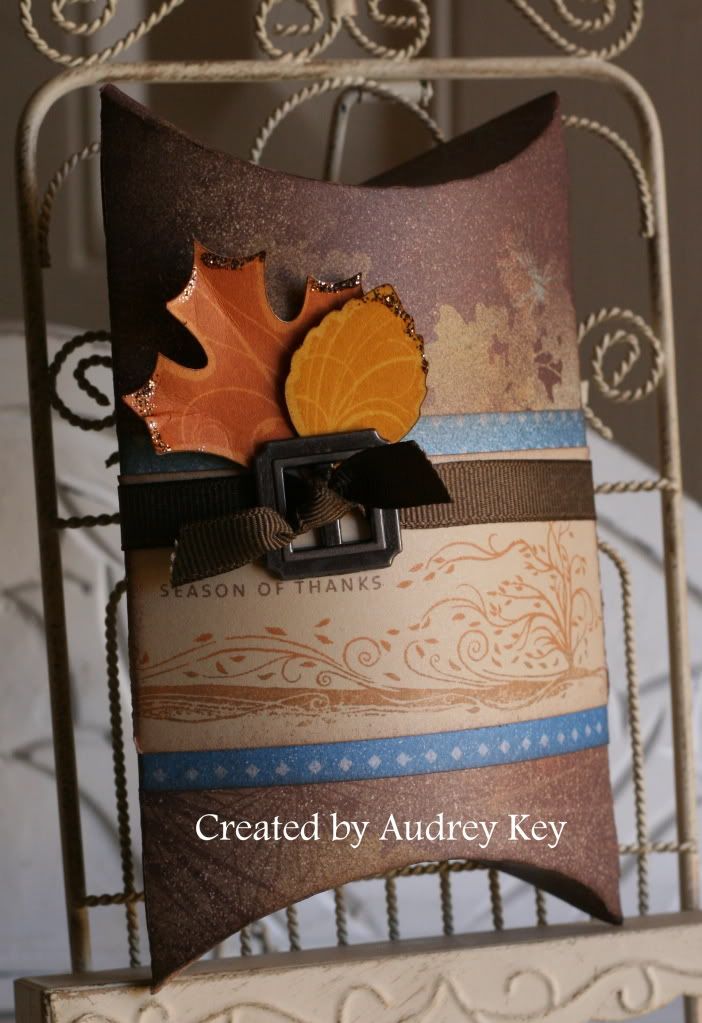
A Season of Thanks Pillow Box


This was the project we created at my Cricut Class this week.  It is a pillow box from the Cricut Art Philosophy Cartridge and is on <shape11> key.  To get this 7" shape you need to push  Font Layer,<shape11> and Shift.  Fill it with candy or a small surprise and put on your Thanksgiving table (see page 64 in the Catalog IdeaBook). 

I used the Dreamin' paper packet, Captured Moments stamp set, Harvest Happiness stamp set, Foundry Metal Accessories, and Bronze Glitz Glitter Gel.

Tuesday, November 15, 2011

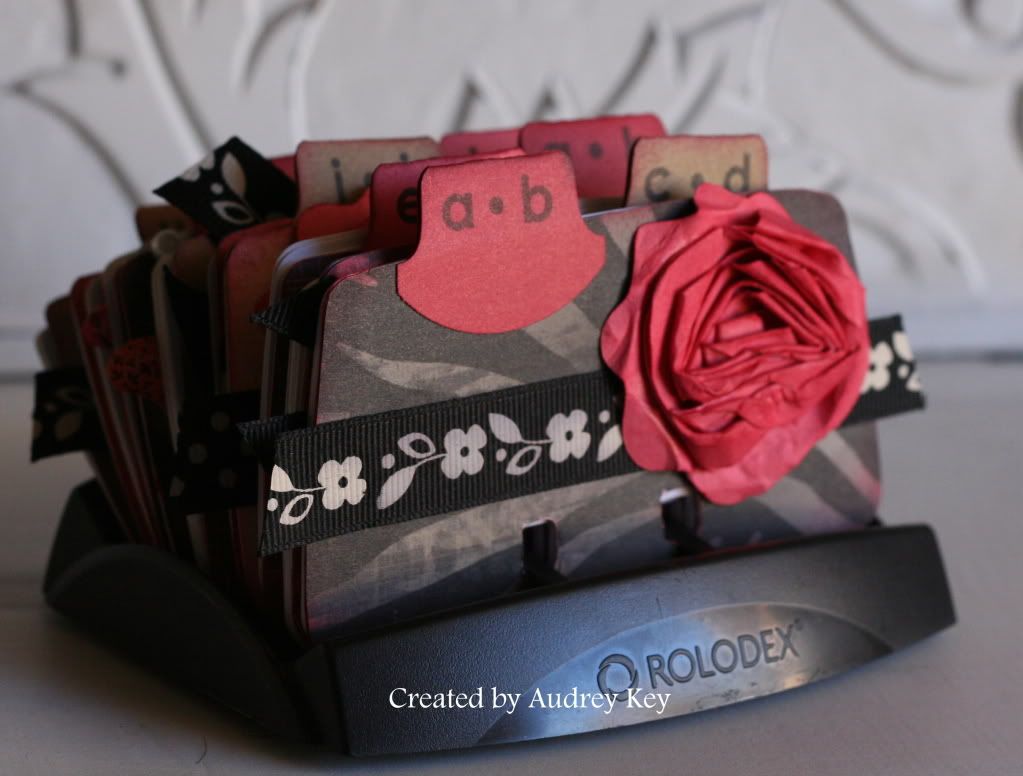
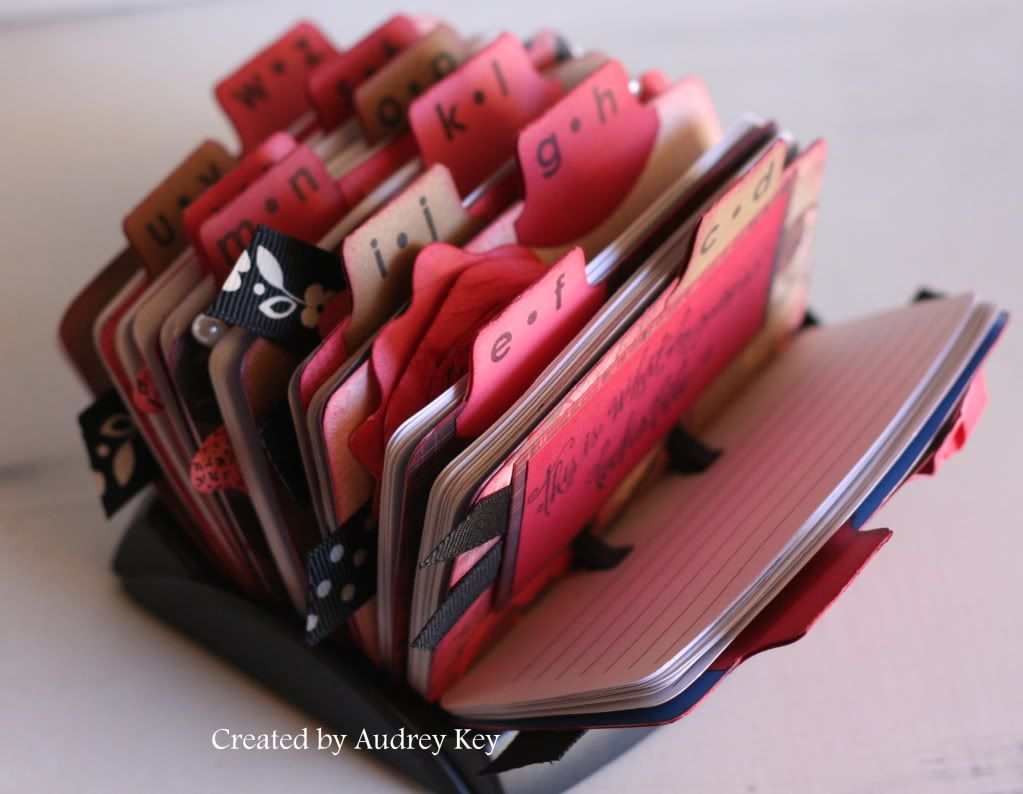
Roxie Rolodex


I have missed not posting (for a week now).  We were out-of-town and so I want you to know that I am happy to be back in the "saddle".  I started this little project last week before we left but ran out of time to complete it.  I have had this Rolodex for at least a year and had been meaning to decorate it.  This isn't your typical Rolodex as it is a place for those endless passwords that we all have.  It is a pet-peeve of mine that every website makes you use different cases, numeric characters, etc.  I can never remember them all!


Since we have reds and animal prints in our house I thought it fitting to use the Roxie Level 2 Paper packet.  I also included lots of black ribbon, Bling Assortment, Pearl Opaques, Sparkles, and the Cricut Art Philosophy flowers.